The following content may contain affiliate links. When you click and shop the links, we receive a commission.
I talk a lot about the importance of self-care here, and I would be lying if I said I was succeeding in prioritizing it right now amongst all the craziness. This time has been fraught with so much uncertainty and worry, so I put almost all self-care on the back burner while I tried to get my family adjusted to this new normal of self-distancing, homeschooling, their new brother, and not having their dad living in the same house as us.
Last night after I put the big kids to bed and before Mateo was due for a feed, I started thinking about what types of self-care I could do for myself at-home during my fabulous but infrequent periods of spare-time. Since I’m positive I’m not the only exhausted human out there who could use a spa day, I’m sharing my list of at-home spa treatments, along with step-by-step instructions, and supplies below! I hope you’ll join me in trying to re-prioritize your mental and physical health — even if it’s just doing your nails! Let me know how you fare in the comments below!
Set The Mood…
Before we get into our at-home spa day, we have to set the mood.
The fastest way to be transported out of your house and into a spa is through scent. I am a huge candle lover. I even bring them with me when I travel because I feel like it makes foreign spaces so much homier.
So the first step to your spa experience is going to be to light up your favorite candle!
Purple Petals
Otherland
I recently came across this candle company from Brooklyn, and I’m obsessed. Their fragrances are so yummy, and they are currently offering 10% off all purchases AND donating 10% of all proceeds to the Food Bank of New York City. Use promo code SUNSHINE at checkout!
How To Give Yourself a Facial At-Home…
Step 1: Cleanse Your Face: Twice
Before you start rubbing a whole bunch of products into your skin, you want to make sure that you prep it by getting it as clean as possible. Most estheticians recommend the double cleanse, which involves using a first cleanser and a second cleanser. First cleansers are usually balm or oil-based and work to break down sweat, bacteria, and/or sebum on the surface of the skin. Second cleansers are mostly water or cream-based and work to cleanse much deeper into your pores.
To double cleanse, start by taking your first cleanser (I am loving this Pro-Collagen Cleansing Balm by Elemis) and warm the balm in between your hands by rubbing them together quickly. Apply warm balm to the face, neck, and décolleté with light, circular movements, for about a minute, and then wipe it off with a warm, wet washcloth.
Next, wet your hands and place a small amount of your water or cream-based cleanser in your hands (my favorite is the iS Clinical Cleansing Complex), and rub your hands together. Massage the product all over your face, neck, and décolleté the same way you did with the first cleanser, in gentle, circular movements. Rinse well and pat your face dry.
Elemis Pro-Collagen Cleansing Balm
Elemis
As a first cleanser option, I’m sure you’ve heard about this award-winning cleansing balm already because it’s definitely a cult-favorite among beauty bloggers. I decided to give it a try after seeing so many rave reviews and I’m OBSESSED! It melts off makeup like magic, comes complete with a cleansing cloth included with purchase, and the collagen leaves your skin positively radiant! Conveniently, Elemis is having a sale on their bestsellers right now. Use code SPRINGEVENT for 25% off!
Makeup Removing Cleansing Oil
Caudalie
Another first cleanser option is this cleansing oil that won the 2017 Glamour Beauty Award for Best Cleanser, and not for nothing! The formula is not only dermatologist tested, but ophthalmologist tested, so it’s safe to use on the eyes when you need to get off eye makeup and mascara quickly and effectively.
Chamomile Cleansing Milk
Naturopathica
Another second cleanser option is this luxurious cream cleanser from Neuropathica. It uses German Chamomile as an anti-inflammatory, and Rose Water as a toner and the best part? It’s vegan, cruelty-free, made in the USA, and ECOCERT-certified.
Step 2: Steam
Steaming is an important part of any facial. Firstly, it infuses the skin with moisture, and secondly, it opens up your pores to allow all the products that you’re going to apply later on to penetrate more deeply into your skin. Thankfully, the facial steamer is a product that’s accessible to the masses now, and I couldn’t be more here for it!
After double cleansing, steam your face with a facial steamer for five-to-ten minutes, max, and watch how much more leverage you get out of your serums and masks!
Aira Ionic Facial Steamer
Vanity Planet
An at-home spa day wouldn’t be complete without some steam! My esthetician, Jennifer Adell, turned me on to this Ionic Facial Steamer and now I use it once a week. It is not only highly effective, but it also heats up in under a minute, and I don’t need to hide it under my sink because it’s so pretty!
Step 3: Exfoliate
Now that you’ve opened up your pores, you’re ready to get all the dead skin cells off your face! This can be done by using either a chemical exfoliant or a physical exfoliant, and which you choose will depend entirely on whether or not you are prone to sensitive skin. Enzyme-based powders are safe enough for most skin types to use daily, so I always like to recommend these first, but if you’re well-versed in your own skin behavior and feel confident in using an AHA peel, go for it!
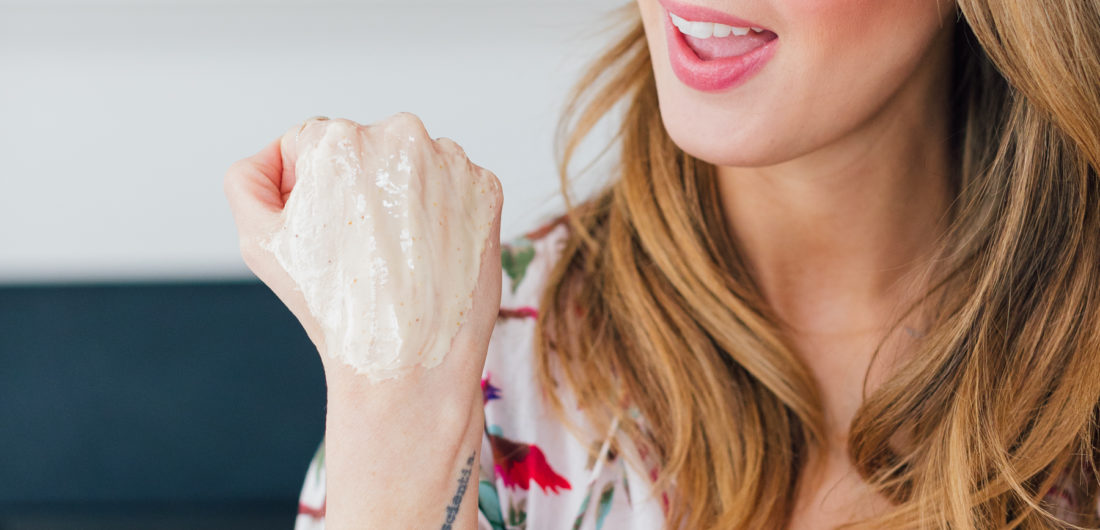
If you’re using an enzyme-based powder, wet your hands, take a pea-sized amount of the powder and rub your hands together vigorously until all the ‘sand’ is gone and you’re left with just foam. Apply to the face, neck, and décolleté in gentle, circular motions for a minute, and then rinse.
If you’re using a chemical peel, be sure to follow the directions on the exact peel you’re using as the length of time to leave them on will vary greatly depending on the peel.
Daily Microfoliant
Dermalogica
If you are prone to sensitive skin, this is super gentle while also being extremely effective. You can use it every day and it won’t cause your skin to freak out. I cannot recommend it enough.
The Rice Polish
TATCHA
This is another great enzyme-based powder exfoliant that foams up when you add water. It comes in four different formulas tailored to your specific skin needs: The Classic (linked above) is best for normal/combination/dry skin, the Deep is best for combination/oily skin, the Gentle is best for dry skin, and the Indigo is best sensitive skin.
Facial Radiance AHA Intensive Peel
First Aid Beauty
This is really gentle lactic acid peel, but it packs a real punch. If you have pigmentation from acne, this can really help brighten up your skin!
Alpha Beta Universal Daily Peel
Dr. Dennis Gross Skincare
This peel comes in handy individual packets for daily use. Glycolic and Lactic Acids help diminish fine lines, wrinkles, and hyperpigmentation, while Vitamins A, C, and E help protect against future damage.
Step 4: Mask
Now it’s time to target whatever your own personal skin concerns are! There are literally masks for every skin problem you can think of, so the sky is the limit. If you have skin with minimal problems, don’t try to fix what isn’t broken by using a mask that’s for someone with very dry or very oily skin — trust me! Your skin has it’s own delicate balance so you want to only target the problem areas and leave the rest alone.
Here a few of my personal favorites:
Rose Face Mask
Fresh
I love almost every single Fresh product on the market, from their soy-based facial cleanser to their Sugar Lip Balm, and this face mask is no exception. Its made with aloe vera gel, algae, and rosewater, and it cools your skins the instant it touches your face. It’s a great option for anyone with finicky or sensitive skin.
Umbrian Clay Purifying Mask
Fresh
Another great Fresh product is this purifying clay mask that removes impurities and balances complexion. It’s gentle enough to use daily as a cleanser, or even to spot-treat blemishes. This is an at-home spa day must-have!
The All-In-One Facial
Hanacure
This is the mask that made the rounds on social media last when Drew Barrymore shared that famous photo of herself looking slightly…aged LOL. Everyone raves about this mask, saying that it evens out skin tone, minimizes pores and fine lines, leaves your skin feeling incredibly soft, and even reduces hyperpigmentation!
MultiVitamin Power Recovery Masque
Dermalogica
This is a great mask for dull or dehydrated skin. It has hyaluronic acid to exfoliate and hydrate the skin and peptides to stimulate collagen production.
Calendula Flower Lab Essence Sheet Mask
Mamonde
This sheet mask from Mamonde is ESSENTIAL! It makes your skin super hydrated and plump, and…wait for it…it’s only $3!
Face Mask
Dr. Barbara Sturm
Dr. Barbara Sturm products are cult-favorites and this mask is no exception. Dr. Sturm says “it’s a must-have repair-and-glow tool” with ingredients like Purslane, Aloe Vera, and Chamomile, and will “de-stress irritated skin in 15 minutes.”
Superfood Vital Veggie Mask
Elemis
Another Elemis favorite of mine is this superfood prebiotic face mask. It’s packed with nutrient-dense supergreens and will leave your skin dewy and hydrated: An A+++++++. Don’t forget to use code SPRINGEVENT at checkout for 25% off!
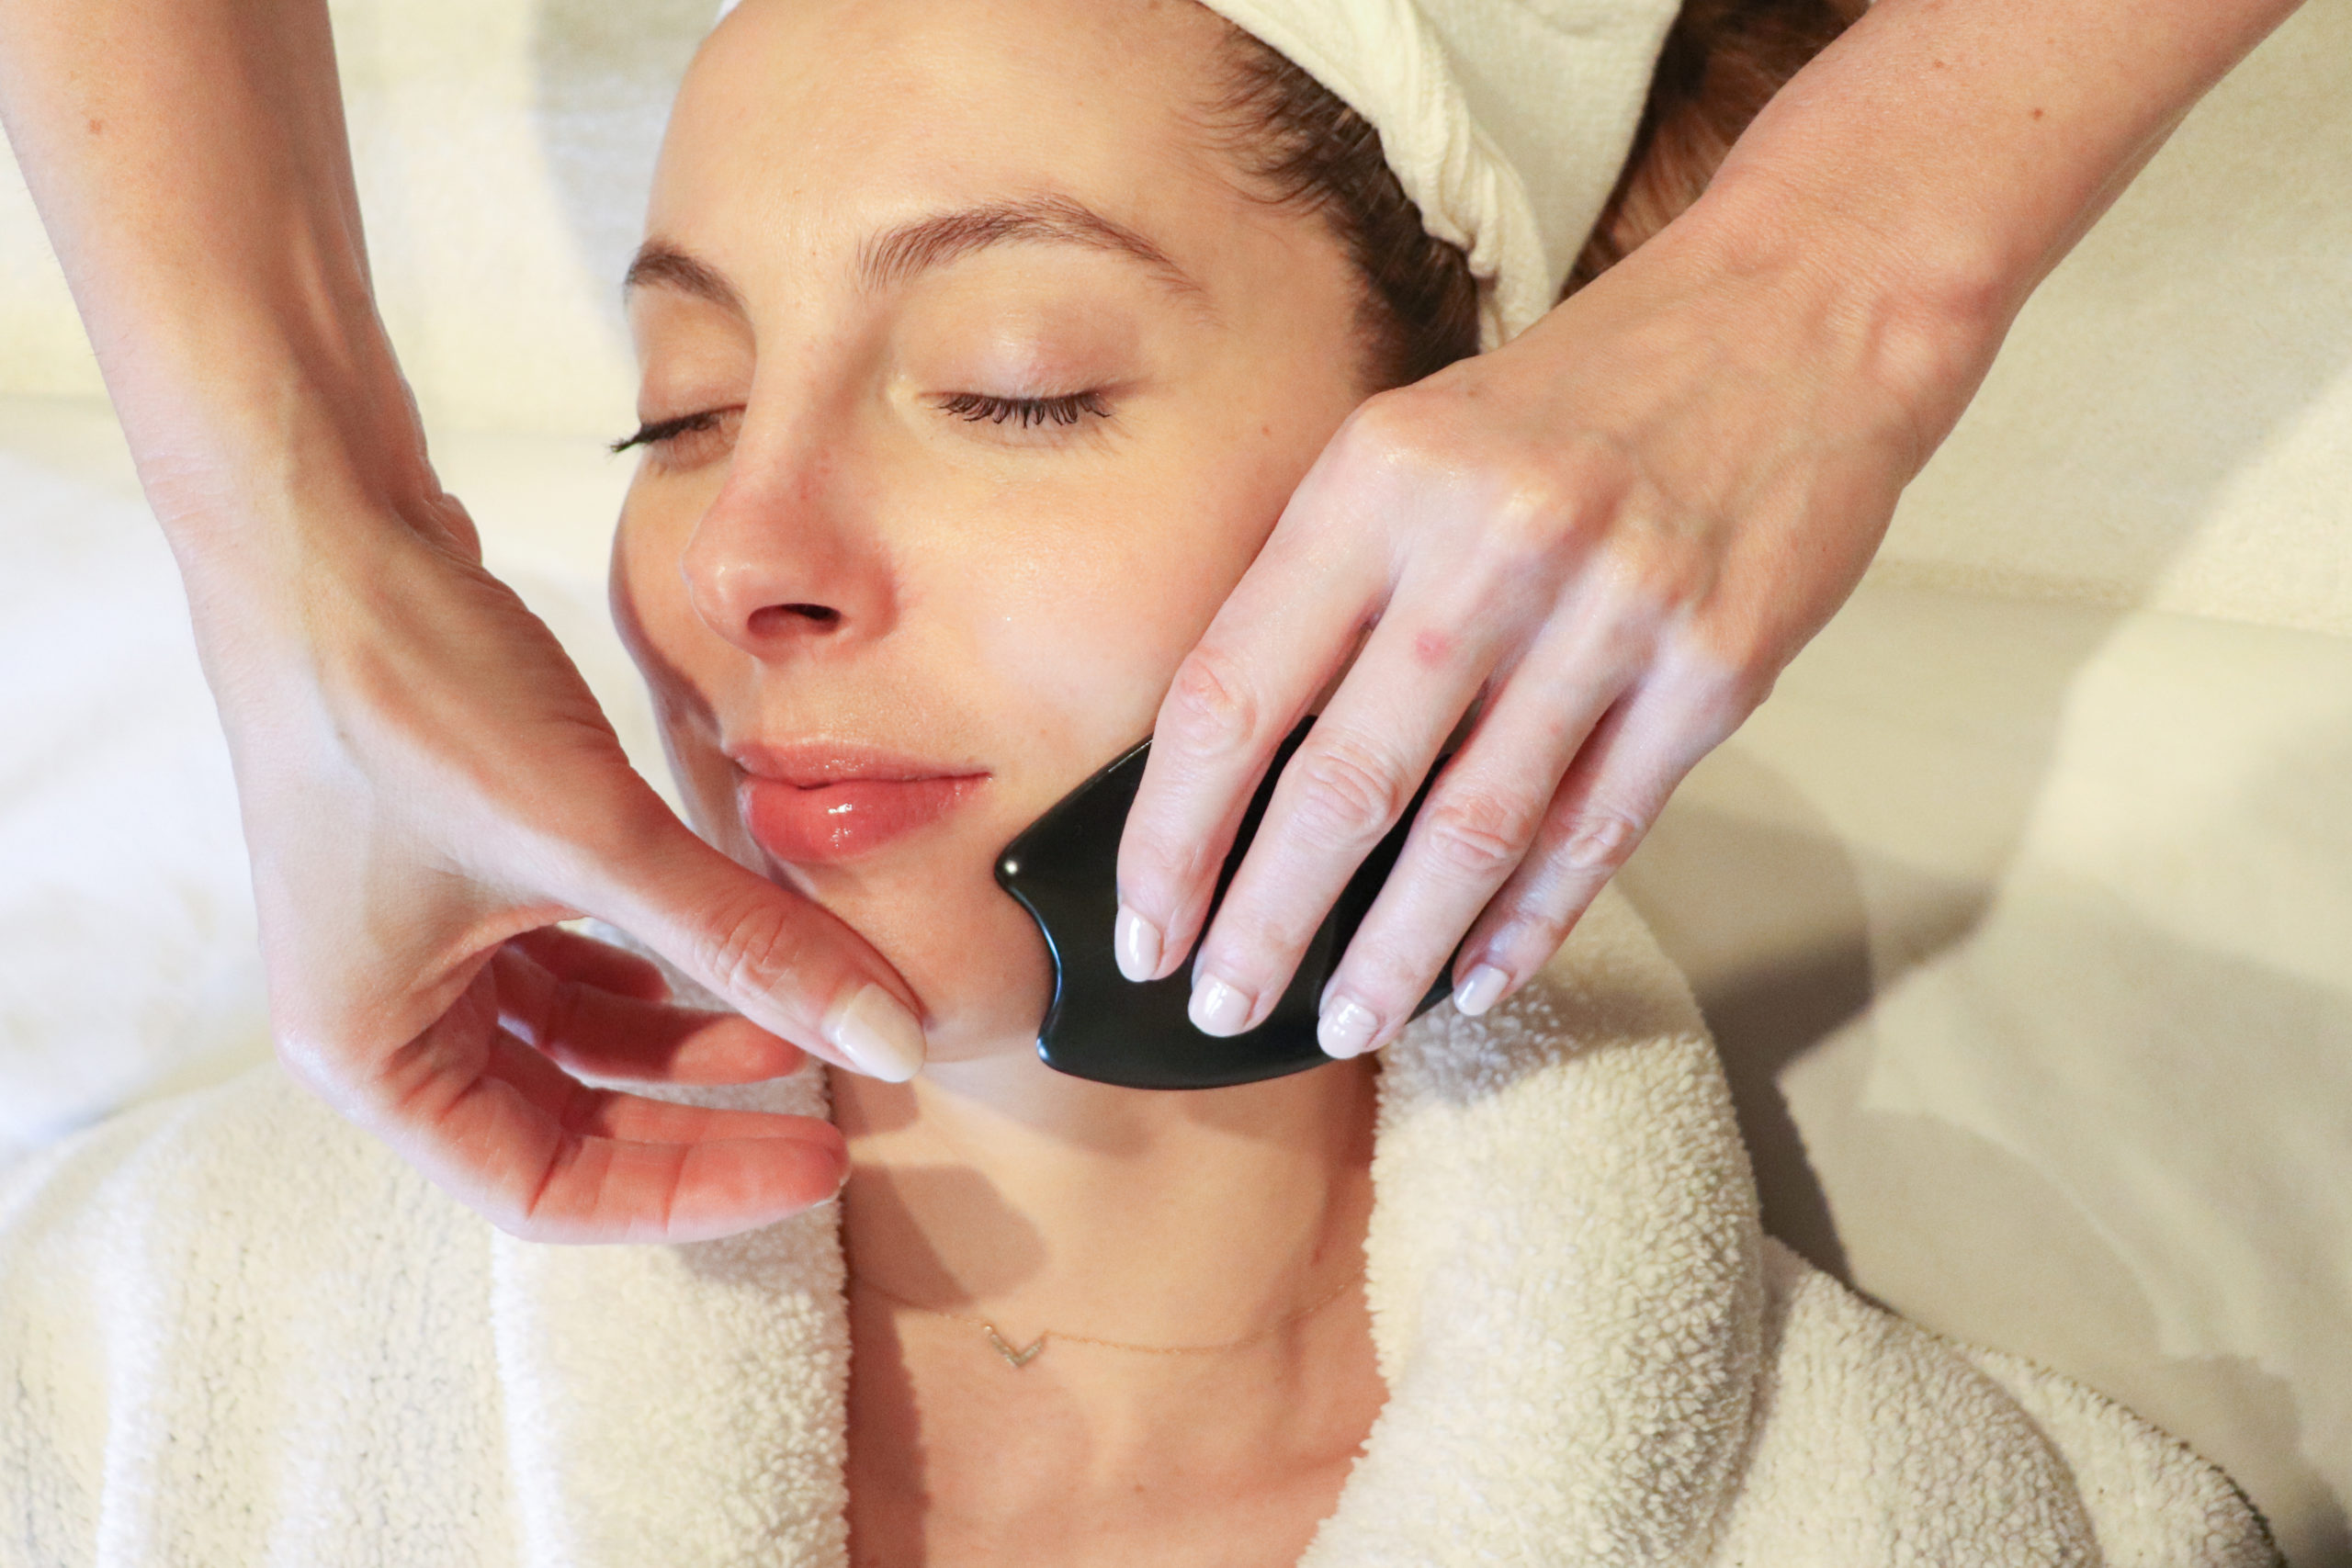
Step 5: Moisturize + Gua Sha
Now it’s time to pump your skin with moisture and boost your blood circulation.
Start by layering on your favorite serums one by one. The rule of thumb for layering products is you always want to start with the product with the thinnest consistency, and work your way up to thickest.
After you’ve applied all your serums, grab your Gua Sha tools and start massaging! If you need some techniques, I published a Gua Sha tutorial and video a few months ago with my esthetician Jennifer Adell, who is the Gua Sha Kween!
Once you’ve sufficiently massaged your face, it’s time to top off your at-home facial with a rich, dense moisturizer to lock in all the good stuff!
Squalane + Vitamin C Rose Oil
Biossance
Biossance is an amazing company that is “pioneering sustainable beauty through biotechnology.” The main ingredient in their products is Squalane, which is a bioidentical lipid to the one your body produces as Squalene that helps to hydrate and maintain the moisture barrier of the skin. Sadly, our bodies reduce the production of Squalene over time, so Squalane products work better than almost anything on the market to replenish the moisture that we are losing as we age. Unlike other companies that source their Squalane products from sharks, Biossance found a way to produce it from 100% plant-based sources, and then bio-fermented it to create a totally sustainable, eco-friendly Squalane. This gentle yet effective Vitamin C serum brightens and firms while the Squalane locks in moisture.
TNS Recovery Complex
SkinMedica
This serum is on the pricey side, but don’t get sticker-shock. It’s a product that dermatologists religiously cite as one they use on themselves because of its uncanny ability to increase collagen production. It may be expensive, but that hasn’t stopped most of the reviewers from repurchasing it again and again.
Super Bounce
Glossier
This is a great hydrating serum! It has hyaluronic acid and Vitamin b5 and is under $30!
Squalane + Omega Repair Cream
Biossance
Another amazing product from Biossance is this decadent cream that hydrates your skin but doesn’t leave it feeling greasy.
Pro-Collagen Marine Cream with SPF 30
Elemis
This is hands-down, the holy grail of moisturizers. It’s won over 30 beauty awards since it launched in 2003, and Elemis sells one every nine seconds. It firms, it tightens, it reduces fine lines and wrinkles, and now it also provides broad spectrum UVA/UVB SPF30 protection. And it’s on sale, so use code SPRINGEVENT at checkout to get 25% off!
The Dewy Skin Cream
TATCHA
This rich cream moisturizer contains Japanese Purple Rice which helps skin recover from and protect against stress and pollution, and Okinawa Algae Blend and Hyaluronic Acid which helps replenish ceramides and increase skin barrier function.
3 Piece Jade Gua Sha Tool Set
Sayopin
If you don’t have any Gua Sha tools, they are a MUST!
How To Give Yourself A Manicure At Home…

Supplies…
- Nail Polish Remover
- Cotton Balls
- Nail File
- Acetone-Based Lacquer Remover (only if you have gel on your nails)
- Aluminum Foil (only if you have gel on your nails)
- Nail Clipper
- Nail Buffer
- Cuticle Pusher
- Cuticle Remover
- Cuticle Oil
- Hand Exfoliator
- Hand Cream
- Base Coat
- Nail Polish
- Top Coat
Step 1: Clean Your Nails
If you have normal nail polish on your nails, take some nail polish remover and some cotton balls and gently rub the polish off your nails.
Even if you don’t have polish on your nails currently, it’s always a good idea to run a cotton ball with nail polish remover over all your nails just to remove any oils or dirt.
If you have gel nail polish on your nails, you’ll need a nail file, a good acetone-based lacquer remover, cotton balls, and some aluminum foil. First, you have to buff your nails with a nail file, removing the shiny coating from the gel polish. Next, cut your aluminum foil into ten 4″ x 4″ pieces. Pour some of the acetone into a small bowl and then place ten cotton balls in the acetone until they are completely soaked. Take one cotton ball at a time and place one over one of your nails. Then take one of the tinfoil pieces you cut earlier and place it over the soaked cotton ball and wrap it around your entire finger. Repeat this for all your other nails and leave them on for 15 minutes.
Once the 15 minutes are up, remove the tin foil and the cotton balls, and, with a cuticle pusher, gently scrape the gel off the nail.
Mineral Fusion Nail Polish Remover
Mineral Fusion
This is a gentle, acetone-free nail polish remover that works really well to remove even dark polish.
Nail Files and Buffers
TsMADDTs
It’s best to have a few nail files and buffers on hand so that once they start to wear down you have more.
Step 2: Trim, File, Buff
Take your nail clipper and trim your nails to your desired length.
Next, take your nail file and gently file your nails, going only in one direction, until you achieve your desired shape.
Then, take your nail buffer and buff your nail all over — the top, the sides — everywhere. This removes your nails’ natural oils, which can ruin your manicure once you start to apply polish.
Step 3: Push Back + Trim Cuticles
Prep your cuticles with a good cuticle remover, which will help exfoliate your nail bed.
Then, take your cuticle pusher and push your nail beds back gently. Trim your cuticles (if needed) with a cuticle trimmer.
Cuticle Lab Kit
Deborah Lippmann
This kit will save your cuticles! It includes Cuticle Oil, Cuticle Remover, Cuticle Cream, and a Cuticle Pusher all in one handy set.
Step 4: Exfoliate Your Hands
I love a good hand exfoliator, and when I’m giving myself a manicure it’s an absolute must.
Rub a scrub all over your hands, wrists, and forearms, and then wash it off well. Pat your hands to dry.
Step 5: Moisturize
Apply a hydrating hand cream to your hands, and take special care around your cuticles.
Then, and this is an important step, wipe your nails down with some nail polish remover so there’s no residue before you start applying polish.
Hand Cream - Vanilla & Orange Peel
GROWN ALCHEMIST
This hand cream is heavenly. It softens and hydrates hands but doesn’t leave them greasy.
Step 6: Apply a Base Coat
Apply your base coat and let it dry for about 2 minutes.
Step 7: Apply Your Polish
Apply a thin coat of polish to your nails, and then let them dry for two minutes. Something that can make painting your nails easier is a polish handle.
After the first coat of polish has sat undisturbed for two minutes, apply a second coat.
Step 8: Apply Your Topcoat
Topcoat is what keeps your manicure from chipping, and it also gives it that salon-quality look.
Apply your topcoat to your nails two minutes after the second coat. If you’re in a hurry to use your hands, The Wait Is Over Quick-Dry Drops from Deborah Lippmann will dry your polish in 60 seconds! Brilliant!
Addicted to Speed Quick-Drying Nail Top Coat
Deborah Lippmann
This is a high shine topcoat that dries in a flash!
The Wait Is Over Quick-Dry Drop
Deborah Lippmann
These are essential if you’re a parent and you can’t wait around for your nail to dry!
How To Dry Brush…

I’ve mentioned dry brushing before, but I’ve never done a step by step about how it’s done!
Step 1: Grab Your Brush
Start at your feet and brush upward towards your heart in firm, short strokes. When you get to your stomach, brush in a clockwise direction, and continue in that direction up to your chest. When you get to your arms, start with your hands and work your way up towards your shoulders.
Polishing Body Brush
Aromatherapy Associates
Made with natural cactus sisal bristles, this dry brush can help improve skin tone.
Skin Brush
The Organic Pharmacy
This is gentle dry brush has handle so you can reach your back, and it’s only $15!
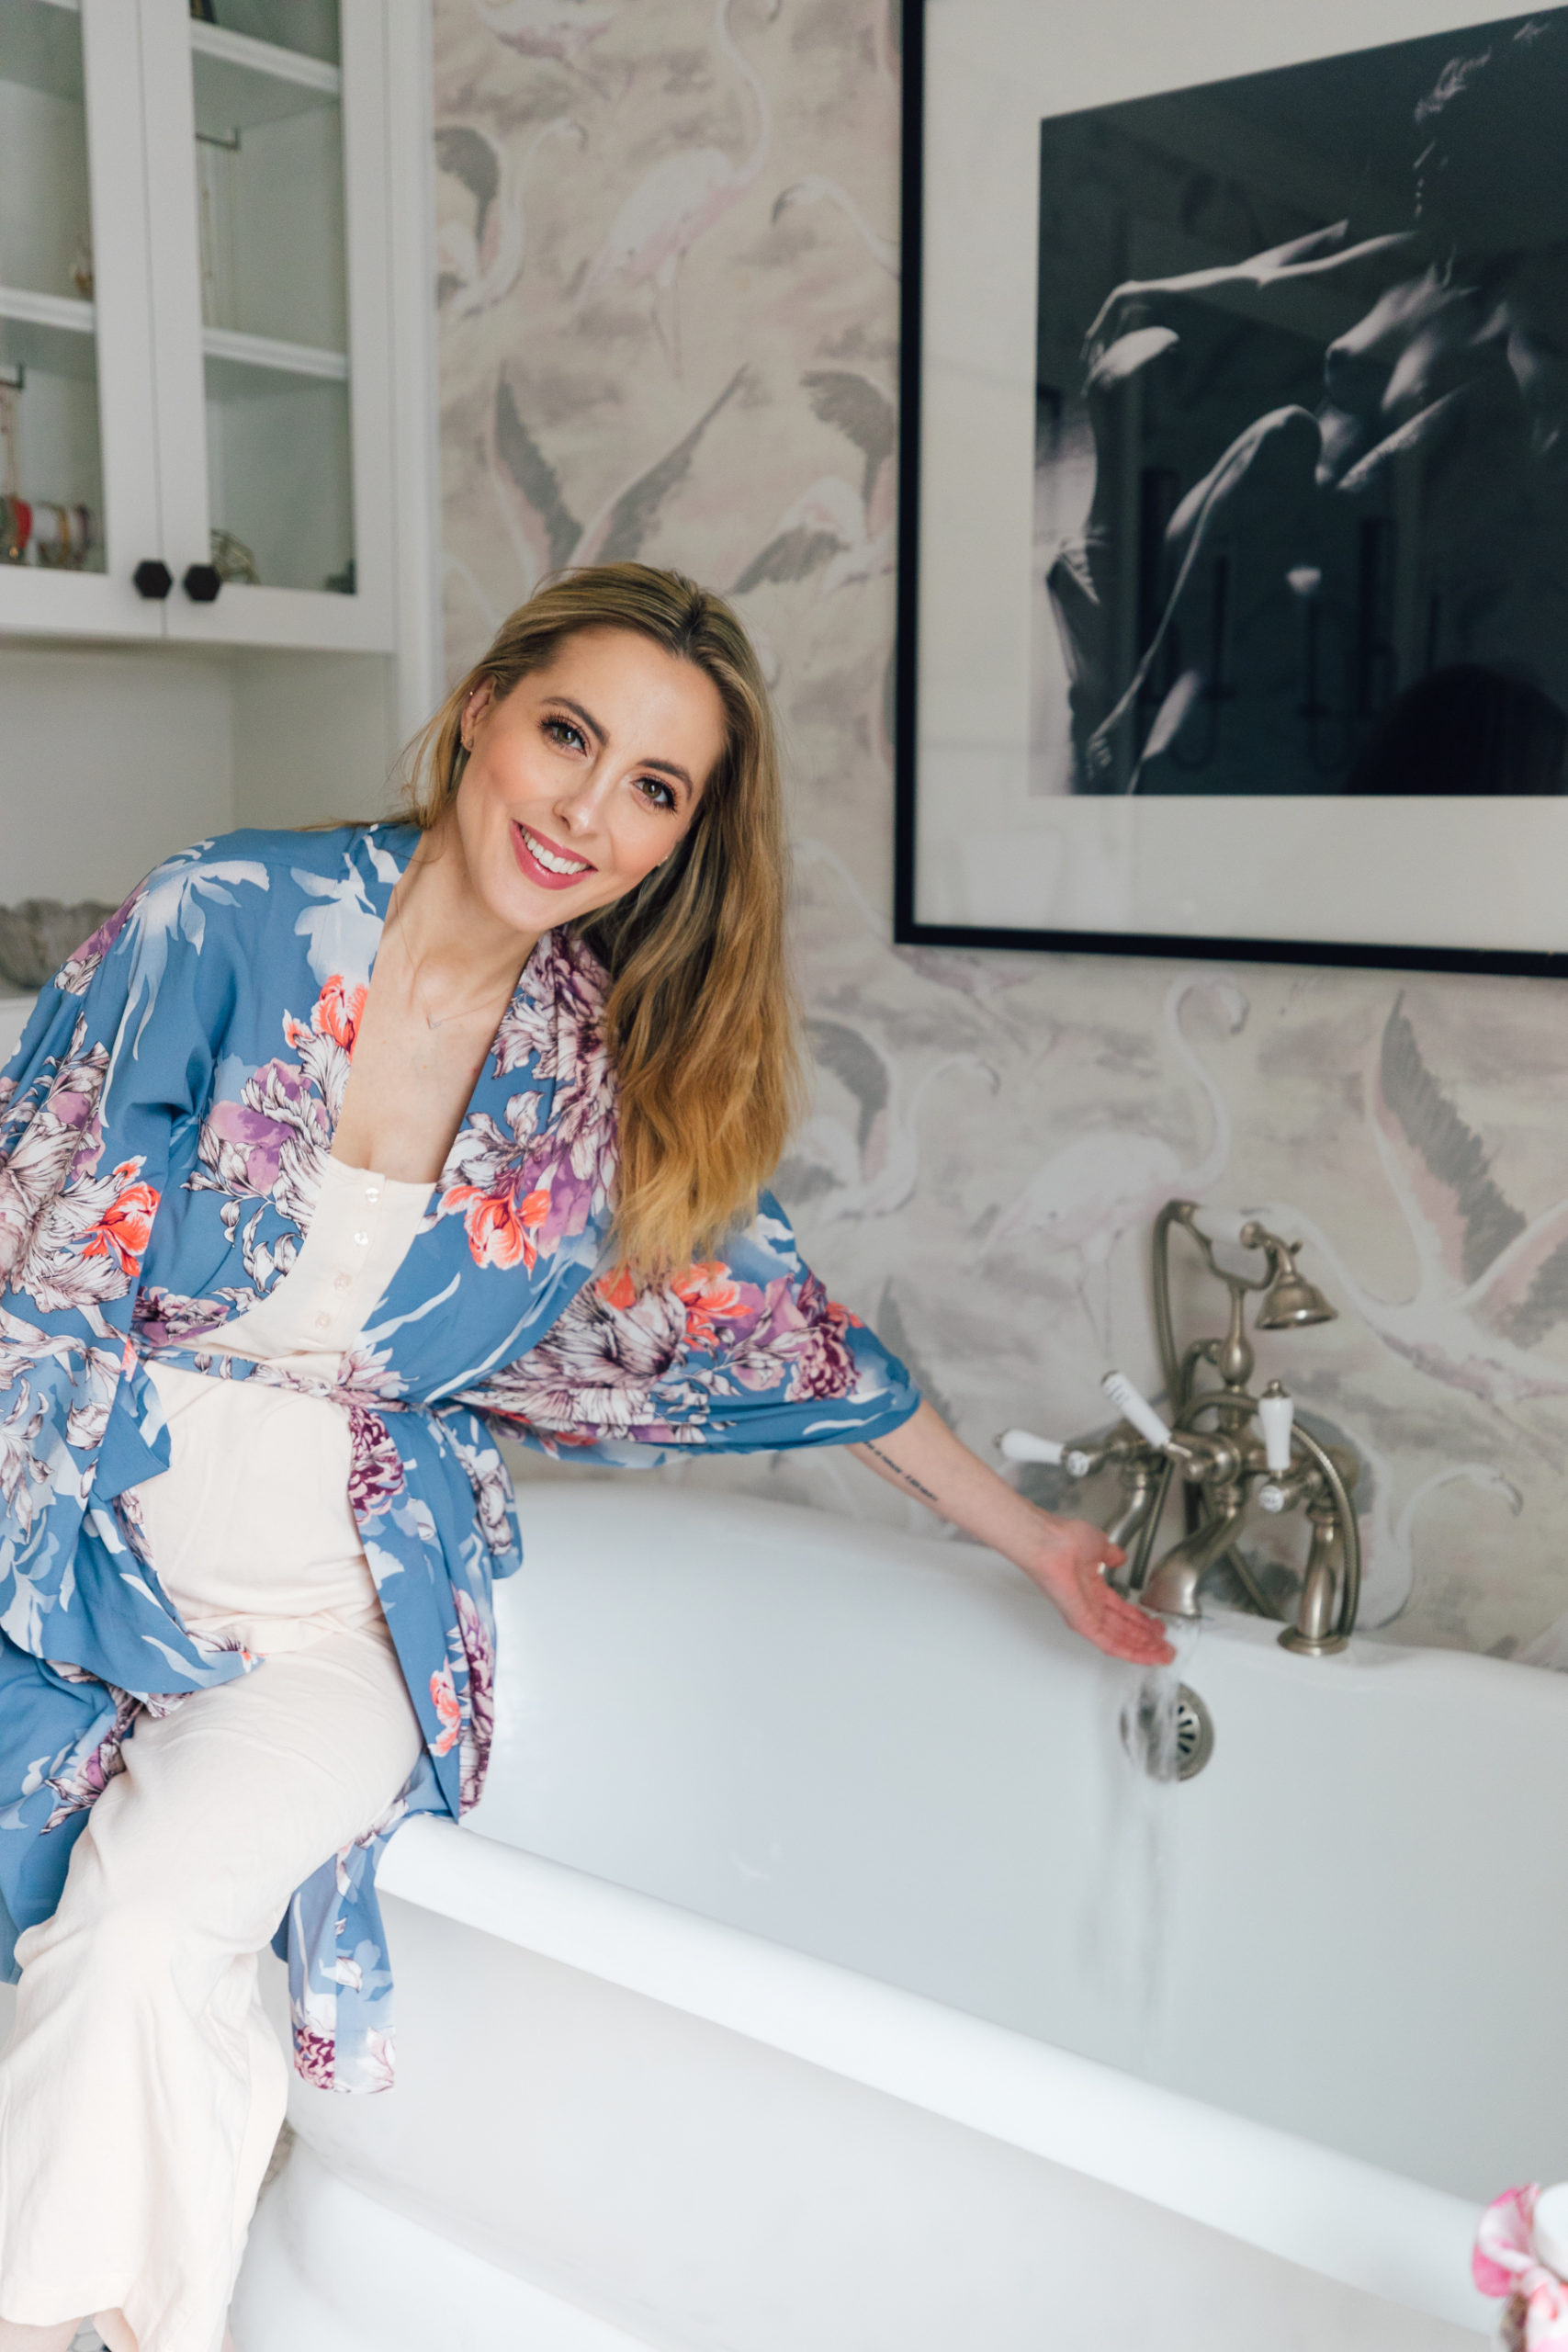
Step 2: Shower or Bath
Now that you’ve brushed your entire body, it’s time to hop in a nice hot shower or bath!
Step 3: Apply a Body Oil
Once you’ve come out of the shower or bath, now is time to apply some body oil to lock in how soft your skin feels!
Cellutox Active Body Oil
Elemis
Another must-have from Elemis! It contains ingredients that can help reduce the appearance of cellulite. Use code SPRINGEVENT at checkout for 25% off!
Avène Skin Care Oil
Avène
This dry oil absorbs almost immediately into the skin, and doesn’t leave an oily residue.