The following content may contain affiliate links. When you click and shop the links, we receive a commission.
You all know how much I love semi-home-made gifts this time of year, and this year I was trying to find a fun and festive way to present gift cards! Gift cards are such a great teacher gift for kiddos, as the last thing they need is one more mug…and I like to give them something they’ll actually find useful to show my appreciation! That said, a gift card on its own can seem a bit impersonal. Not to mention the fact that Holiday time is all about being festive (and dare I say it) EXTRA!
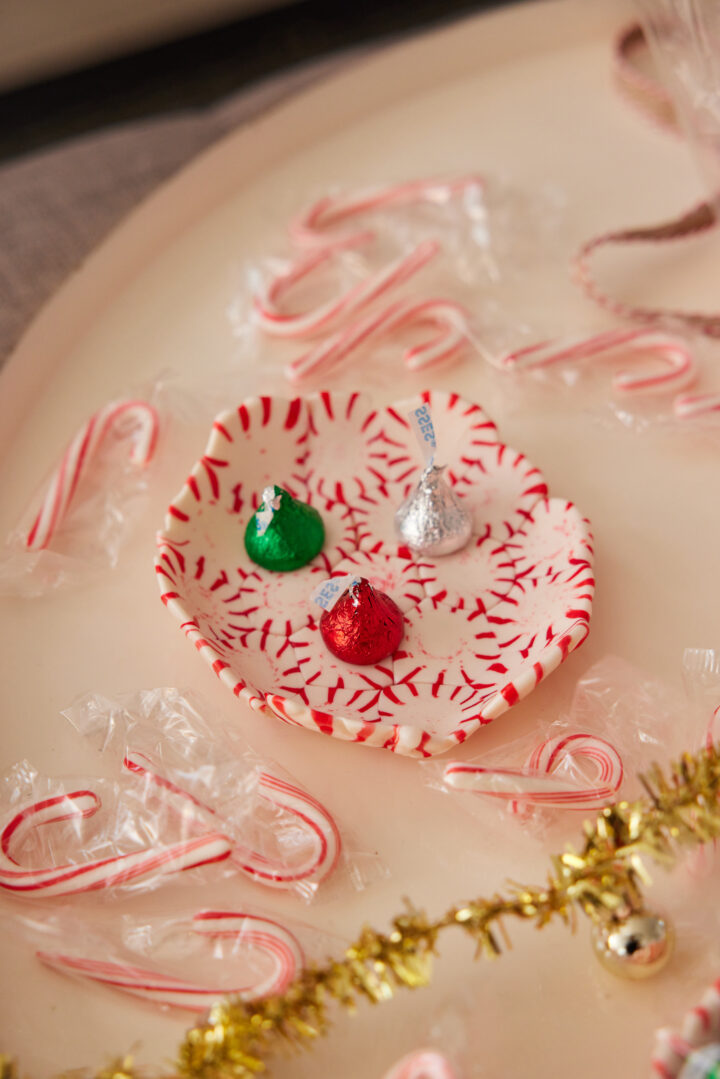
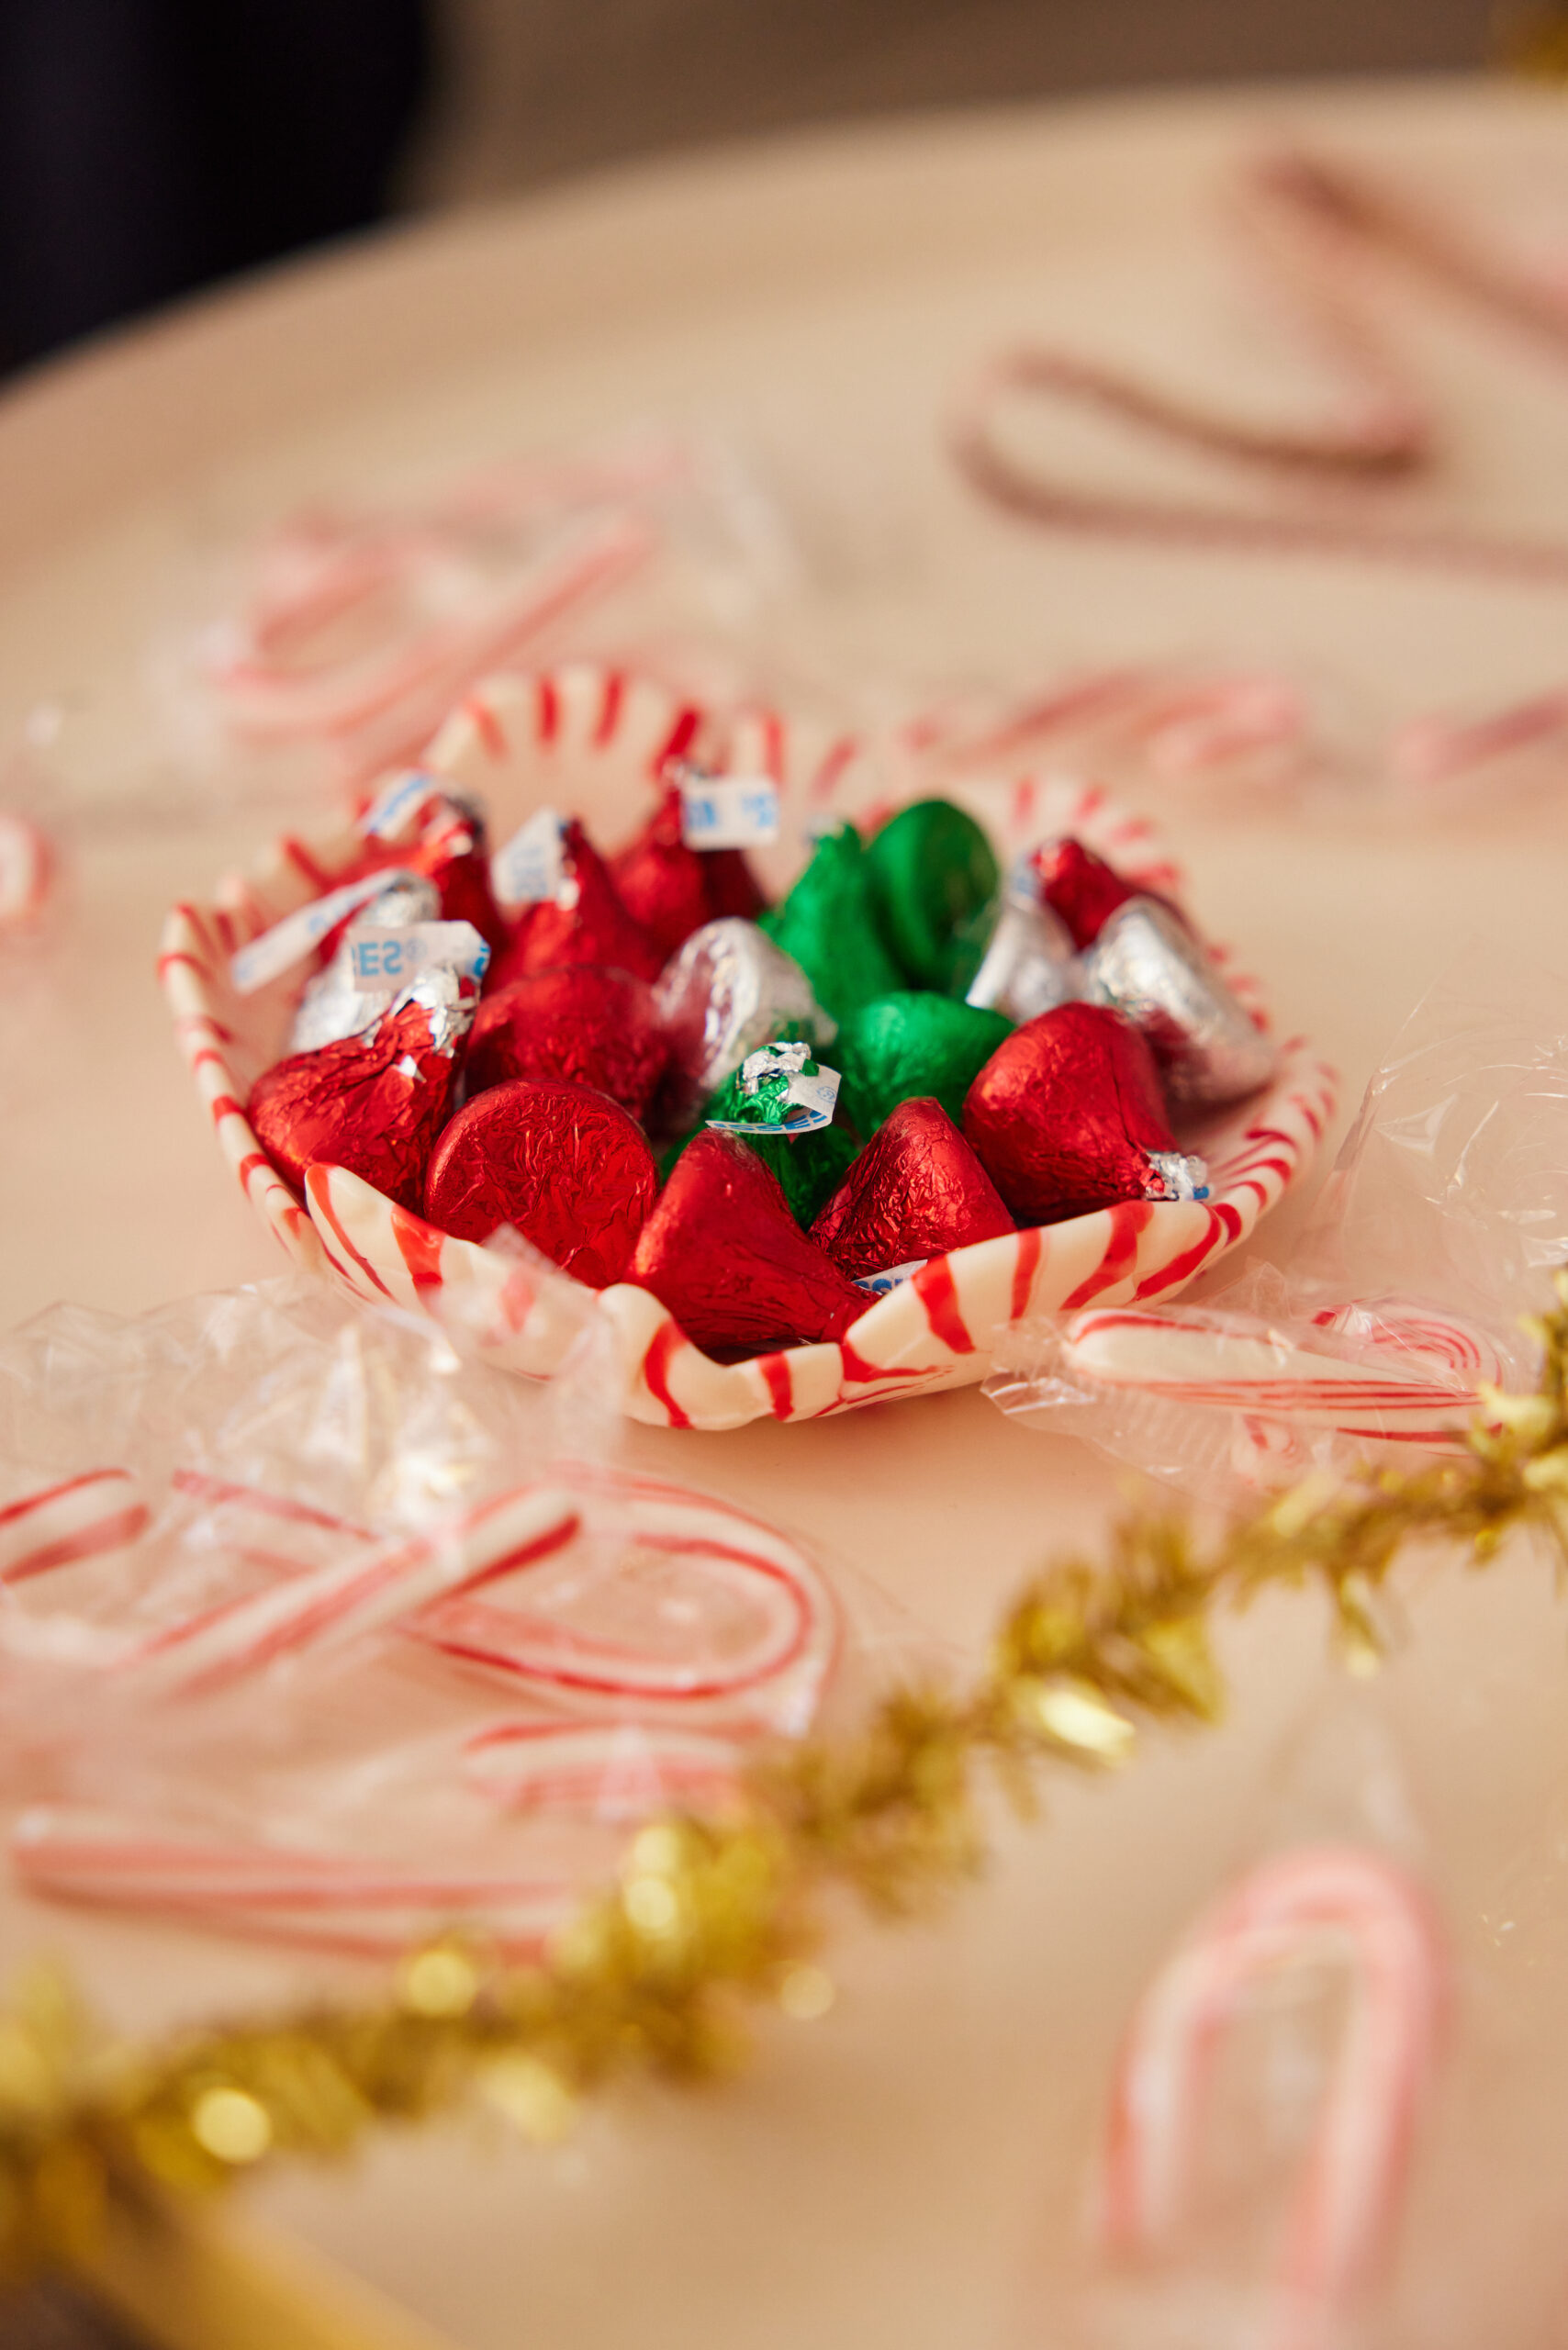
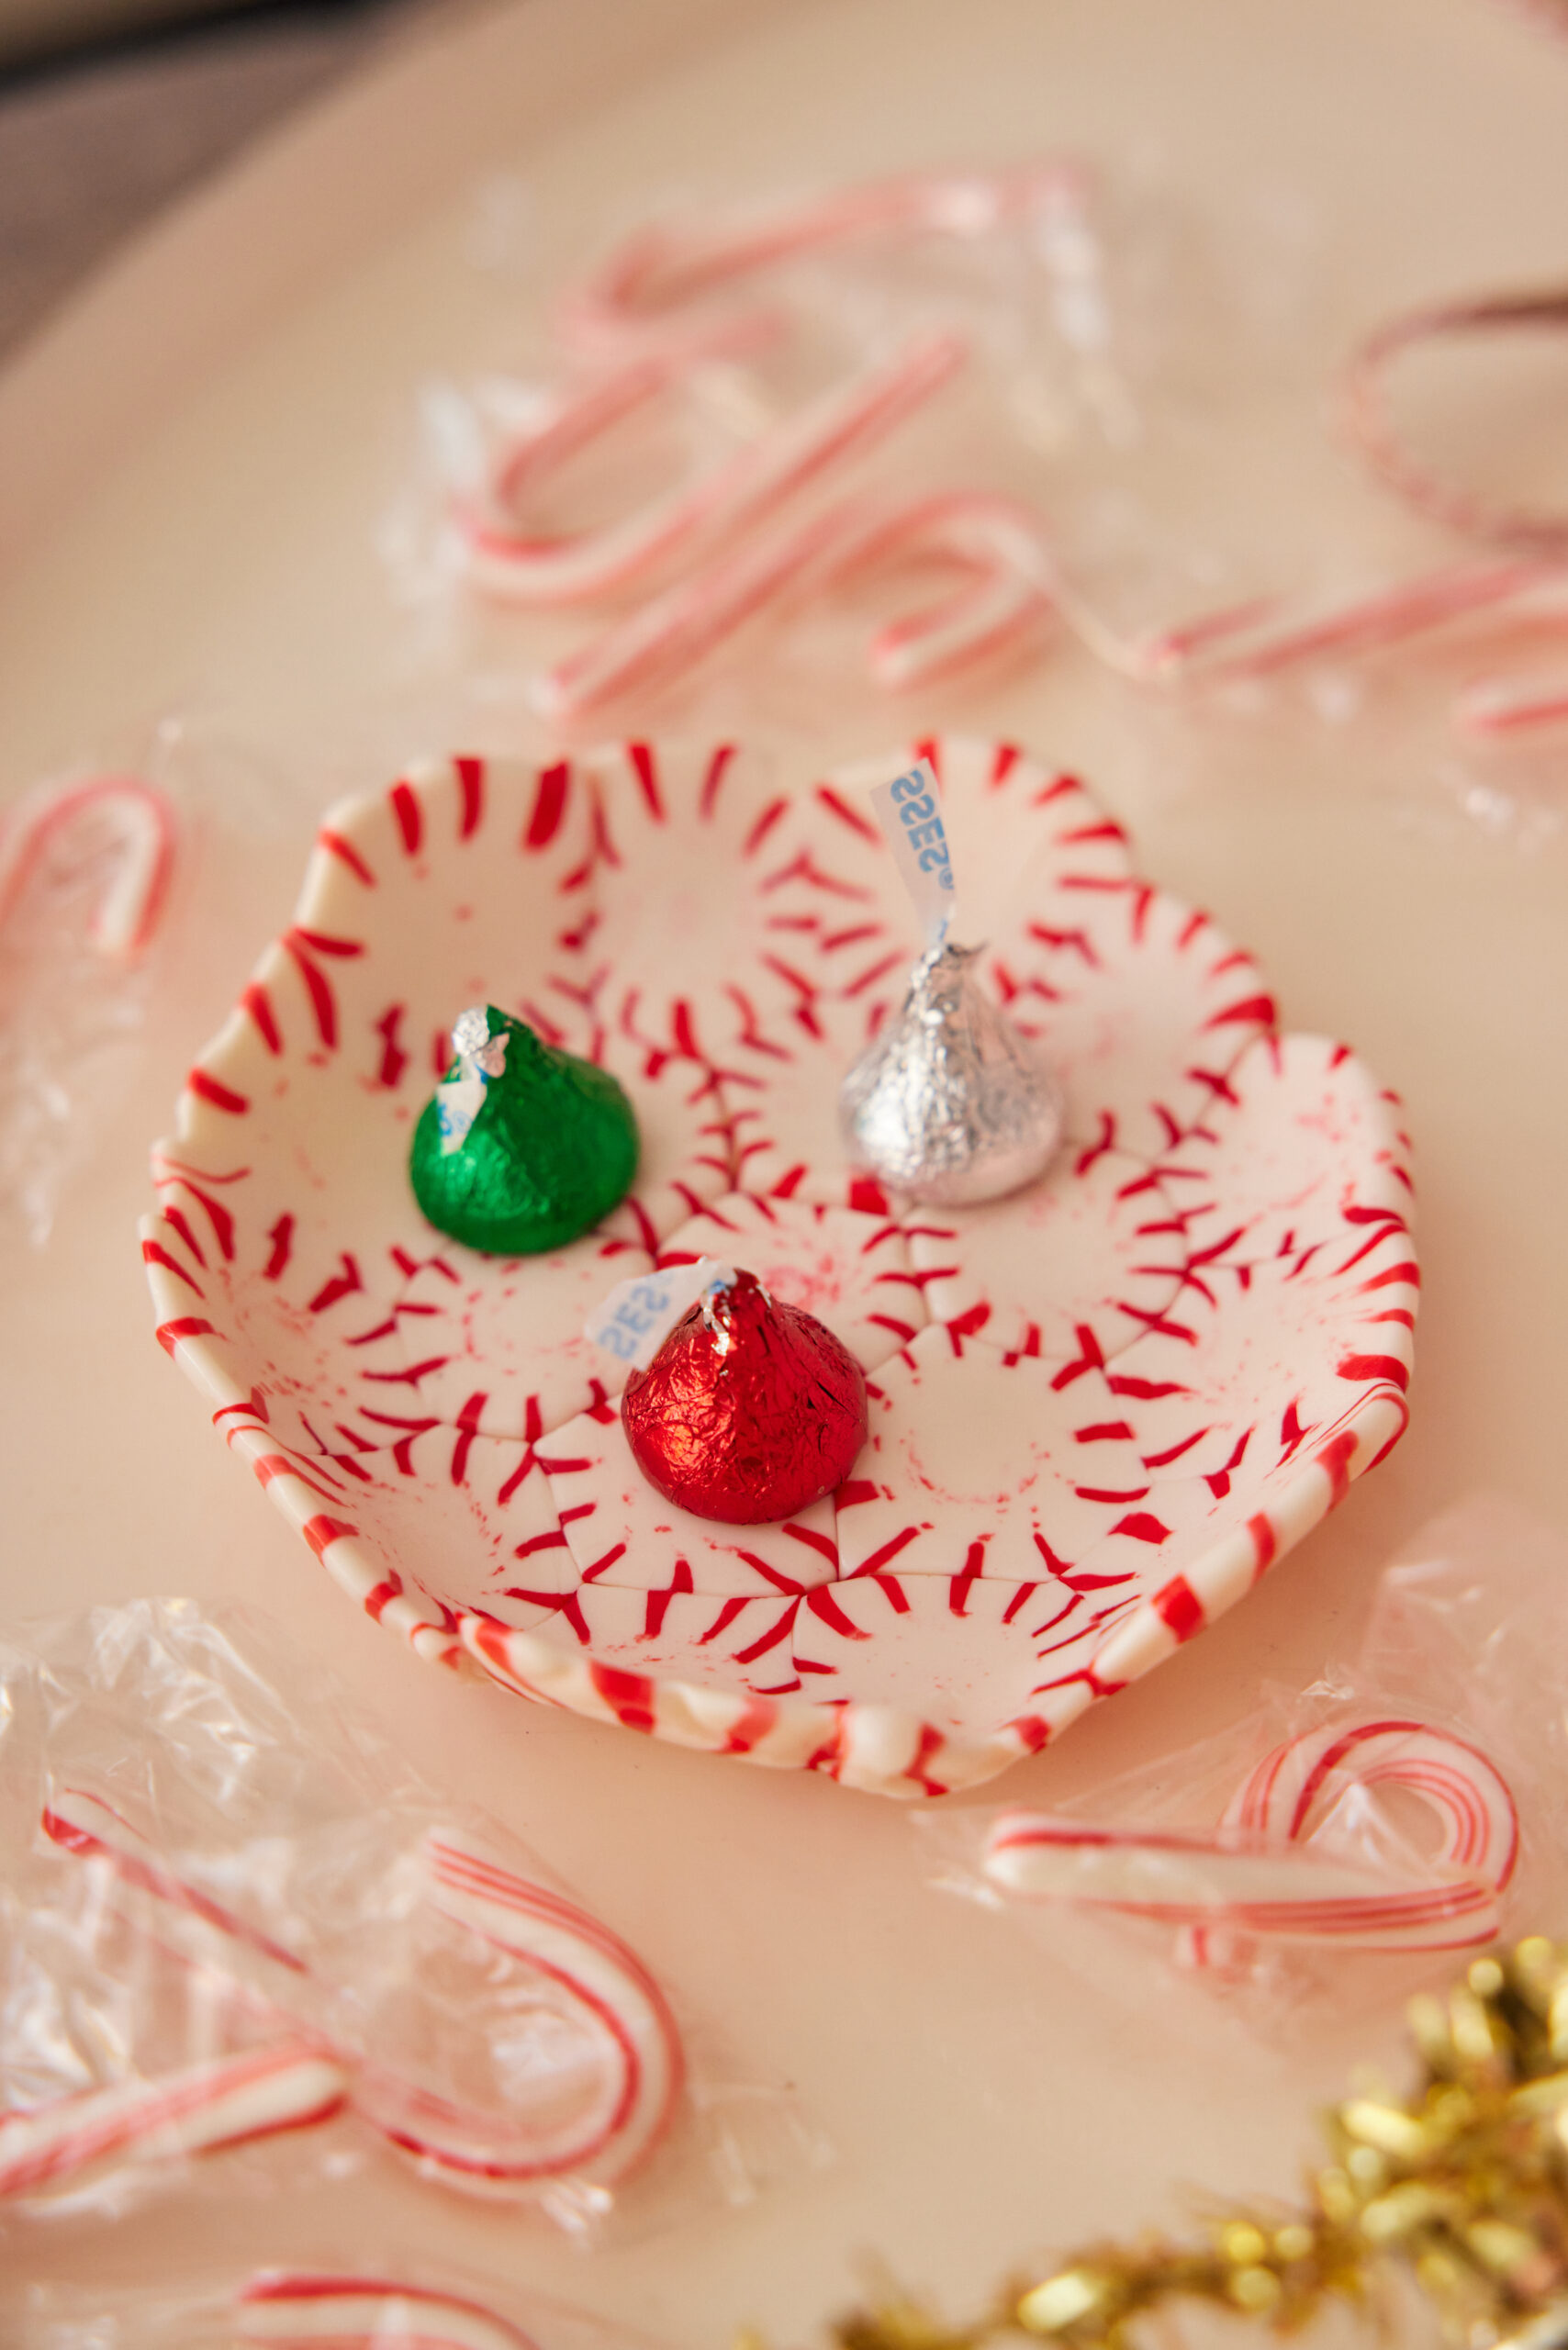
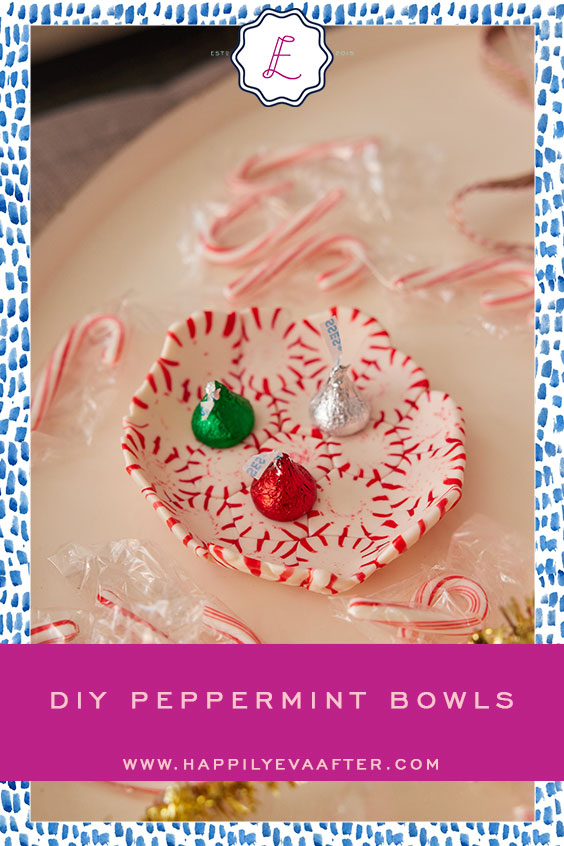
I had heard before that classic peppermints can be melted down and molded into shapes…and I thought it would be the perfect thing to try to make a vessel for my gift cards! After a few tries, I was able to mold the peppermints into sweet little candy dishes that look and taste delicious. They’re the perfect vessel to fill with candies for a cute neighborhood exchange…or with chocolates and a gift card for teachers or coworkers! I hope this fun craft gives you some inspiration for your own holiday gifting.
Let me know in the comments if you end up trying this craft!
in this picture
in this picture
Materials…
in this picture
Step 1:
Preheat Oven and Prep Pan
Preheat the oven to 300 degrees. Line a baking sheet with parchment paper and set aside.
Step 2:
Place peppermints on baking sheet
Place 19 peppermints on the parchment paper, creating a hexagon shape.
Step 3:
Place in the oven
Place in the oven. Now, this is important because all ovens cook differently. Mine took about 8 minutes. You MUST watch them cook. When they start to get shiny and just begin to spread out and melt – they are done! You do not want them so melted that they are bubbling.
Step 4:
Remove from oven and mold
Have a small glass bowl upside down and ready to go when you remove it from the oven – you are going to use this to mold the candy bowl. Once you remove from the oven, let them sit for about 30 seconds – you want them cool enough to handle, but not too cool that they are set. Carefully (very carefully – you may want to use oven mitts because the mints are going to be super hot) flip the parchment paper with the mints in place, on top of the upside-down glass bowl. Try to place the center mint as close to the center of the glass bowl as possible. Now use your hand (with oven mitts on) to form the mints to the bowl. You will have under a minute before the mints start to harden again. Let it sit on the bowl until it sets.
Step 5:
Remove and Fill
Once the mints have set, remove them from the glass bowl. Fill it with Hershey Kisses or your preferred candy choice.
Step 6:
Finishing Touches
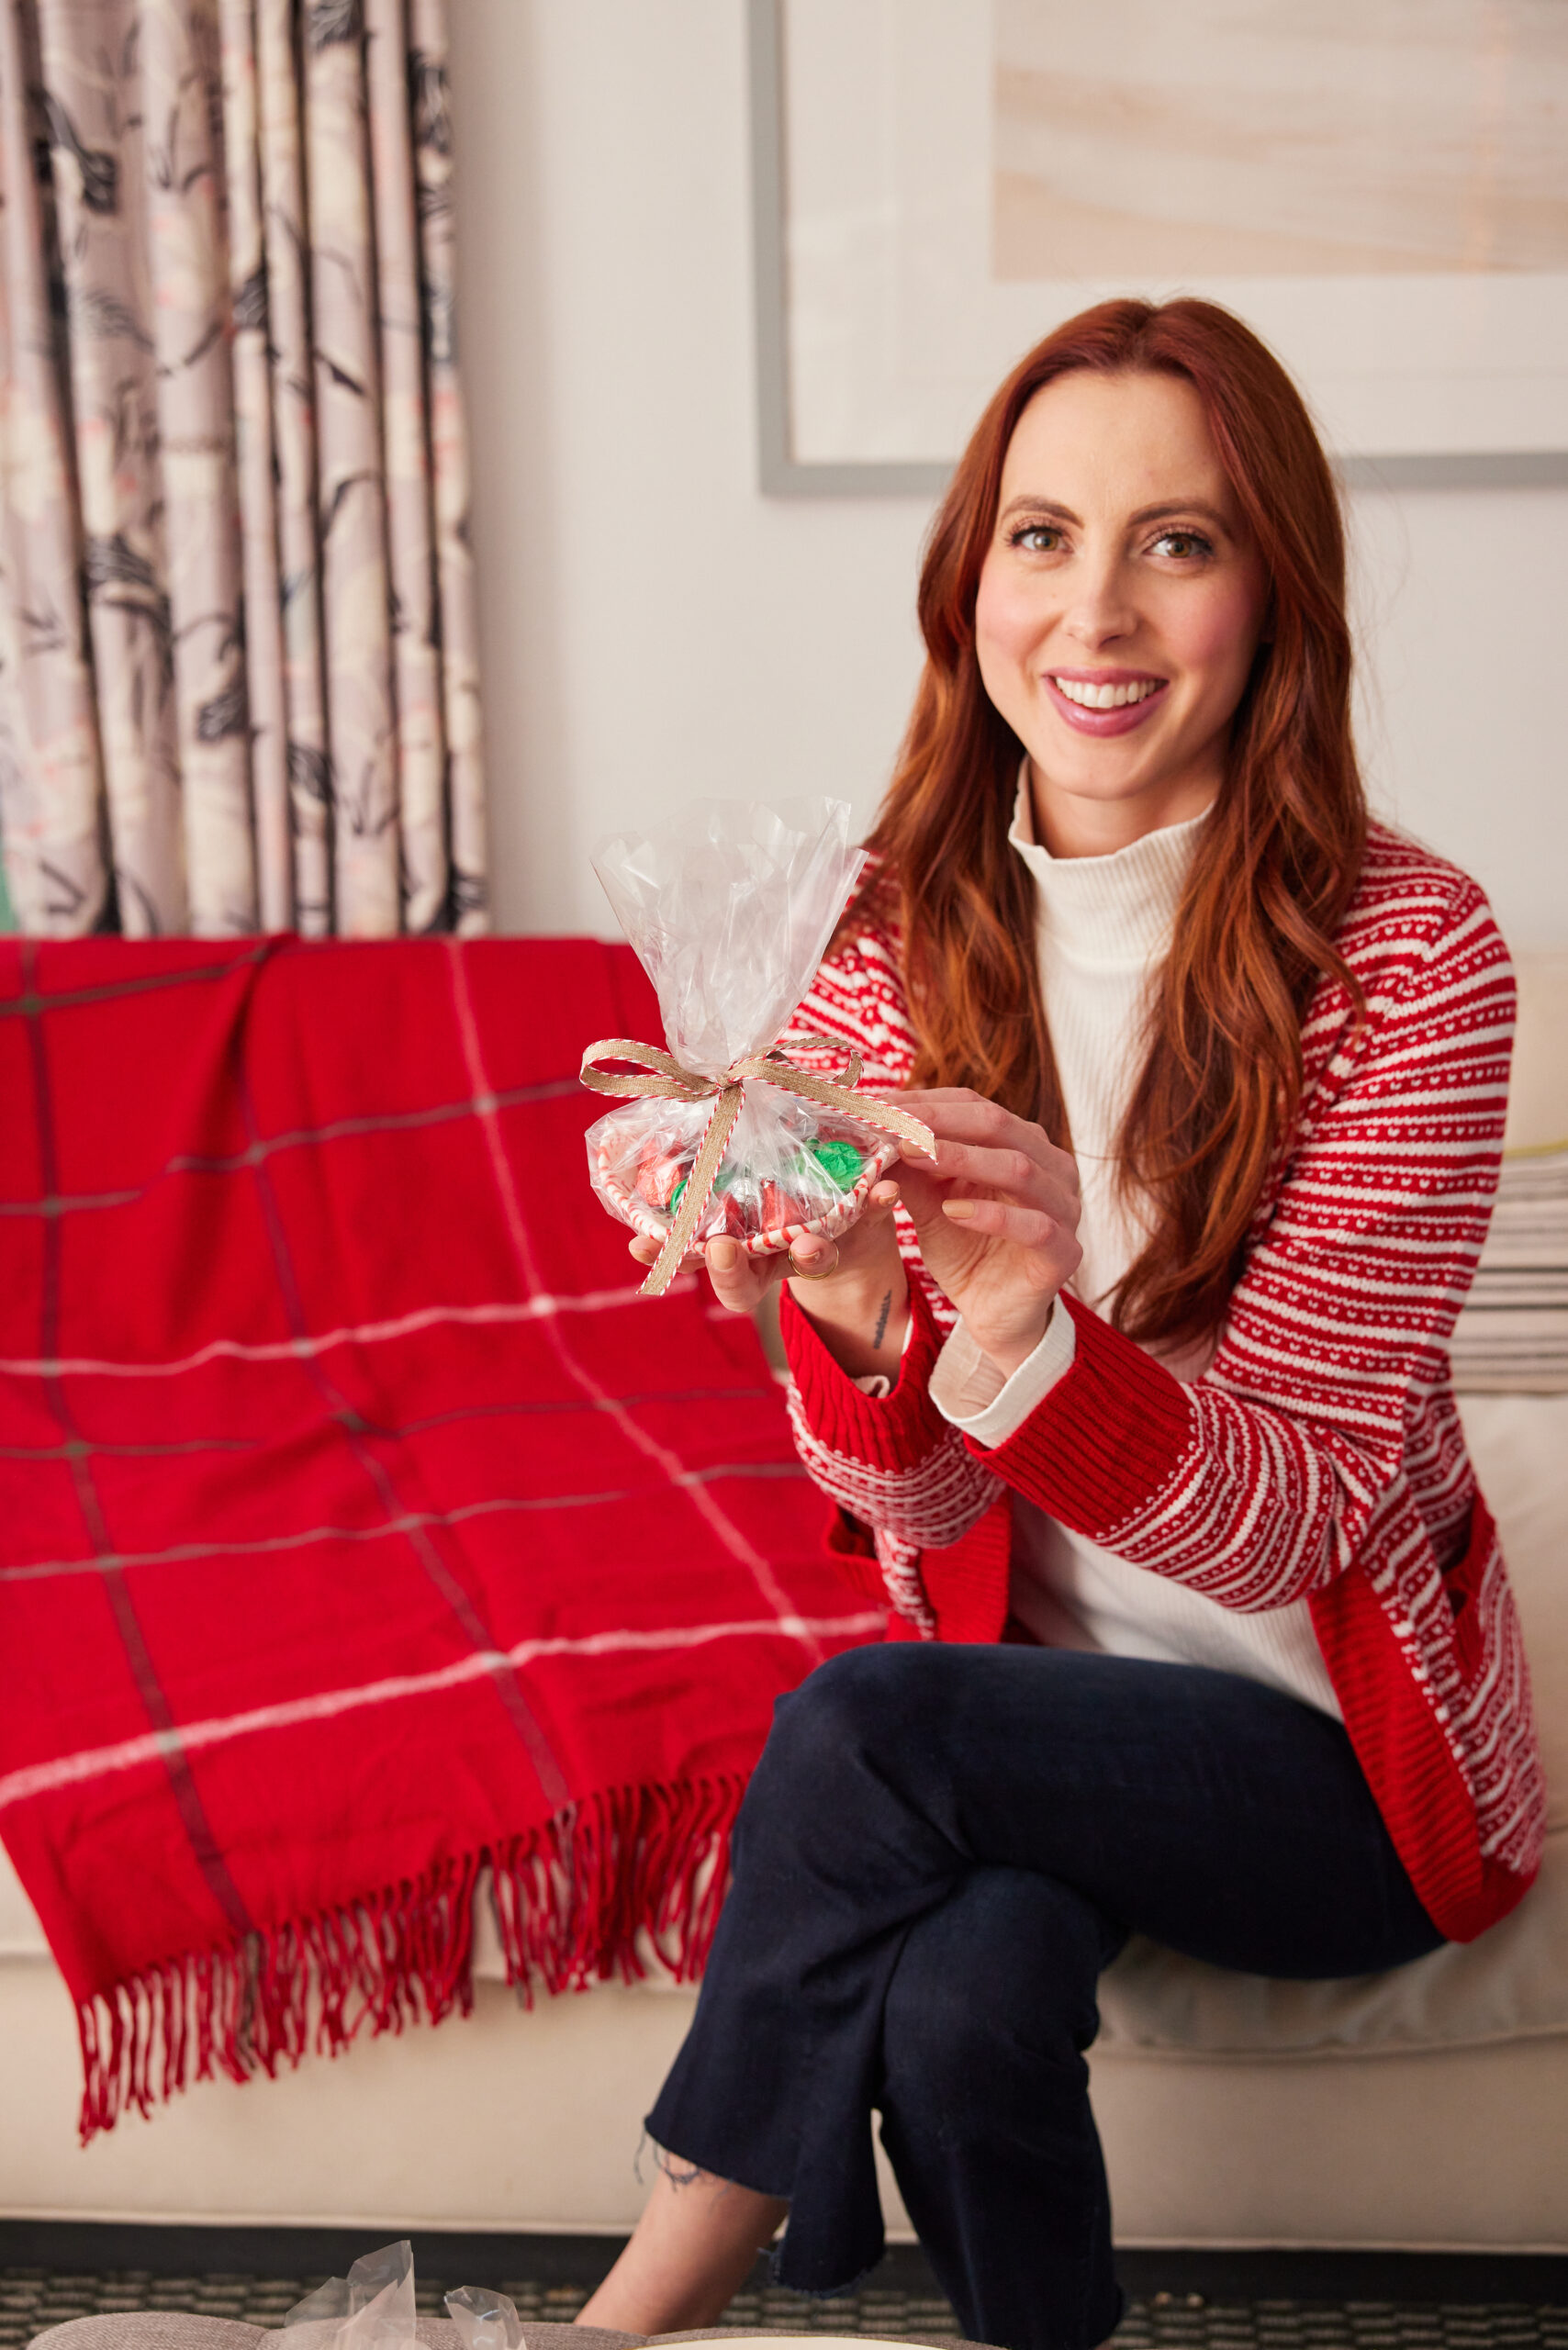
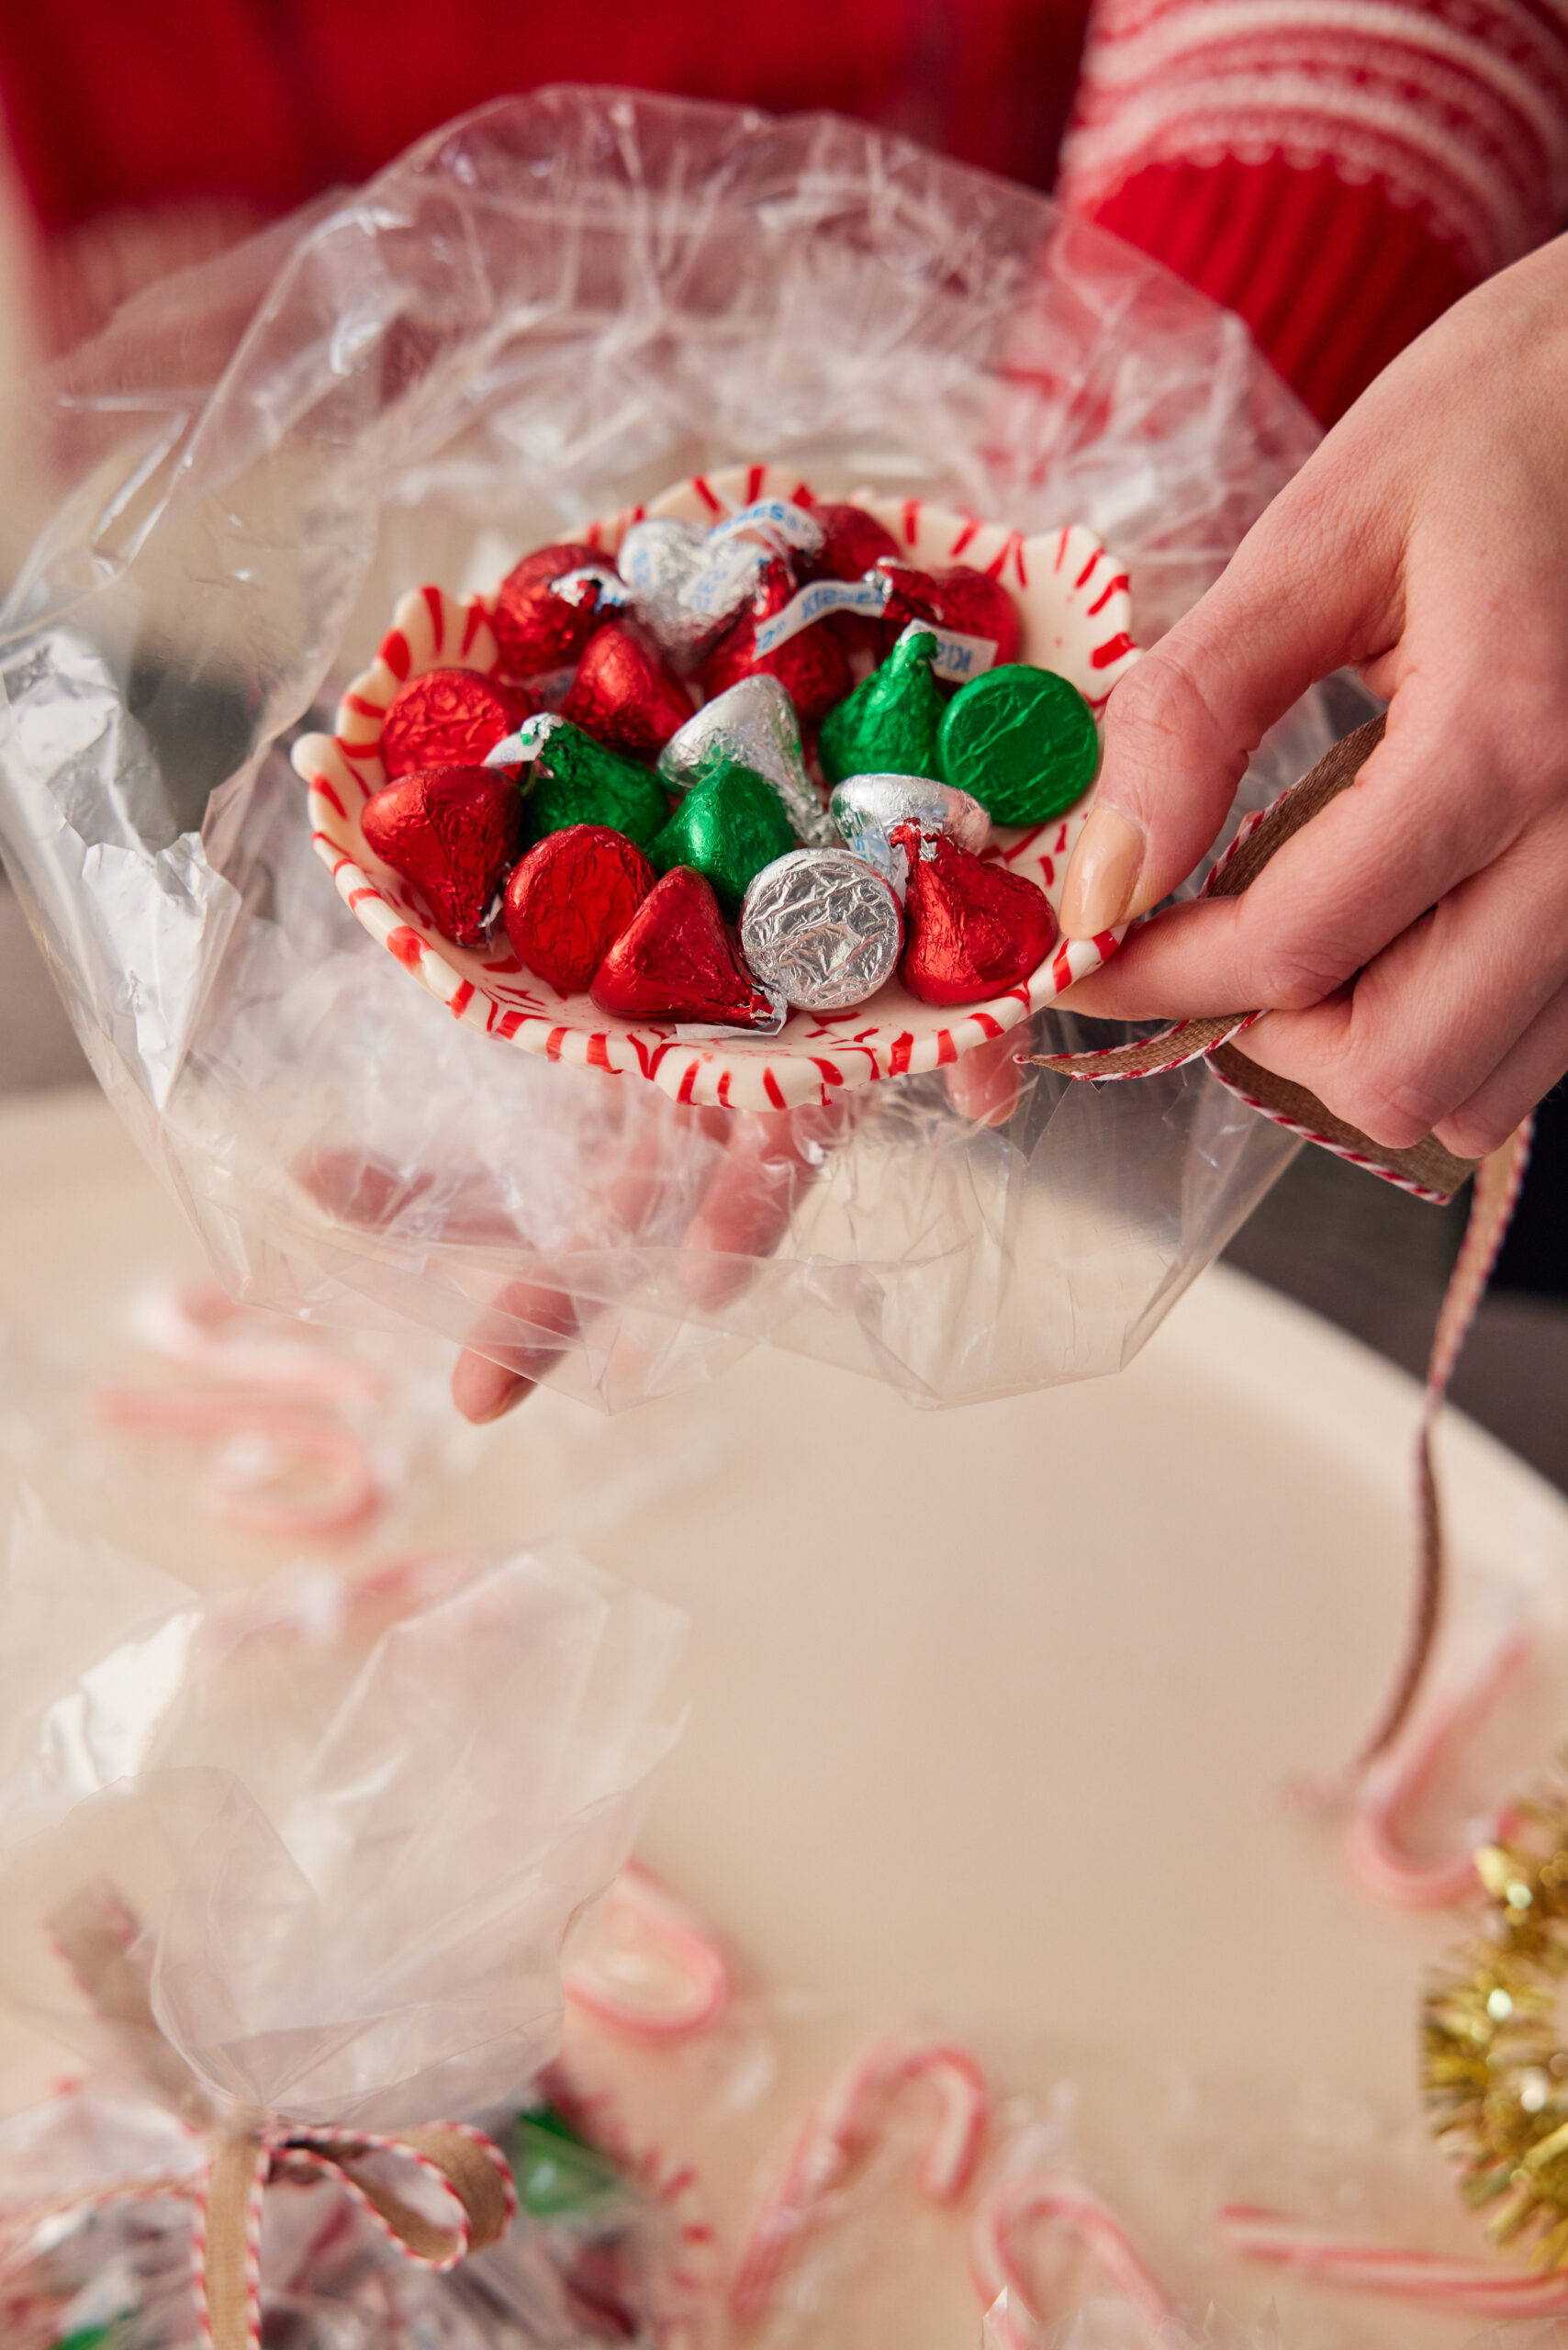
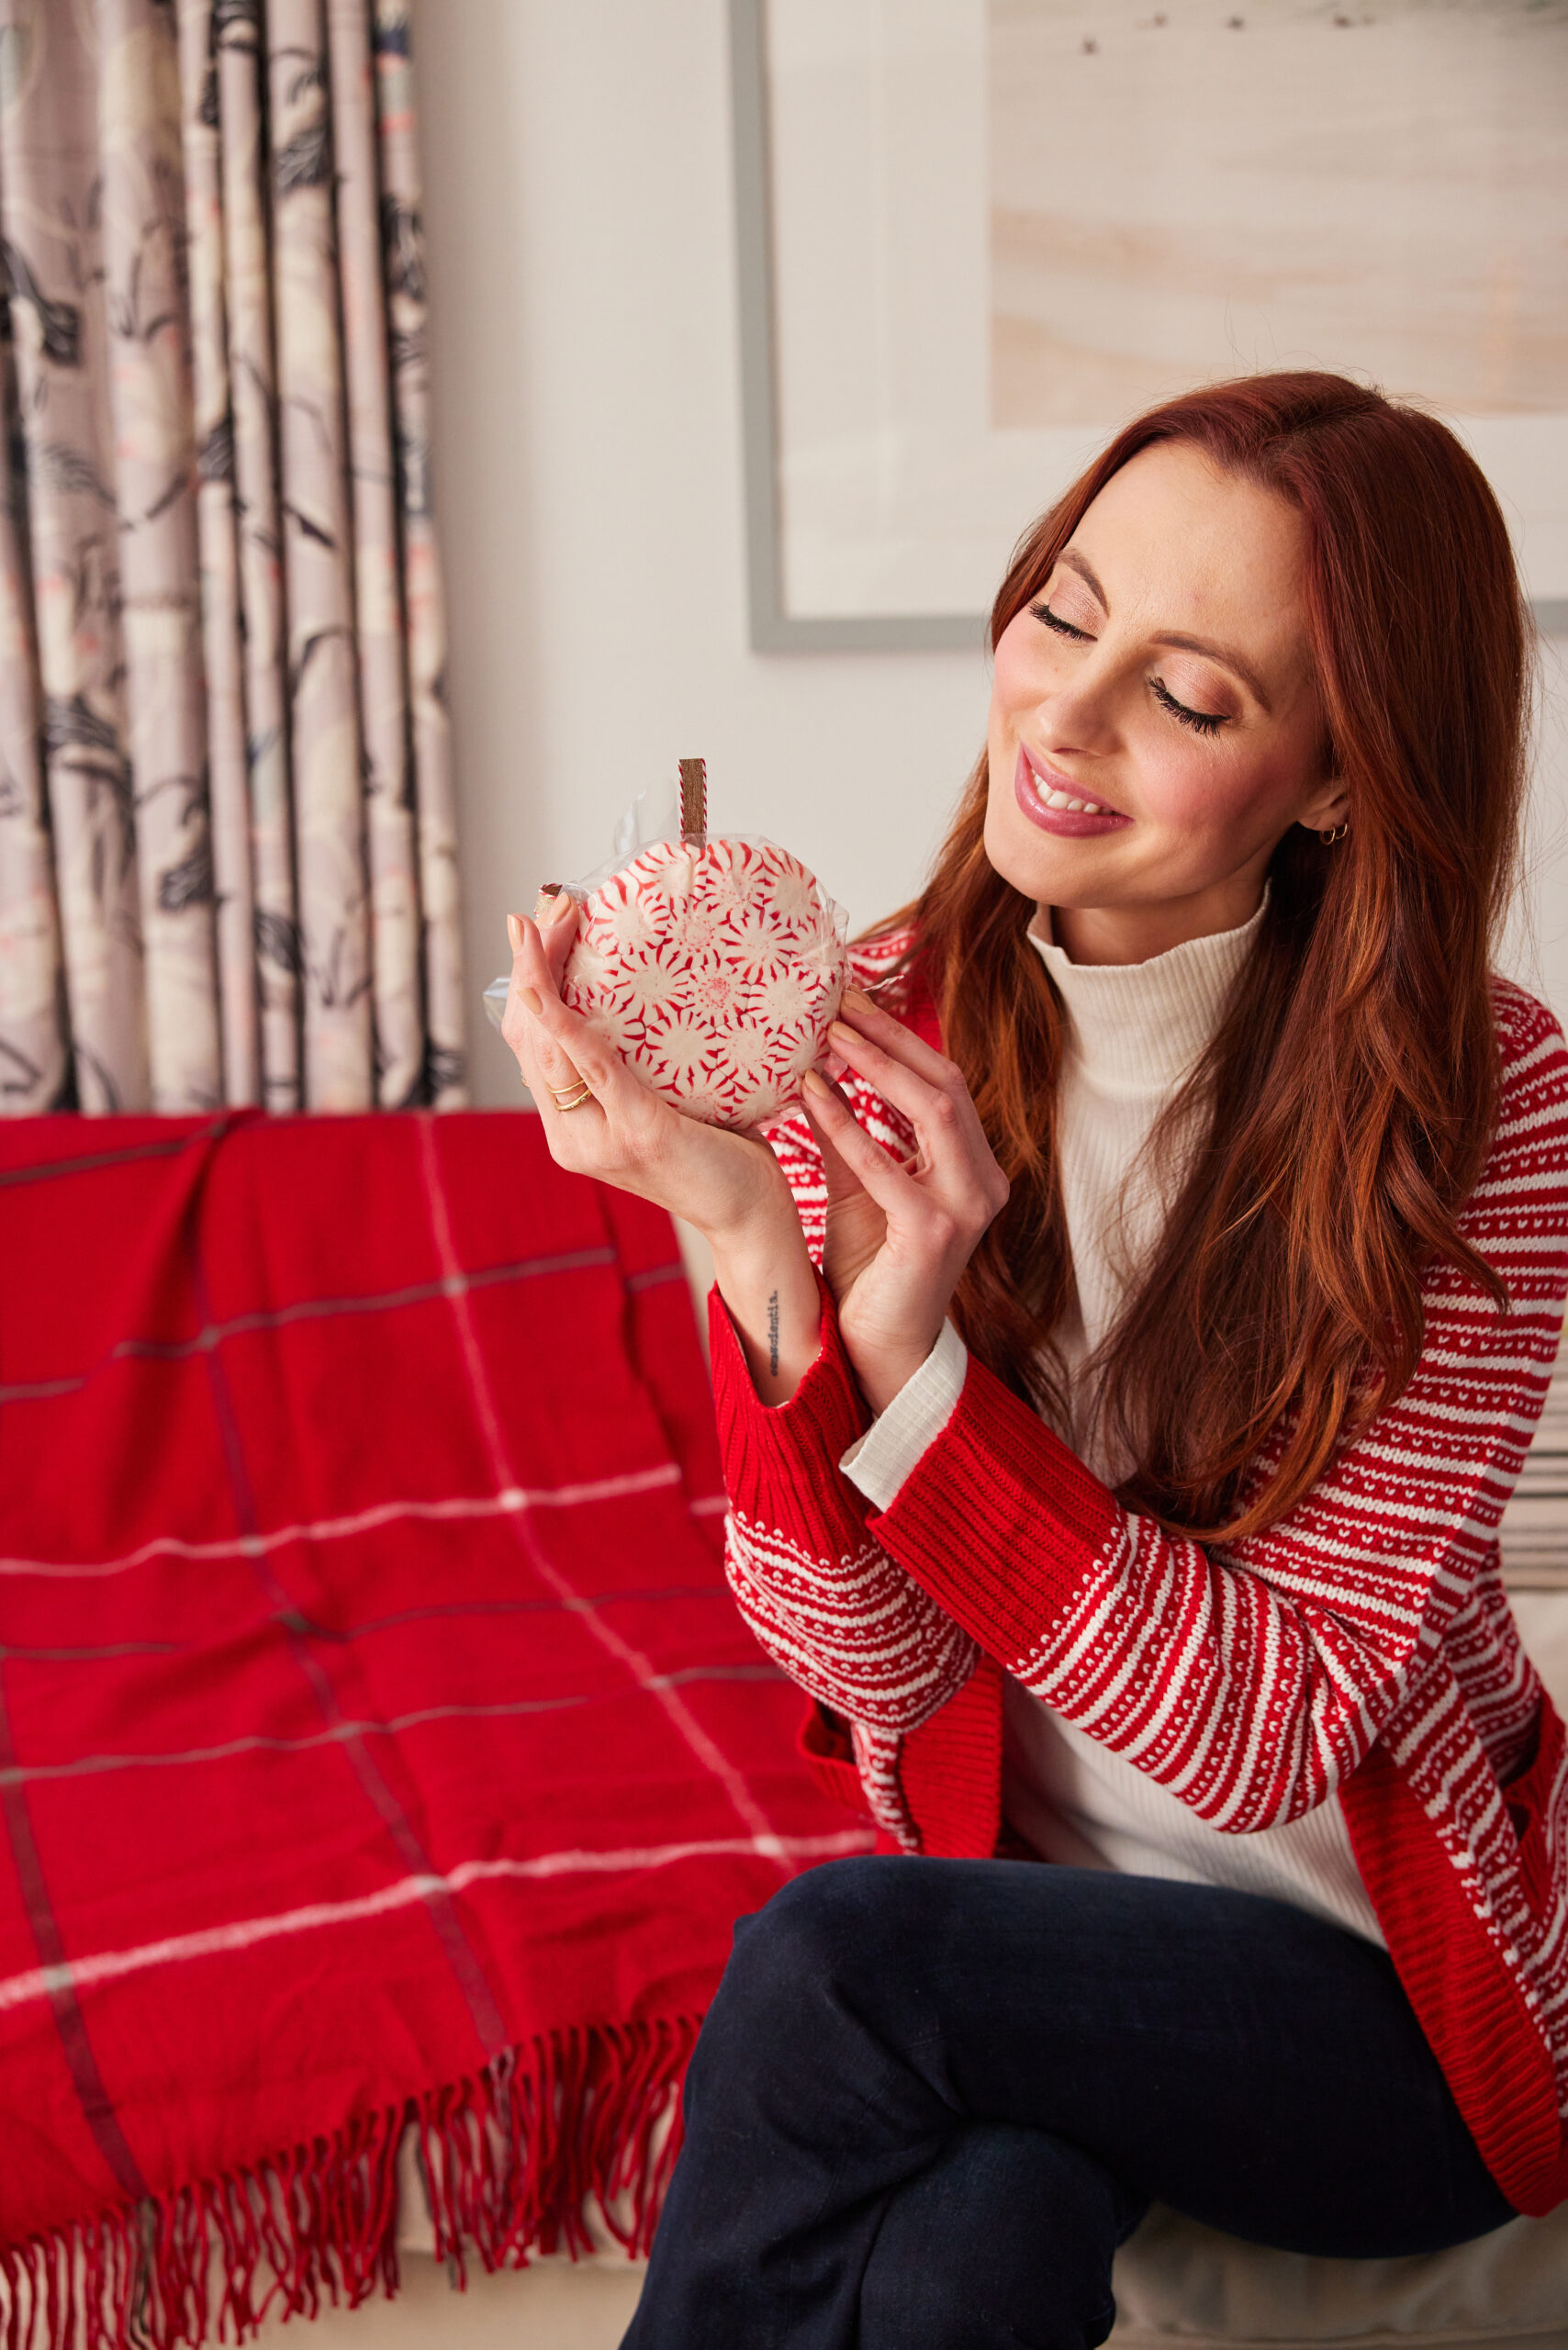
Place the bowl in a cellophane bag and tie it off with a festive ribbon. Gift this to someone special!
Shop the post…
[show_shopthepost_widget id=”4908696″]
Photographs by Julia Dags | Copyright © 2022 Happily Eva After, Inc. All Rights Reserved.