The following content may contain affiliate links. When you click and shop the links, we receive a commission.

As a born and raised New Yorker, curb appeal was something that I never thought much about. In New York City, a building can look absolutely sketchy and run down on the outside…but take a step inside and it houses seven million dollar loft apartments. I just learned to never judge a book by its cover. Real Estate or otherwise!
Once we moved to the burbs, curb appeal helpers were everywhere. When Kyle and I bought our first house, he wanted to put all this money into landscape lighting and landscaping *in general*, and I was like “Huh? Why?” LOL. Of course, I’m so glad now that we made those changes in our first homes, but of course, spending money on the outside of your house isn’t something that’s a ton of fun. It is slightly better than spending a ton of money on electrical or plumbing, however, which is something I have ALSO done. At least with curb appeal you see it every day when you come and go, versus your money living in the walls and floorboards! In any case, I’m always looking for DIY ways to spruce up the porch or front door of my home, since it’s nice to spend a little less than one would otherwise…and get exactly what you want!
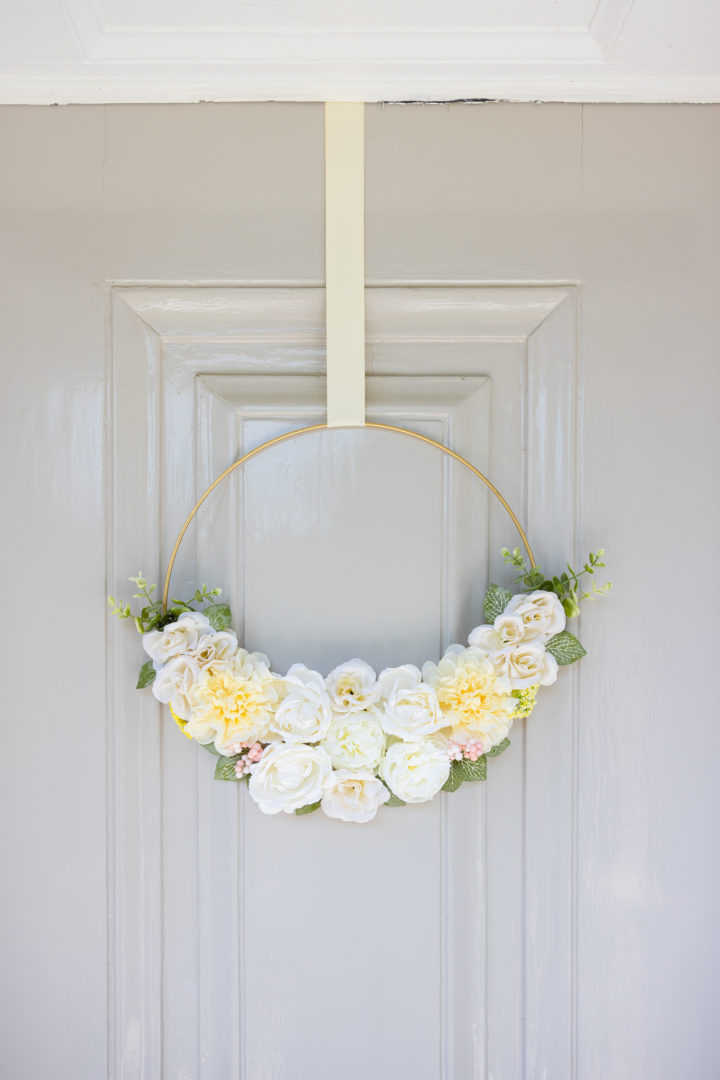
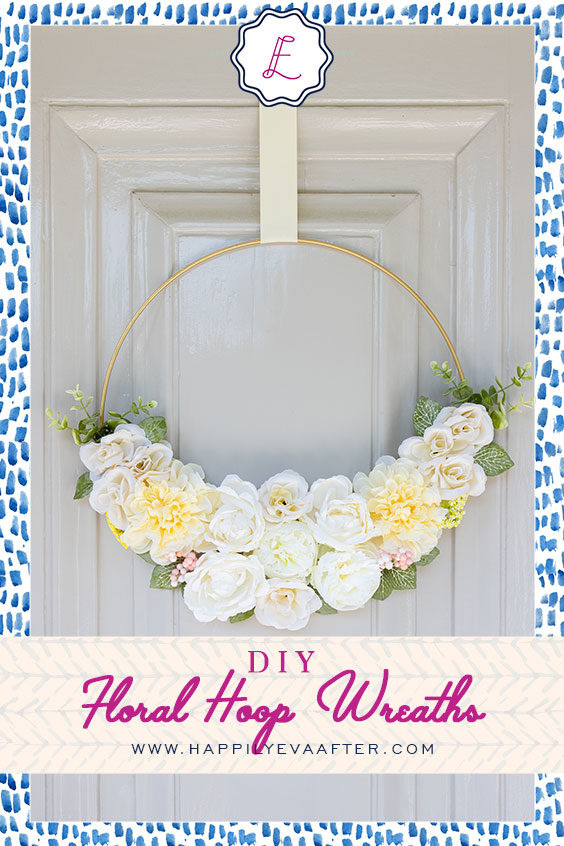
I’ve admired Floral Hoop Wreaths for a while, but never made one. I love the mix between the natural botanicals and the cool modern vibe of the hoop! I finally decided to try one for my front door, with some light flowers for summer, and I absolutely love how it turned out. I chose a brass hoop to match my front door hardware, and a light ribbon to blend well with the flowers. The great part about this wreath is that the flowers are faux, so you can use it year after year! Just make sure you store it in a bag or air-tight container when you’re not using it so that it doesn’t get dusty.
I hope you enjoy this DIY Floral Hoop Wreaths tutorial! If you make one, be sure to tag me on Instagram so I can see them!
Materials…
- Dropcloth or sheet of Cardboard
- Low Temp Glue Gun and Glue Gun Inserts
- Compound Action Pliers
- 16″ Brass Mesh Moon Wreath
- 2 Berry Cluster Picks
- 2 Rose Picks
- 4 Mixed Peony Picks
- 6 Assorted Faux Real Picks
- Scissors
Step 1
Trim
Place the cardboard underneath your Moon Wreath, and trim all the florals from the stems.
Step 2
Arrange
Start visualizing the design of your wreath. Place large flowers first and then layer on smaller blooms, greenery, and berries. There’s no wrong way to do this!
Step 3
Glue
Once you’re happy with your design, hot glue the stems to the wreath, starting from the middle and working your way out. Leave your wreath to dry overnight before hanging!

Similar DIY Projects…
Photographs by Julia Dags | Copyright © 2021 Happily Eva After, Inc. All Rights Reserved.


I LOVE THIS!! I almost bought a pre-made one the other day and it was relatively expensive so I am thankful I saw this post when I couldn’t sleep ? and glad I didn’t order that one! I am going to try this and send a picture to you! I’m not that crafty but I hope to make you proud! ??