The following content may contain affiliate links. When you click and shop the links, we receive a commission.
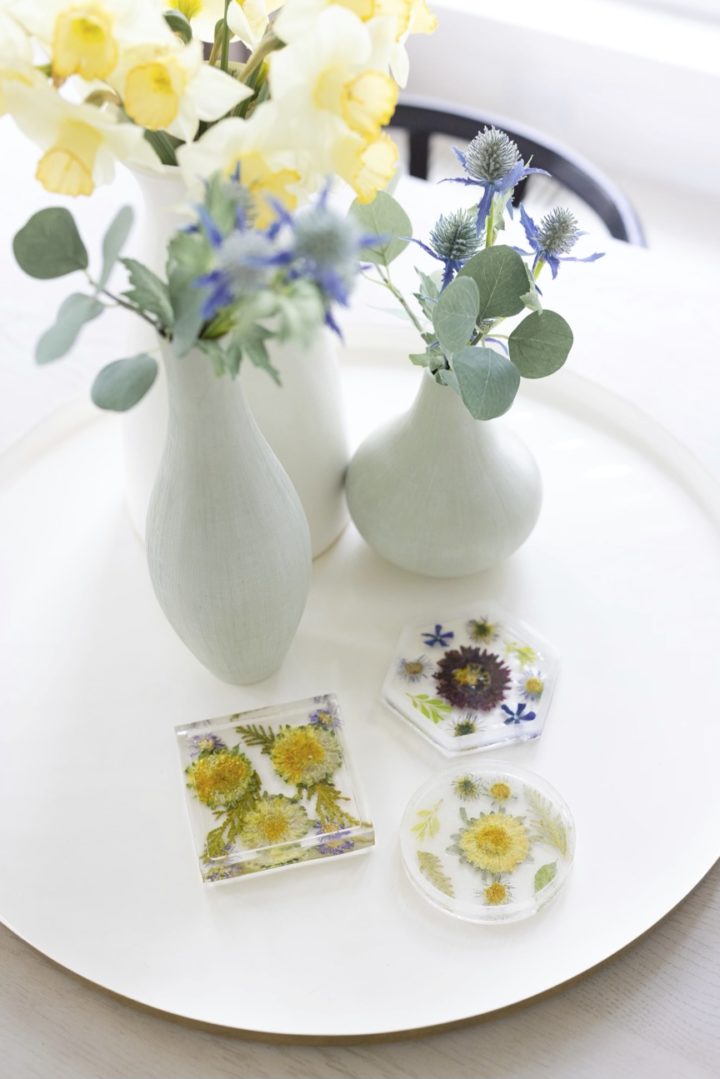
Spring and early summer are my favorite time of the year. I just feel like the beautiful, sunny weather and flowers blooming everywhere give me such a boost of energy and serotonin. I’m happy even on days I’m NOT happy, if that makes sense. I know if you have bad allergies this time of year, you might not completely enjoy the season of blooming flowers and trees, however. Marlowe and Kyle both have awful allergies and I think they enjoy flowers in photographs or on clothing much more than the real deal these days. I get it! I’ve been trying to find a chic and pretty way to bring my love for springtime flowers indoors with me year-round. Botanicals have been a huge interior design trend this past year, and I figured it would be cool to make some pieces myself!
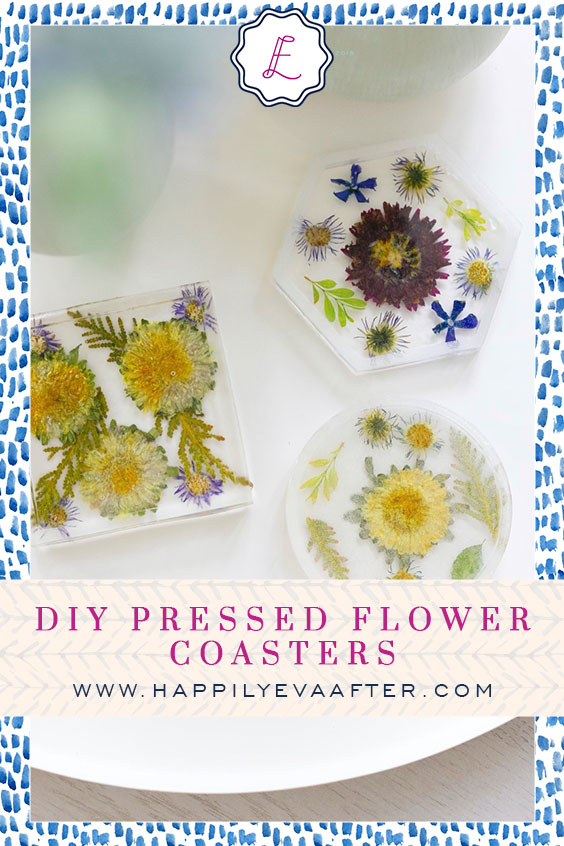
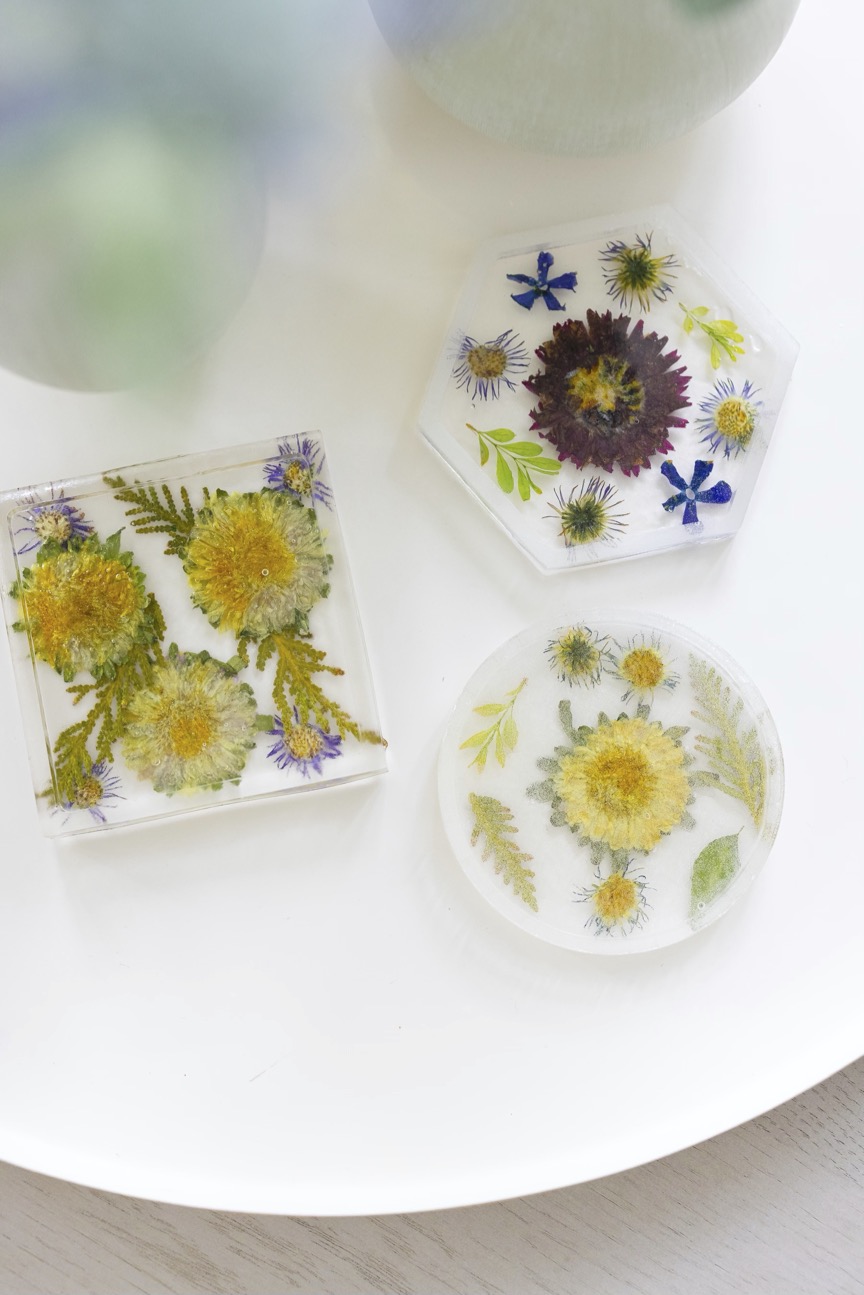
I really love to DIY, because I find it so meditative. Plus, it’s nice to work with my hands on something that’s purely for me and not cleaning up a project that one of the kids has done. I’m so excited today to share one of my favorite DIY’s I’ve had on the blog in a while: these gorgeous DIY Pressed Flower Coasters! These coasters take pressed flowers (I have the easiest method of pressing them outlined below), and use modern-shaped molds to preserve them in resin! I would say that this craft requires an intermediate interest/skillset in crafting (there are multiple steps across a couple of days) but it is so worth it! They turned out incredible and make the most gorgeous addition to my entertaining arsenal! I also think these would make a stunning DIY gift.

I have all of the details outlined below, but I learned a lot while making these so I thought I would share the knowledge with some tips!
- This craft is mostly adult-only, but your kids can help you gather flowers and help press them in the microwave. Everything else: leave to the grown-ups!
- Forage a mix of medium and small blooms, as well as greenery to create gorgeous patterns.
- The full mix, assemblage, and setting time of this craft takes about 3 days (1-2 hours of mixing and assemblage and then a day or two of setting time. Plan accordingly!)
- Follow the directions on the resin closely! It is basically a science experiment and I learned the hard way that sloppy mixing creates resin that doesn’t fully set.
- Mix with the stick for several minutes before pouring the resin. Don’t skimp on mixing time! This will allow the resin to mix adequately and set properly
- Hand wash these coasters ONLY
Materials…
- Clear Casting Resting & Hardener
- Resin Coaster Sicilone Molds
- Wooden Sticks
- A Selection of Fresh Flowers and Leaves
- A Disposable Cup for Resin Mixing
- Scissors
Step 1
Pick Some Flowers
Pick some flowers! You can use pretty much anything from your backyard, but if you’re a city-dweller, just grab a bouquet from the grocery store.
Step 2
Cut & Press Flowers
Taking your flowers, cut the stem as close to the blooms as possible. For leaves, cut off small 2-3” stems. Arrange everything on top of a paper towel with another paper towel over the top, and place everything inside your microwave. You’ll need something to flatten the flowers, so place any microwave-safe casserole dish on top of everything, but don’t push down! (You might tear the flowers!) Microwave on the ‘Defrost’ setting for one minute, and then remove to check. Each flower and leaf will require different microwave times, but you’ll know they’re ready when they’re flat and dry to the touch. If your flowers need more time, place them back in the microwave at 30-second increments until everything is dried. (Most will take anywhere between 1-3 minutes, depending on the flowers you chose and their sizes). Place your flowers aside.
Step 3
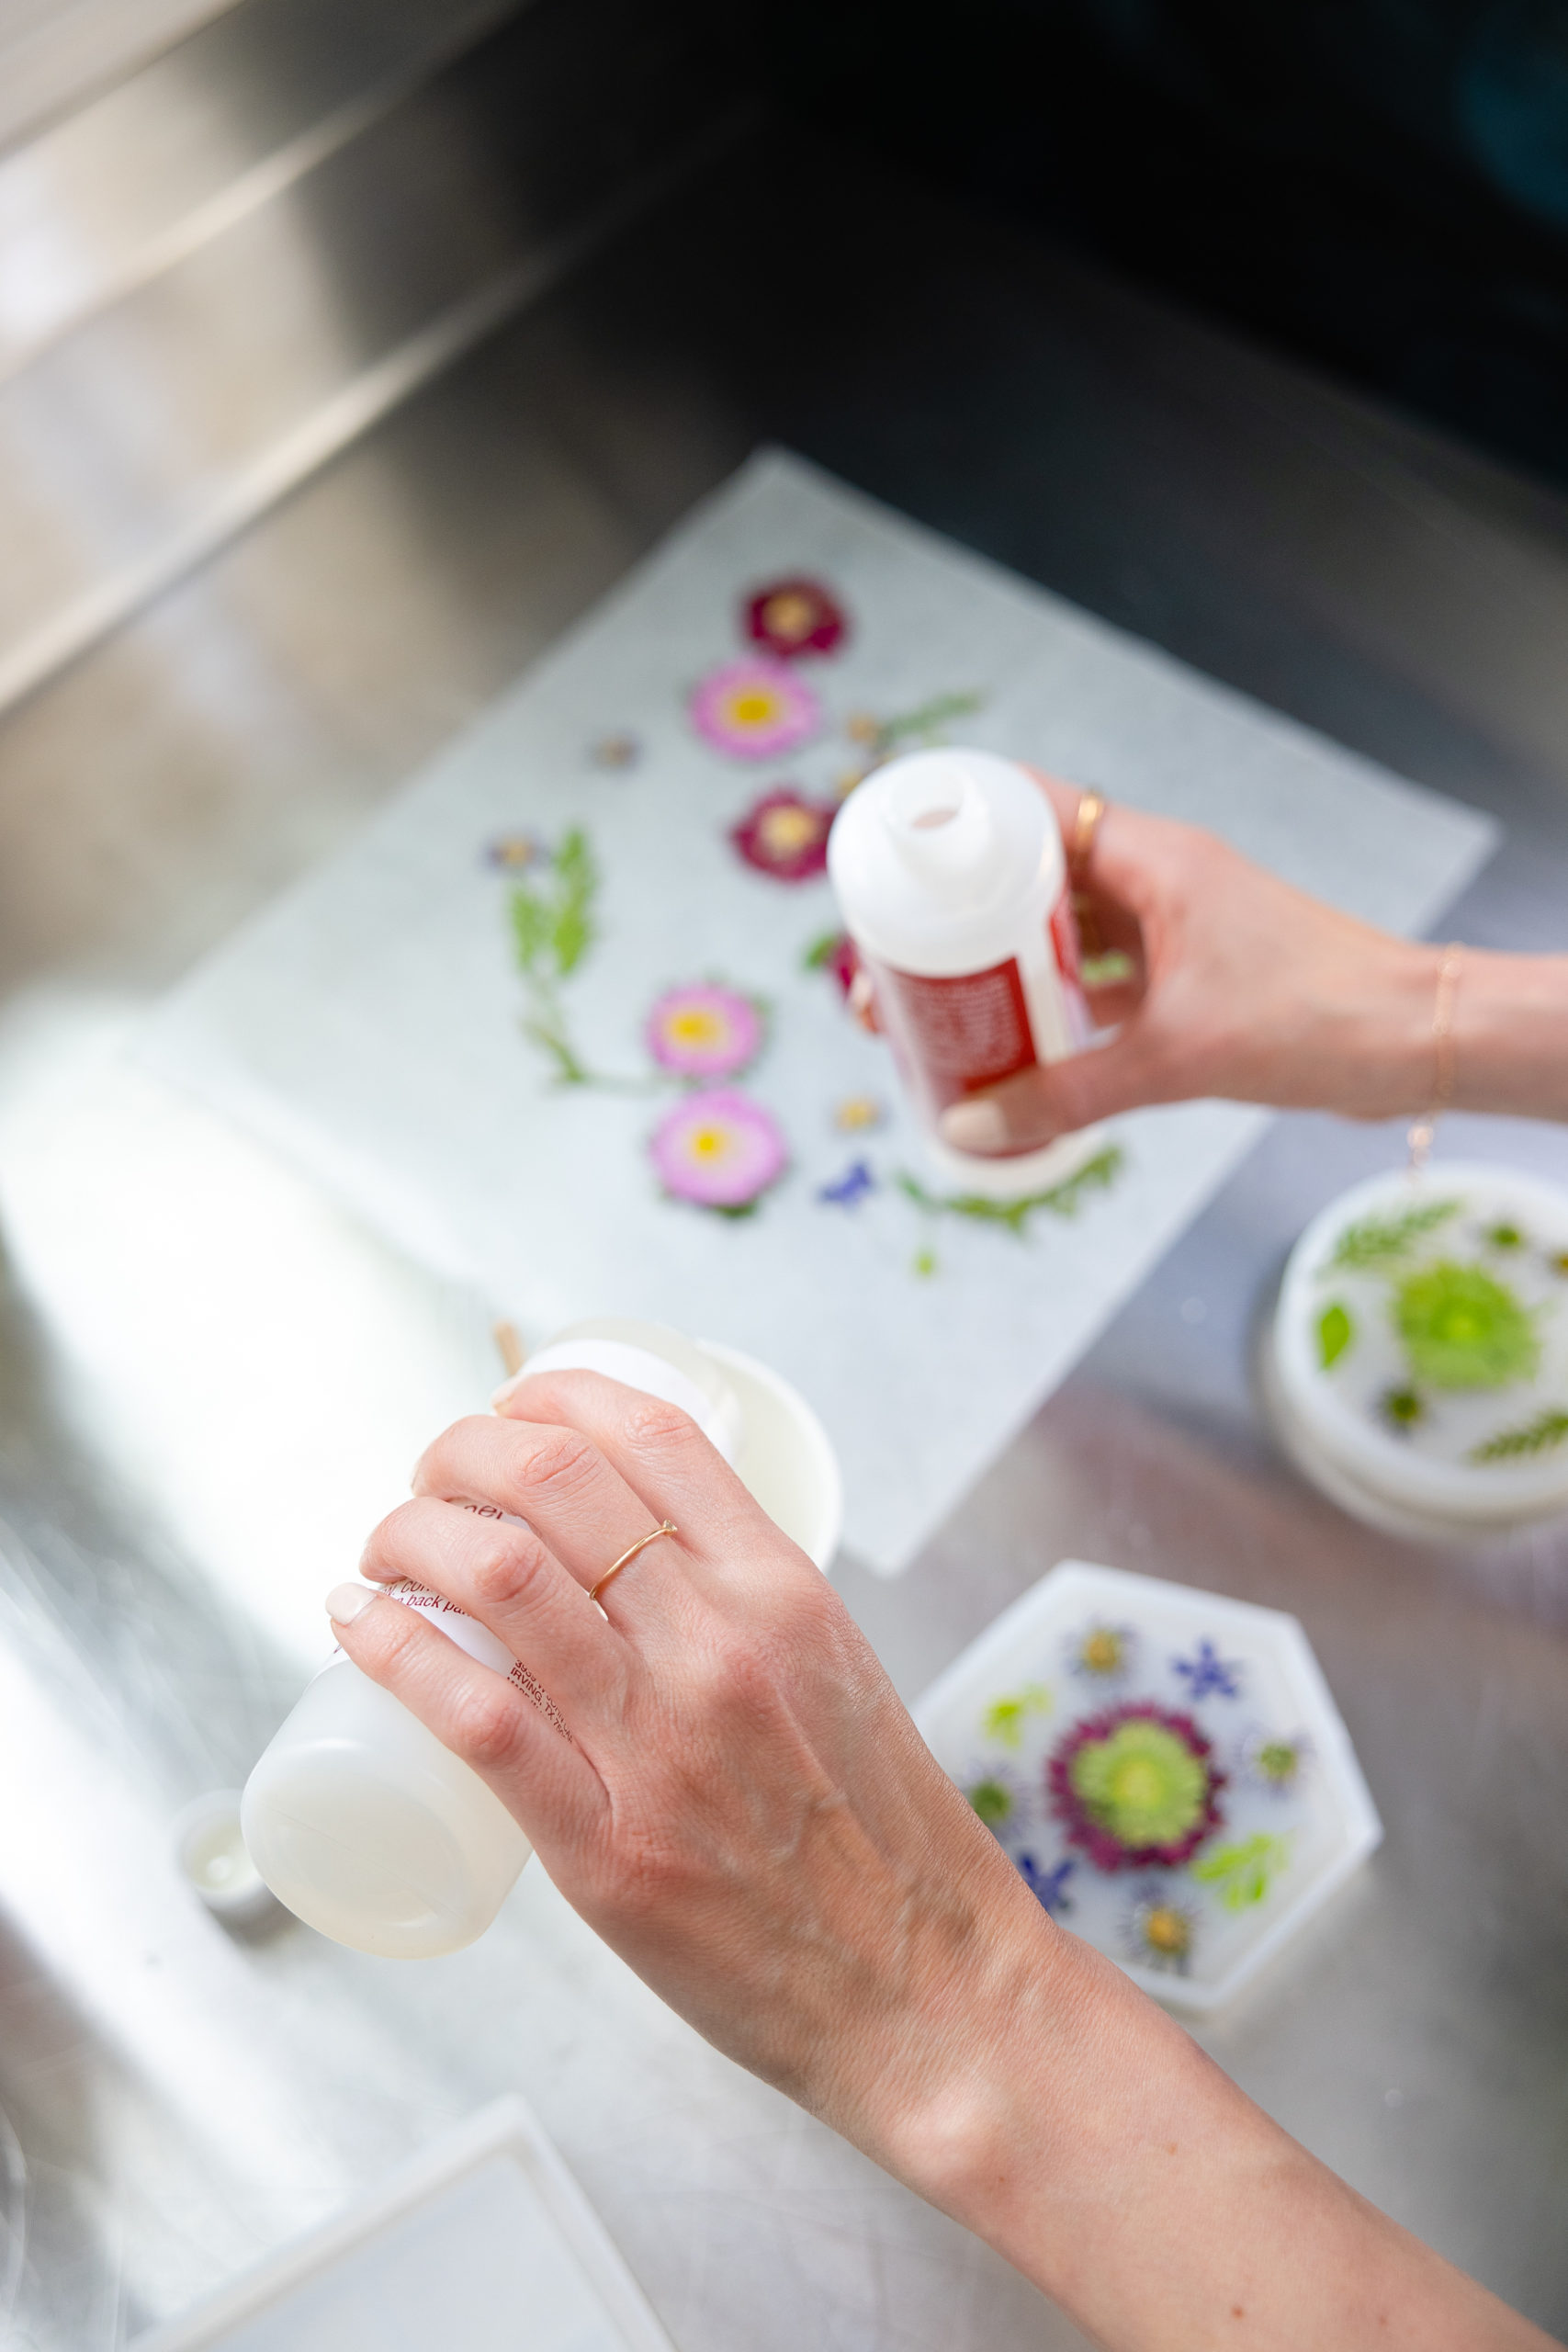
Mix Resin
Mix equal parts of the resin and hardener, per the packaging instructions.
Step 4
Pour Resin
Pour a thin layer of resin in your silicone mold (1/3-1/2 way) and then add your pressed flowers in the design of your choice. Then pour more resin over the top of the pressed flowers until it reaches the top of the mold. Let the mixture harden completely (1-2 days!).
Step 5
Allow Resin to Dry Overnight
Once fully dried, remove the coasters from the mold and enjoy!


Omg! How perfect are these ? I will give it a shot , I hope I manage to make them as fabulous as yours!!!
Yay! I hope you love them!
How many coasters can you make from one purchase of the resin mix? Thanks
Lynda