The following content may contain affiliate links. When you click and shop the links, we receive a commission.
This year, I was itching for an Easter craft that was fun, simple, and sweet—and that I could mostly make with things I had lying around the house. If your house is anything like my house, you have a lot of random socks lying around. I must have about twelve partnerless socks sitting on top of my laundry machine, from feet of all sizes, and I have zero idea where the other one has disappeared off to. It’s a true mystery. I keep them on top of the washing machine just in case they show up, by some stroke of luck. But let me tell ya, staring at a pile of mismatched socks for months on end is a little bit demoralizing. I don’t recommend it.
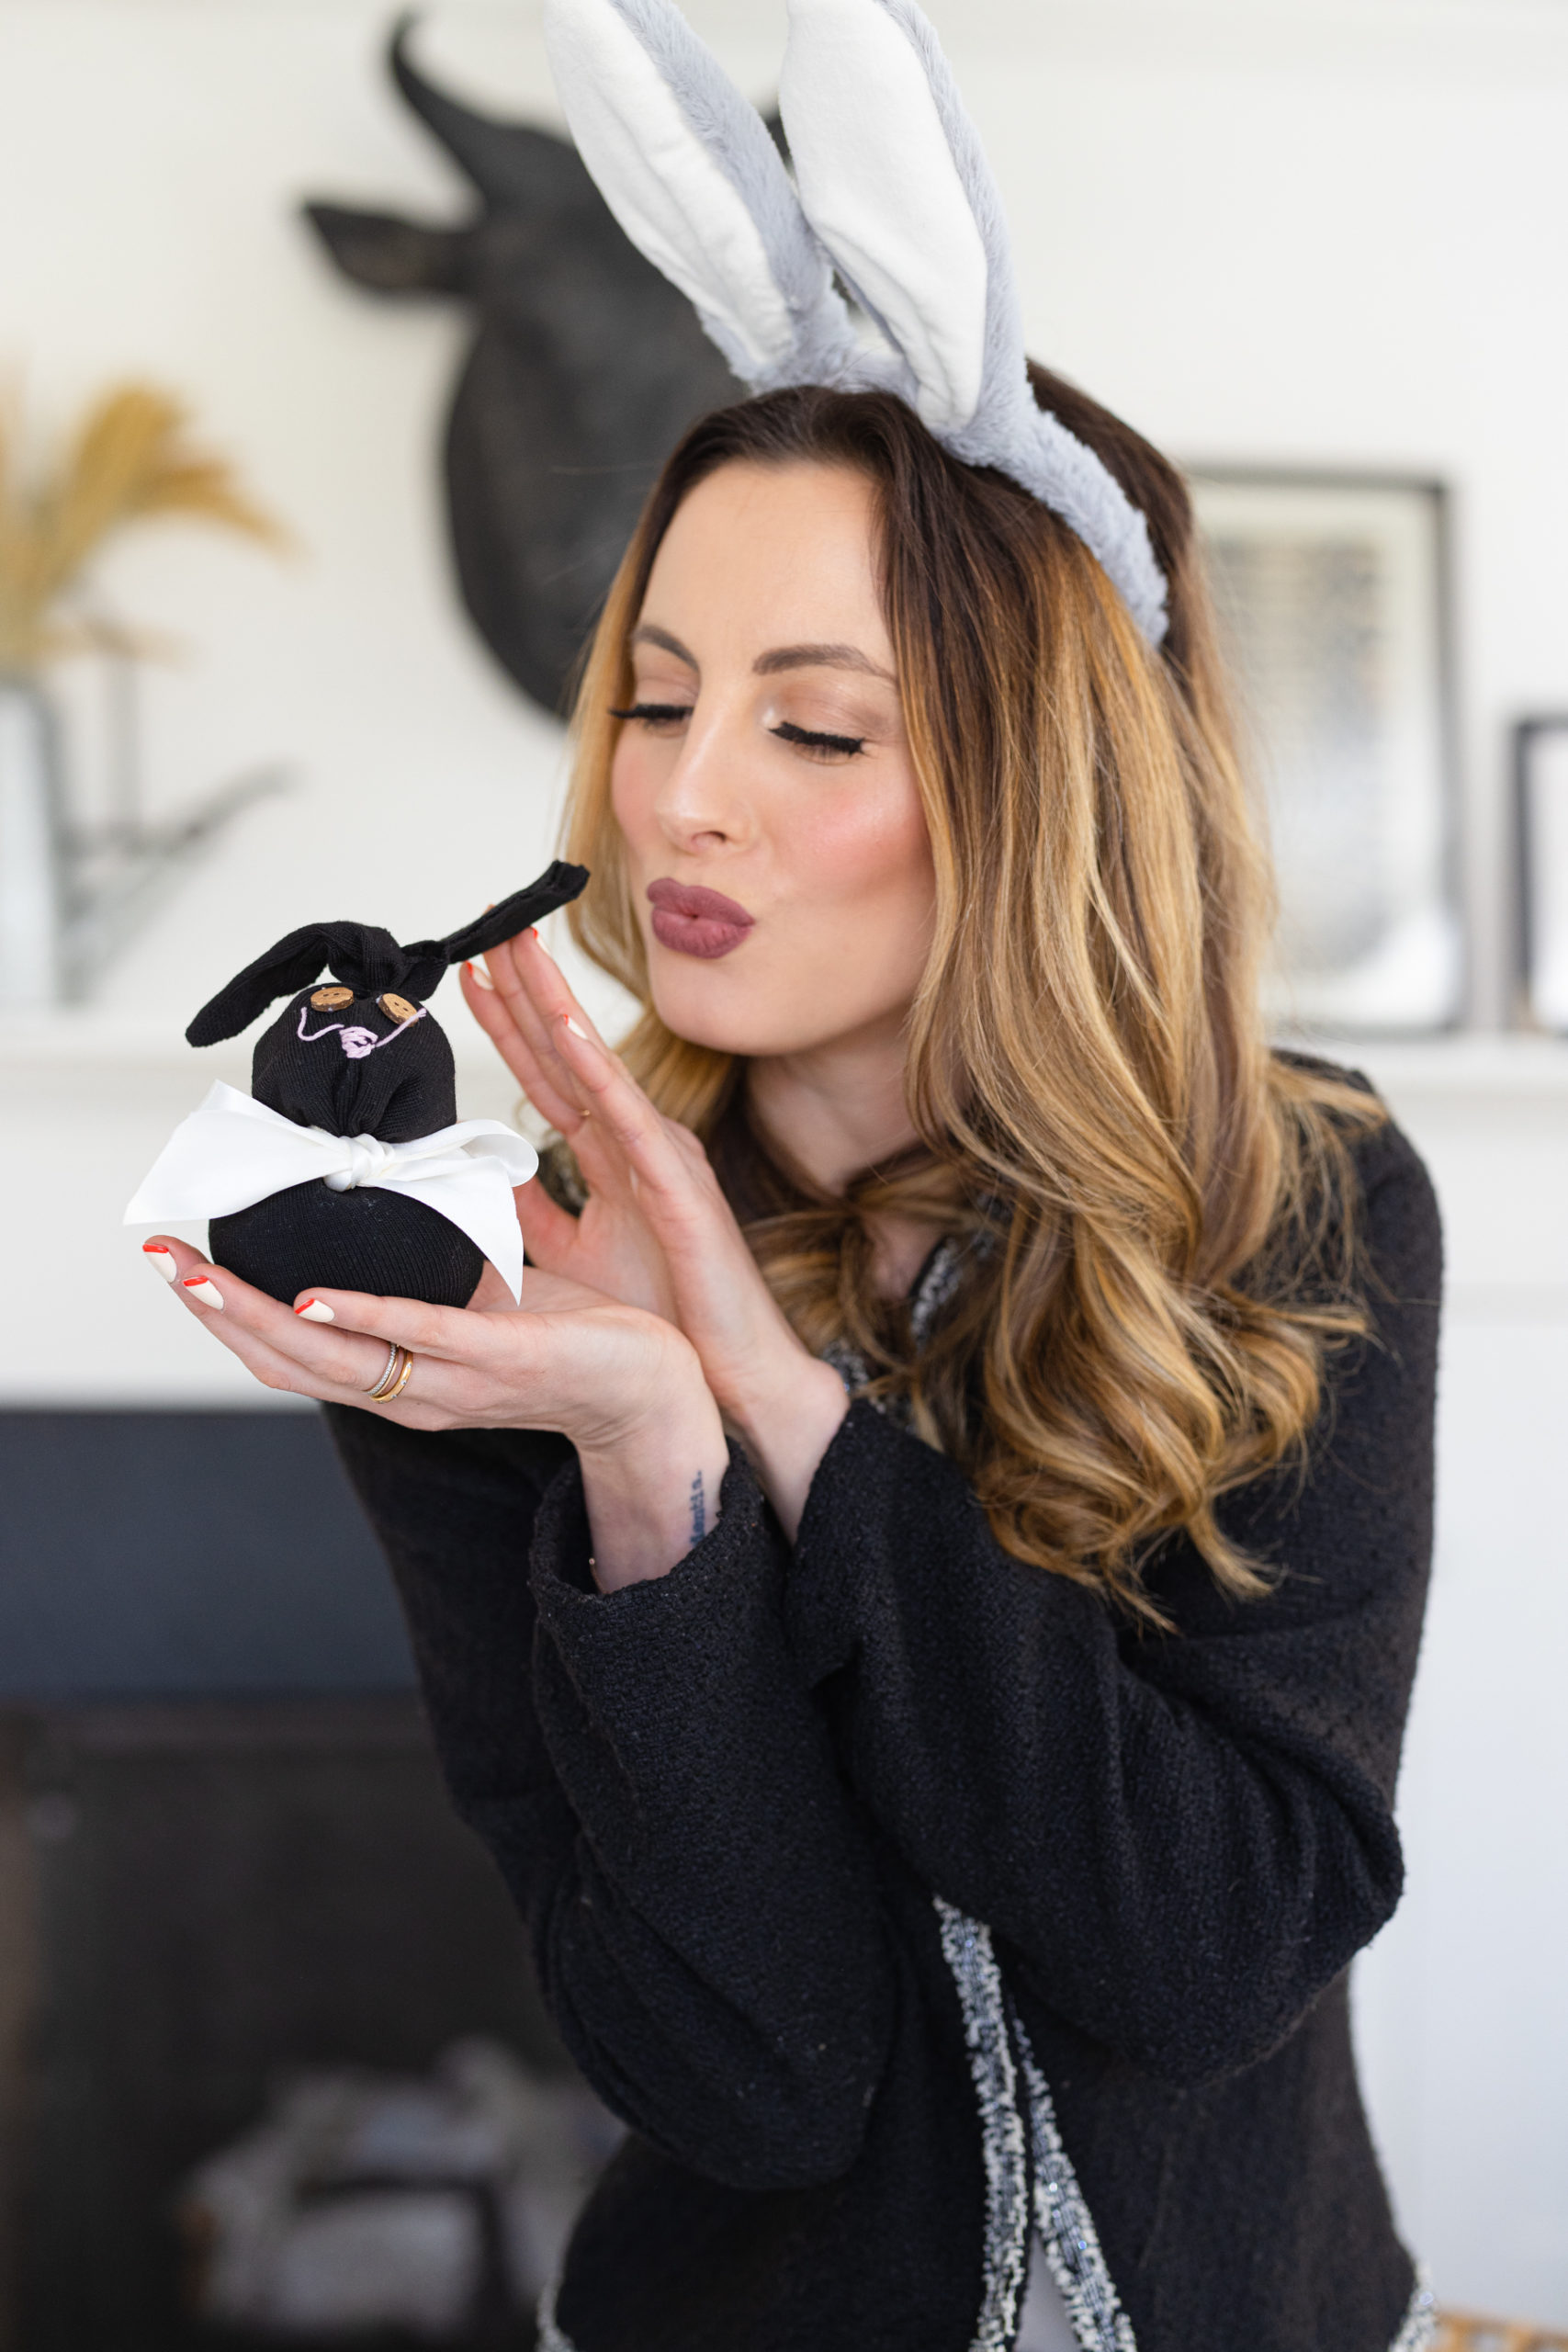
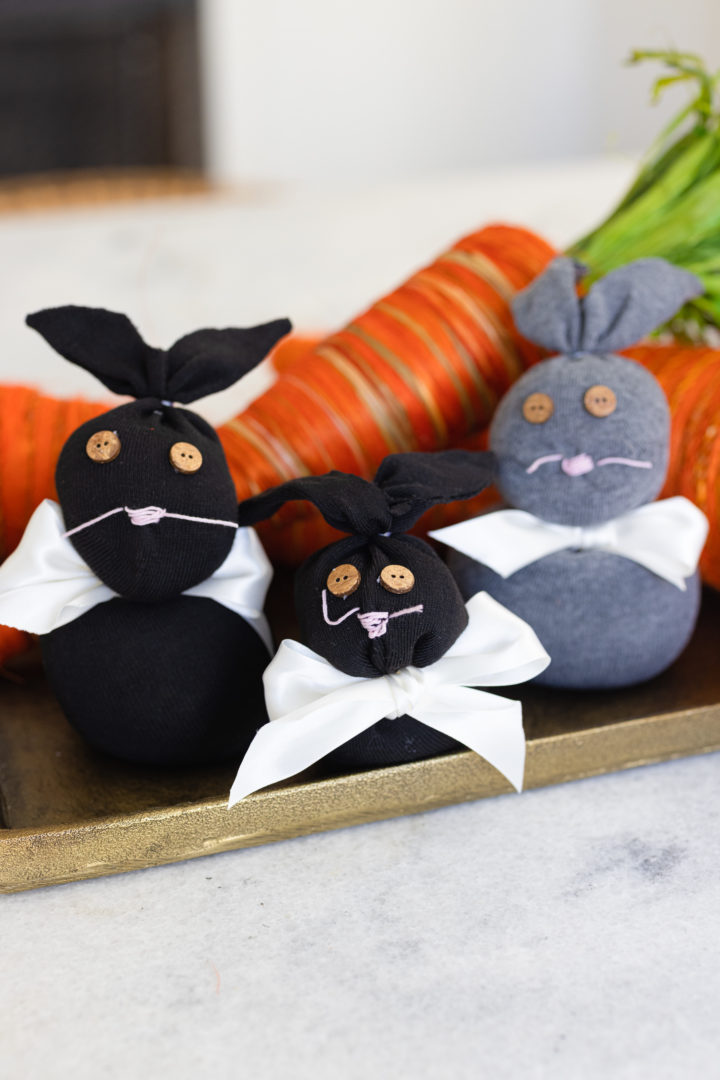
For Easter this year, I decided to make some DIY Easter sock bunnies with those socks! They turned into the cutest little Farmhouse bunnies that are rustic and sweet—and the cutest seasonal accessory for on top of a mantle or snuggled on top of a table. The kids wanted to make some grown-up bunnies and some baby bunnies—and I love how these turned out! I also wanted to note that I hot glued the ears as well as the eyes of the bunnies, and then sewed the nose…but if sewing is totally not your thing you could always hot glue a piece of felt for the nose! I love how it looks with the little string hanging off the sides as whiskers though. There’s something so retro about these sock bunnies and I’m here for it! My last little note is that I filled my sock bunnies with rice…but you could use dried beans or lentils if that’s what you have lying around. Or even sand!
Materials…
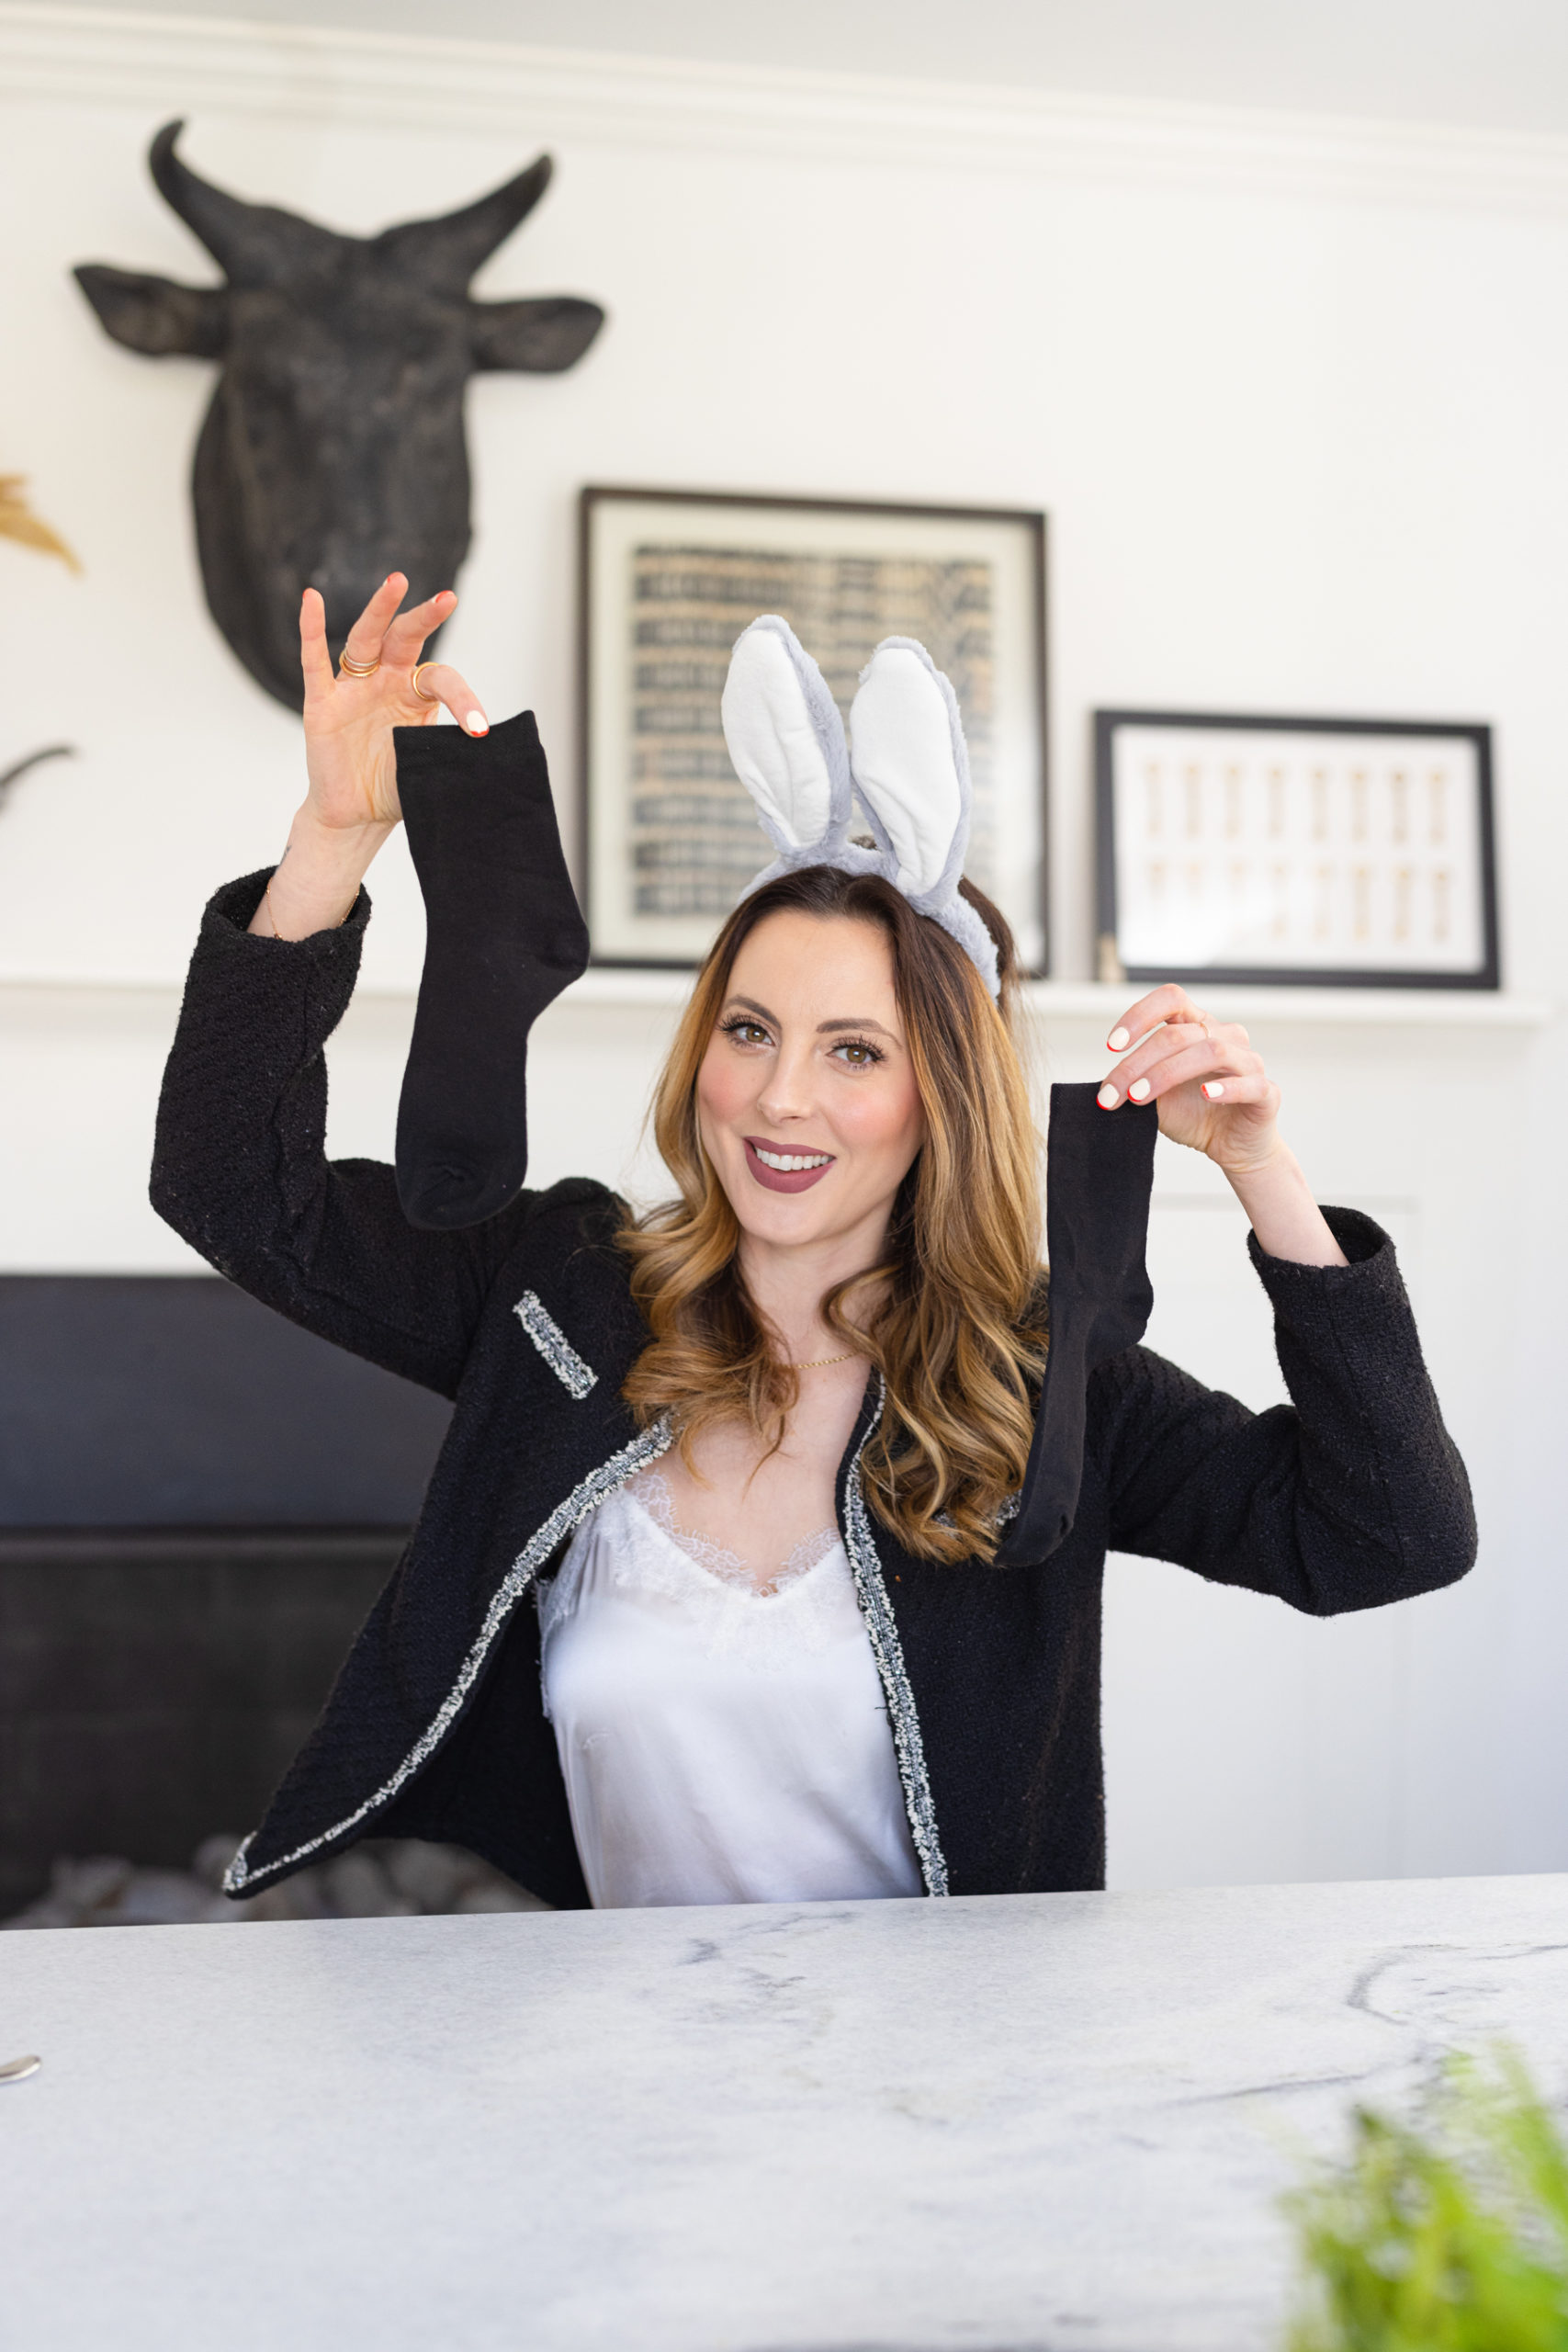
- 1 Sock
- 3″ String, preferably one that matches the sock color
- 6″ Ribbon, preferably 1″ thick
- 2 cups Dry Rice
- Scissors
- Hot Glue Gun and Hot Glue Cartridges
- 2 Buttons
- 12″ Pink Thread + Sewing Needle
- 1 Small White Pom Pom
Step 1
Create Bunny Body
Begin by making the body of the bunny by filling your sock with about 1 cup of rice. You can always make the portions of the bunny bigger or smaller with the filling to achieve different-sized bunnies!
Step 3
Create Bunny Head
Now fill the next part of the sock with about half the amount of rice, to form the head.
Step 5
Cut
Take your scissors and cut down the middle of the top part of the sock above the second ribbon.
Step 6
Create Bunny Ears
Using hot glue, glue the inside of each ear together to form bunny ears.
Step 8
Create Bunny Nose, Whiskers, + Tail
Lastly, use the string to create a nose by stitching in a loop, leaving the string long on both sides to create whiskers. Glue a pom-pom to the back for a tail. Display your little DIY Easter Sock Bunny!