The following content may contain affiliate links. When you click and shop the links, we receive a commission.
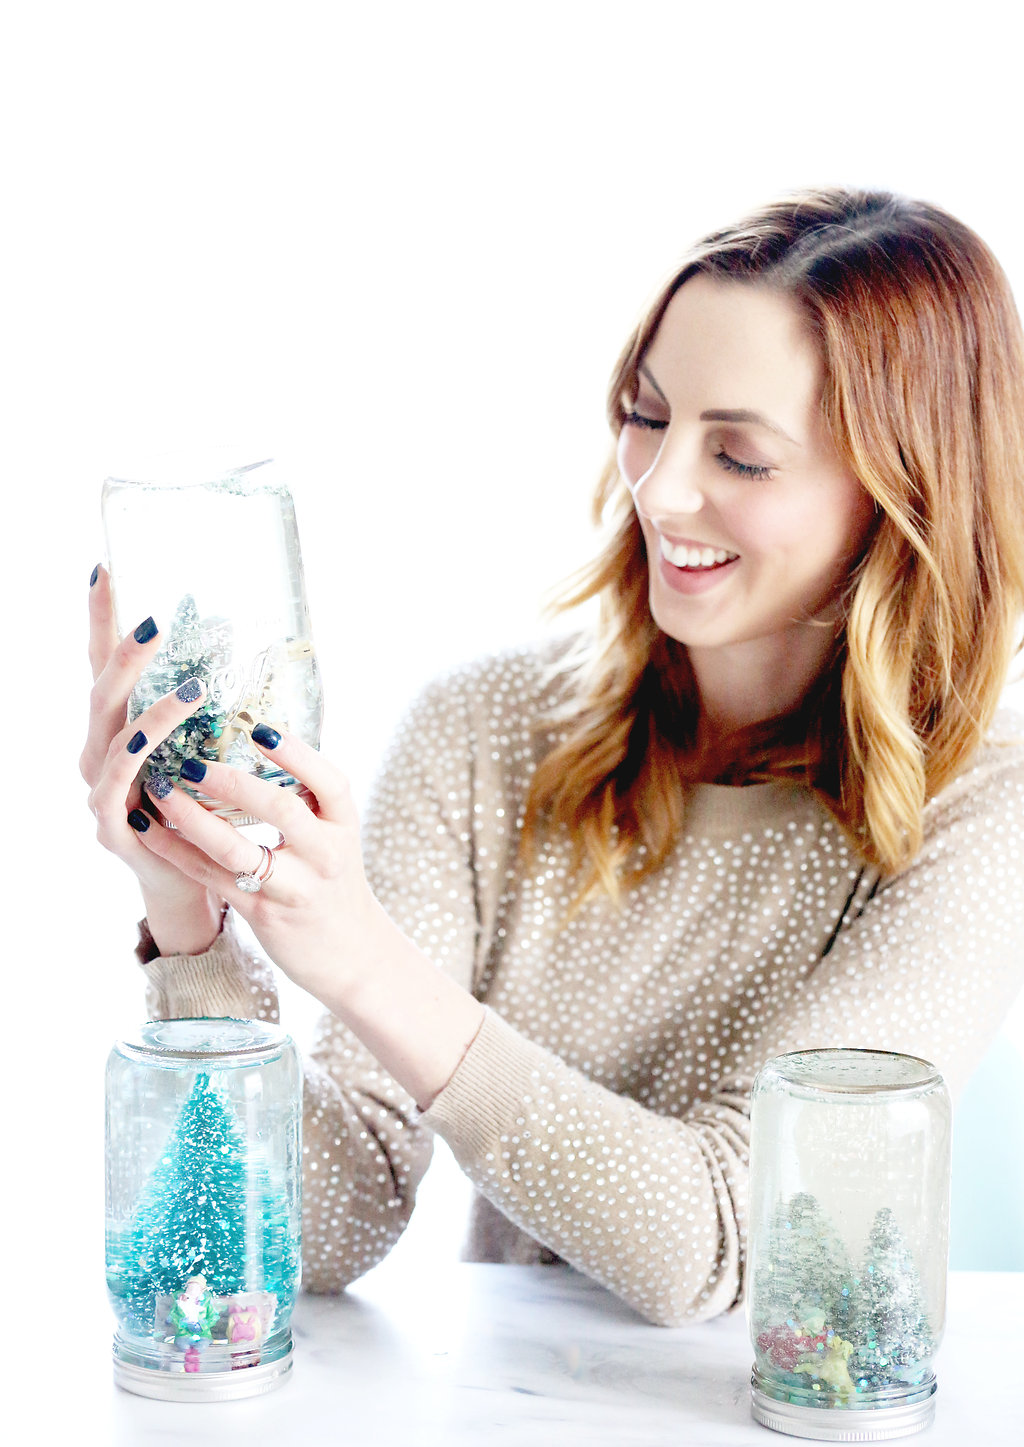
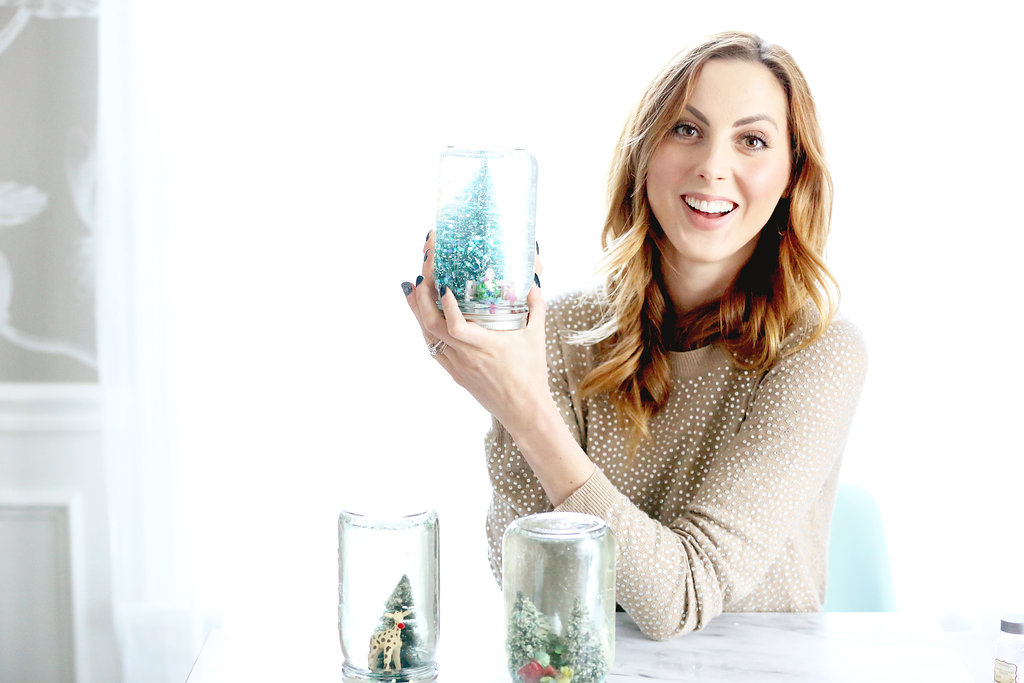
I think the Holidays are such a fun time for crafting. It’s nice to find indoor activities that are fun for adults and kids alike as the chilly temps storm outside. This DIY is the perfect thing to get going as the fire crackles beside you. I find store-bought Snow Globes to be so cheesy and crazy looking sometimes. With these you can even match them to your Christmas decor, or child’s room! The best part? It’s inexpensive and way too easy. Read more for my sweet and festive DIY Mason Jar Snow Globes!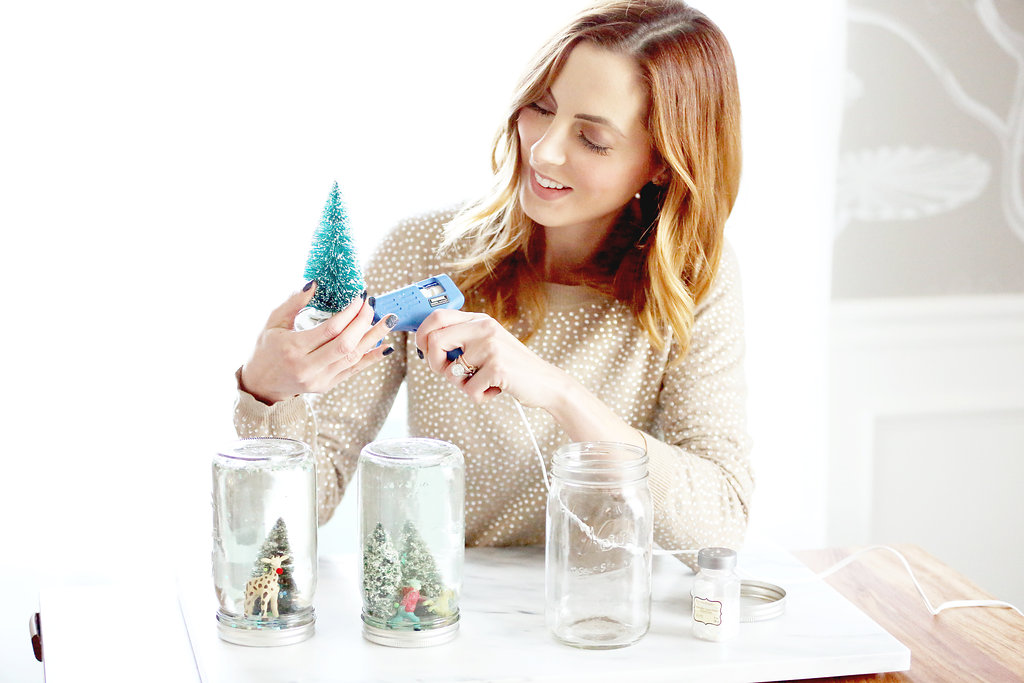
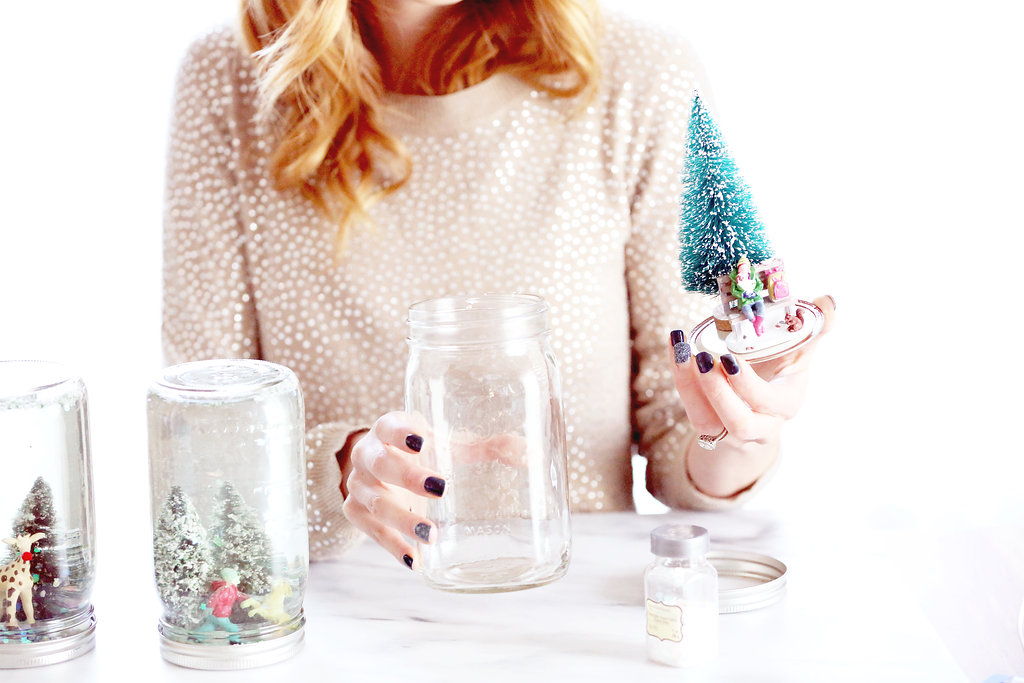
You will need (makes 1 snow globe):
- 1 large Mason Jar, with lid
- Figurines that will fit inside the width of the jar lid and are not taller than the height of the jar
- Hot glue gun, and glue inserts
- Chunky glitter, or pastilles
- Water
Directions:
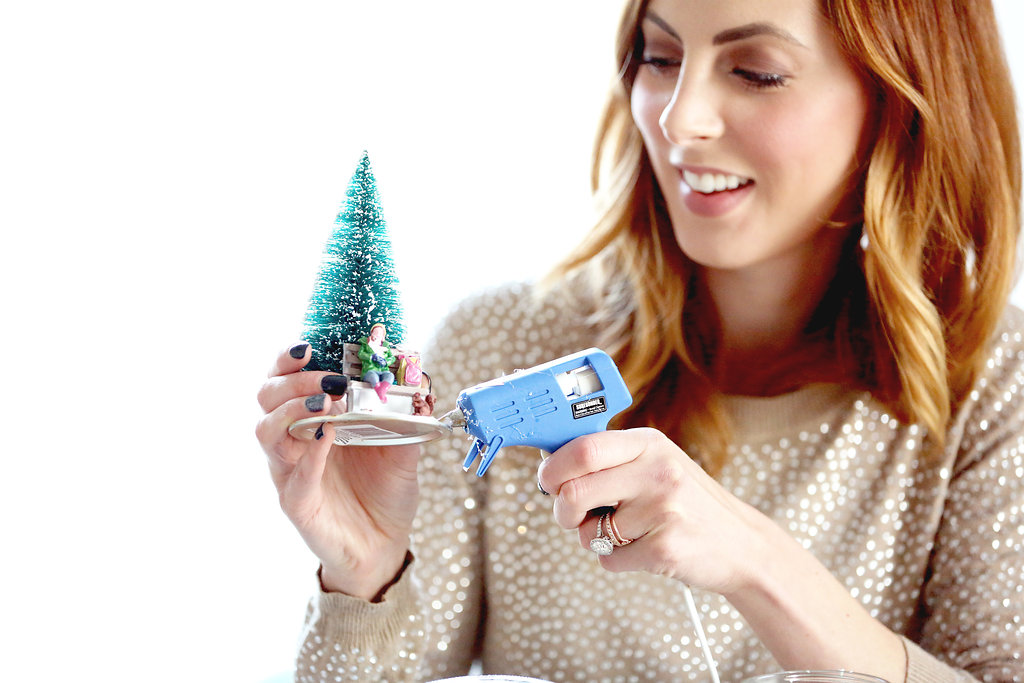
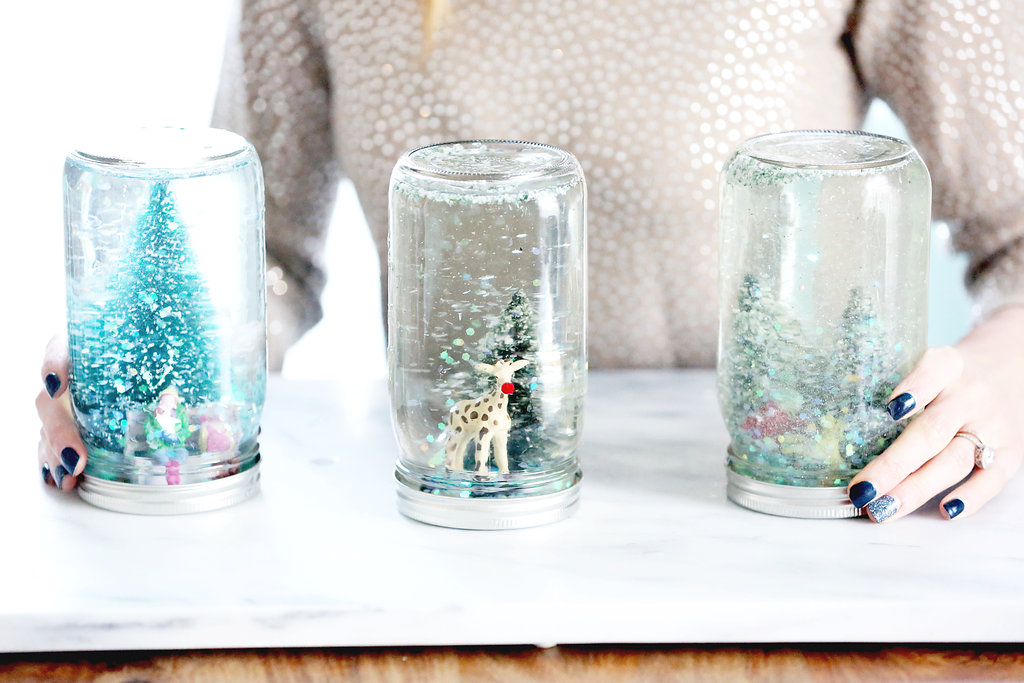
Begin by selecting your figurines. I went with things Marlowe loves: a lady on a bench feeding squirrels (her FAVORITE animal), A man playing with his dog (close second to the squirrel), Christmas trees, and a toy giraffe. I glued a pompom on the giraffe’s nose to make him a Rudolph! You can do this with any animal, obviously– I had lots of pom poms left over from my DIY Wrapping Paper project.
Next, glue your figurines to the lid of the Mason Jar. Make sure there is enough room around the edges of the lid to allow it to close snugly and easily. I kept on inserting the figurines on the lid back in to the jar periodically to make sure there was still enough room.
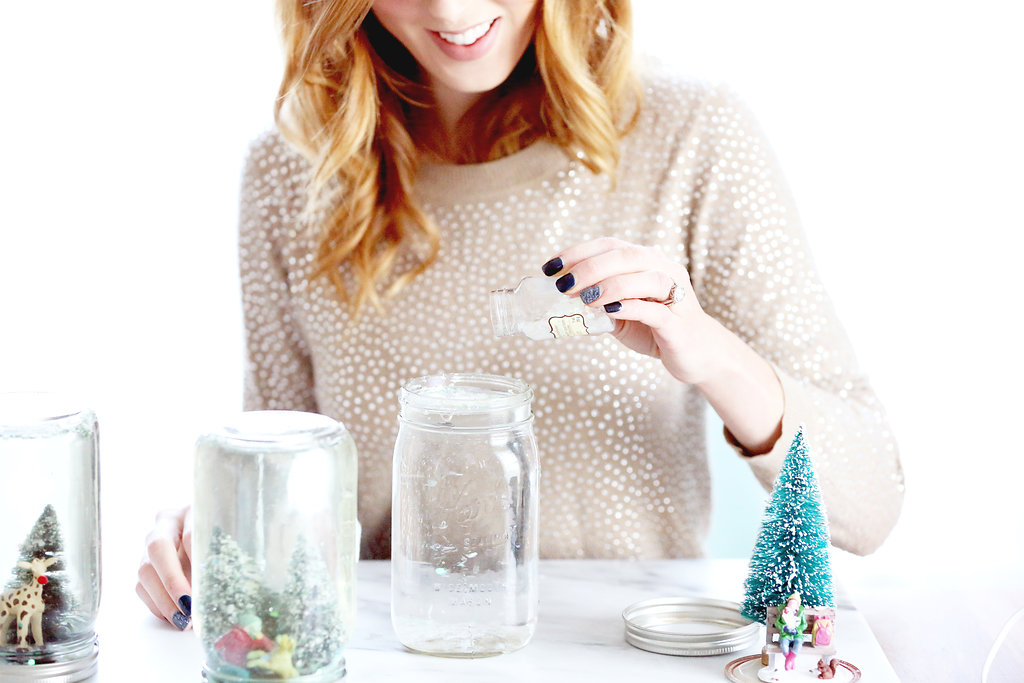
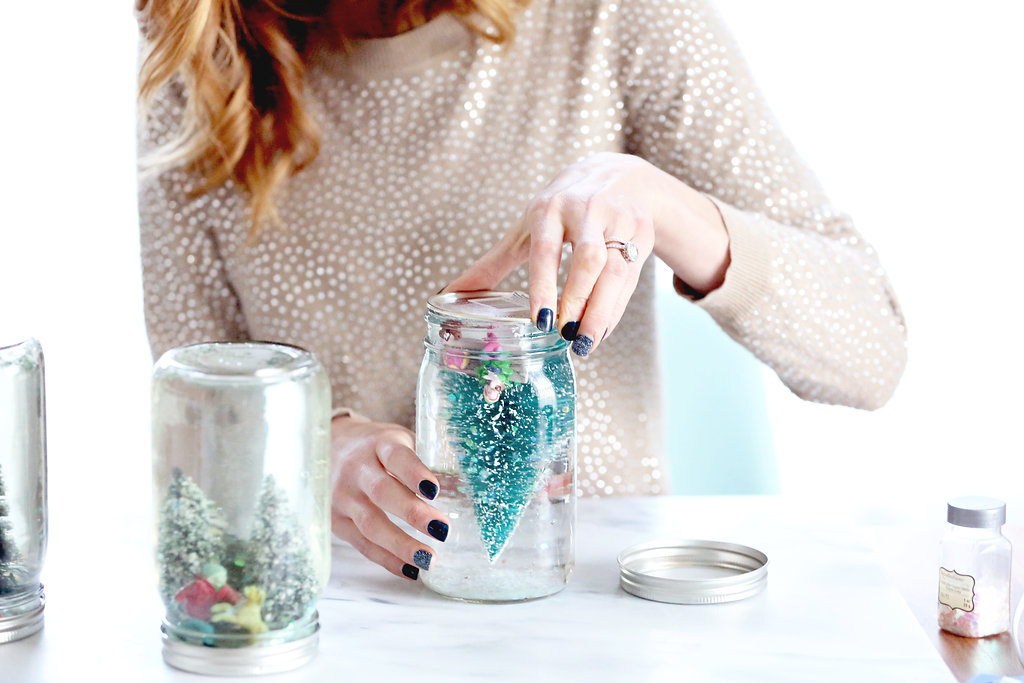
Allow the glue to dry for an hour before proceeding. Then, fill your mason jar with water! Make sure it is almost up to the tippy top. You don’t want there to be too much space, if any, at the top of your snow globe when it’s finished.
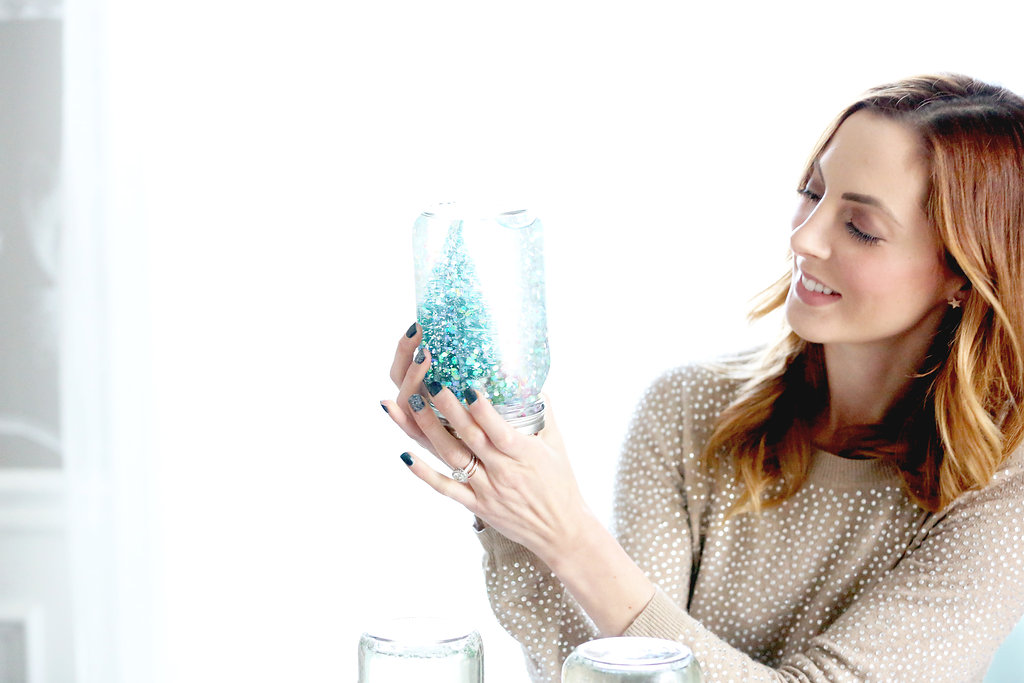
Now, add glitter! Do this slowly. You only need about one teaspoon per snow globe. A little goes a long way.
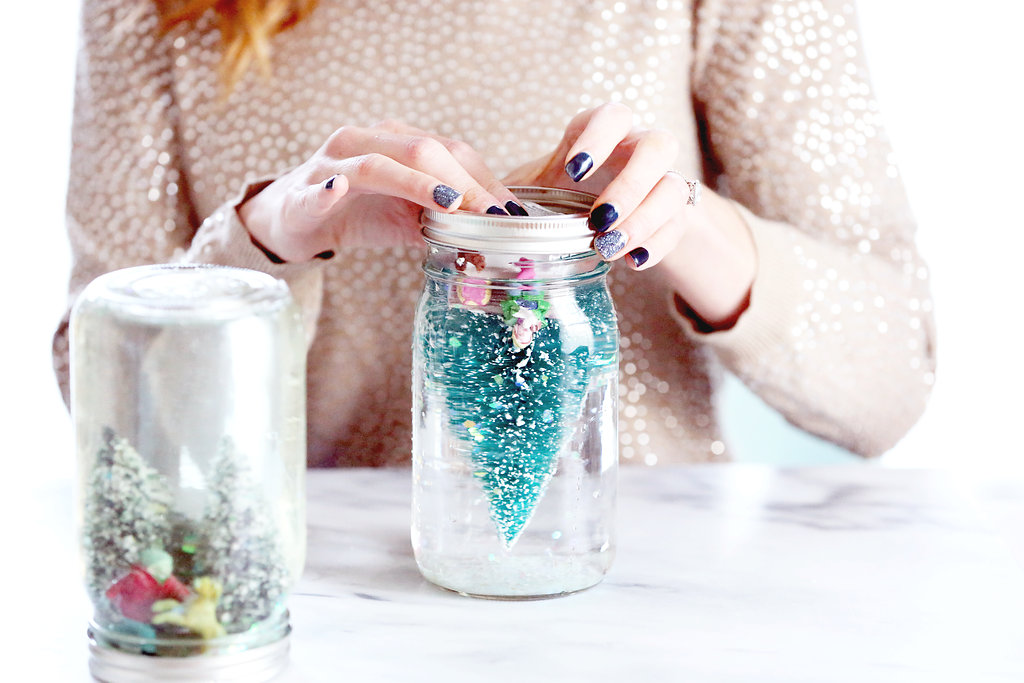
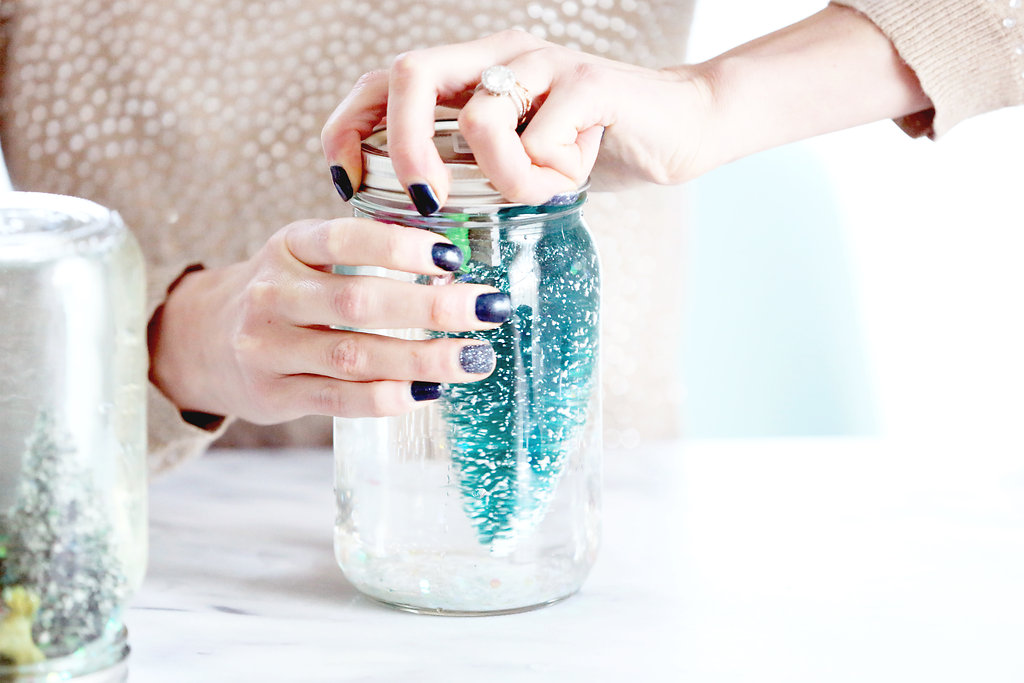
Carefully insert your Snow Globe scene (upside down) in to the Mason Jar. Turn the lid tightly until it is well sealed.
Flip over and shake! Watch your sparkly winter scene come to life!


I’m a preschool teacher and I was just starting to run out of ideas for my class! They will love these, and I have a few tiny jars left over from making our Santa’s and reindeer. They love anything sensory related and will flip over making their very own snow globes.
Hi Wendy!
Yay, that’s awesome! Can’t wait to hear how it goes!!
xx
EAM
Love these and want to make a couple with my son for Grandparents. How do the “figurines” hold up in the water? I have a vision of things getting too soggy! Thanks!
The figurines are plastic or ceramic so they hold up well– just make sure you get those and not plush ones! Also try to find trees that don’t have the faux snow on them. The snow looks beautiful on the tree figurines for a few days then slowly comes off to make the water a bit foggy. It’s the only thing I would do differently!