The following content may contain affiliate links. When you click and shop the links, we receive a commission.
This blog post was originally published on June 12th, 2019. Its formatting and links were updated on June 10th, 2024.
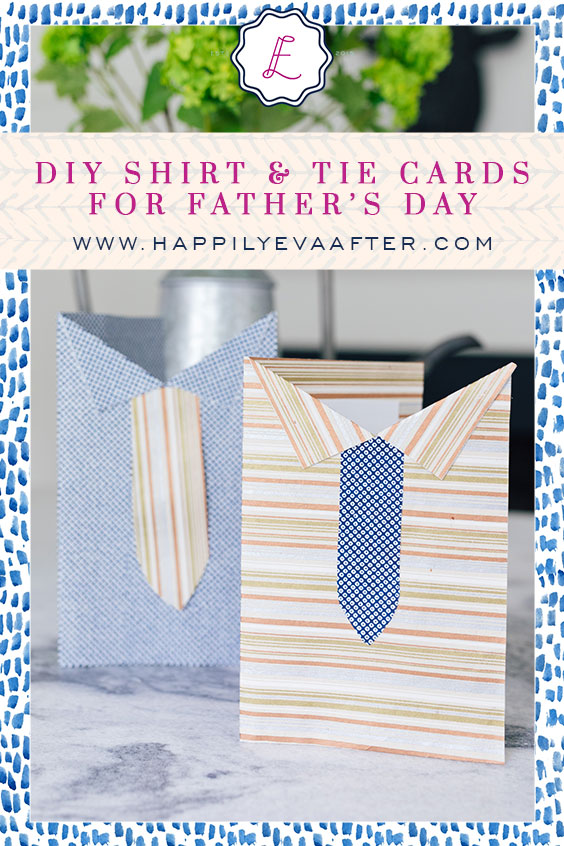
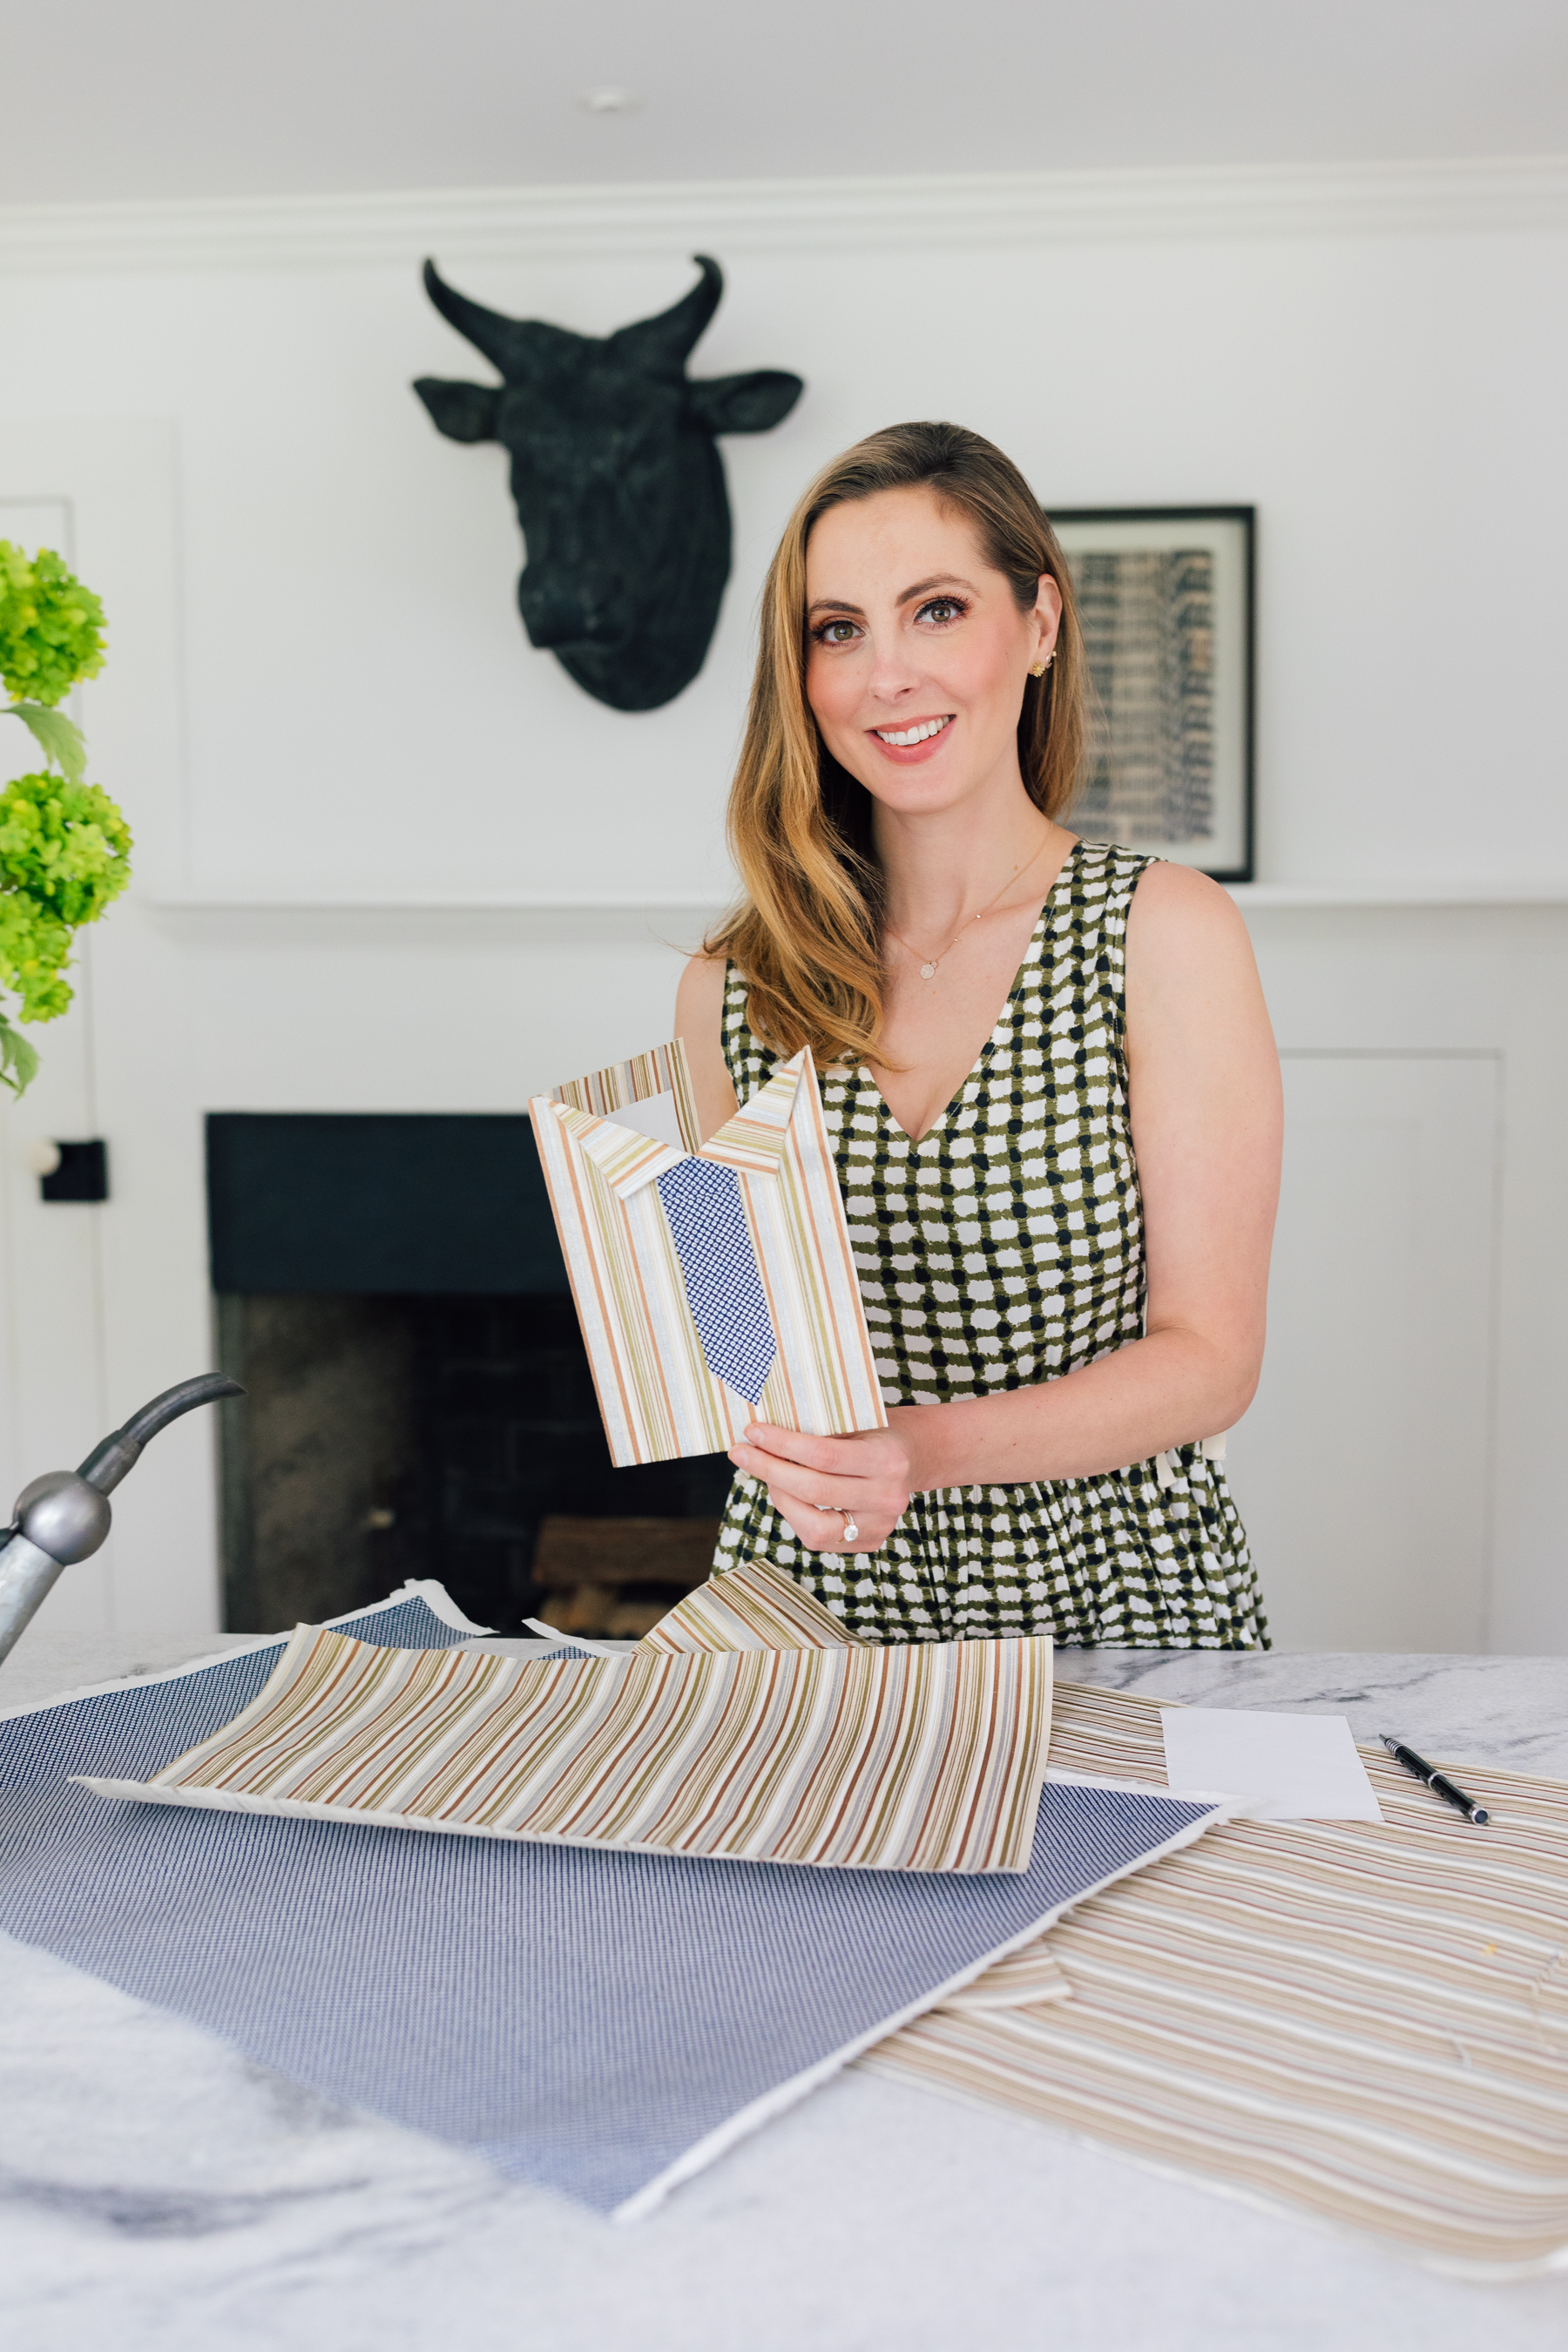
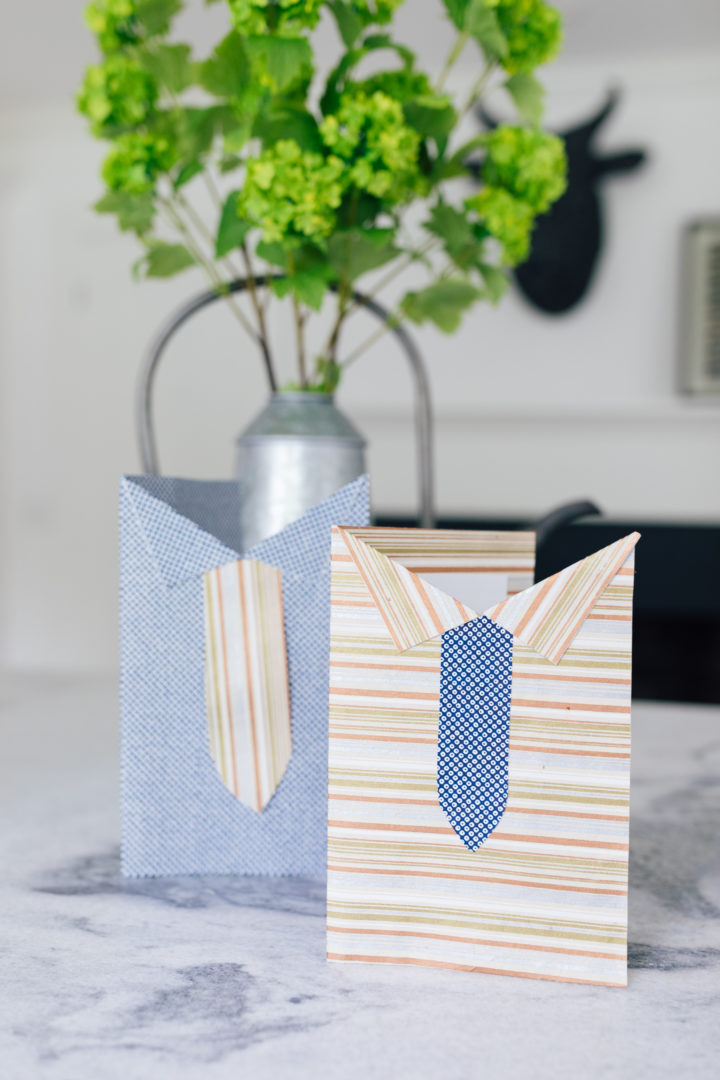
Father’s Day is this weekend, and I love making a little something simple to put a personal stamp on the holiday! This year, the kids and I made these DIY Shirt & Tie Cards, and I absolutely love how they turned out. They’re so simple to make, and can be the cutest craft to display as well. If you use nice paper, it totally looks like something you would frame or have out at work. Such a great craft! Today I’m sharing the step-by-step directions to make your own. I hope you love them as much as we do—and don’t forget to check out my Father’s Day Gift Guide if you still need some gift inspiration!
As I mentioned, the elegance of this DIY exists solely in the quality of paper you use. I like to buy nice papers from Paper Source, but they also have some good ones at craft stores and Amazon! Choose a classic shirt pattern with a bold print for the tie, or mix complimentary prints as I did here! You know the Daddy in your life the best, of course.

Materials…
- 2 Sheets of Fine Paper, in complimentary pints/colors
- 1 Sheet of White Printer Paper
- 1 Heavy Duty Glue Stick
- Scissors

Step 1
Glue
Ok first of all, how short is that materials list?! So clutch. To begin, you choose the sheet of fine paper you’d like to use for the “shirt” aspect of the card. Fold in half, with the underside in, and glue the sides together.
Step 2
Fold
Next, fold in half again, and trim to the size you’d like your card. This way, the pattern is both on the inside of the card when opened, and on the outside.
Step 3
Make the Collar
Holding the card as you would if you opened it (seam on left long side), make a 1 inch cut at the top/middle of the page on the front flap. Fold each side of it down to make the collar of the shirt, and glue it down.
Step 4
Cut & Glue Tie
Next, cut your tie shape from the other piece of patterned fine paper with a different print—I highly recommend mimicking whichever style of tie Dad loves the most!—and then glue the tie in place with a glue stick.
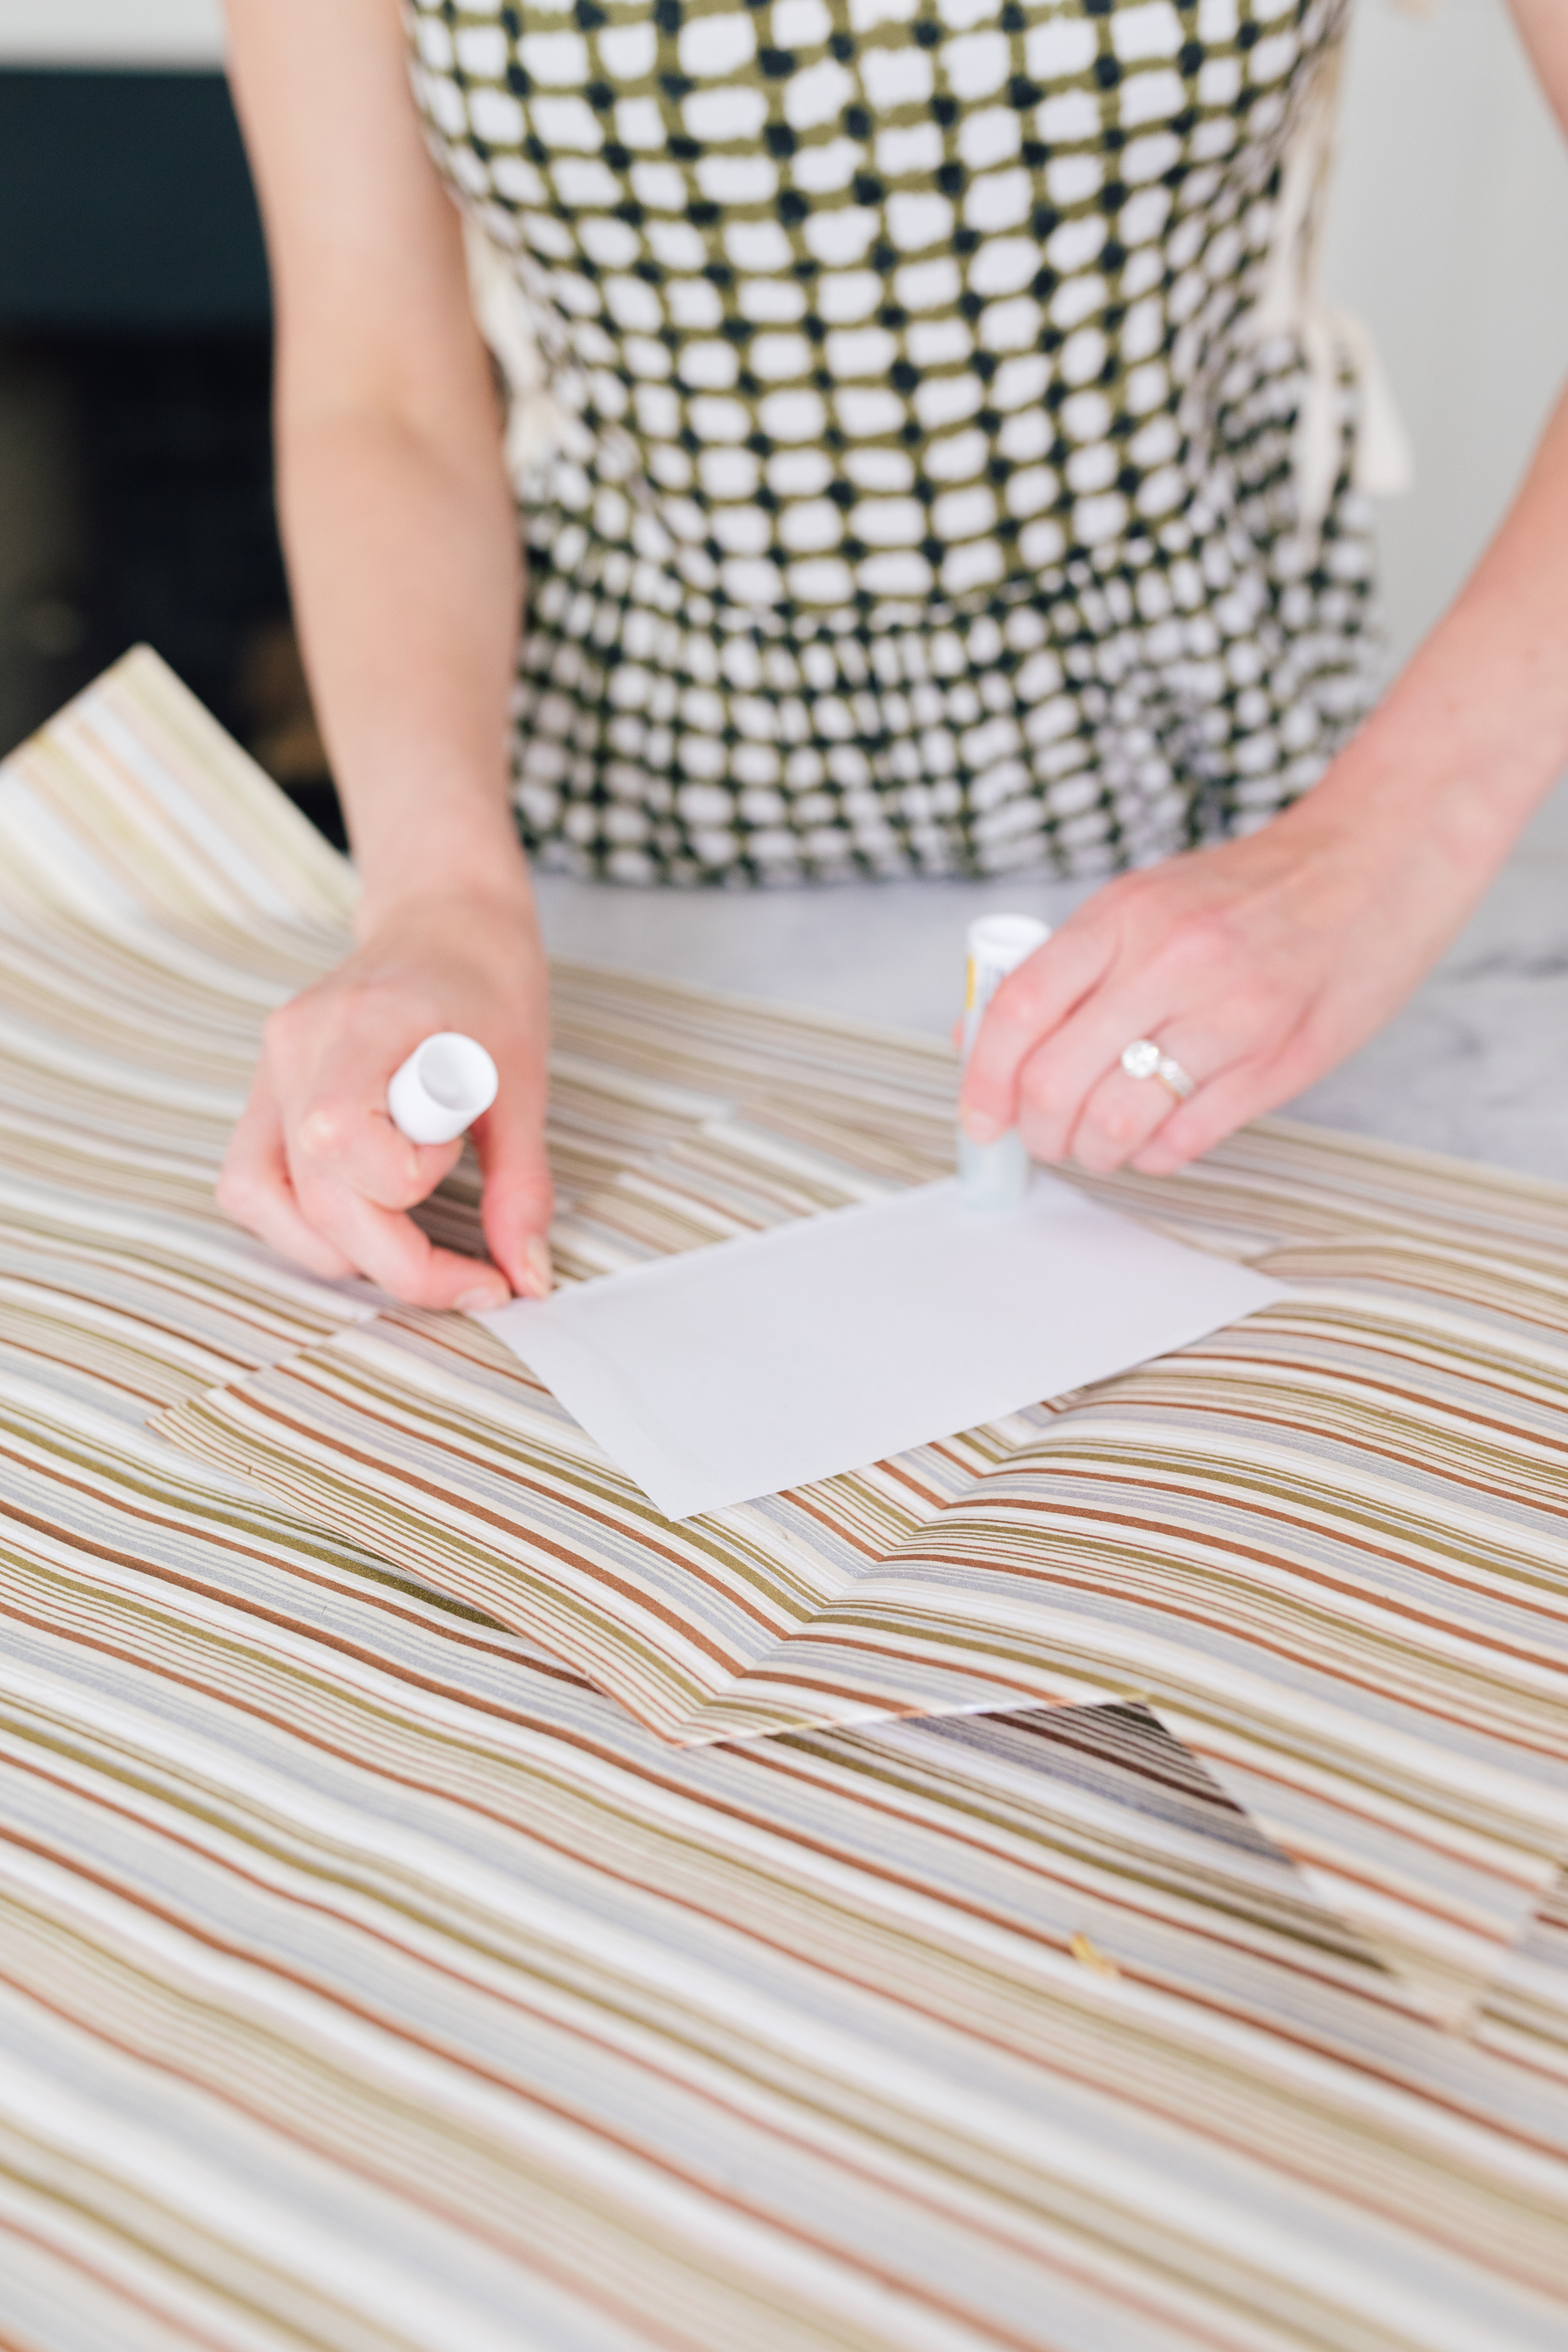
Step 5
Add White Paper
Lastly, cut a rectangle out of the piece of white printer paper that is slightly smaller than the inside of the card, and glue it to the inside of the card to write your message on!
The kids filled out the sweetest messages to Kyle on these cards, I can’t wait for him to read them. If you make these cards please tag me in the finished product! I’d love to see the patterns you choose!