The following content may contain affiliate links. When you click and shop the links, we receive a commission.

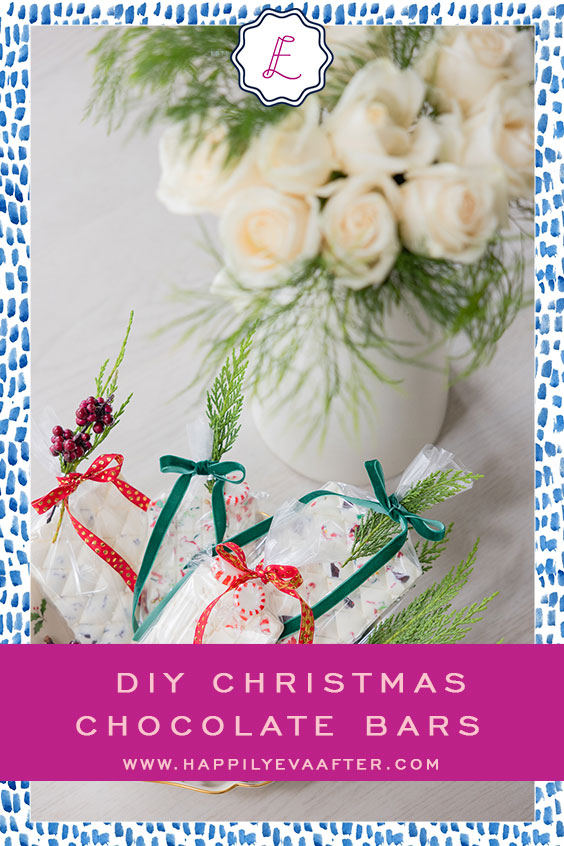
I love finding ways to make my Holiday gifts even more special for the recipient. I recently did an activity with Marlowe where we made our own chocolate bars, and I had a little epiphany while we were doing it that it would be the cutest holiday DIY for family and friends! One of the things that’s so fun about making your own chocolate bars is that the world is really your Oyster. There are endless combinations you can make to fit any theme or color combination you’re looking for! These Christmas Chocolate bars are great for adding to the top of a gift, or even for using as a party favor or hostess gift.
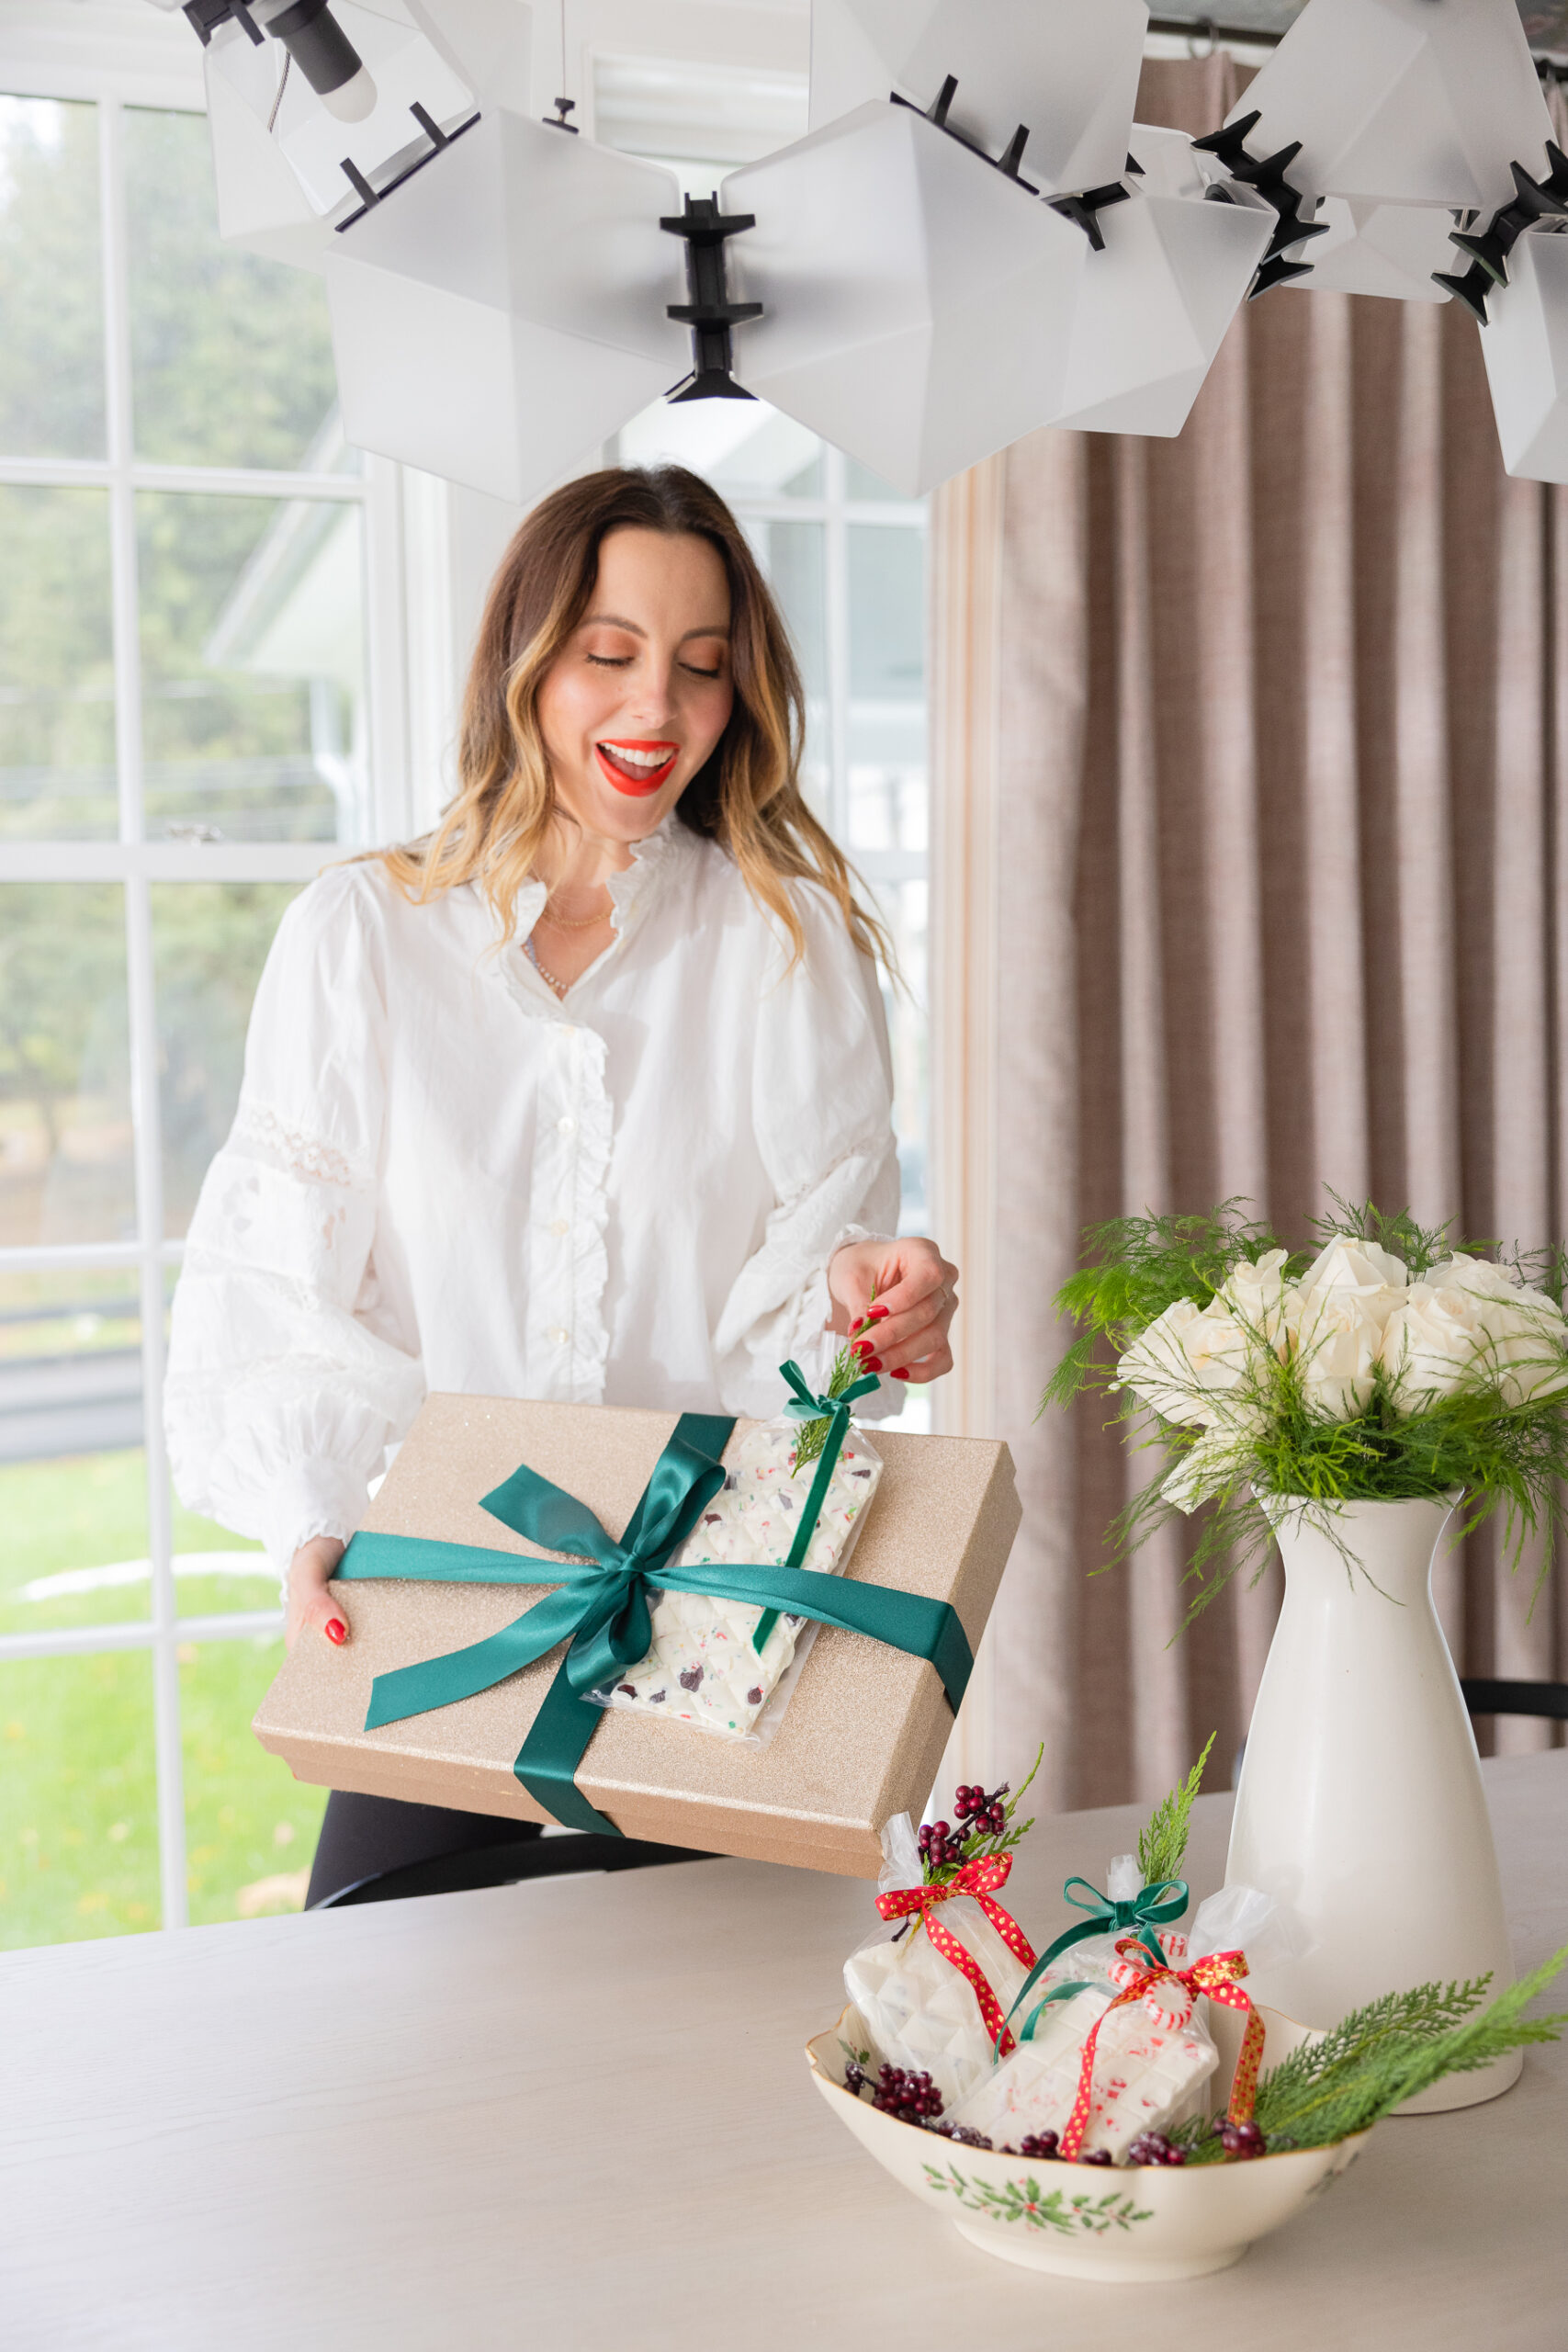
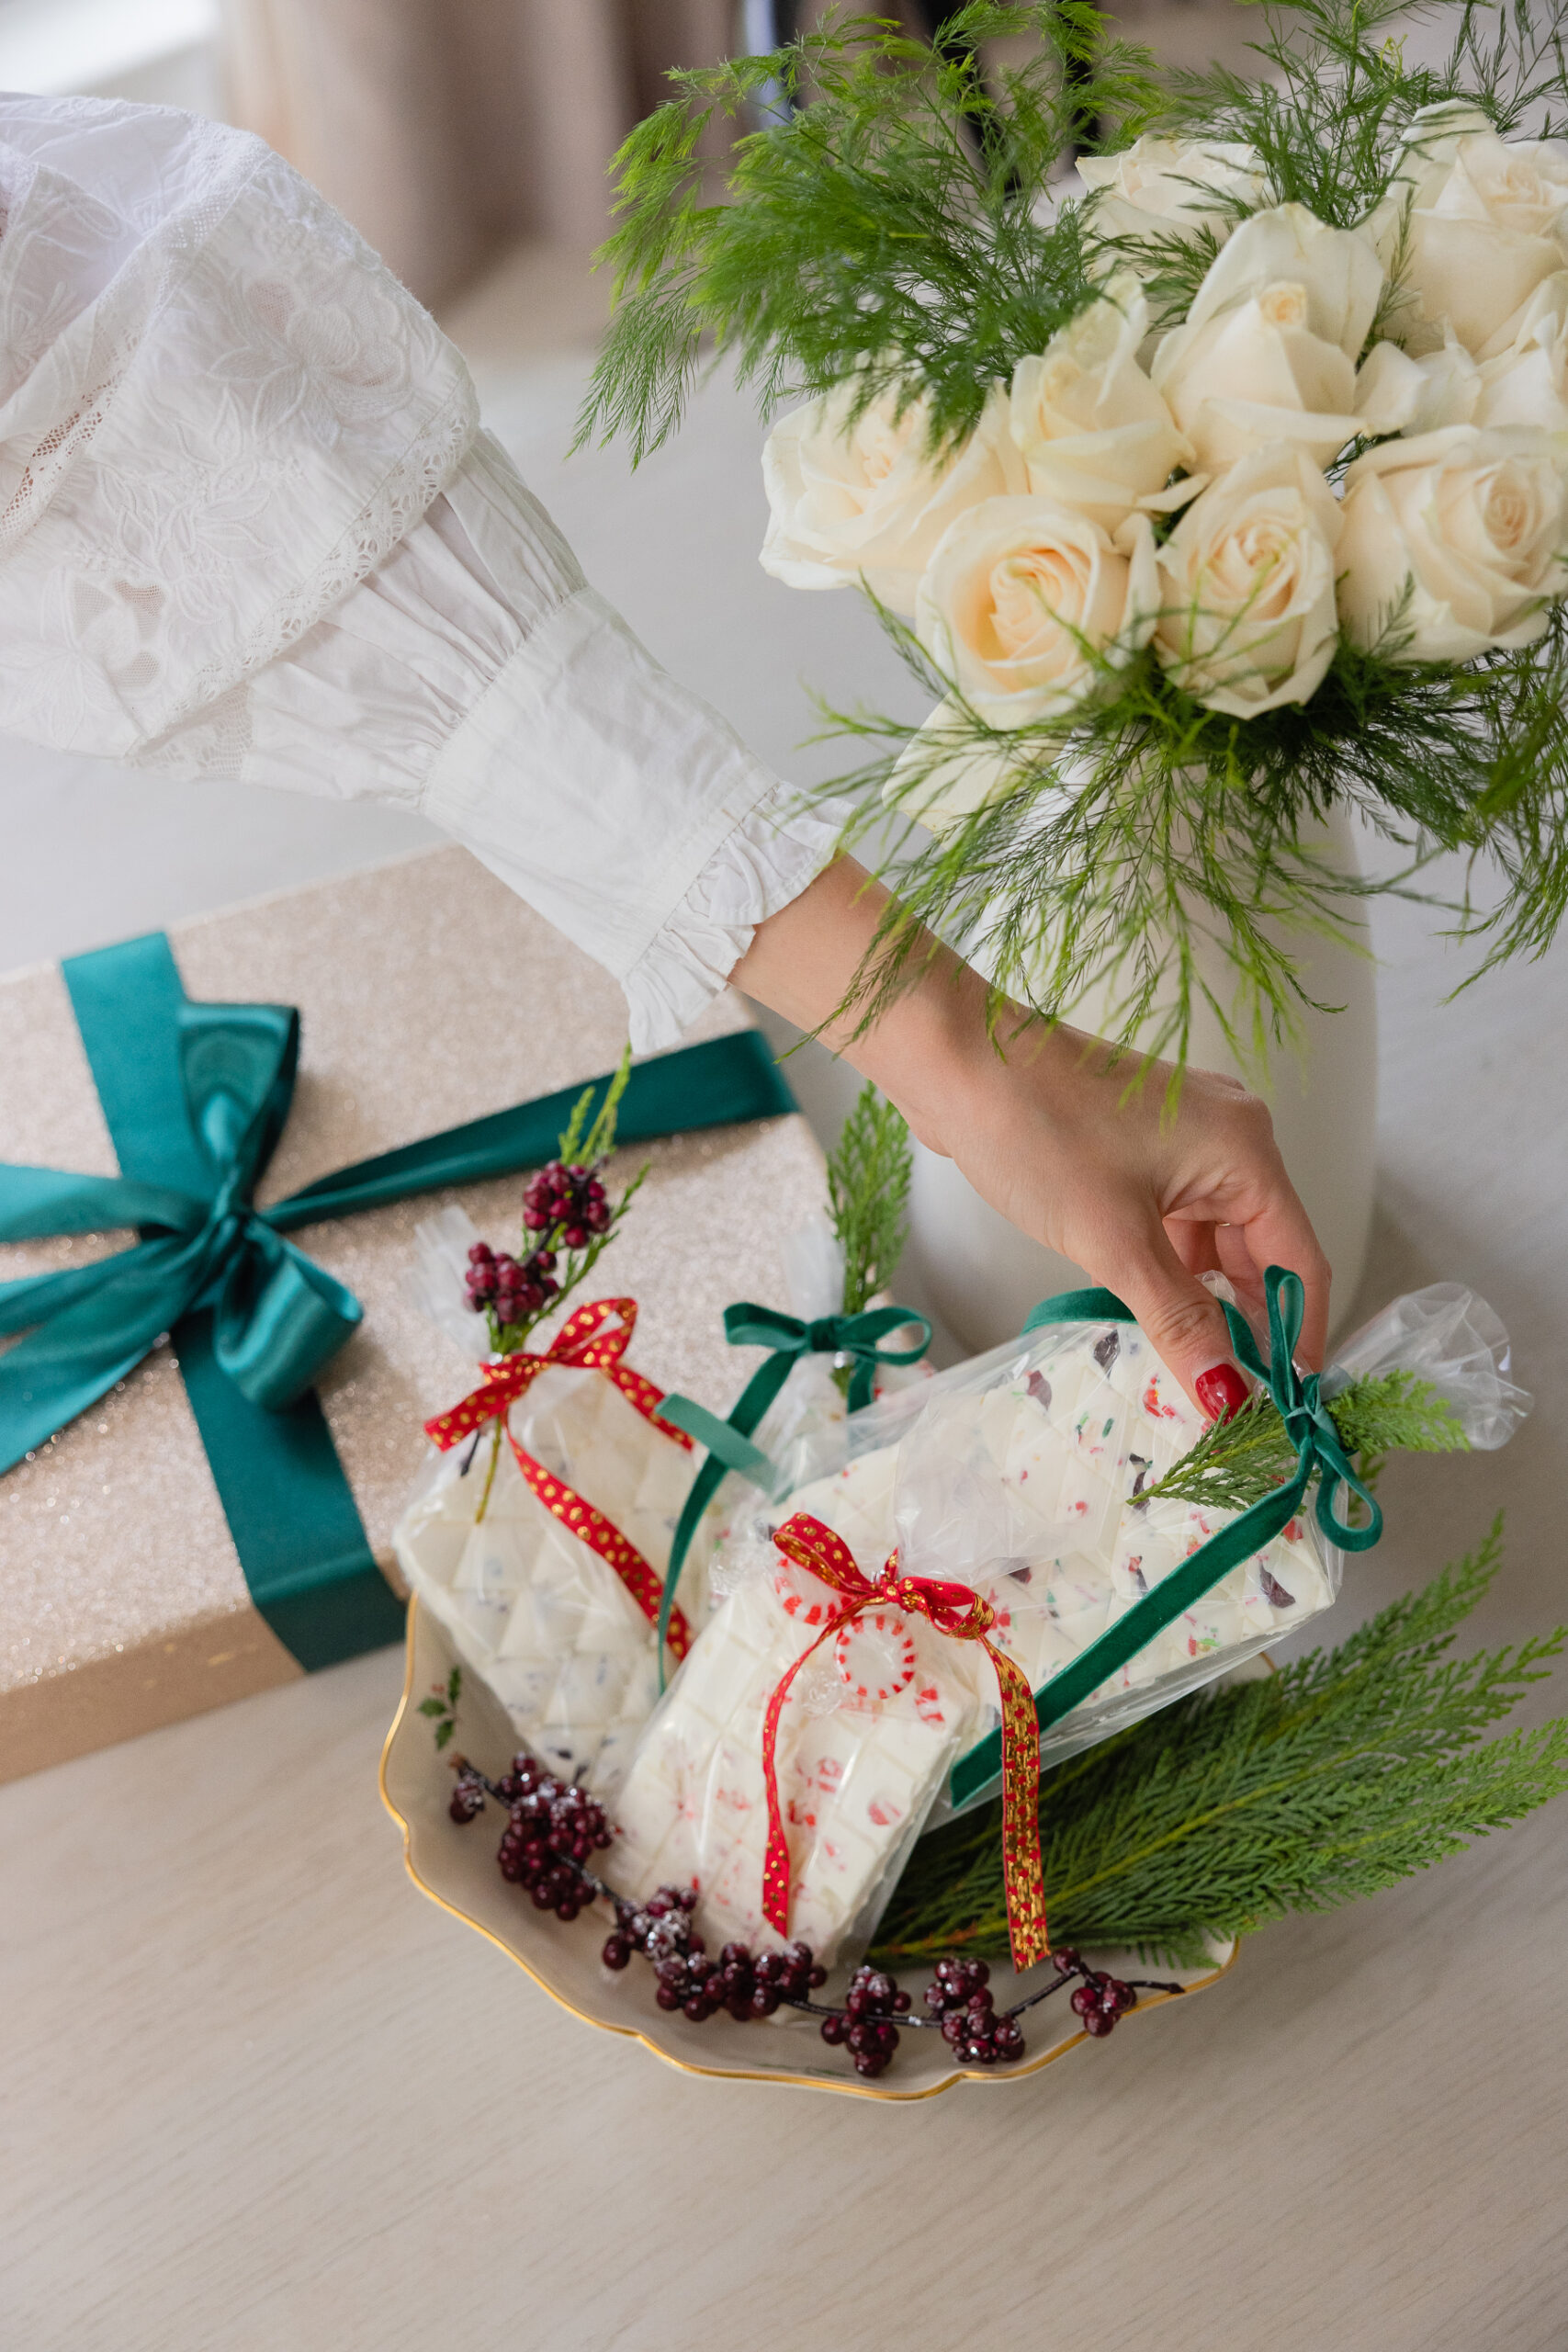
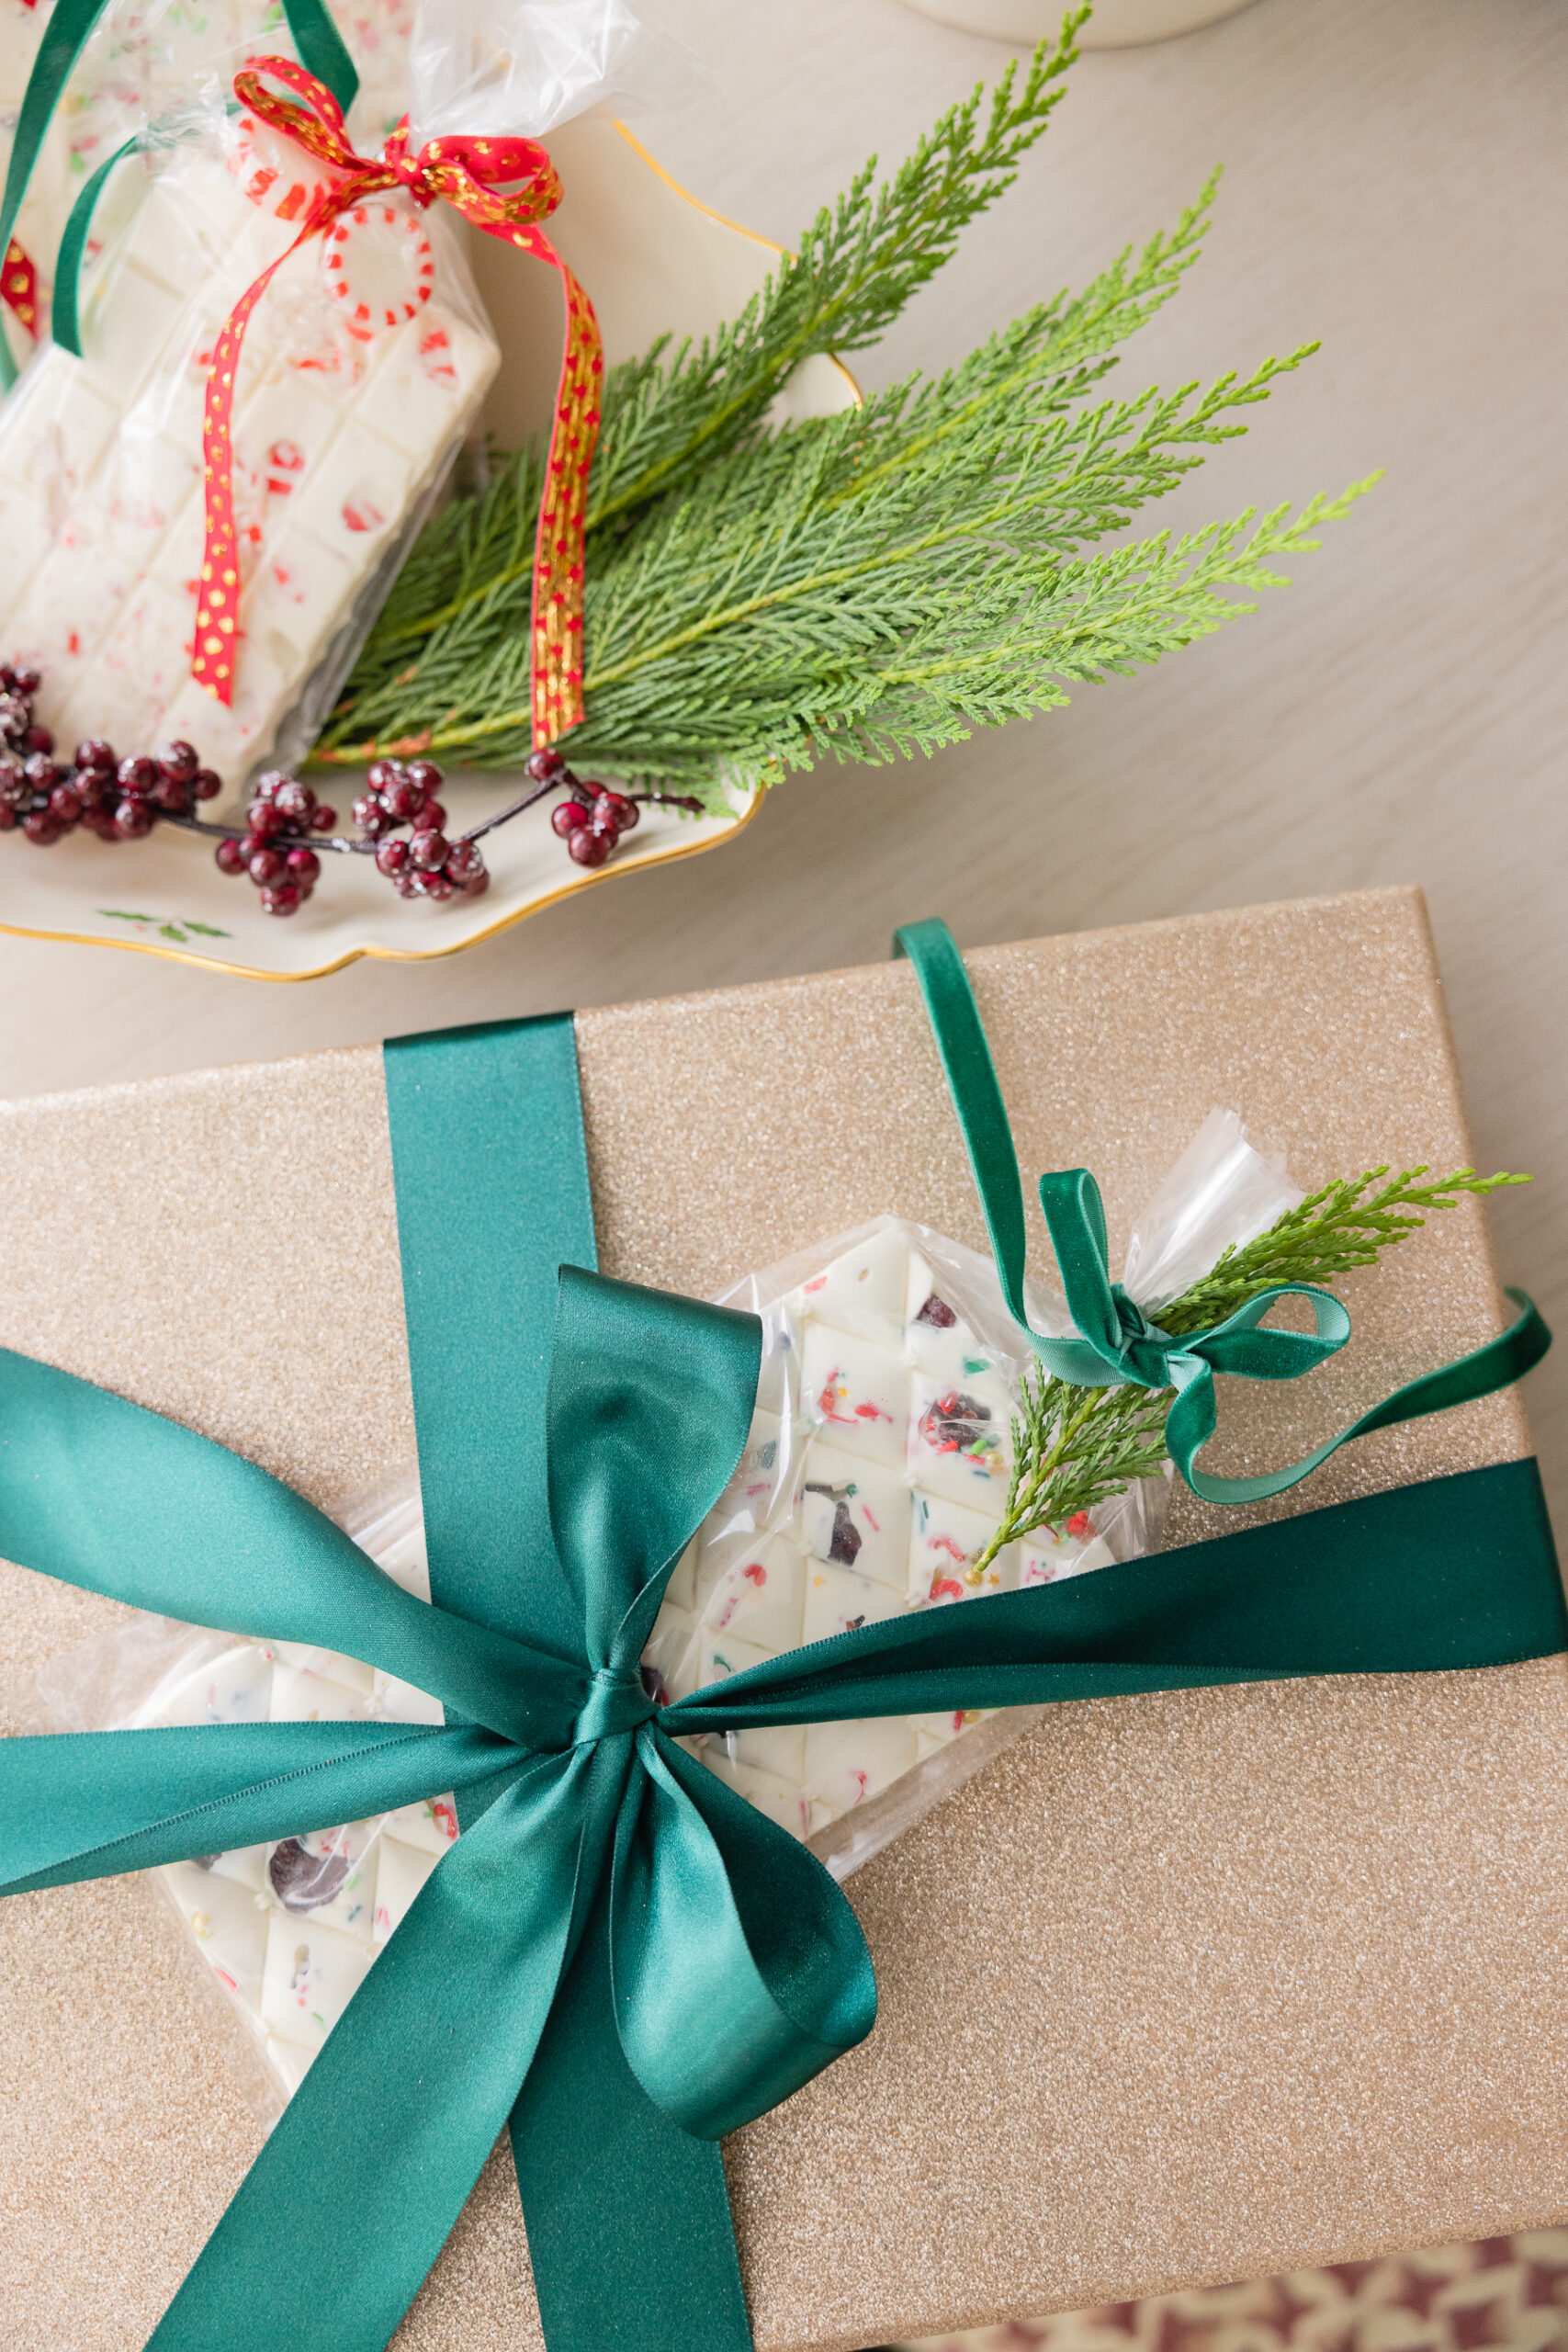
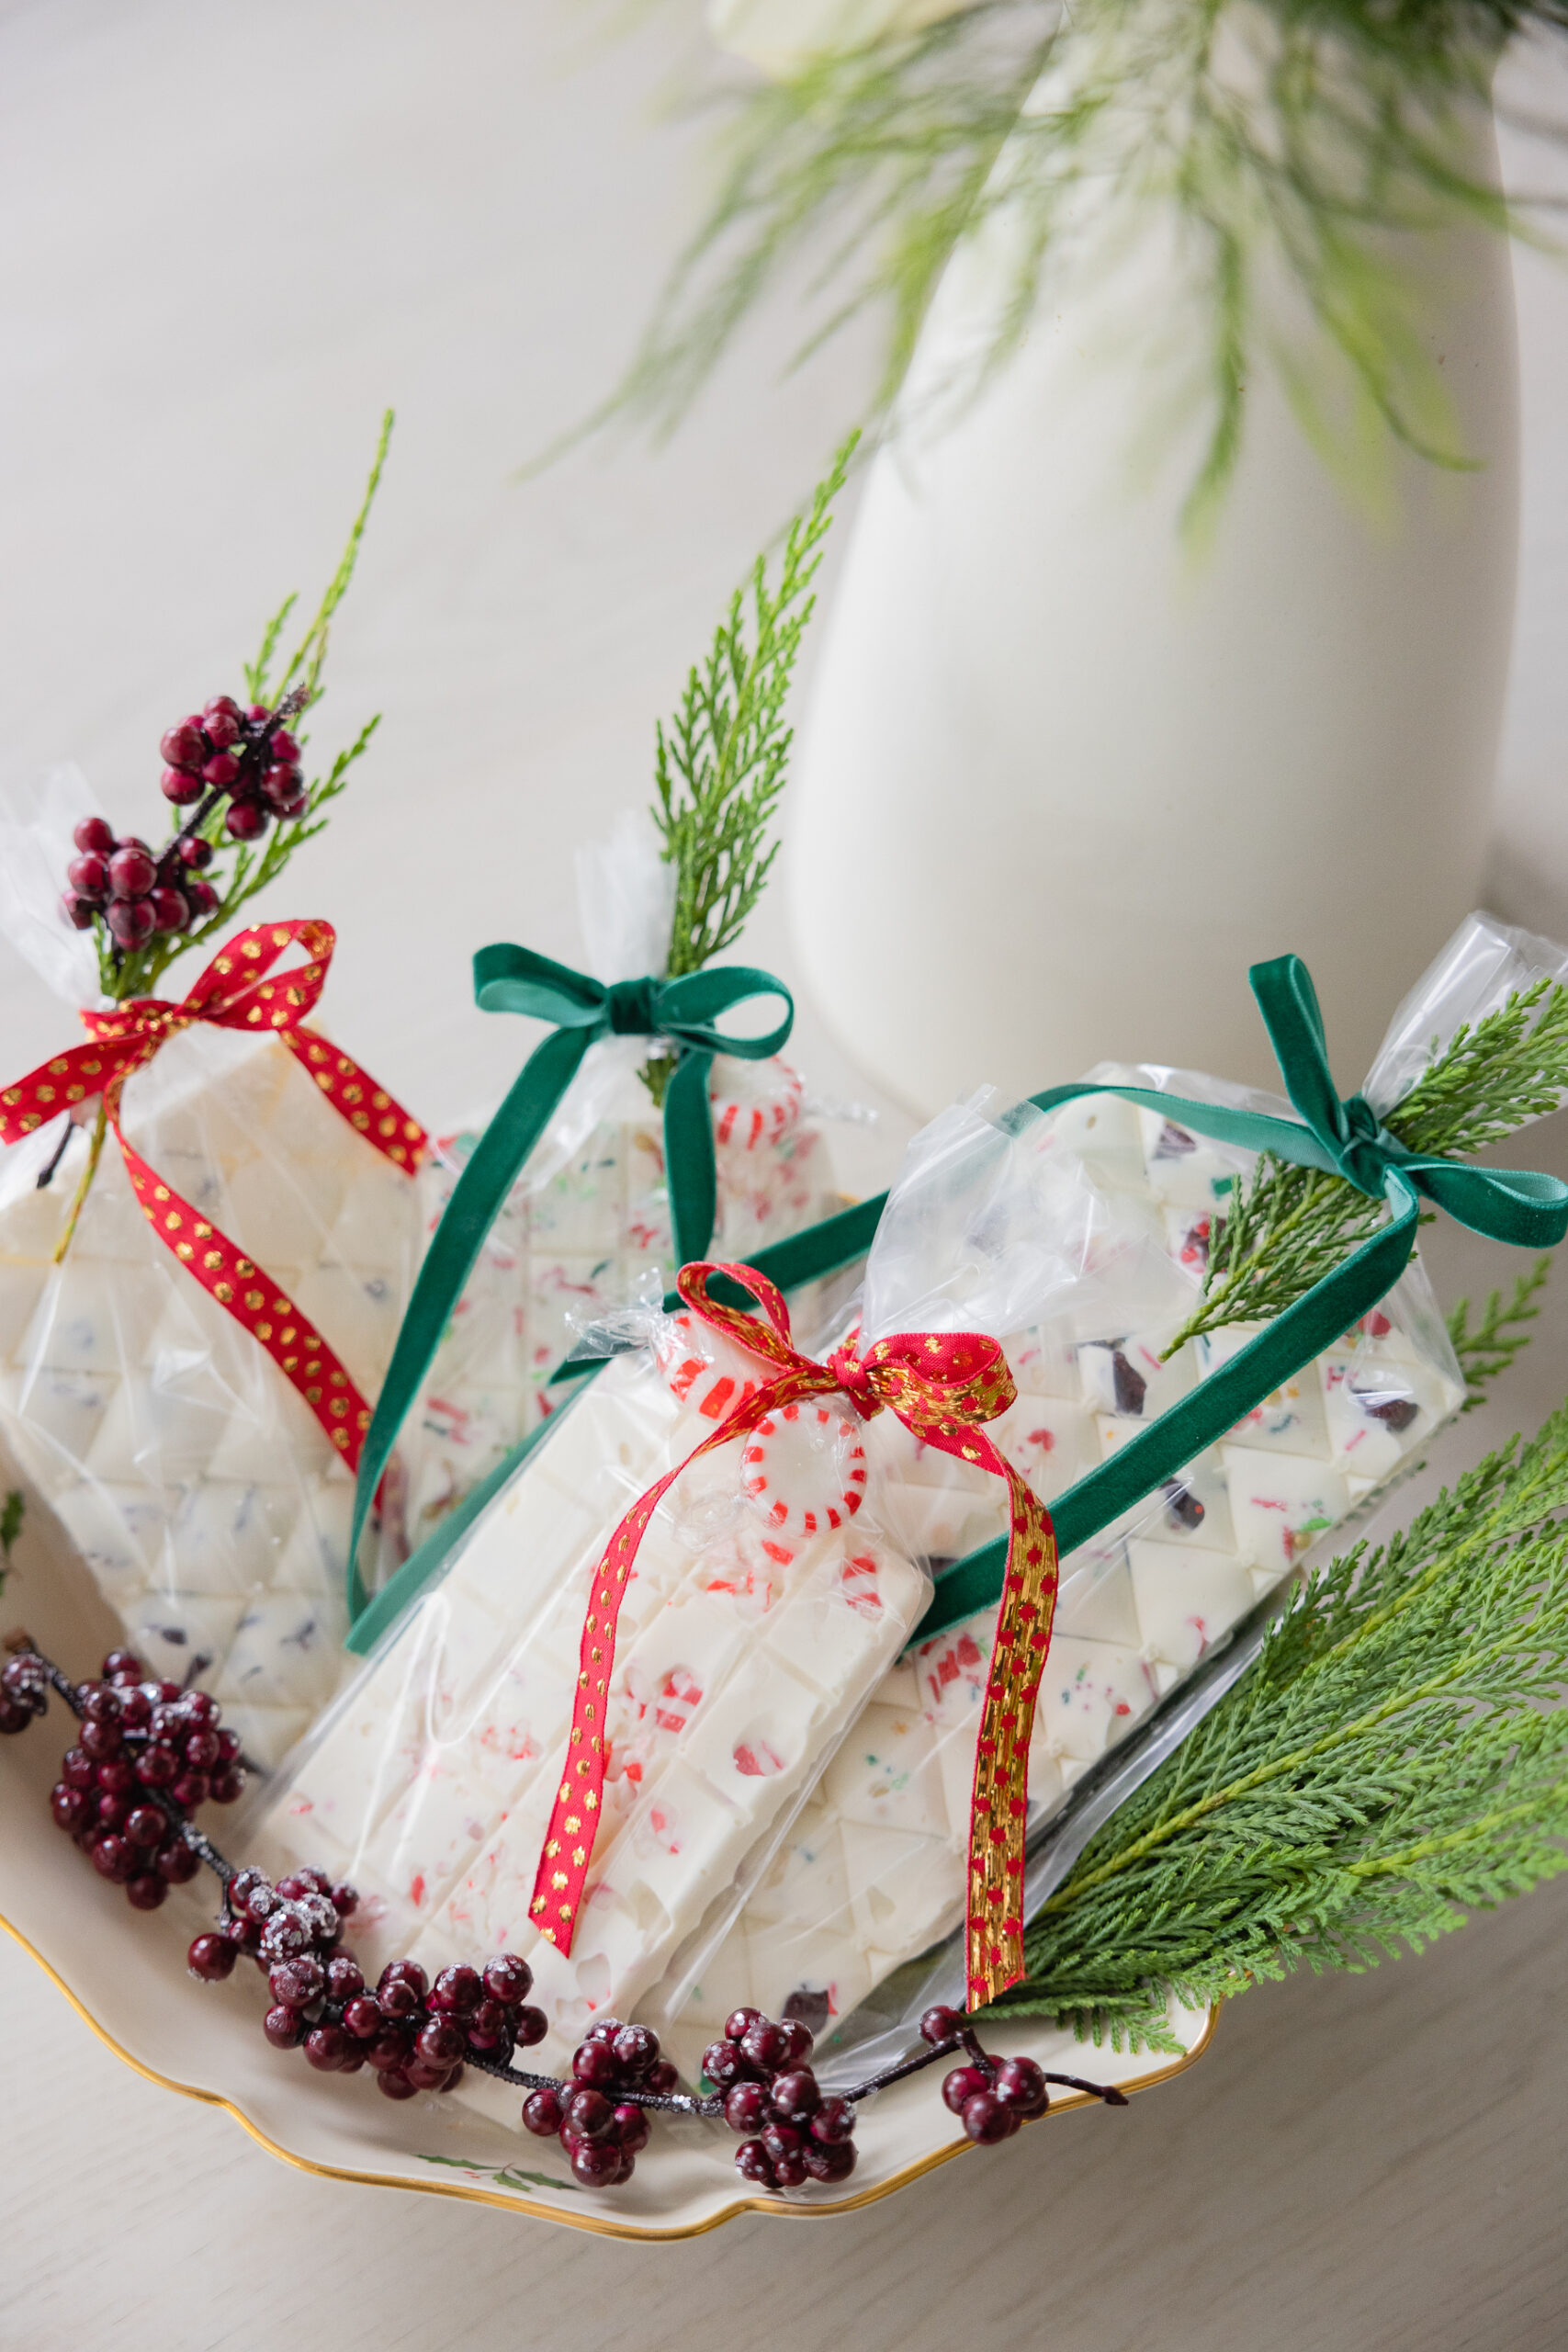
My kids love making these with me…and eating them of course. Ha! Our favorite combinations for the holiday season have been the dried cranberries with White Chocolate, for a little sweet and tart mix, the white chocolate and peppermint (like my favorite latte)– and of course, the tried and true holiday sprinkles combination. Another cute idea would be red and green gummy bears! Make sure to individually wrap your bars, and add some pretty ribbon and a piece of greenery for that added holiday pop!
in this picture
Ingredients…
Materials…
Step 1:
Melt Chocolate
Place white chocolate in a microwave-safe container and defrost for 1 minute.
Step 2:
Defrost and Stir
Continue to defrost the chocolate in 30-second increments, stirring the chocolate in-between.
Step 3:
Decorate Chocolate Molds
While the chocolate is melting, fill your chocolate molds with your preferred topping (sprinkles, dried cranberries, peppermint, etc.).
Step 4:
Pour Chocolate into the Molds
When the chocolate has completely melted and is smooth and soft, pour it over the chocolate molds. Smooth chocolate over the mold with a spoon if needed and clean the edges with a wet paper towel.
Step 5:
Freeze and Bag
Place the chocolate molds in the freezer for a few hours to harden. Once the chocolate has hardened, take the chocolate bar out of its mold and place it into a cellophane bag.
Step 6:
Tie and Decorate
Tie the bag off with a festive ribbon and garnish with evergreen, holly berries, or peppermint!
Shop the post…
[show_shopthepost_widget id=”4878276″]