The following content may contain affiliate links. When you click and shop the links, we receive a commission.
I’m always on the hunt for great activities I can do with my kids that are artistic and center around learning. I’m definitely not teacher-level skilled when it comes to crafting or dreaming up activities, but something basic is totally in my wheelhouse..and if it’s inexpensive or includes items I already have laying around it’s even better! In March, my friend bought Mateo a butterfly hatching kit for his birthday. We watched as caterpillars that came in the mail slowly made cocoons, and then emerged as butterflies! The whole process took a few weeks, and we released the butterflies on a beautiful spring day as a family. Since then, my kids have been really interested in learning about butterflies and point them out wherever we go. I have a garden on the side of our house with some pollinator plants in there, but other than that, there aren’t a ton of spots in our yard where butterflies tend to gather.
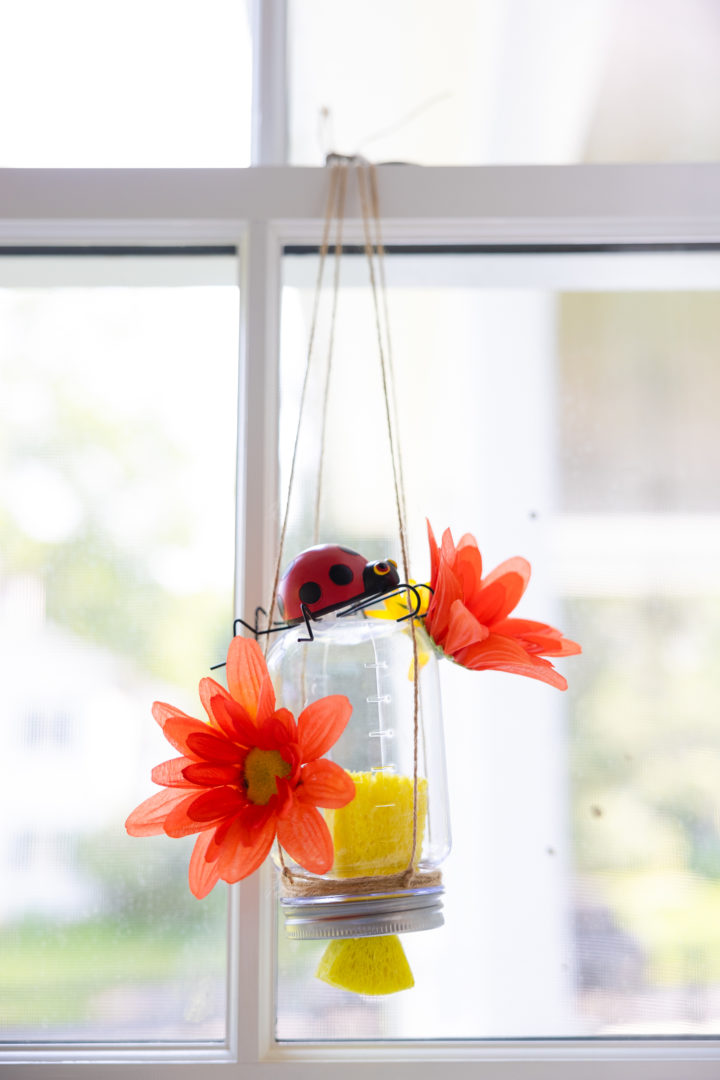
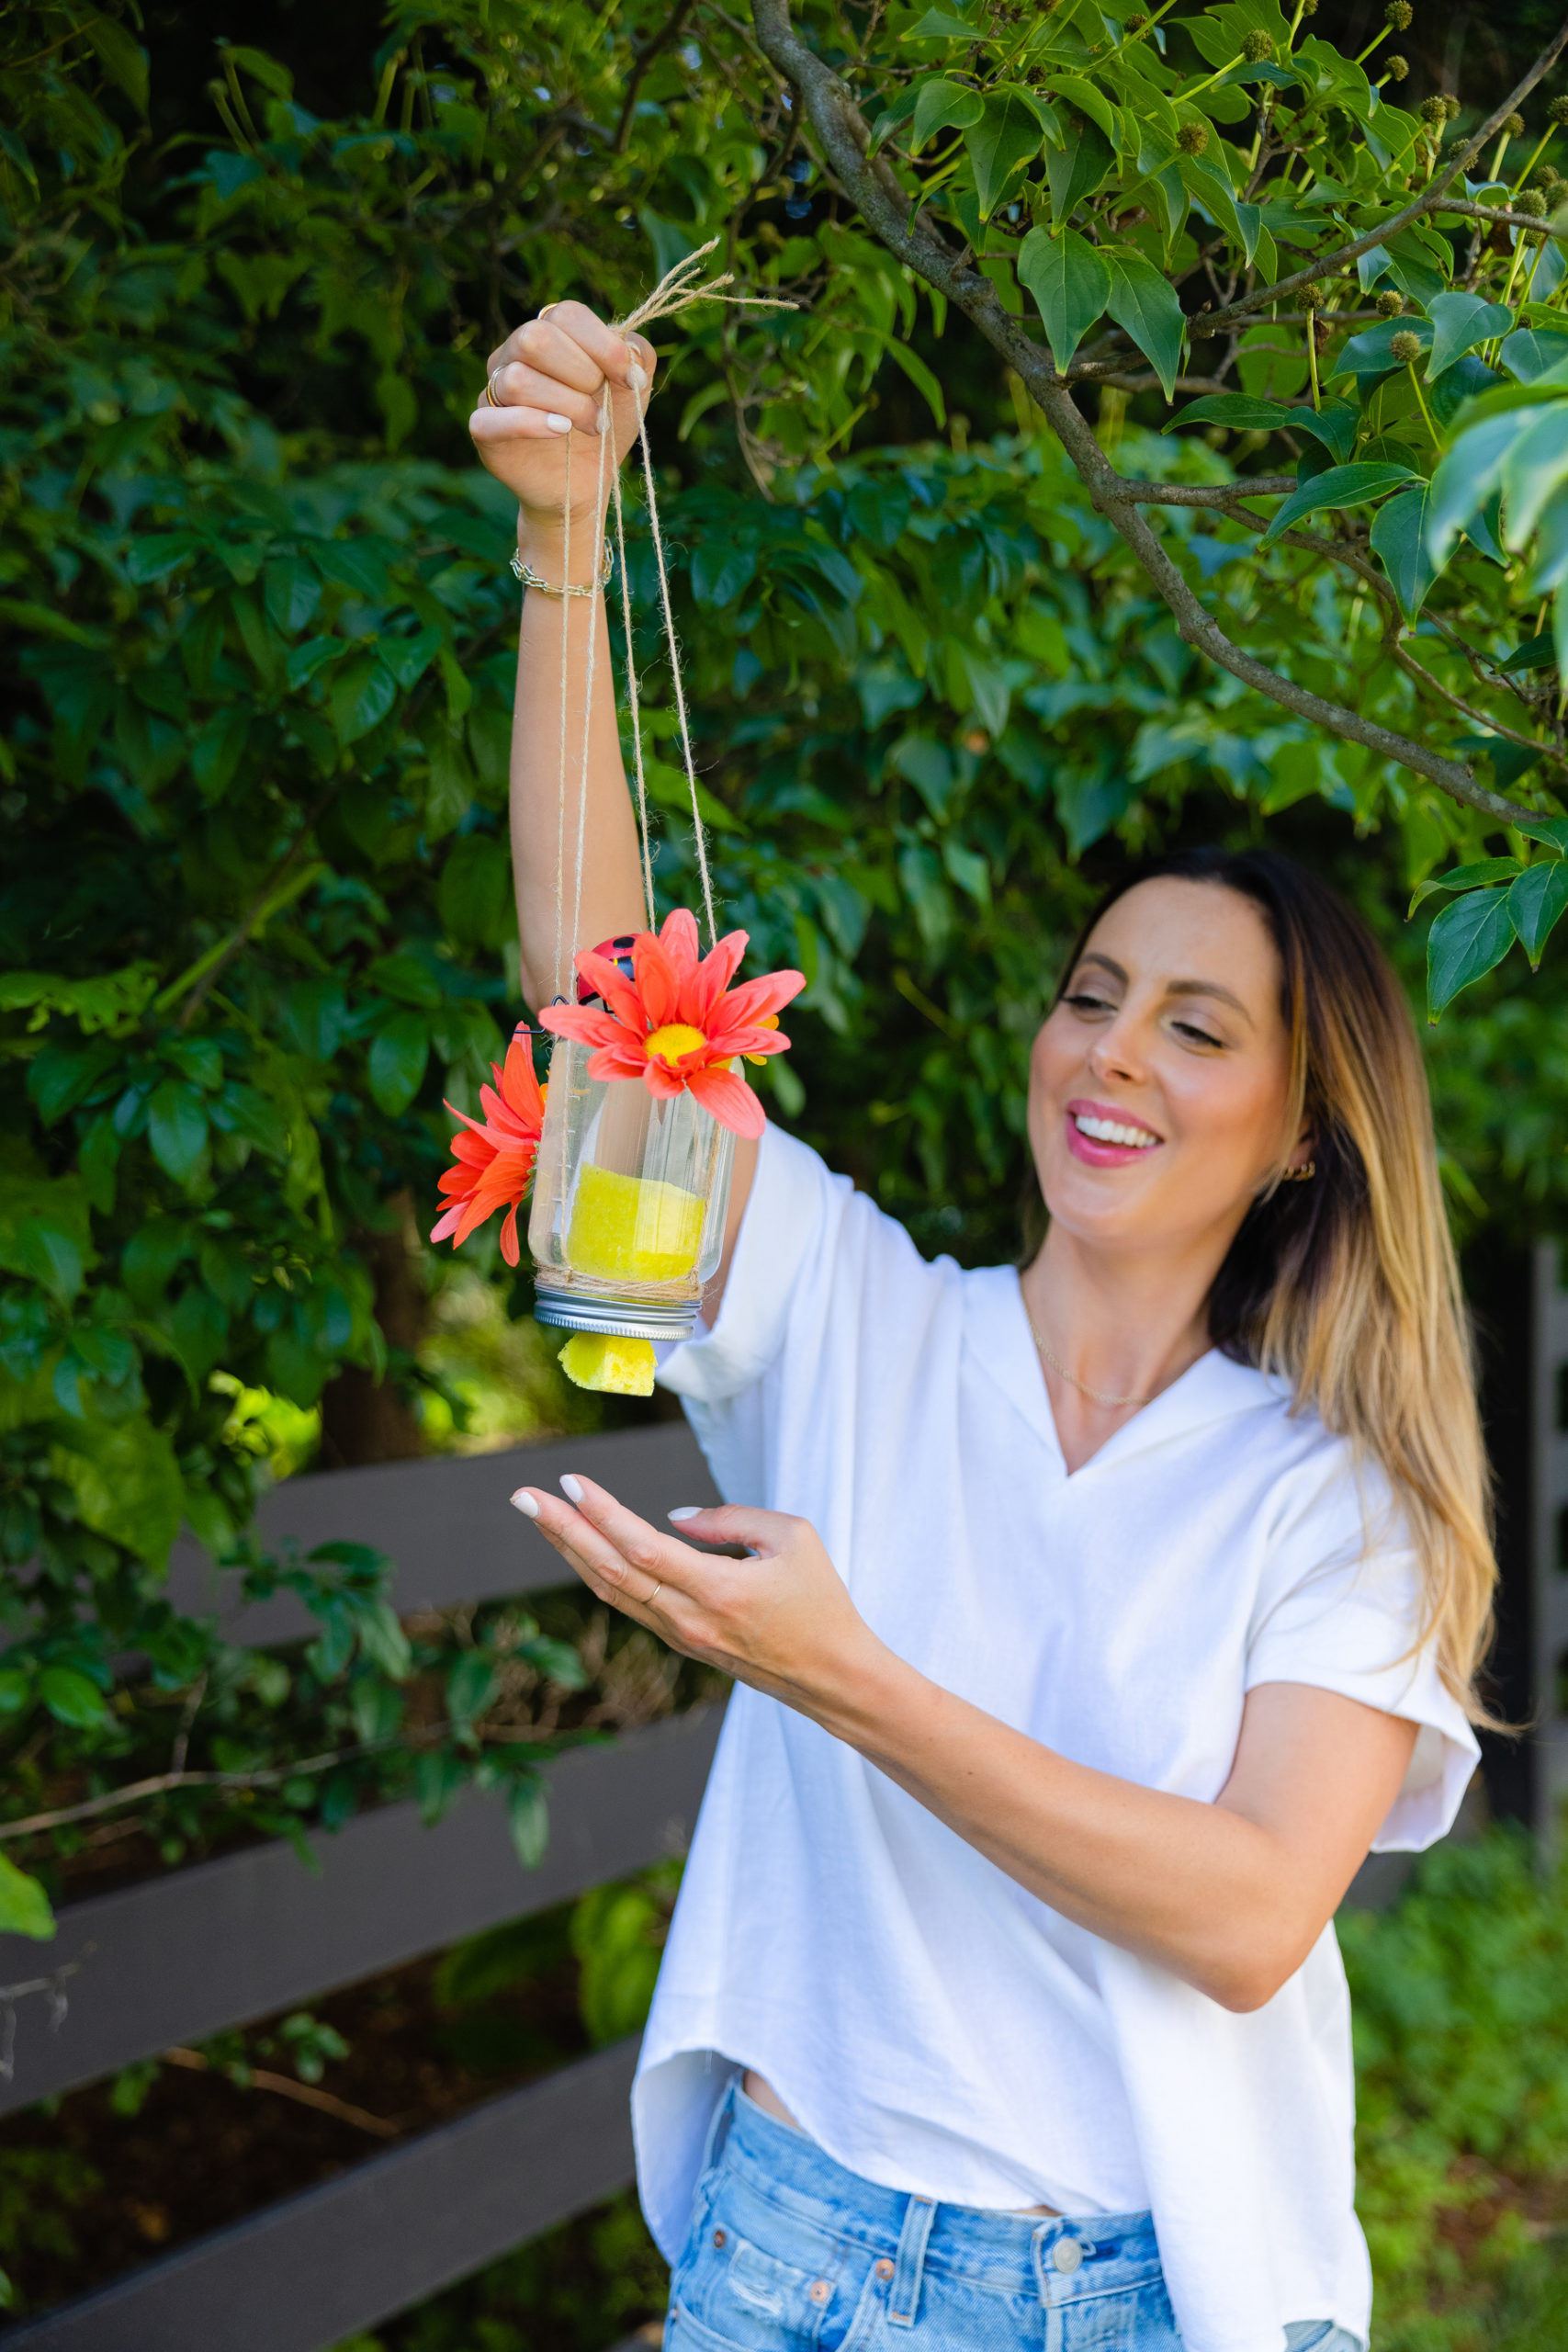
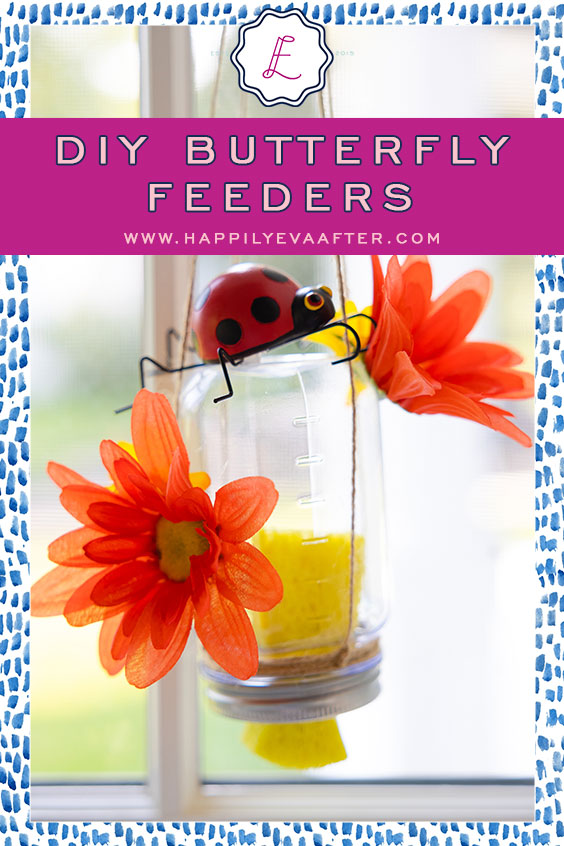
I thought it would be cool to make some butterfly feeders with the kids, and hang them to see if some of our fluttery friends could find us. This craft was so fun, and I love how it turned out! There was so much of it that the kids could help with, too. Marlowe loved mixing up the sugar water and picking out a nice shaded spot to hang our feeders. Make sure if you do this that you hang these feeders away from any play areas…the sugar water attracts bees, too! We did end up seeing a few of our butterfly friends hovering around the feeders and landing to enjoy the buffet. I’ll make sure to refill these again in the spring to enjoy them!
Materials…
- Mason Jar
- Twine
- Drill
- Hot Glue Gun with Glue Sticks (for decorating the jars)
- Faux Flowers
- Cellulose Sponge
- Sugar Water

Step 1
Wrap
Wrap some twine around the top of the mason jar a few times and secure by knotting.
Step 2
Tie
Next, cut two 36-inch pieces of twine. Take one end of one piece of twine and knot it around the twine that is already affixed around your mason jar. We’ll call this 12 o’clock. Take the other side of the same piece of twine and tie it to the opposite side of the mason jar top, and knot it (6 o’clock). Take the second piece of twine and repeat this step again on the opposite sides of the jar lid (3 o’clock and 9 o’clock).
Step 3
Drill
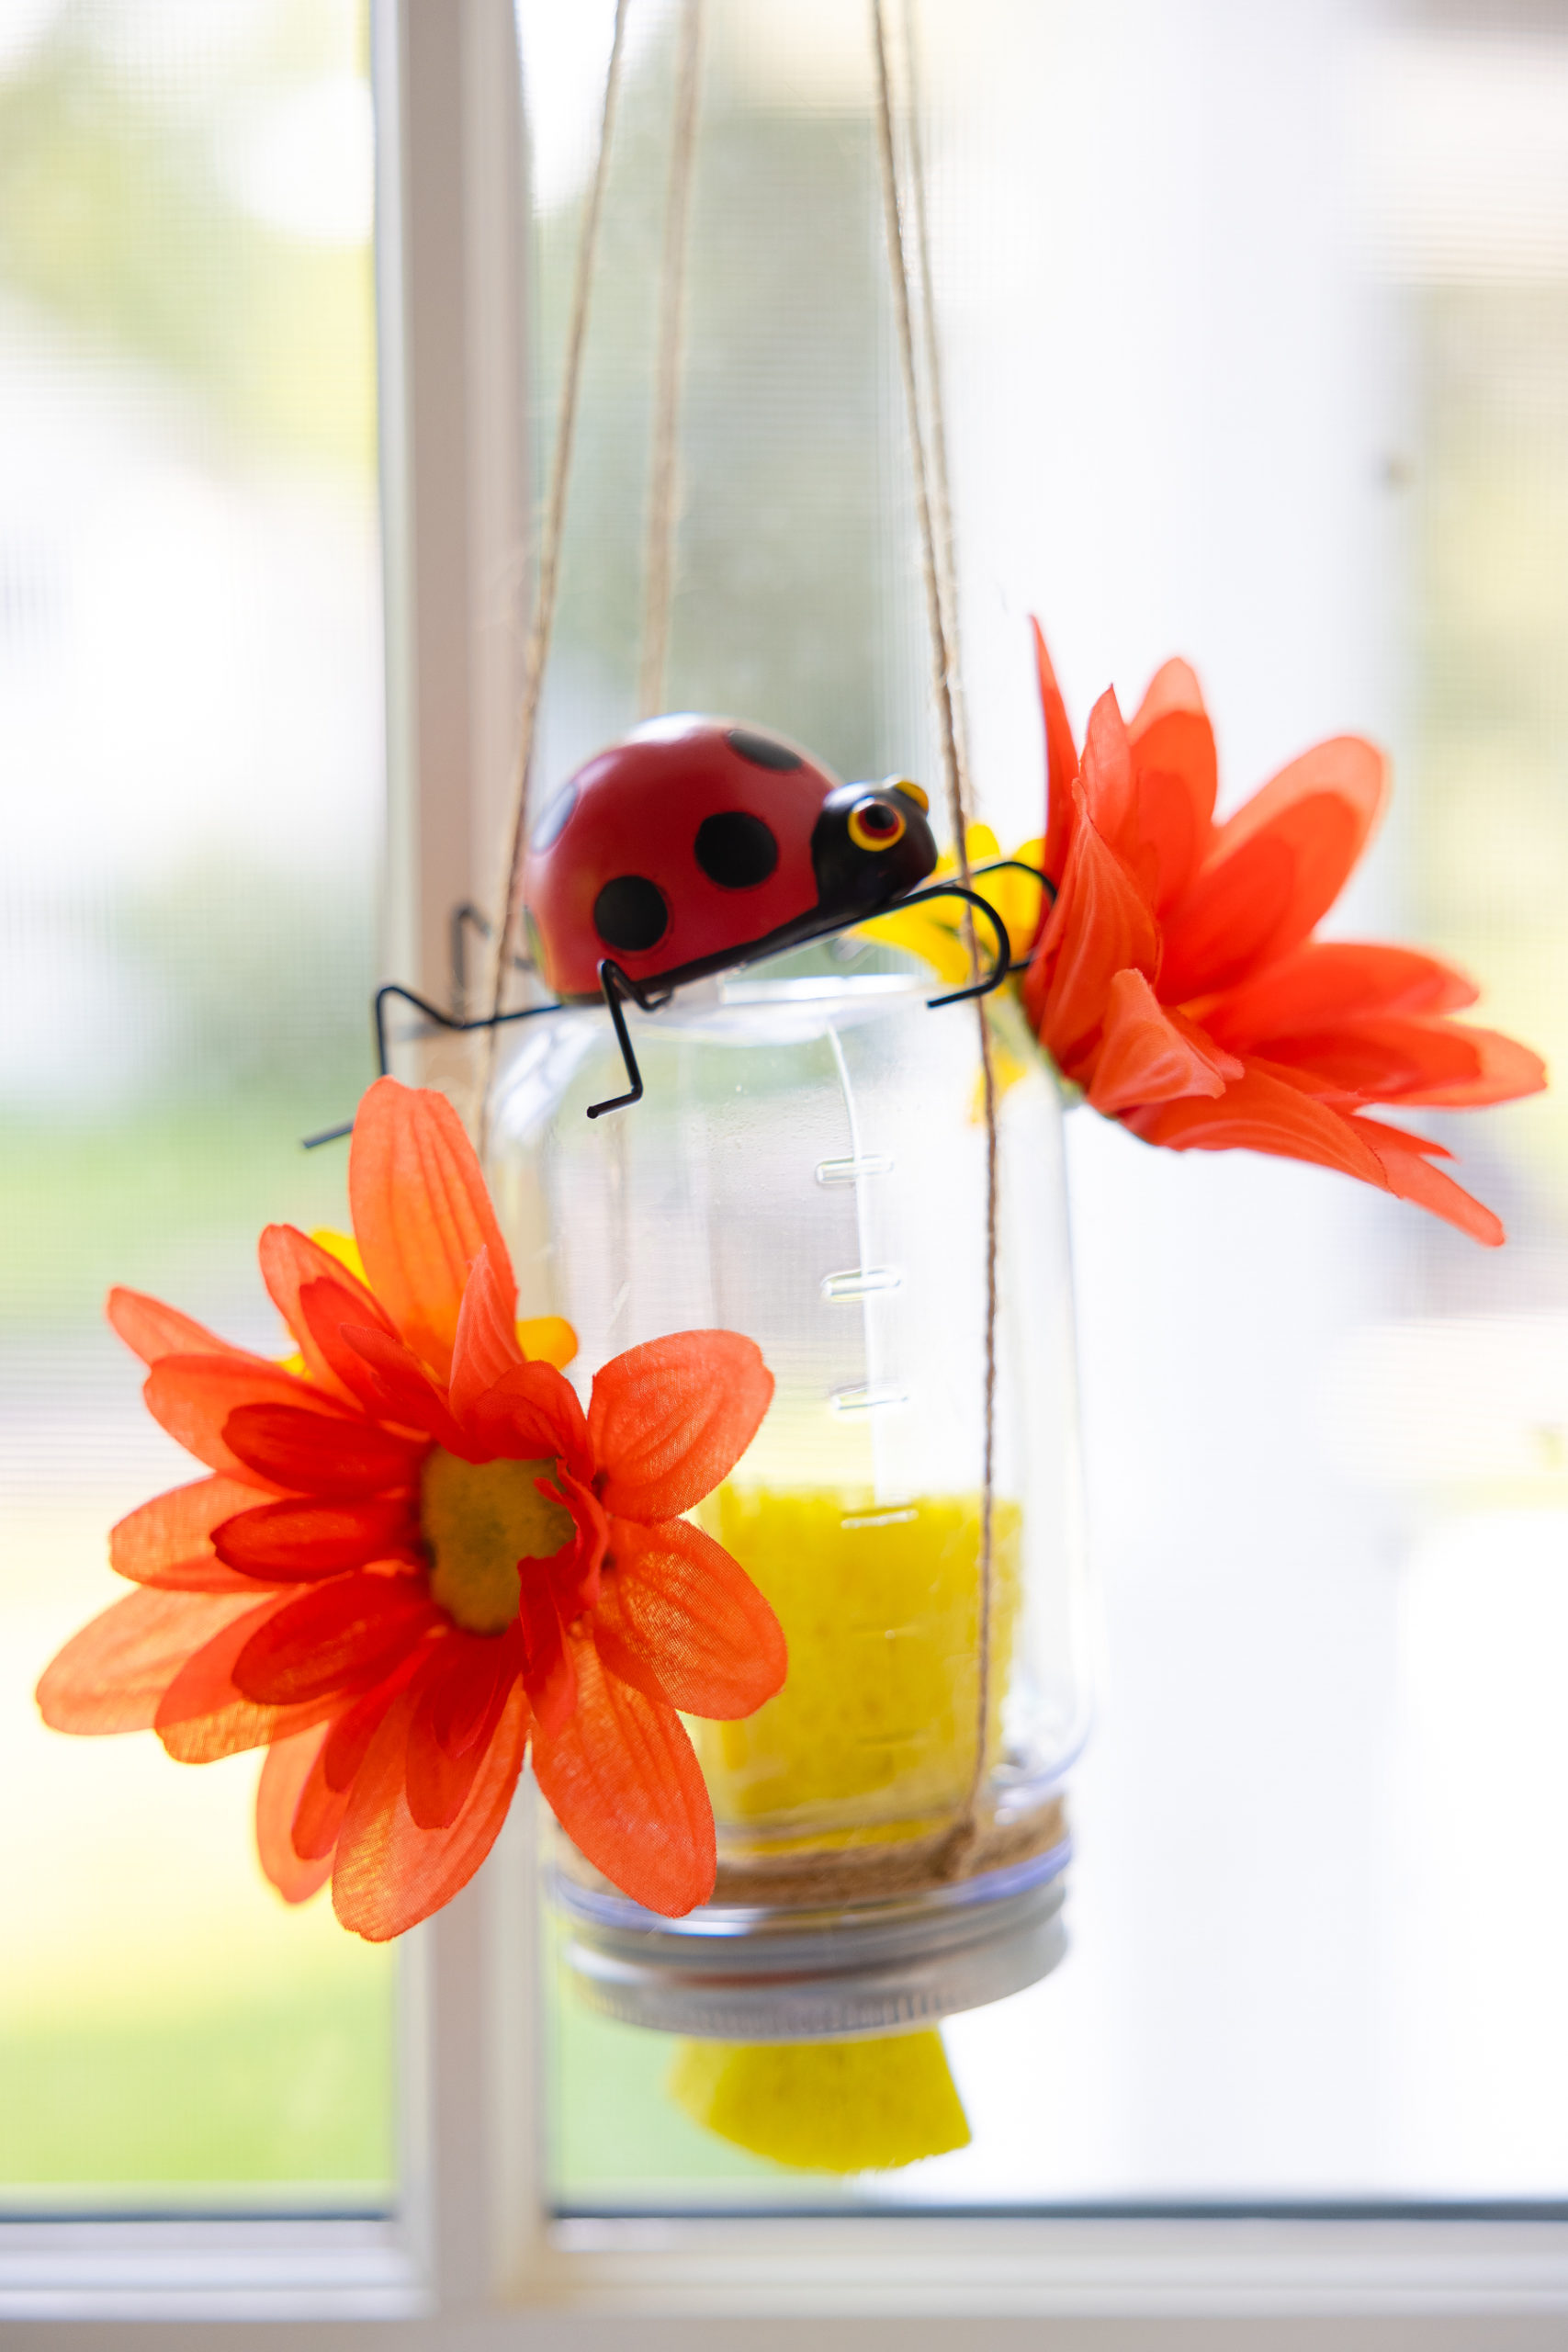
Take the jar lid top and drill a small hole (about 1/2 inch around) in the center, and push your sponge through the hole and pull it through halfway.
Step 4
Embellish
Twist your jar lid top back onto the glass base and embellish your jars. We used faux flowers.
Step 5
Make Sugar Water
Once you’re finished decorating, make some sugar water by adding a few tsp sugar to a cup of water. Wait for it to dissolve and then pour it into your jar.
Step 6
Hang
Now go outside and hang it on a tree branch and wait for the butterflies!


Photographs by Julia Dags | Copyright © 2021 Happily Eva After, Inc. All Rights Reserved.