The following content may contain affiliate links. When you click and shop the links, we receive a commission.
This blog post was originally published on June 14th, 2015. It was updated on October 21st, 2020.
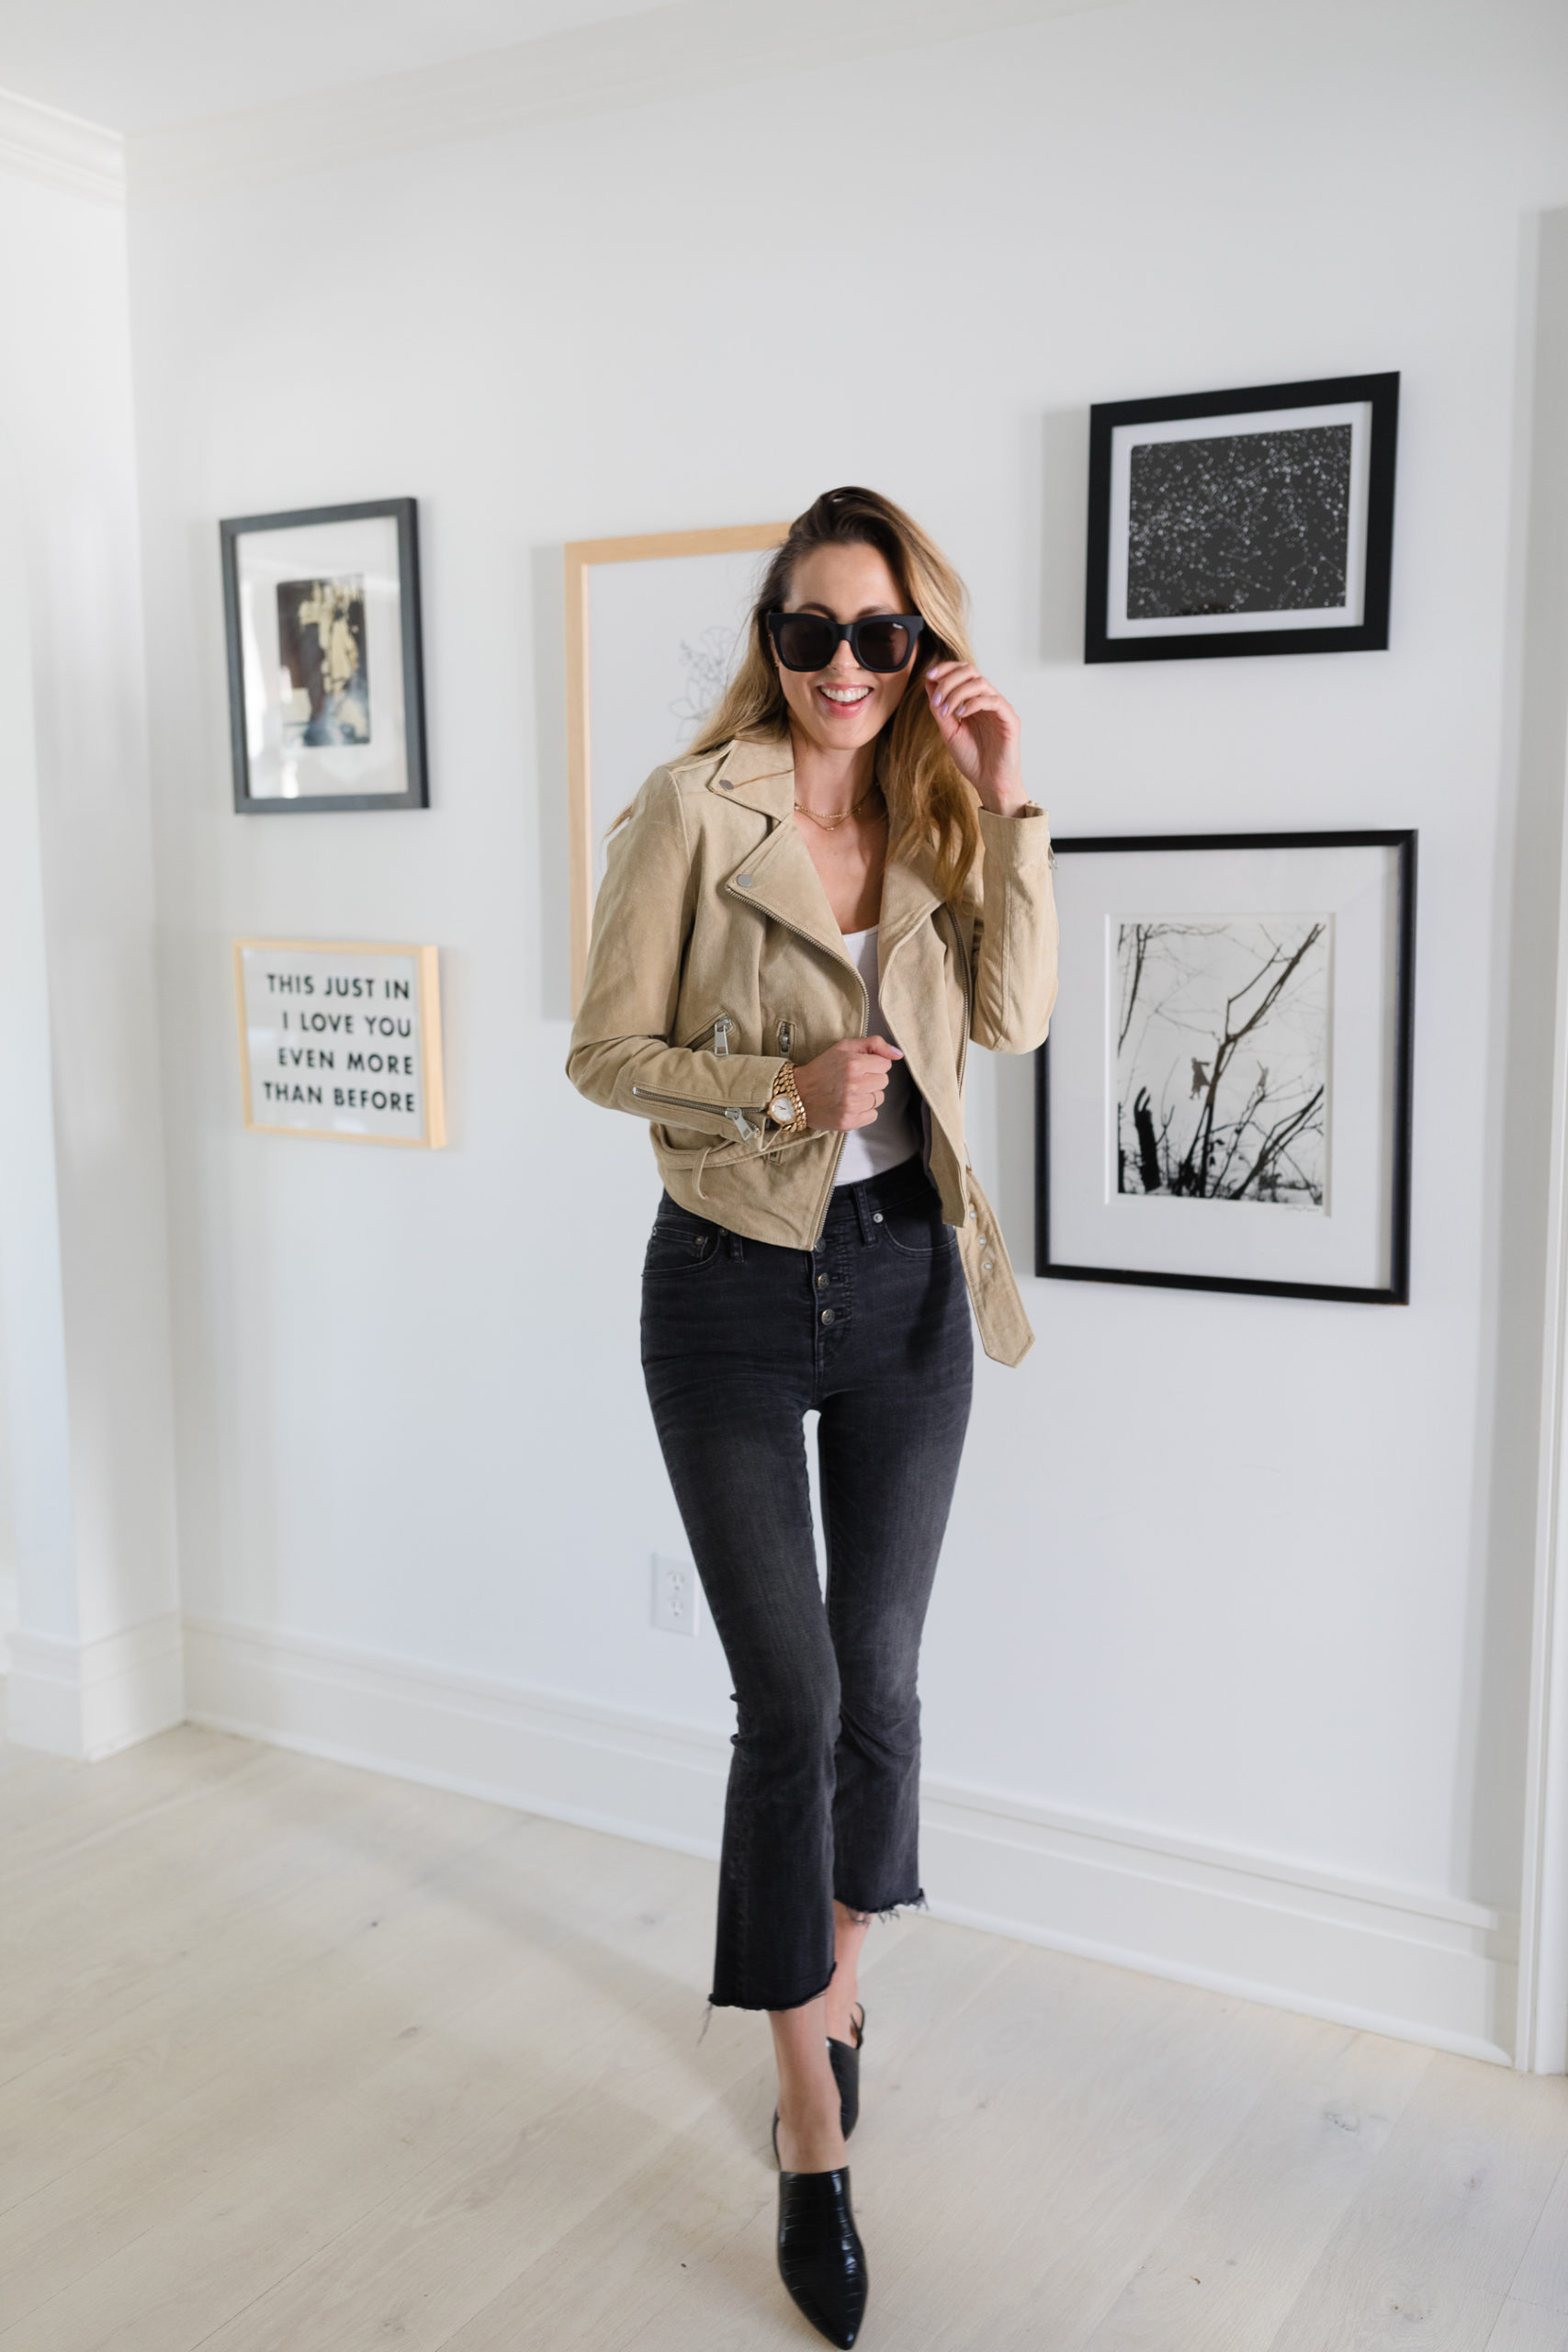
My crush on gallery walls began nearly twenty years ago on a trip to Paris. I was in the city with my parents (who were working there at the time) and as a teenager, I was given the freedom to explore the city a bit during the day.
I traipsed around in outfits that had been painstakingly planned, looking for (older) boys to try and fall in love with, eating about three hundred chocolate croissants a day, and sneaking in a glass of wine at the local cafés (tisk tisk!).
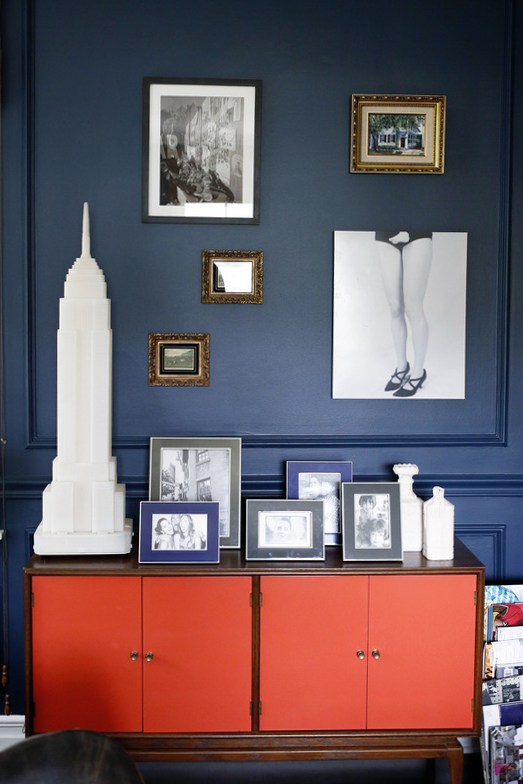
in this picture
And many of these cafés would feature at least one perfectly executed gallery wall, in which varying pieces of seemingly incongruous art were hung together in an imperfectly harmonious arrangement — all while looking so effortless and let’s be honest, très cool. There was something about the design of it that I loved instantly and have ever since.
I have come across so many beautifully designed gallery walls since then, and have hung at least one in every apartment or home I have lived in since!
P.S.: these are also called parlor walls or salon walls, for those of you Googling!
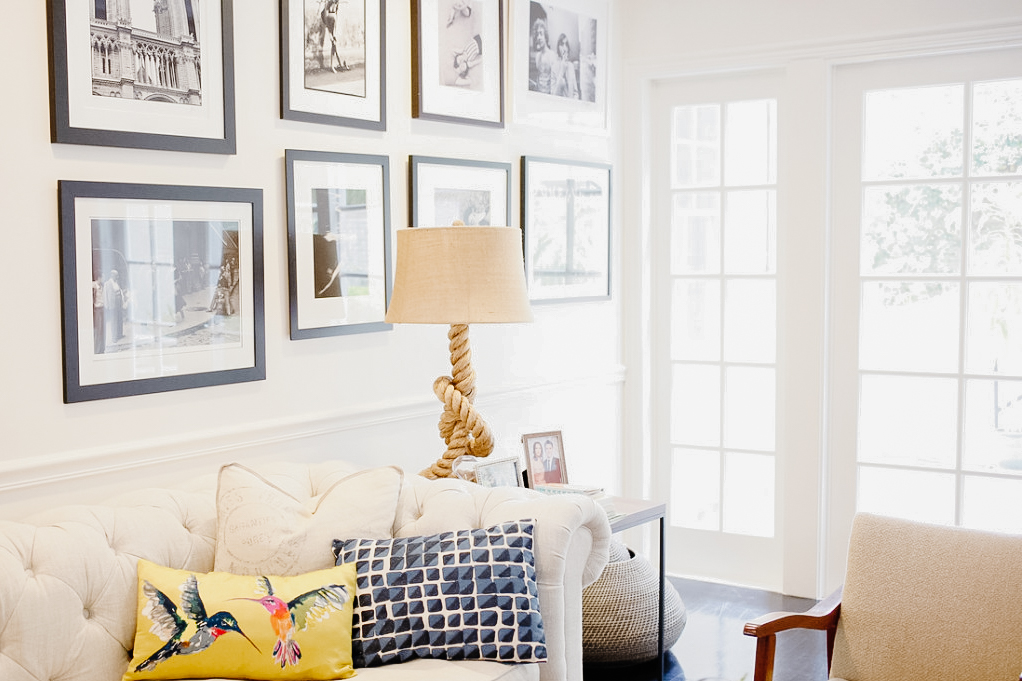
in this picture
Another great aspect of these walls is that they utilize the art collection you have been accumulating over the years — in any and every medium. This is especially useful when you are moving in with somebody and…ummm….compromising with your belongings.
And by art, I mean whatever you like that you have picked up over the years. It doesn’t have to be so serious. They can be paintings, prints, drawings, cool vintage posters, or repurposed needle-points from flea markets. You can even use things you made yourself!
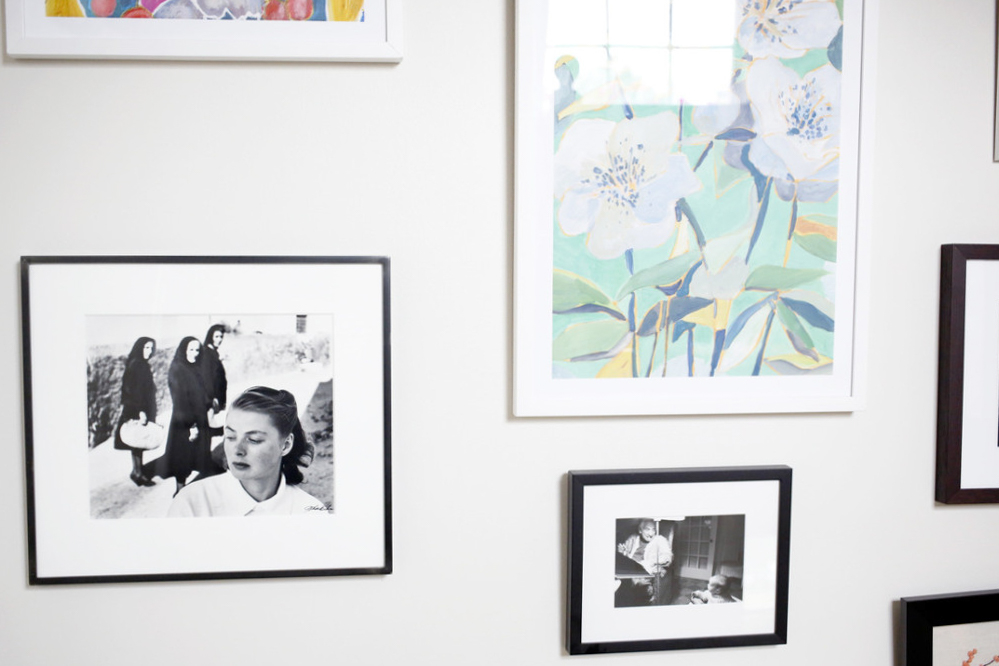
in this picture
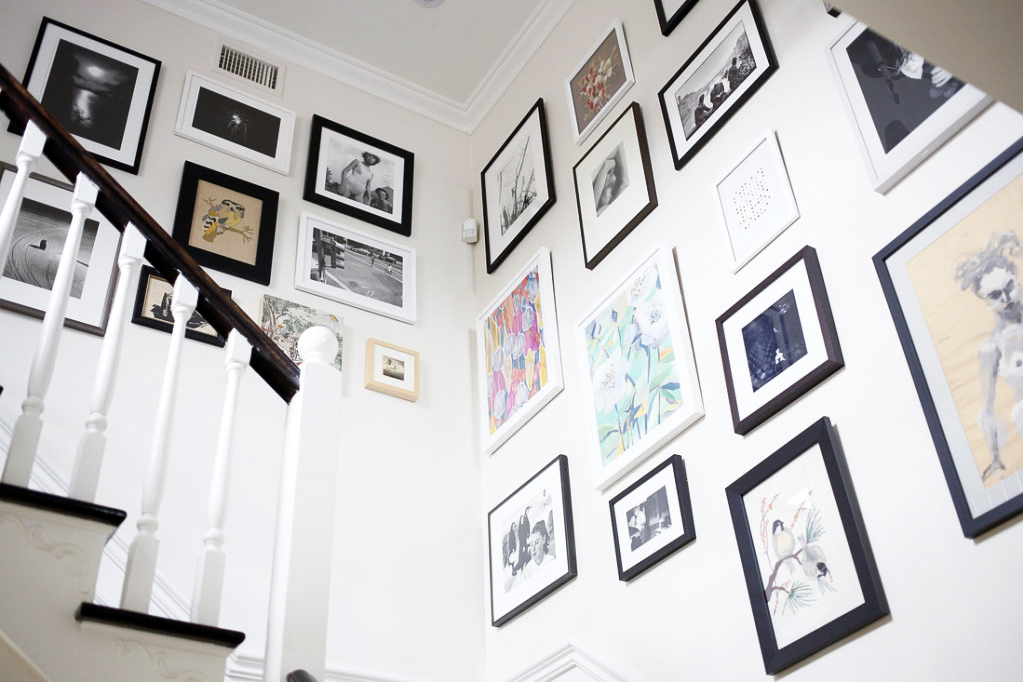
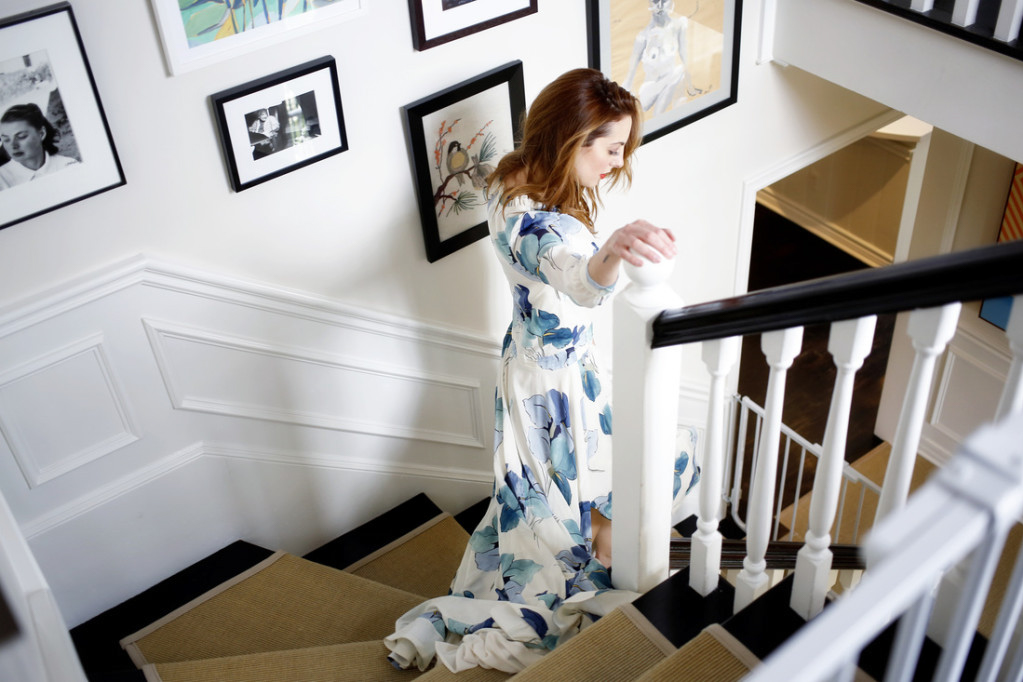
When Kyle and I bought our first home, I knew I wanted to make a huge gallery wall up the staircase as a major focal point. We both had a bunch of different pieces we had accumulated over the years, and since I knew I wanted this gallery wall to be BIG, I was suddenly on the lookout for things to add before we hung it.
I visited flea markets, small (and inexpensive) art shows, and even re-framed two needle-points that my great-grandmother had made for my grandmother’s childhood bedroom. The greatest part is that once you hang up your own well-choreographed gallery wall, there is a sense of history, character, and emotion that is uniquely yours.
But I have learned many lessons from my gallery wall obsession over the years, so here are some of my tips and tricks for getting it just right…
in this picture
1.
Don’t be afraid to hang a mix of mediums. I love combing photography, drawing, and painting for larger areas, and sticking to one medium (black and white photography, for example) for smaller spaces.
2.
Maintain continuity by sticking to one style of frame or one color of frame. This makes pieces that may be very different in subject or medium still look like they belong together on the wall. For example, you can try all black, all white, or all wood frames. Wood frames in varying grains or stains would look great, too! On the big gallery wall on my staircase, I used mostly matte black frames with a few white frames mixed in for a pop.
3.
Only use pieces you LOVE. Buy on instinct. If you feel a connection with all the art pieces you hang, they will look great together because your aesthetic is the common thread between them.
4.
Rustle up art from your past. I re-framed family heirloom needle-points as well as a drawing I did in high school and an old Polaroid of my mother that I had blown up and printed on rice paper. Get creative! It’s amazing how different something can look when it’s framed nicely.
5.
If it’s not in your budget to get your pieces professionally framed, use standard frames that you buy online or at the craft store and frame them yourself. No need to break the bank to get a great looking wall.
6.
Try a pop of color on the wall. A white wall can be a great blank canvas for many different kinds of artwork but experiment with paint swatches. Sometimes a strong and unexpected color can be just what your parlor wall needs to support it. Lemon Yellow, Indigo, Caviar, or Dove Grey feel very modern.
7.
To hang: TAKE YOUR TIME! This can be hard with kids, work, etc. so if you need to, do it at night. Pour a glass of wine if that helps you get in a creative headspace. Layout all of your pieces on a large area (I use either the living room, with furniture out of the way, or the front yard) Make an outline on the floor with duct tape that represents the measurements of the area where you’re hanging your parlor wall. Then, mix and match. Play with different pieces next to each other, as well as how much space you put between frames. Think of it as an aesthetically pleasing game of Tetris. When you’re happy, snap a pic on your phone from above so you remember where everything goes. Then start hanging! Remember that imperfection is fine with a parlor wall…which is probably why I love them so much.
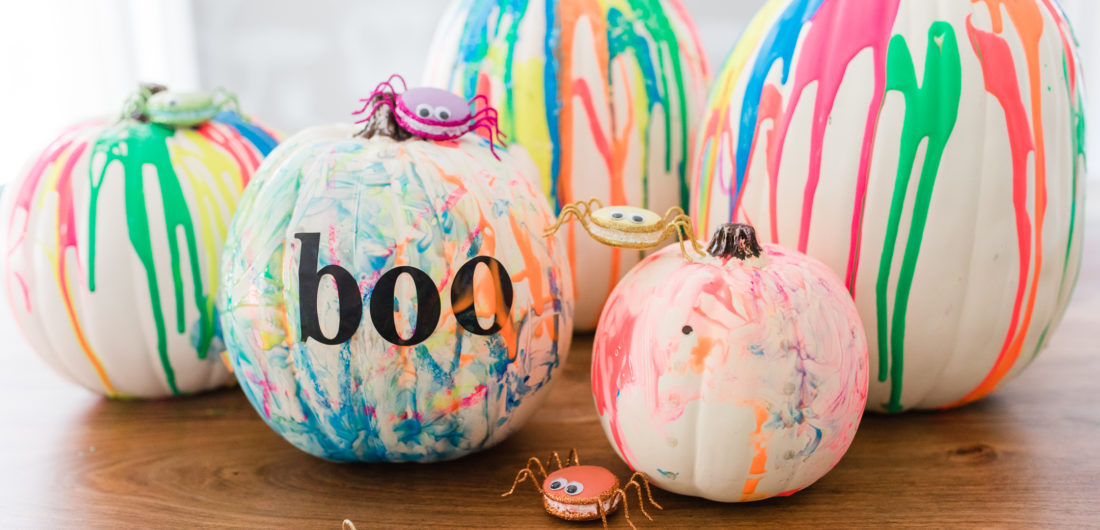
in this picture
Shop the post…
[show_shopthepost_widget id=”4222792″]
Eva,
Thank you so much for the tips! I have been obsessively looking through your blog all day, and even bought one of the white vases you recommended tonight.
I have been a fan of yours for a long time and love all of your design ideas. Your family is beautiful as well.
Areth
A nod to one of your very first posts! Your LA home was so fun and vibrant. I’m OG follower!