The following content may contain affiliate links. When you click and shop the links, we receive a commission.
I looooove a pumpkin during the Fall months, Y’all! I’m usually the Mom bringing her kids to the pumpkin patch so early in the season that we’re all sweating picking them and gulping our hot cider. Worth it! I love pumpkin-flavored food and treats, as well as using pumpkins as decor. They’re pretty much all over my house from September through Thanksgiving. Around this time of year, I also love trying out a new kind of pumpkin decor. We always carve pumpkins with the kids right around Halloween (it’s become Pappy T’s “thing” to bring big pumpkins over and help them carve one) but since they don’t last too long I also like a faux pumpkin that I can craft with and save for longer! I’ve done so many fun fall pumpkins over the years. Check out the blog posts if you’re looking for inspo!
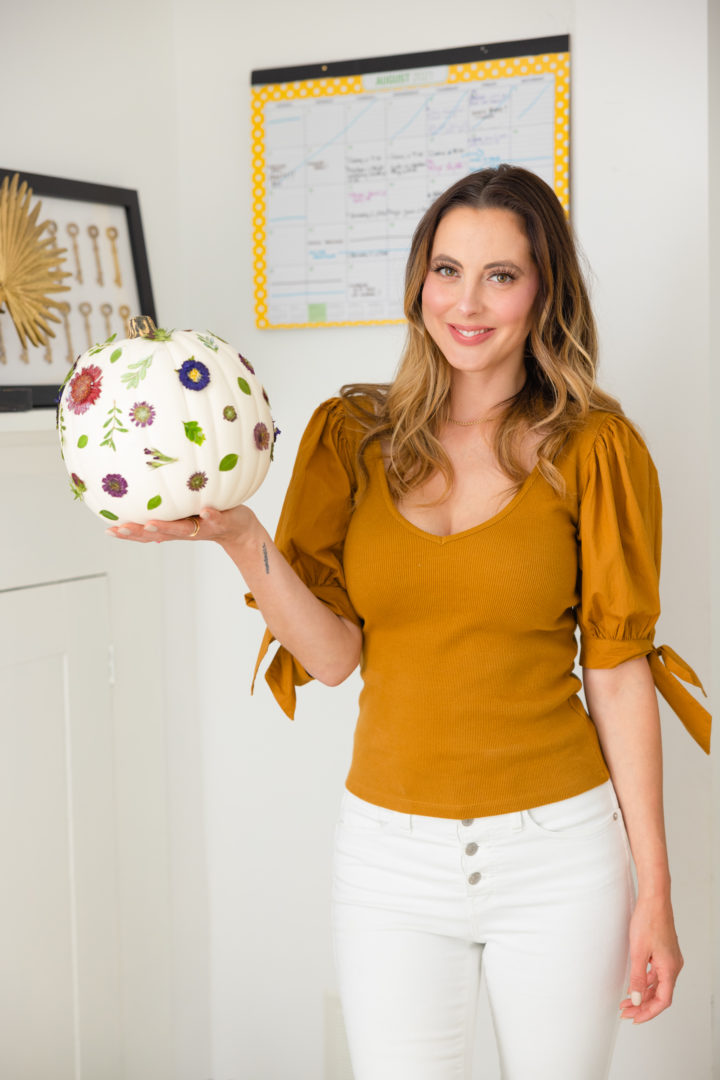
This year, I wanted to do something really feminine and pretty with my season pumpkins. I had such a great time making my Pressed Flower Coasters, that I thought I would repurpose that idea and create Pressed Flower Pumpkins! These pumpkins have such a lovely bohemian feel, and you can choose the flower colors of your liking to match your decor.
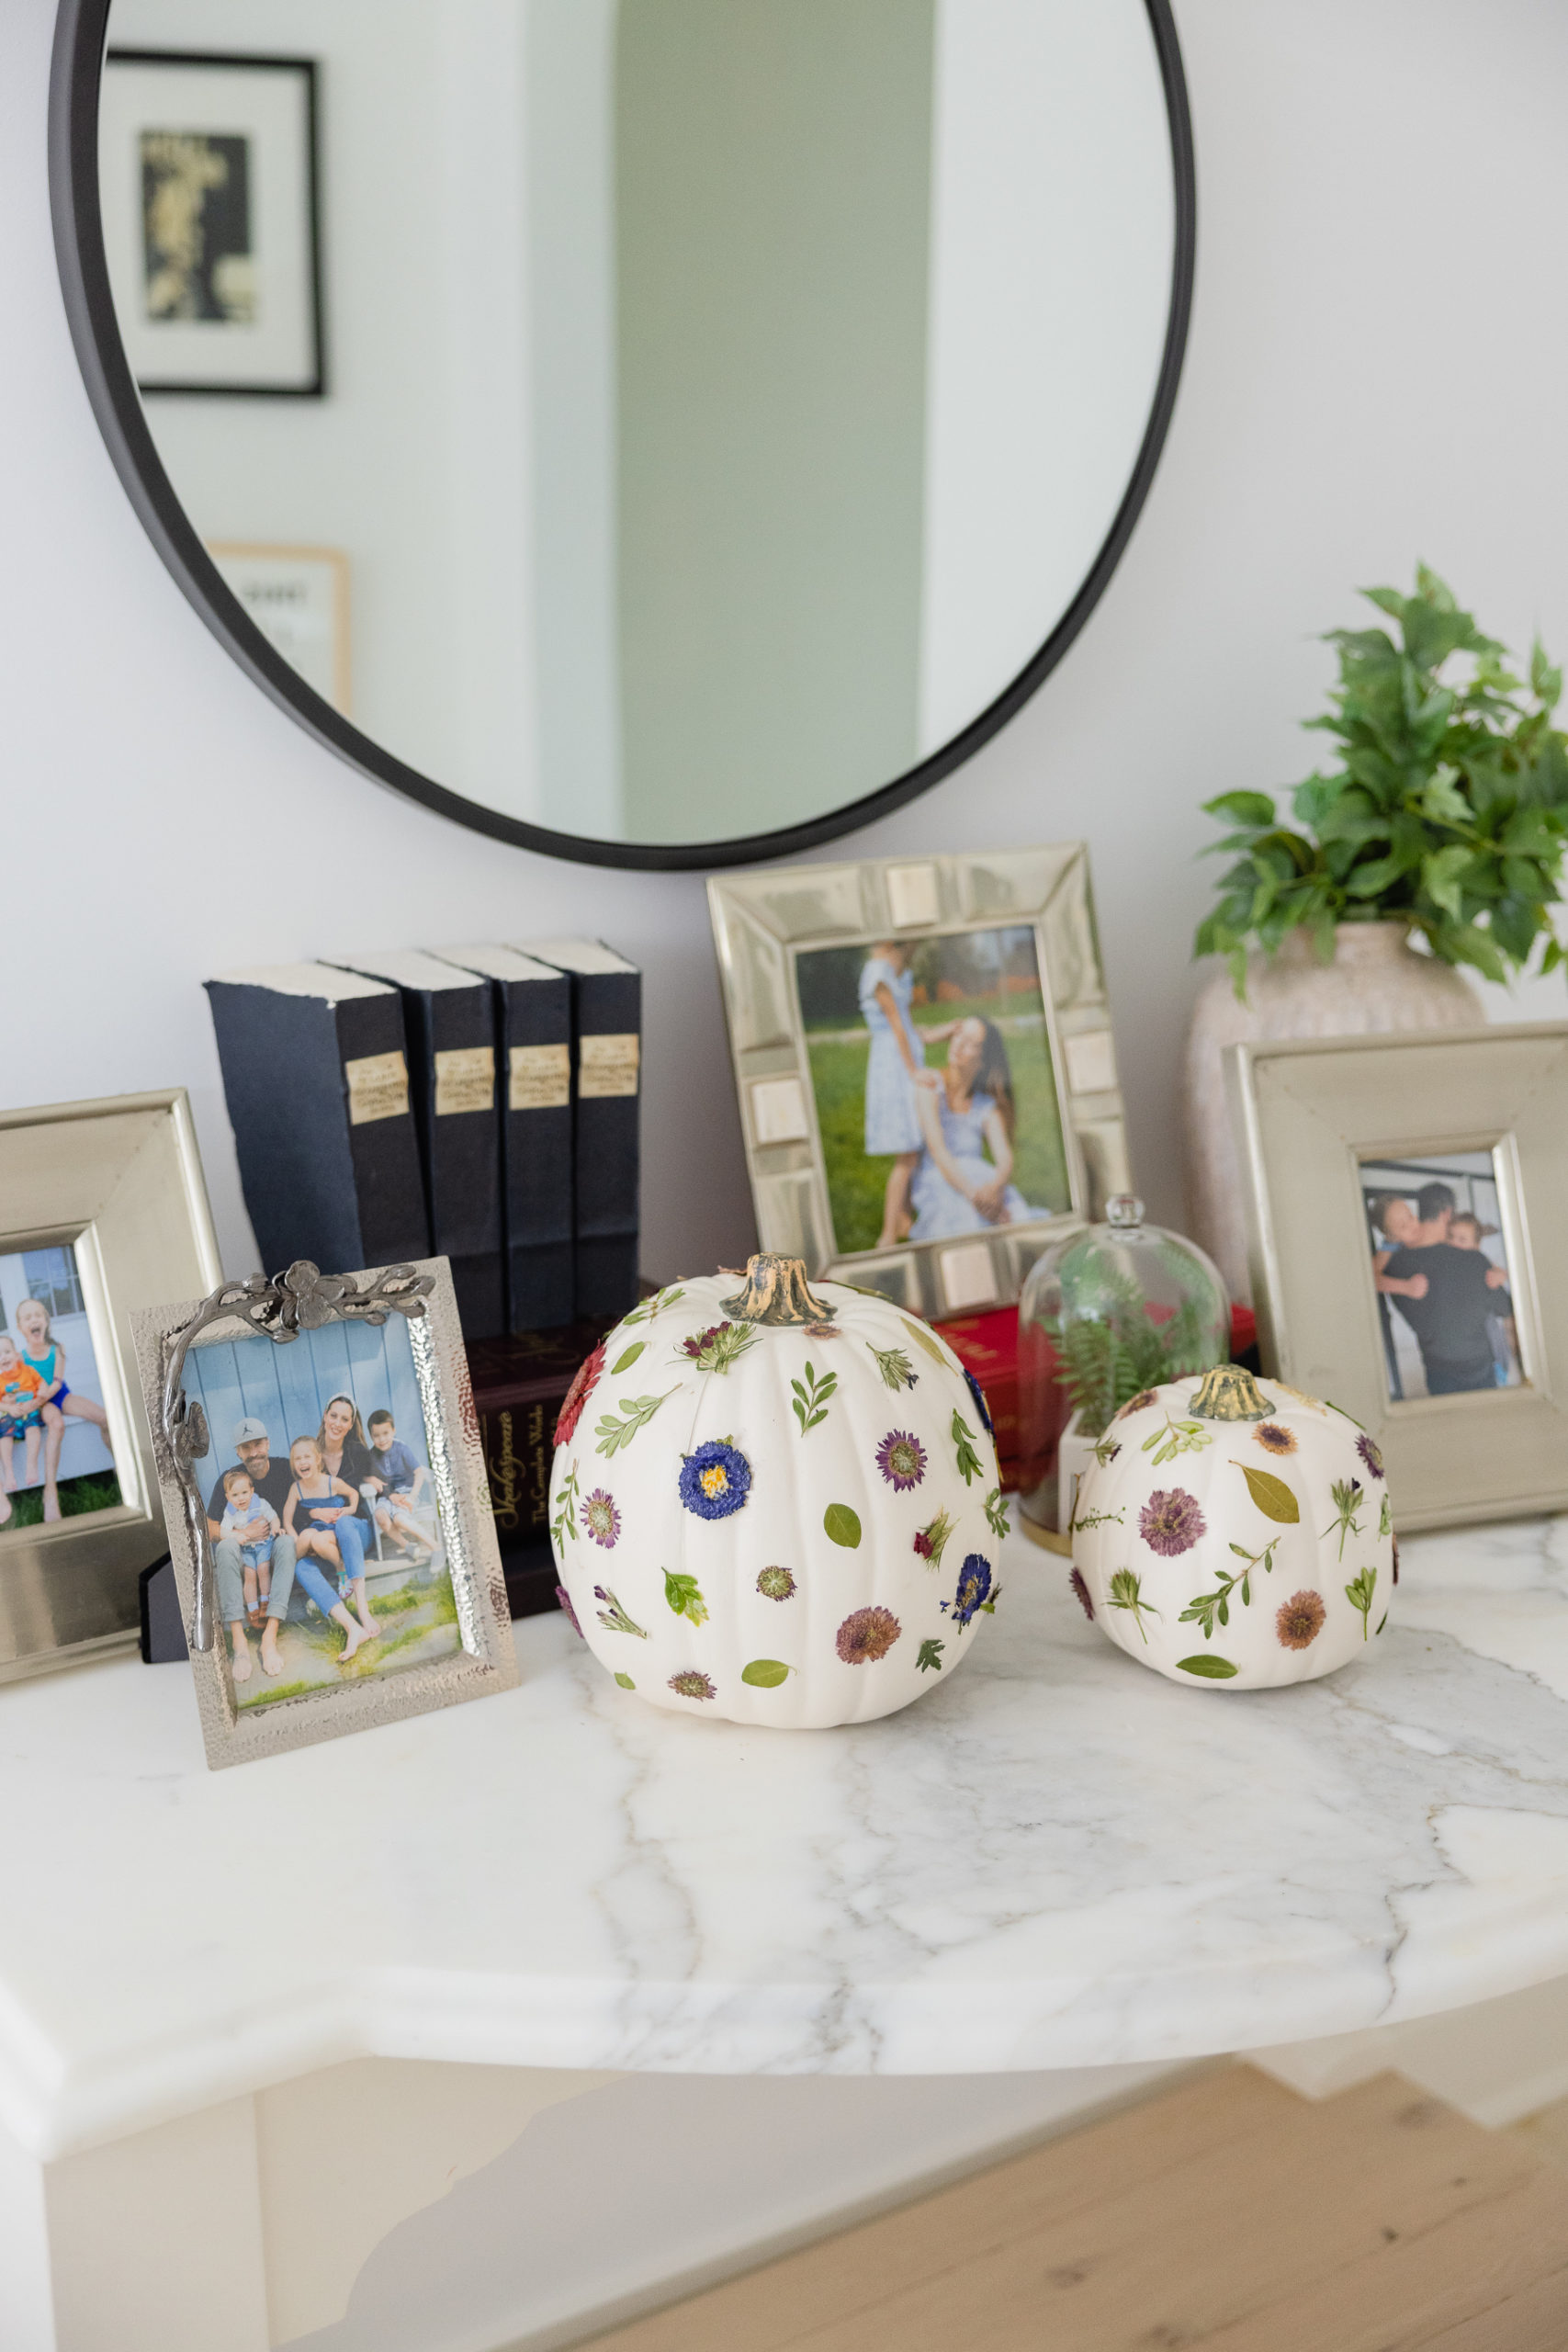
I absolutely love how this one turned out. The flowers are so easy to press in the microwave, in just a few minute’s time. To really make these so they last, you’ll have to do the mod podge in phases, allowing to completely dry in between coats. It will take a few days to be totally done, but it is SO worth it. These came out amazing and are looking beautiful on my foyer table. I want to make more for my mantle now, too!

in this picture
Materials…
- Pumpkin
- Foam Brush
- Thin Paint Brush
- Mod Podge
- Paper Plate
- Casserole Dish
- Microwave
- Fresh Flowers and Greenery
- Paper Towels
Step 1
Press Flowers and Greenery
Gather flowers and greenery from outside. Trim off their stems and lay them on a paper towel. Add another paper towel on top and place in the microwave. Find a casserole dish large enough to cover the paper towel and set on top. Set the microwave for 1 minute and continue to cook until flowers and leaves are fully dried. While these are processing, pour your Mod Podge onto a paper plate.
Step 2
Apply Mod Podge
Once the greenery and flowers are fully dry, you will start placing the individual pieces onto the pumpkin. In order to do so, first apply the Mod Podge onto the pumpkin using the foam brush.
Step 3
Attach Flowers and Greenery
Next, you will attach the flower or leaf you selected and place it directly on the Mod Podge you put on the pumpkin.
Step 4
Layer Mod Podge over Flower and Greenery
Once you have attached your flower or leaf, you will take the foam brush and apply Mod Podge over the top.
Step 5
Press Edges Down with a Fine Paint Brush
To ensure the flowers and greenery lay flat, you will take a fine paint brush dipped in Mod Podge and go around the edges to ensure all are attached to the pumpkin.
Step 6
Repeat and Finalize
Repeat Steps 2-5 for the remaining pieces you have chosen to fill your pumpkin. Your final product will be a gorgeous masterpiece!
Shop the post…
[show_shopthepost_widget id=”4865837″]
i will try this pressed flower pumpkins nice guide step by step
I hope you love it!