The following content may contain affiliate links. When you click and shop the links, we receive a commission.
This post was updated on August 3rd, 2020
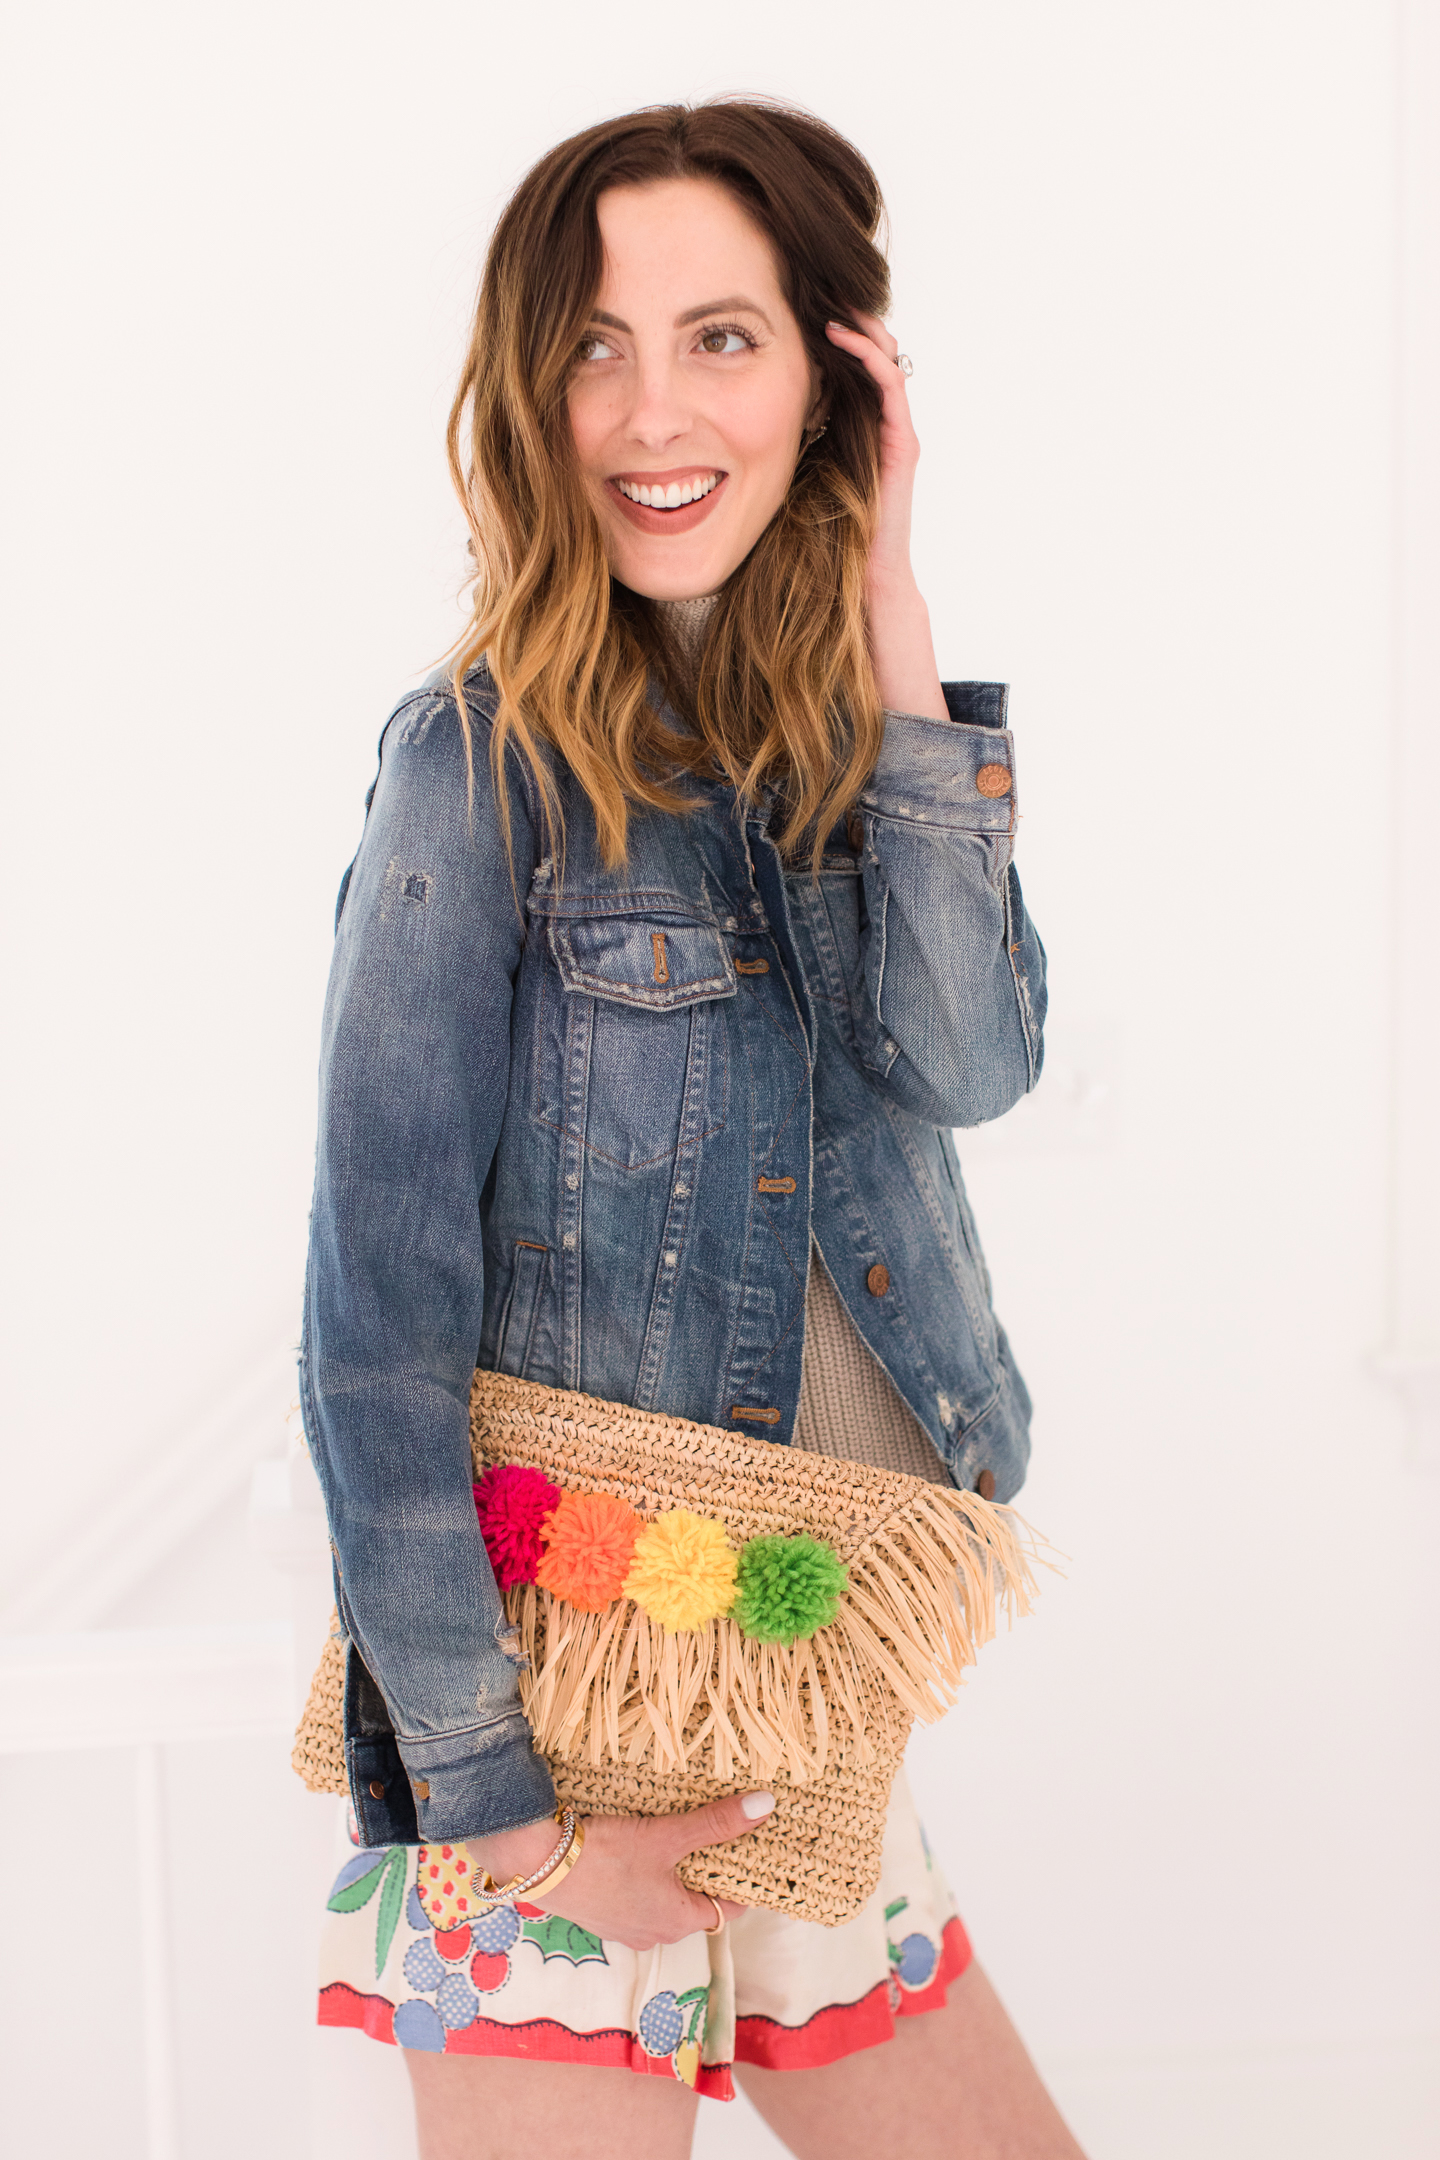
The straw pom pom clutch has been popping up all over online in the past few months! I have to say I craved one from the very first onset of this trend — so playful and cute! But each time I saw one I also kept thinking to myself, “I bet I can make that.”
I did a bit of research, and it was so much easier than I even had imagined. I kind of got obsessed with pom pom making, and now my wheels are turning with everything else I can do with these easy peasy little fluffy cuties!
in this picture
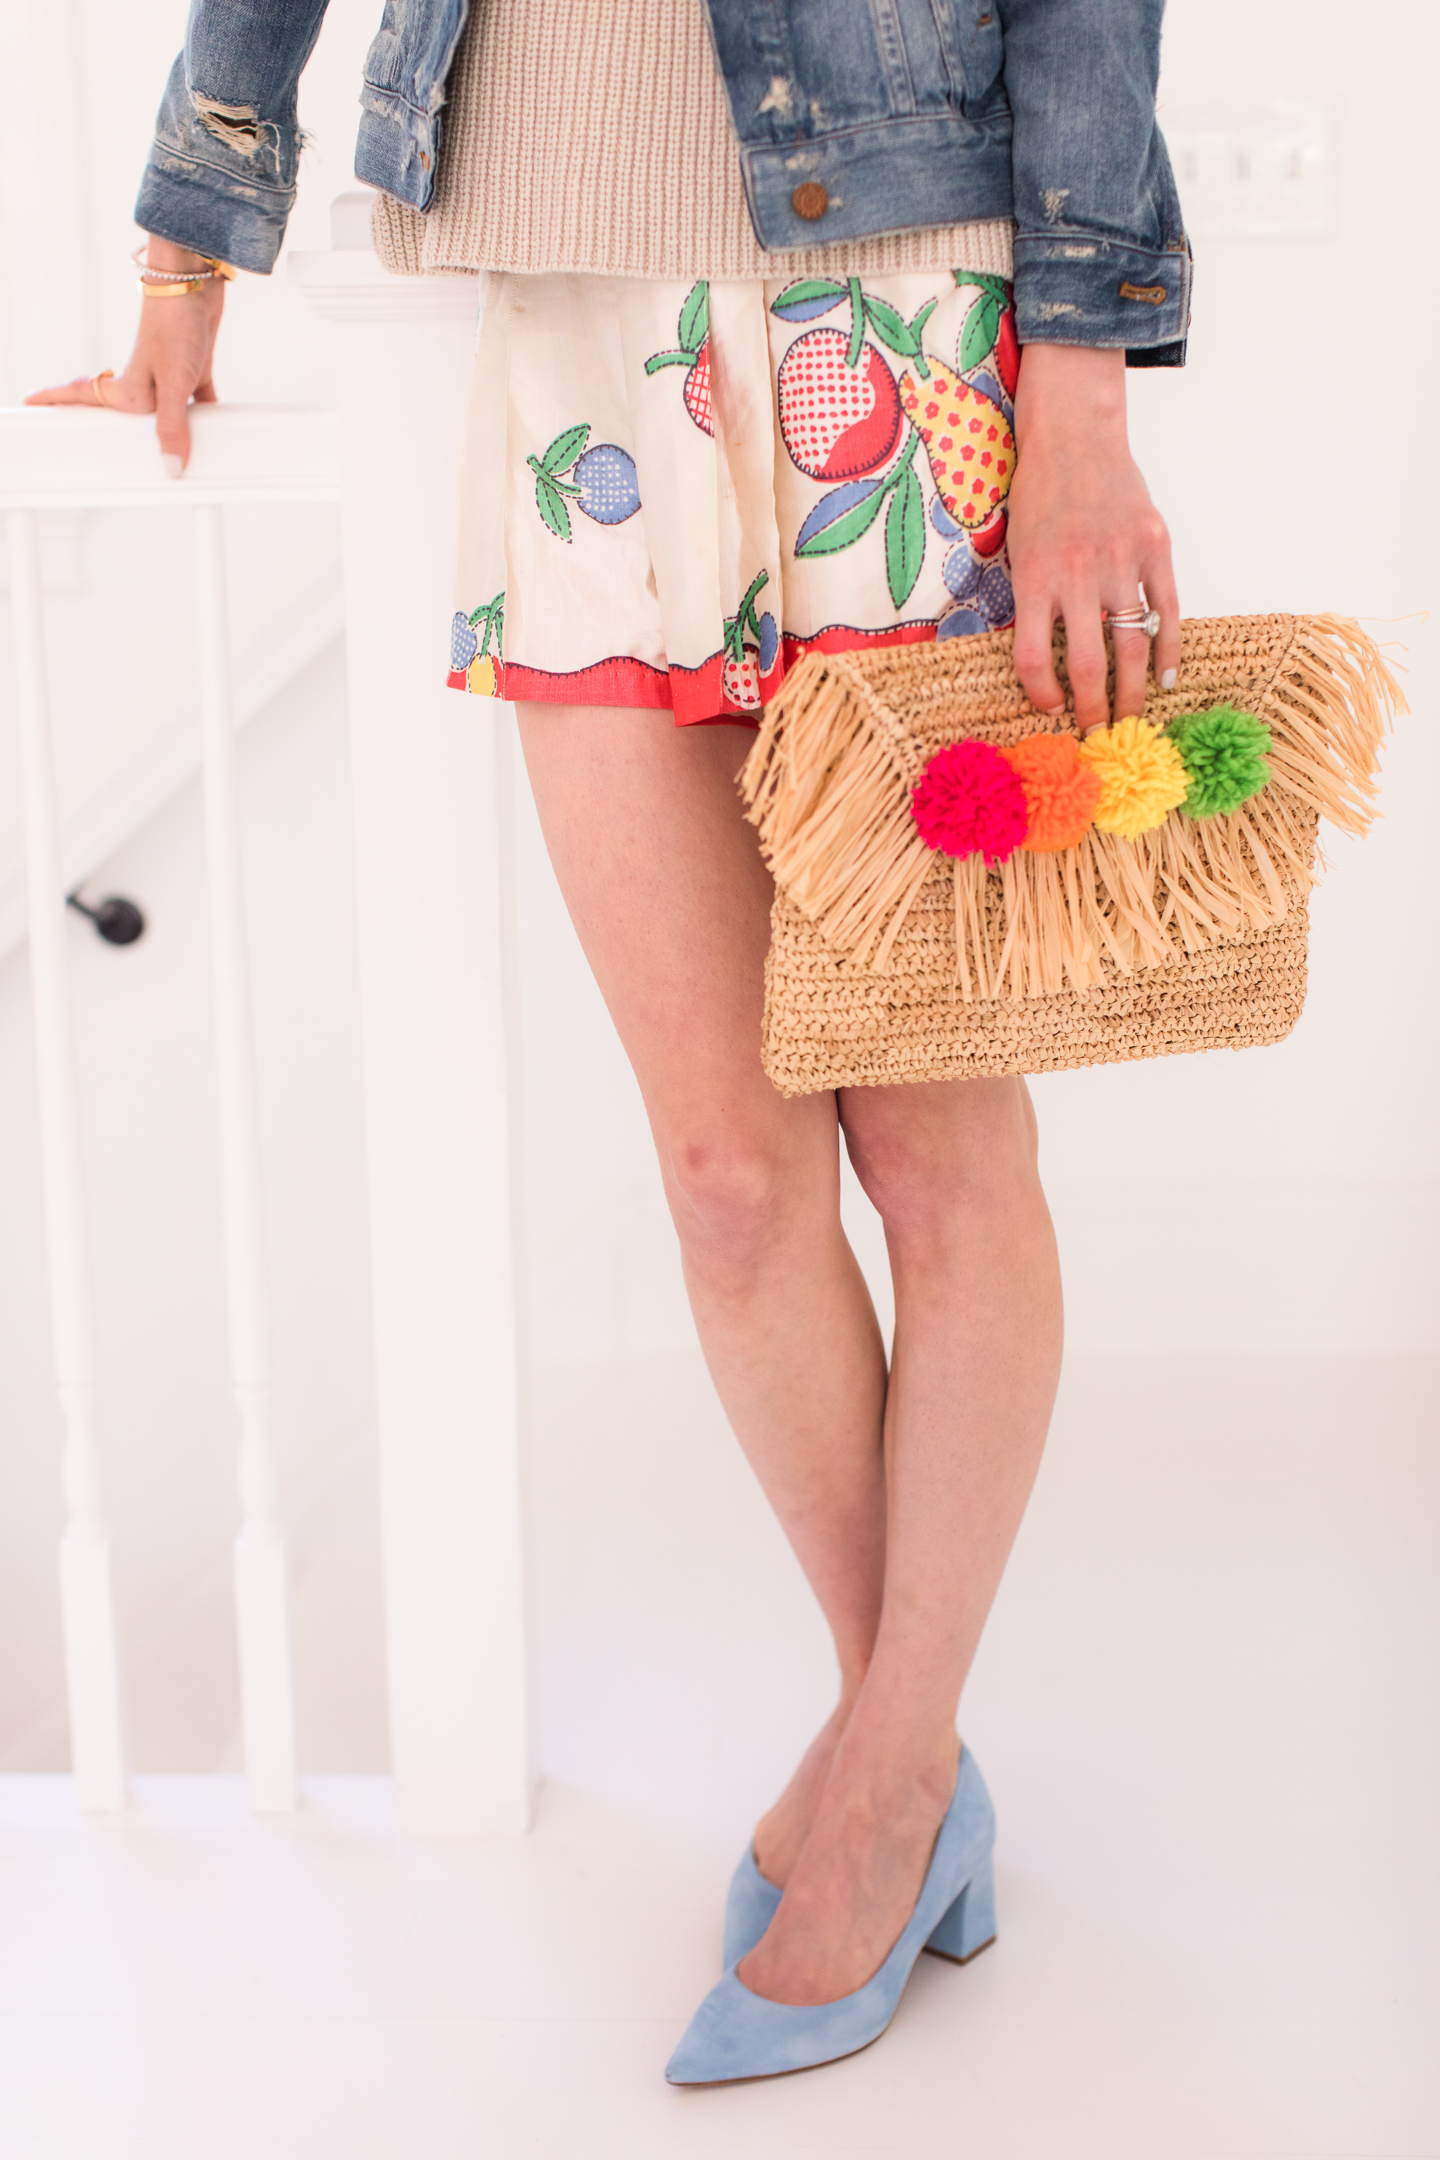
I love the way my DIY pom pom clutch turned out, so I wanted to share the process here today. I can’t wait to hear what you all think, and if you will try this DIY!
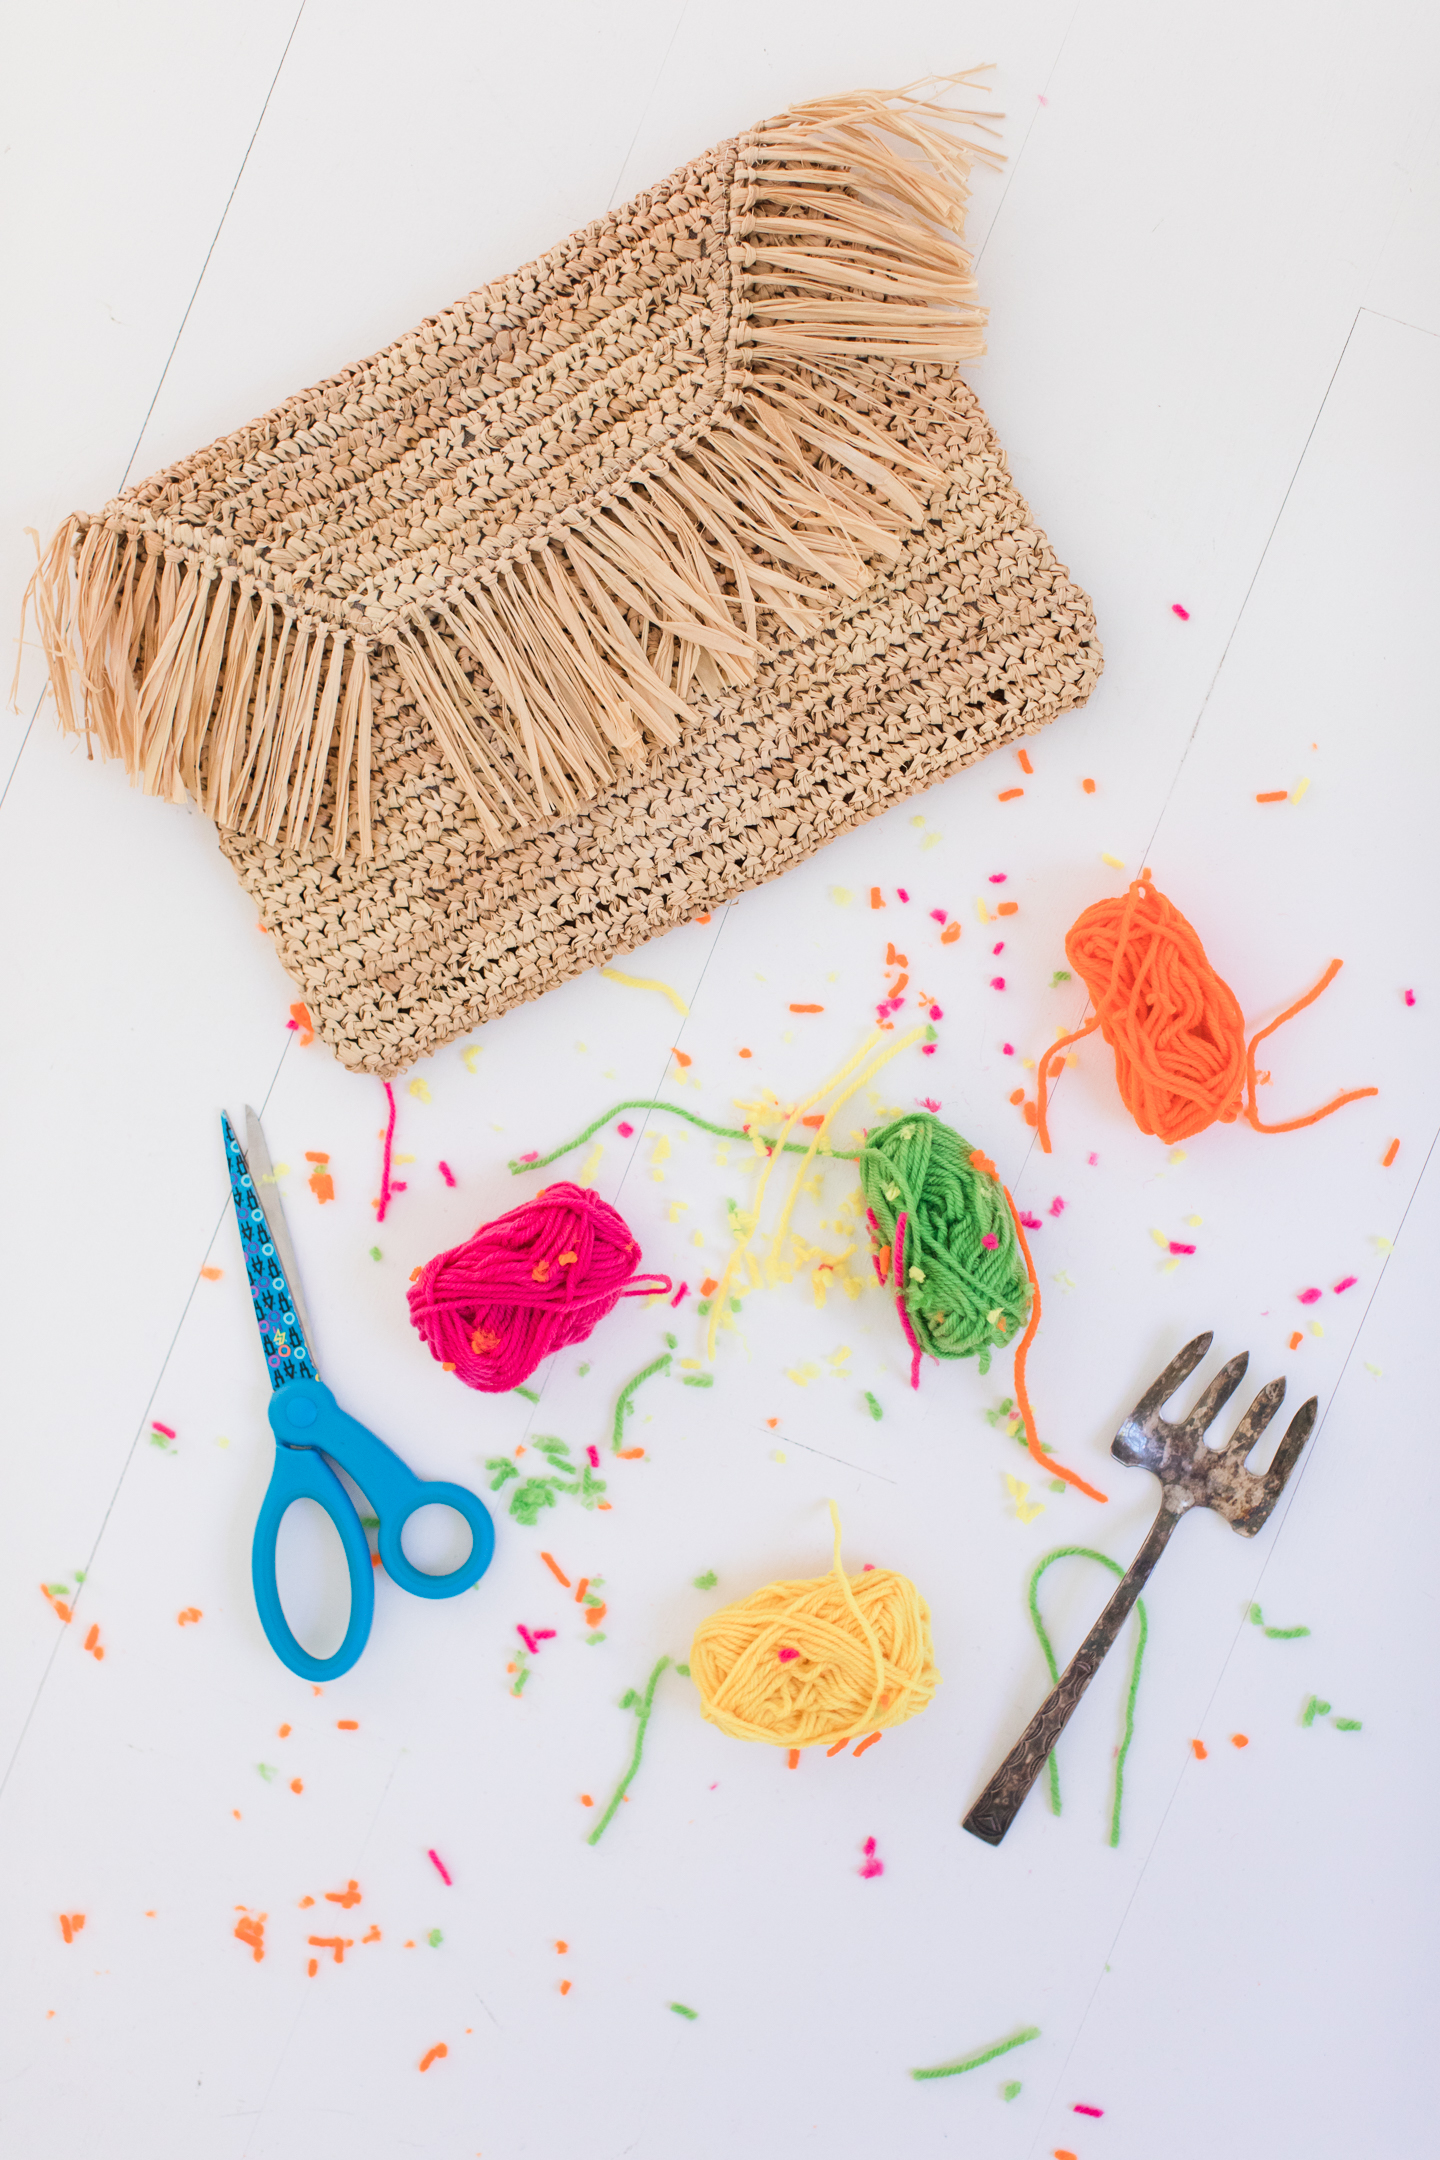
Materials…
- 1 Straw Clutch
- Colorful Yarn
- Scissors
- A Fork (use a regular dining fork for tiny pom poms, or a serving fork for larger, as pictured here)
- Hot Glue Gun or Needle & Thread to secure your pom poms.
Directions…
Step 1
Wrap Yarn
Begin by wrapping your yarn around the prongs of the fork (or serving fork), keeping it very taught.
Step 2
Wrap Yarn 50 Times
To achieve the fluffy pom poms pictured here, I wrapped the yarn around the serving fork 50 times. Count to achieve a uniform look!
Step 3
Tie a knot
After you’ve finished wrapping, cut a 2-inch piece of yarn and tie around the center of the loops, as pictured. Then wrap it around again and make another knot on the opposite side to make sure your knot is secure.
Step 4
Cut
Trim the trailing yarn so that it’s the same length as the loops. Now take your scissors and cut through the loops on both sides, being careful not to cut through the knot you made in the middle.
Step 5
Fluff
Fluff out all the string so it begins to resemble a pom pom. Your yarn will seem a little long and scraggly/limp at this point. Don’t worry!
Step 6
Trim
Give your pom pom a haircut! Carefully trim all around the outside so that your yarn becomes a more uniform length and bit shorter all around.
Step 7
Repeat with other yarn colors
Repeat with more yarn until your desired number of pom poms is reached for your clutch. (Note: It may take you a couple of pom poms to perfect your techniques, so I recommend tossing out the first pom pom or two.)

Adorable! I am totally going to keep my eyes open for an inexpensive straw clutch to make this. Thanks for the great tutorial!!
Awesome! Glad it inspired you! It also would be a great way to embellish a sunglasses case or something like that too! (in case you can’t wait to buy a straw clutch…lol)
I’ve been loving all the pom pom accessories out there . Thank you for the tutorial , I can’t wait to make my own . Your outfit is so pretty !
So cute-bet Marlowe shows up with a Pom Pom headband!
Great idea. Thank you for the tip.
This is adorable! I might try to make my own clutch and then add the pom poms. Darn my college budget.
I love your work I love your style I love how your you have your children and all your photos well my name is Doreen and I have a daughter that’s 18 she always wanted to eat in modeling and crafts I would love for you to meet her I love modeling myself but my daughter is the one that’s most important to me right now to get involved in this this place you was going to get involved in they wanted to pretty much just take our money and she was never able to do it it’s always been her passion we are in Colorado Denver would we be able to meet you I can send you pictures if you like you have a blessed day thank you I just heard from you from The Today Show