The following content may contain affiliate links. When you click and shop the links, we receive a commission.

This blog post was originally published on December 5th, 2018.
The Holidays are such a fun time for crafting! I love making cute projects with my kids, especially since there tends to be a lot of vacation time around Christmas for us…you need to do something on those snow days here in CT! I love making these little DIY Pinecone Christmas trees because they’re easy, so adorable, and really inexpensive. You probably have most of the items laying around the house already! And if you don’t have a wine cork, it’s a great opportunity to open a bottle. Do it for the children.

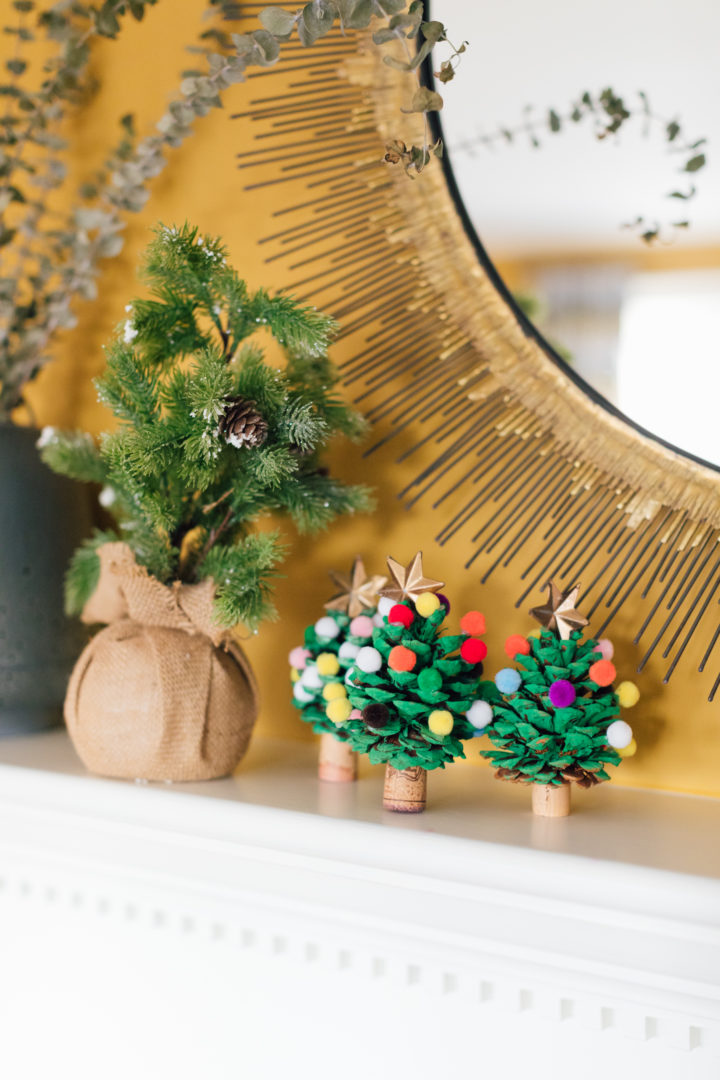

Materials…
- Pinecones
- Green Paint
- Mini Pom Poms (I like to use multicolored)
- Wine Corks
- Crafting stars, wooden or metal
- Hot glue gun, with extra cartridges
Begin by painting your pinecone with the green paint. Allow to dry for at least two hours, or overnight. Next, size your wine cork! You want it to stand on its own, so if the cork is misshapen or not flat on at least one size, use a sharp knife to create a flat bottom on one end. When your pinecone is dry, attach the pom pom’s to its “branches” with the hot glue gun. Affix your star to the top of the tree with hot glue as well. Lastly, attach the pine cone tree to its wine cork base with a generous mound of hot glue. Hold in place until the glue sets. I like to group these in threes or fives for a really cute taplescape or mantel decoration!




Note for people with small children: I never would have anticipated it, but Marlowe actually put the pom poms on her tree by sticking them in between the pine cone’s ridges instead of using the glue. It totally worked, and is definitely a safer option for the smaller kiddos!




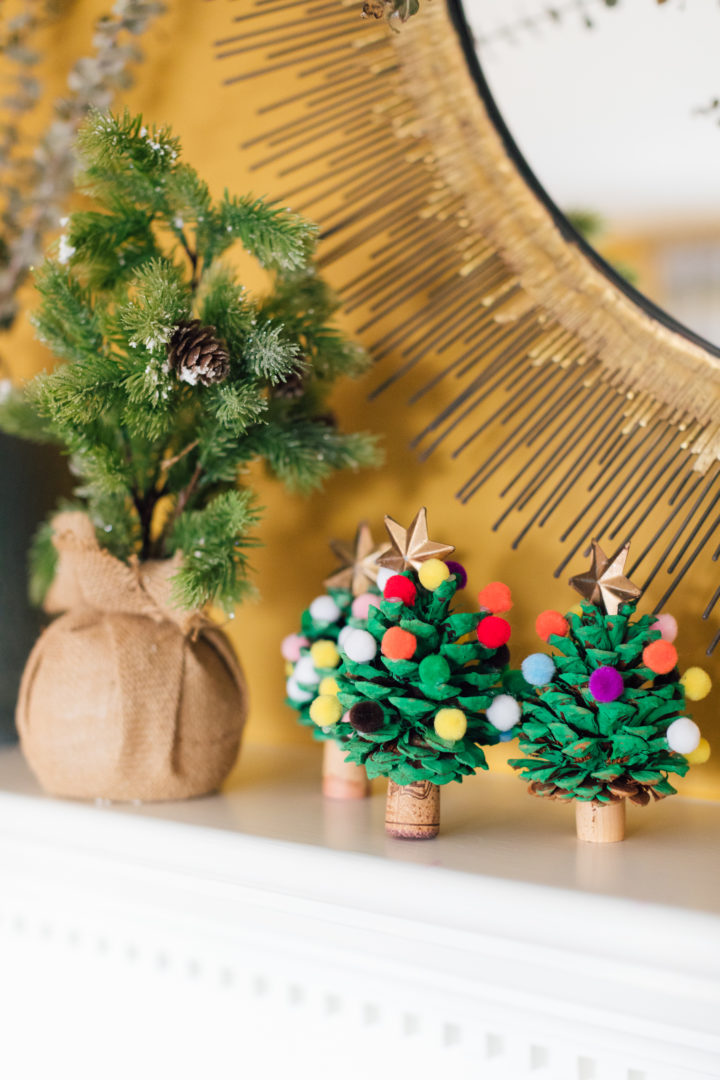
Shop the post…
[show_shopthepost_widget id=”4631180″]

So cute – what size Pom Pom did you use?
We made these and it was so fun, but I bought pom poms that were clearly too big for our pinecones. #holidaymomfail lol. Still a great idea. Thanks!