The following content may contain affiliate links. When you click and shop the links, we receive a commission.
This blog post was originally published on August 5th, 2019.
Lately, when I’ve been shopping, I’ve noticed a ton of style pieces with embroidery on them! Whether it’s the hem of a shirt or sleeve or T-shirts with seasonal images embroidered on them, this retro style has made such a comeback. And I, for one, am here for it! It reminded me of this craft I shared on the blog a few years ago, and I figured it was time to remind you that you can achieve this style at home. The republish is below, along with some very vintage photos of Marlowe and Major…they pull on my heartstrings in the best way. I’m also putting some style pieces with embroidery below in case crafting isn’t on your Bingo Card right now. I don’t blame ya!
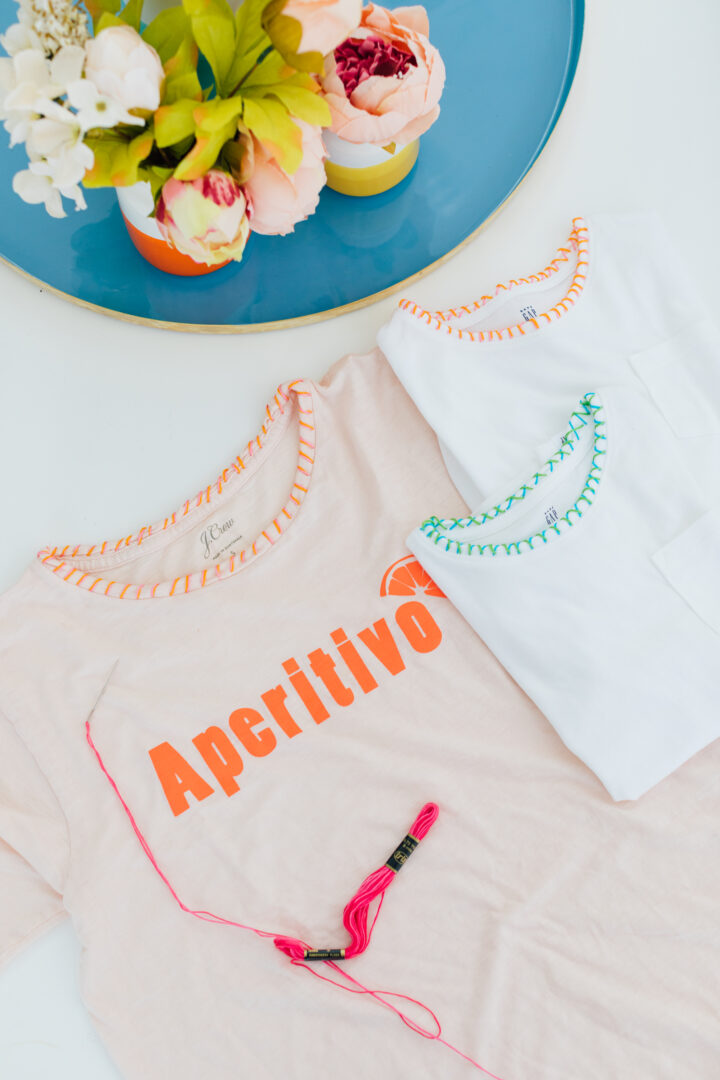
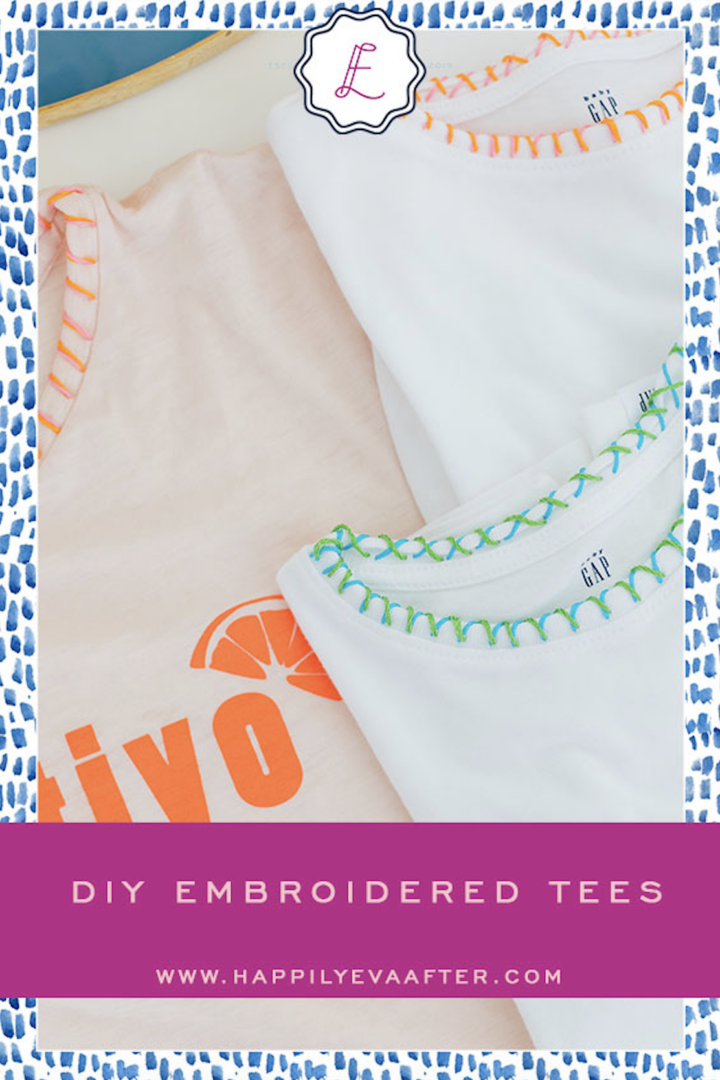
I think DIY gets a bad rep sometimes because it’s perceived as too time-intensive, complicated, or kitschy. And it can certainly be all those things! But I like to find DIY projects that mimic store-bought, chic items that I’ve seen and admired…and thought to myself “I could make that!”. The Gold Brushed Vases I shared last year are a perfect example, and these embroidered Tees are another! Not long ago at Barney’s, I was admiring a T-shirt line that had embroidery around the collar and sleeves of cotton T-shirts. It made them look boho and cute, but also handmade, in a fabulous way. They were selling for $400 each. I actually LOLed. I saved a pic in my phone and vowed to make a version one day. I adapted the concept and I’m sharing these embroidered Tees today!
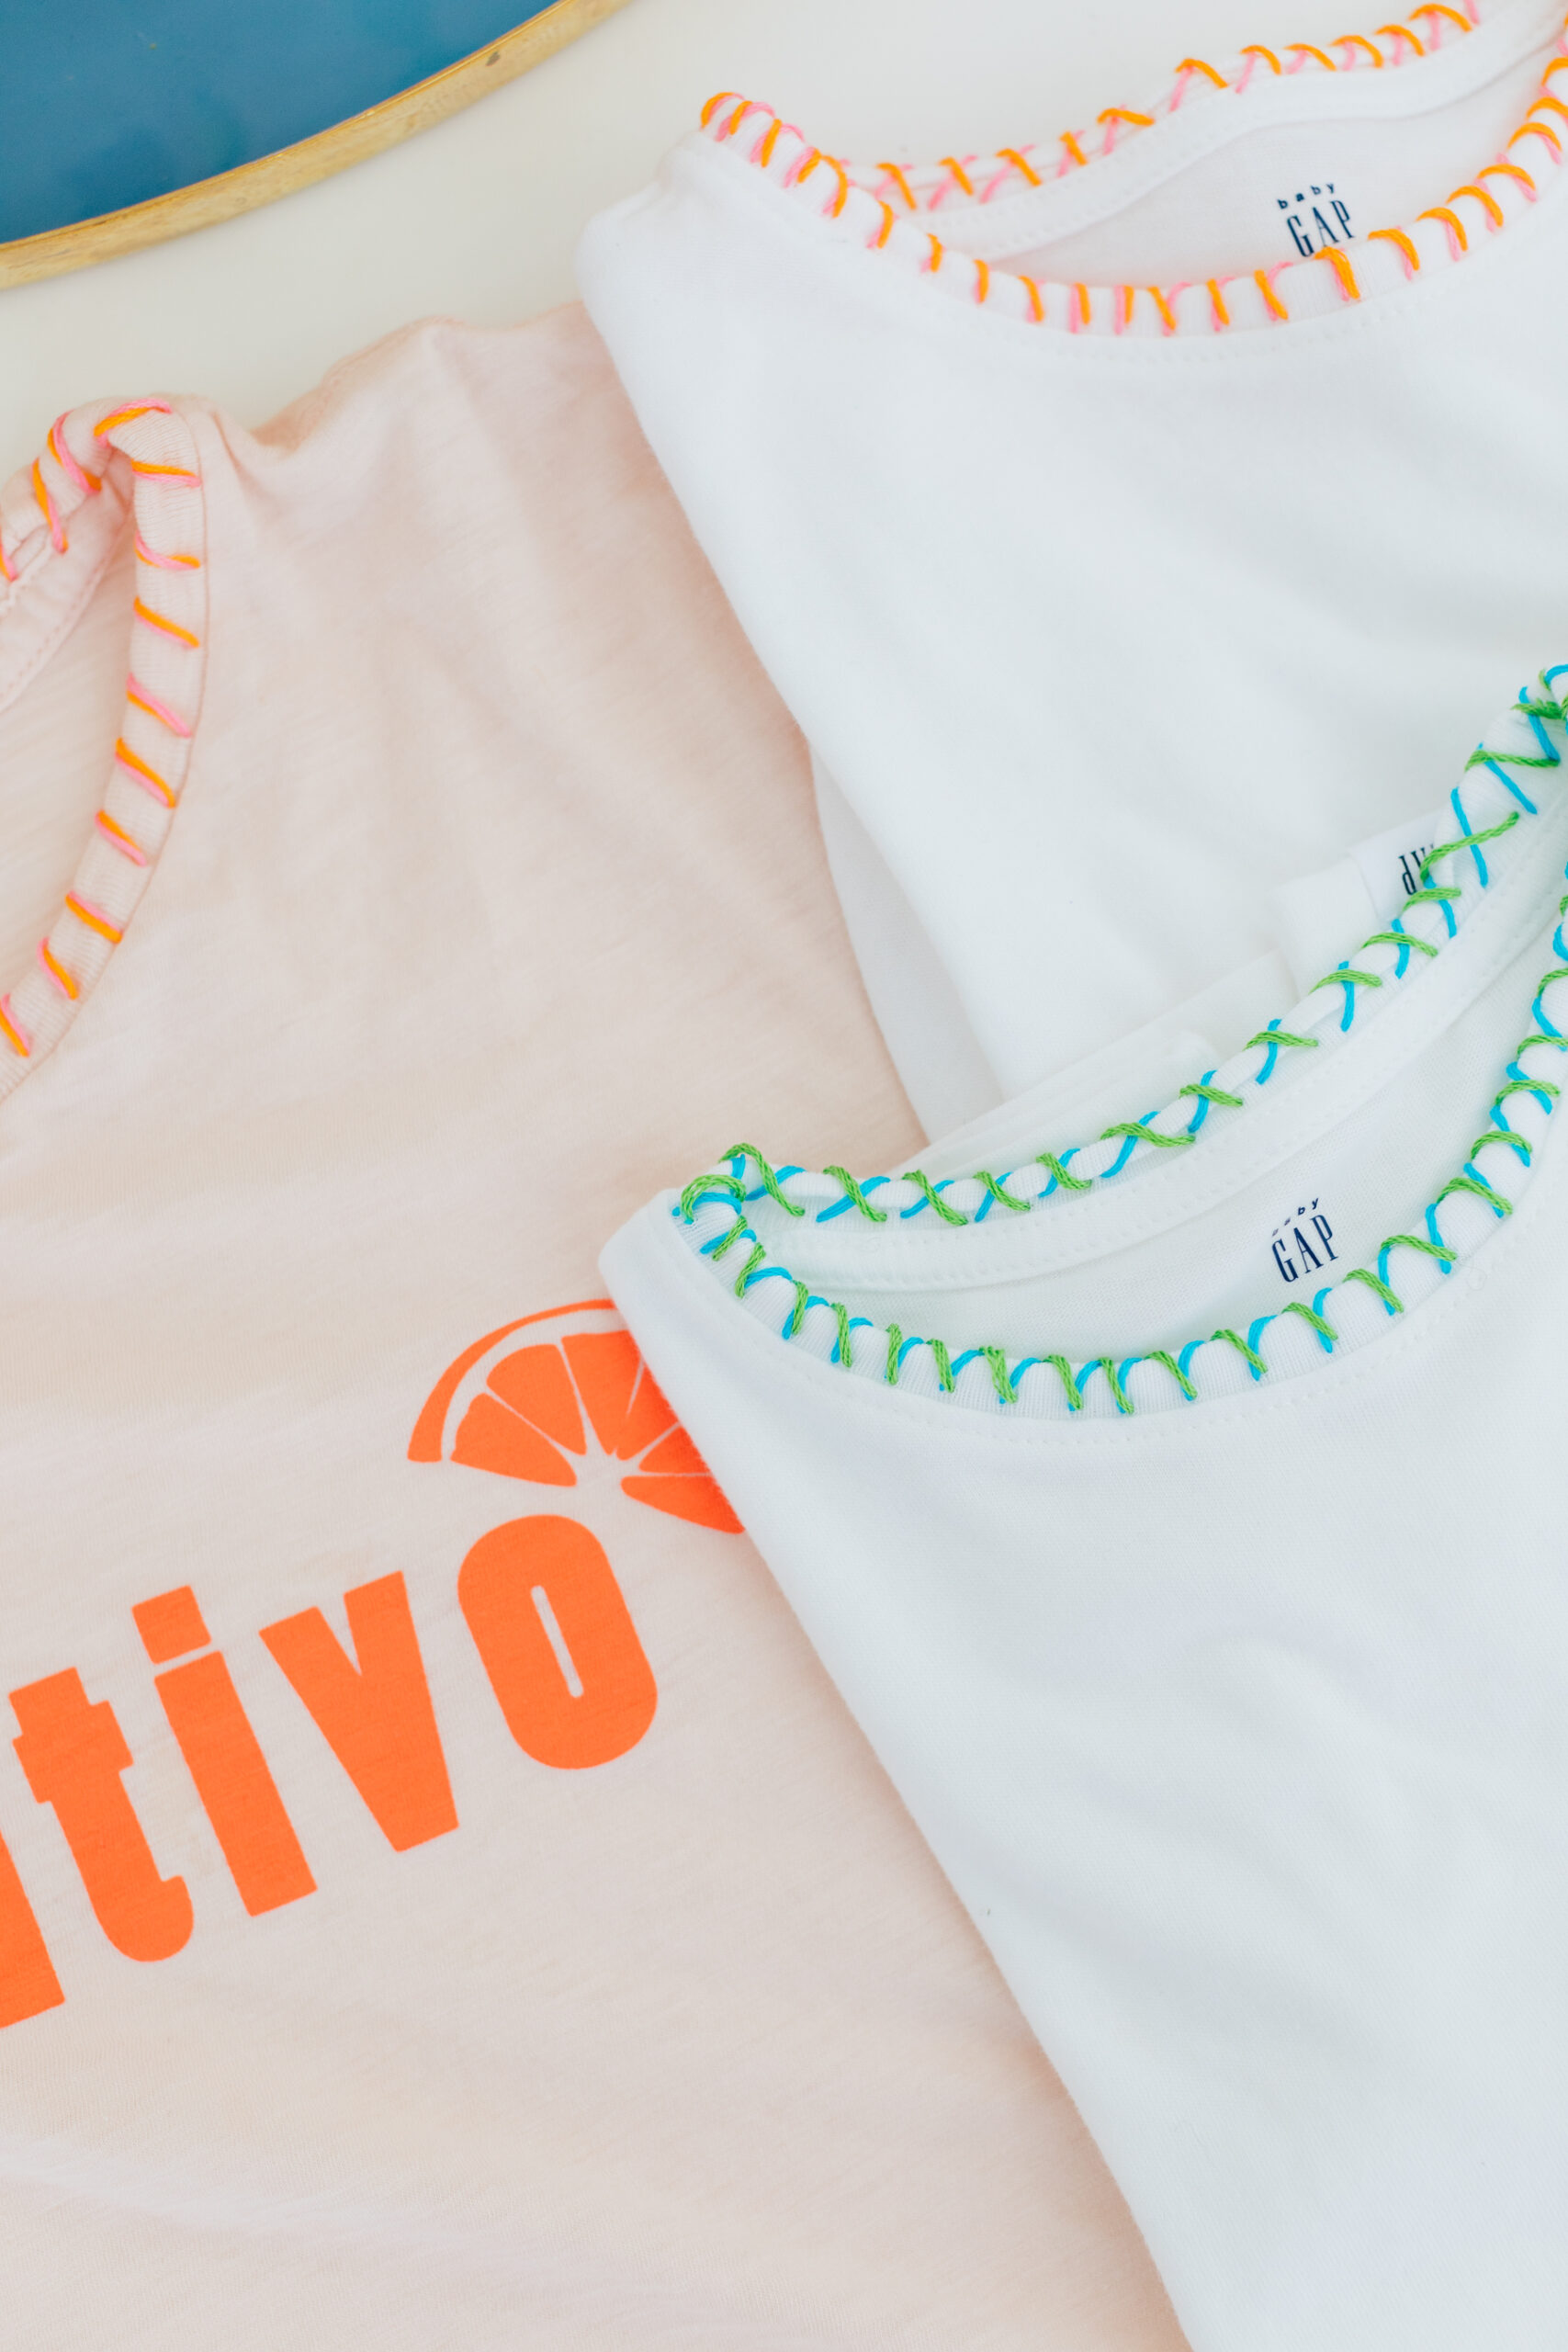
I made one for myself with a T-shirt that I had worn a bunch but was growing tired of (to reinvent it), and some simple white T-shirts for the kiddos. But you could really apply this technique with any item of clothing– you could even try it with napkins or tablecloths!
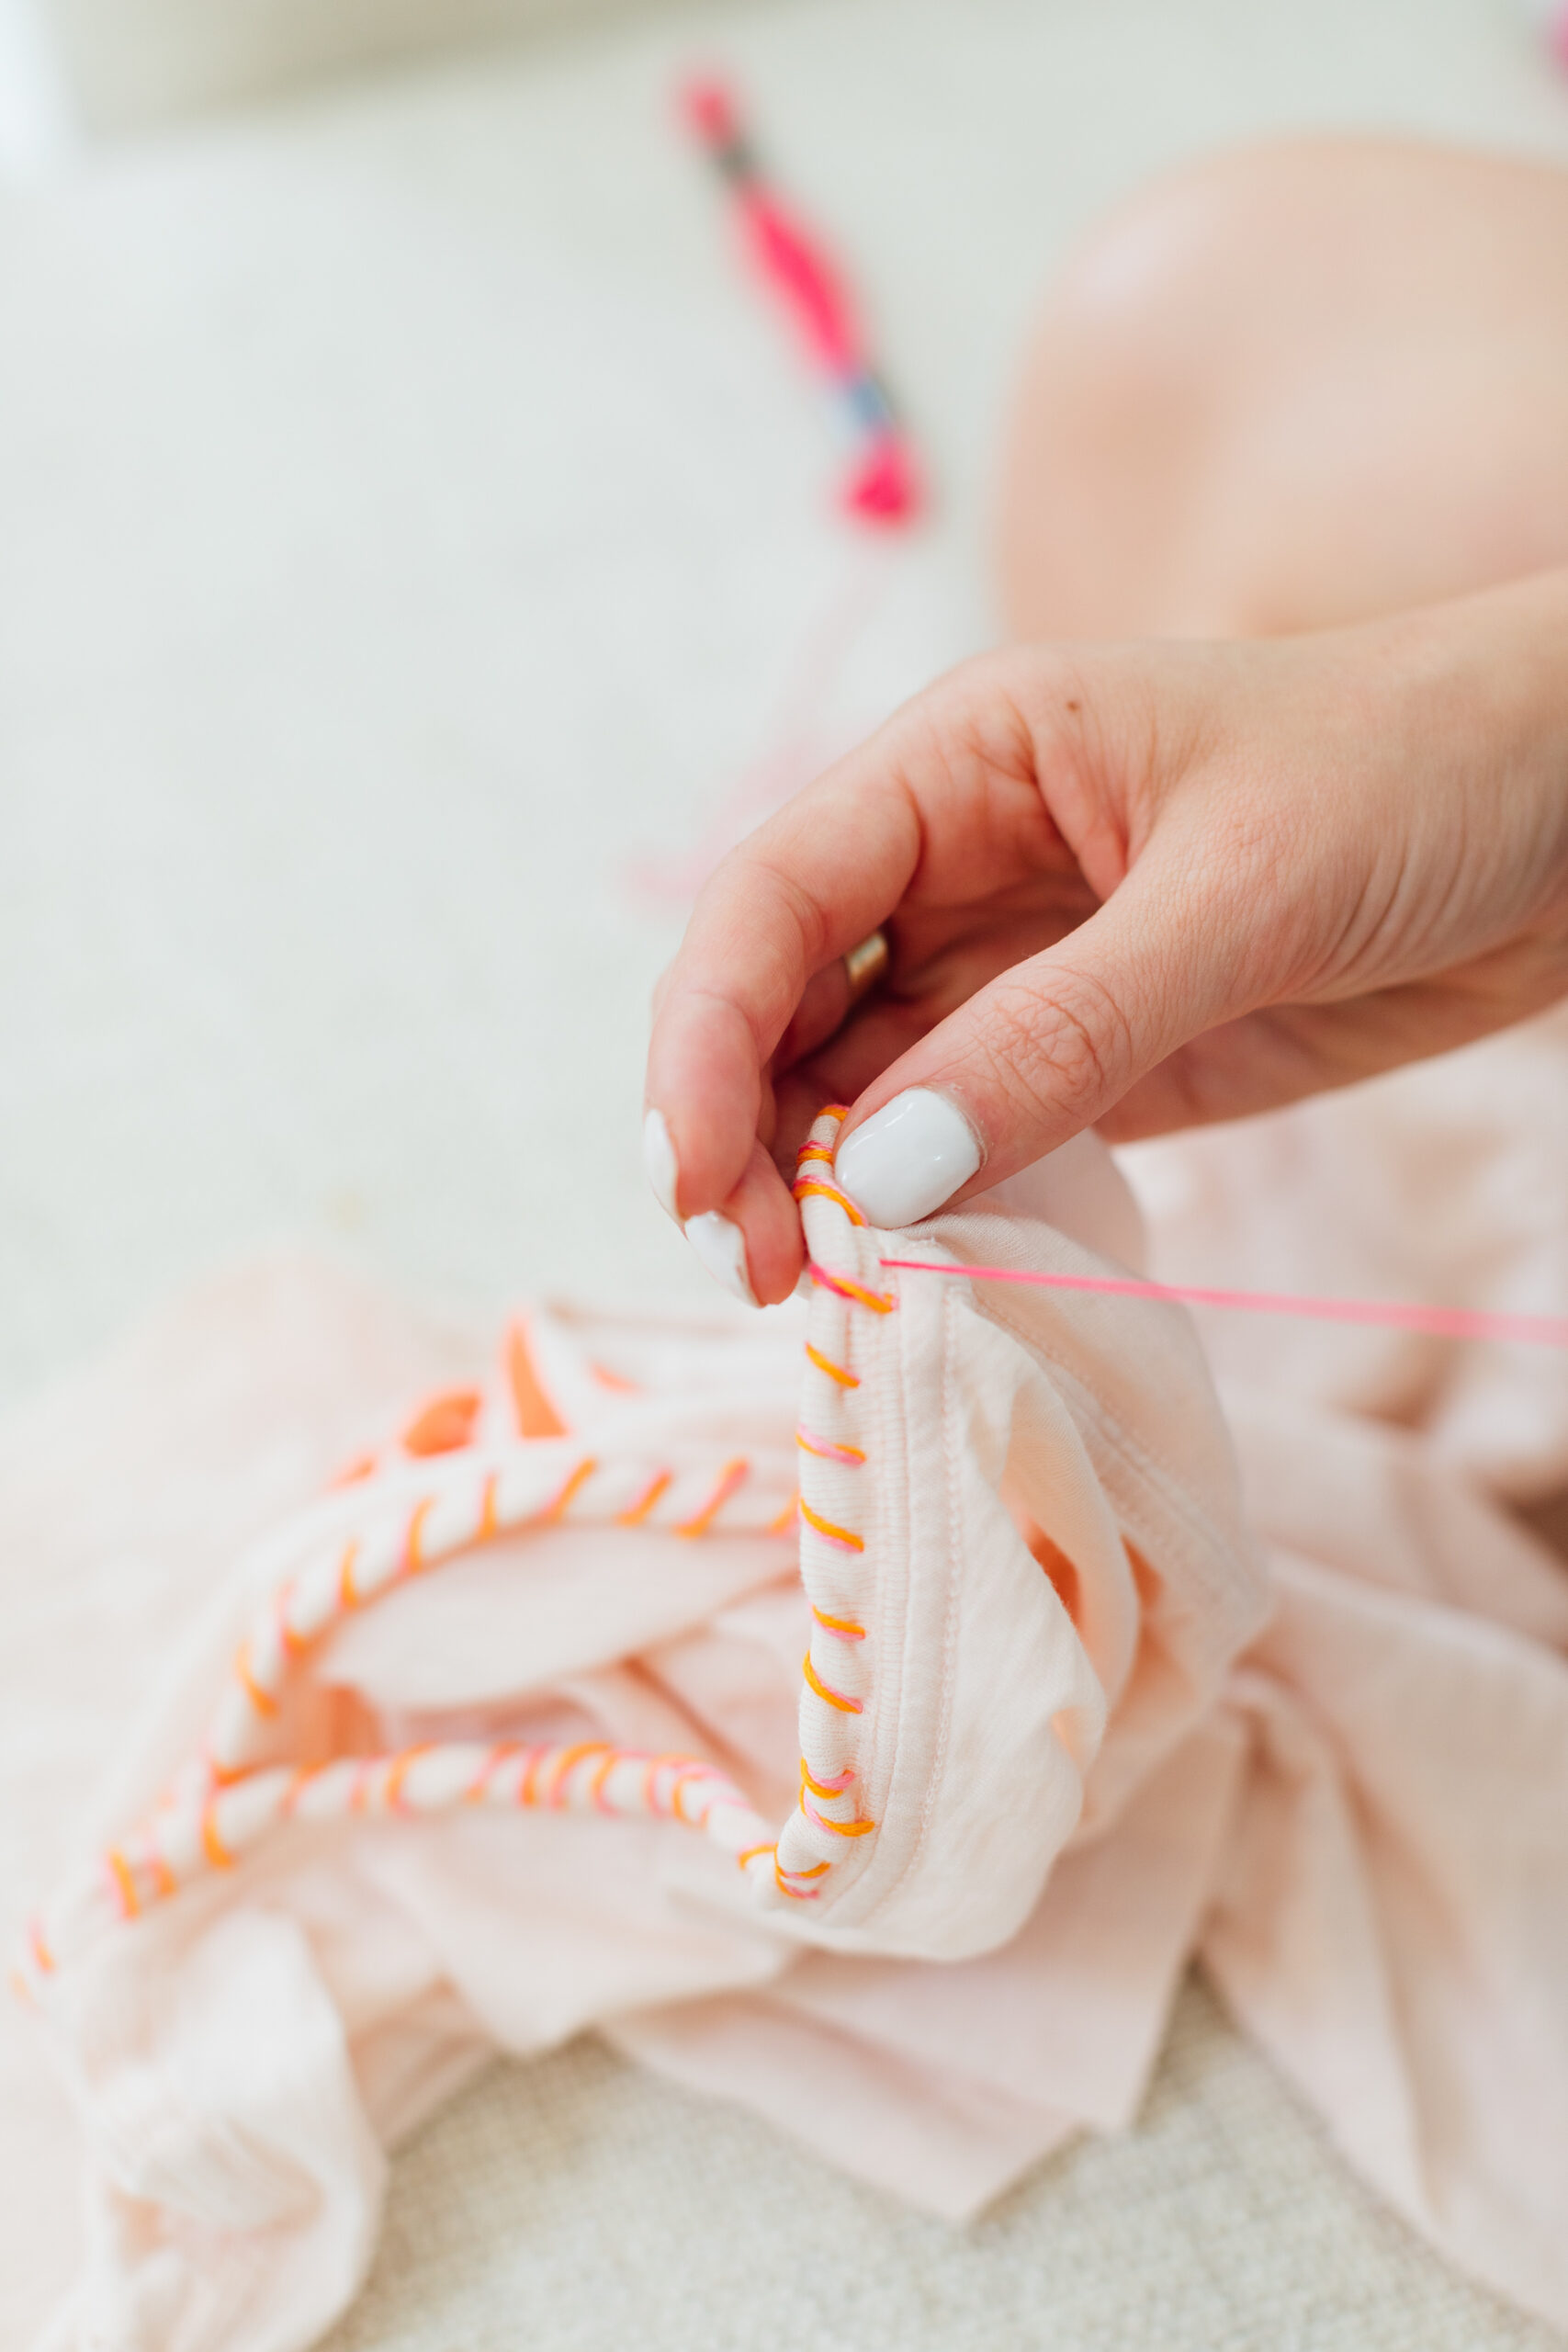
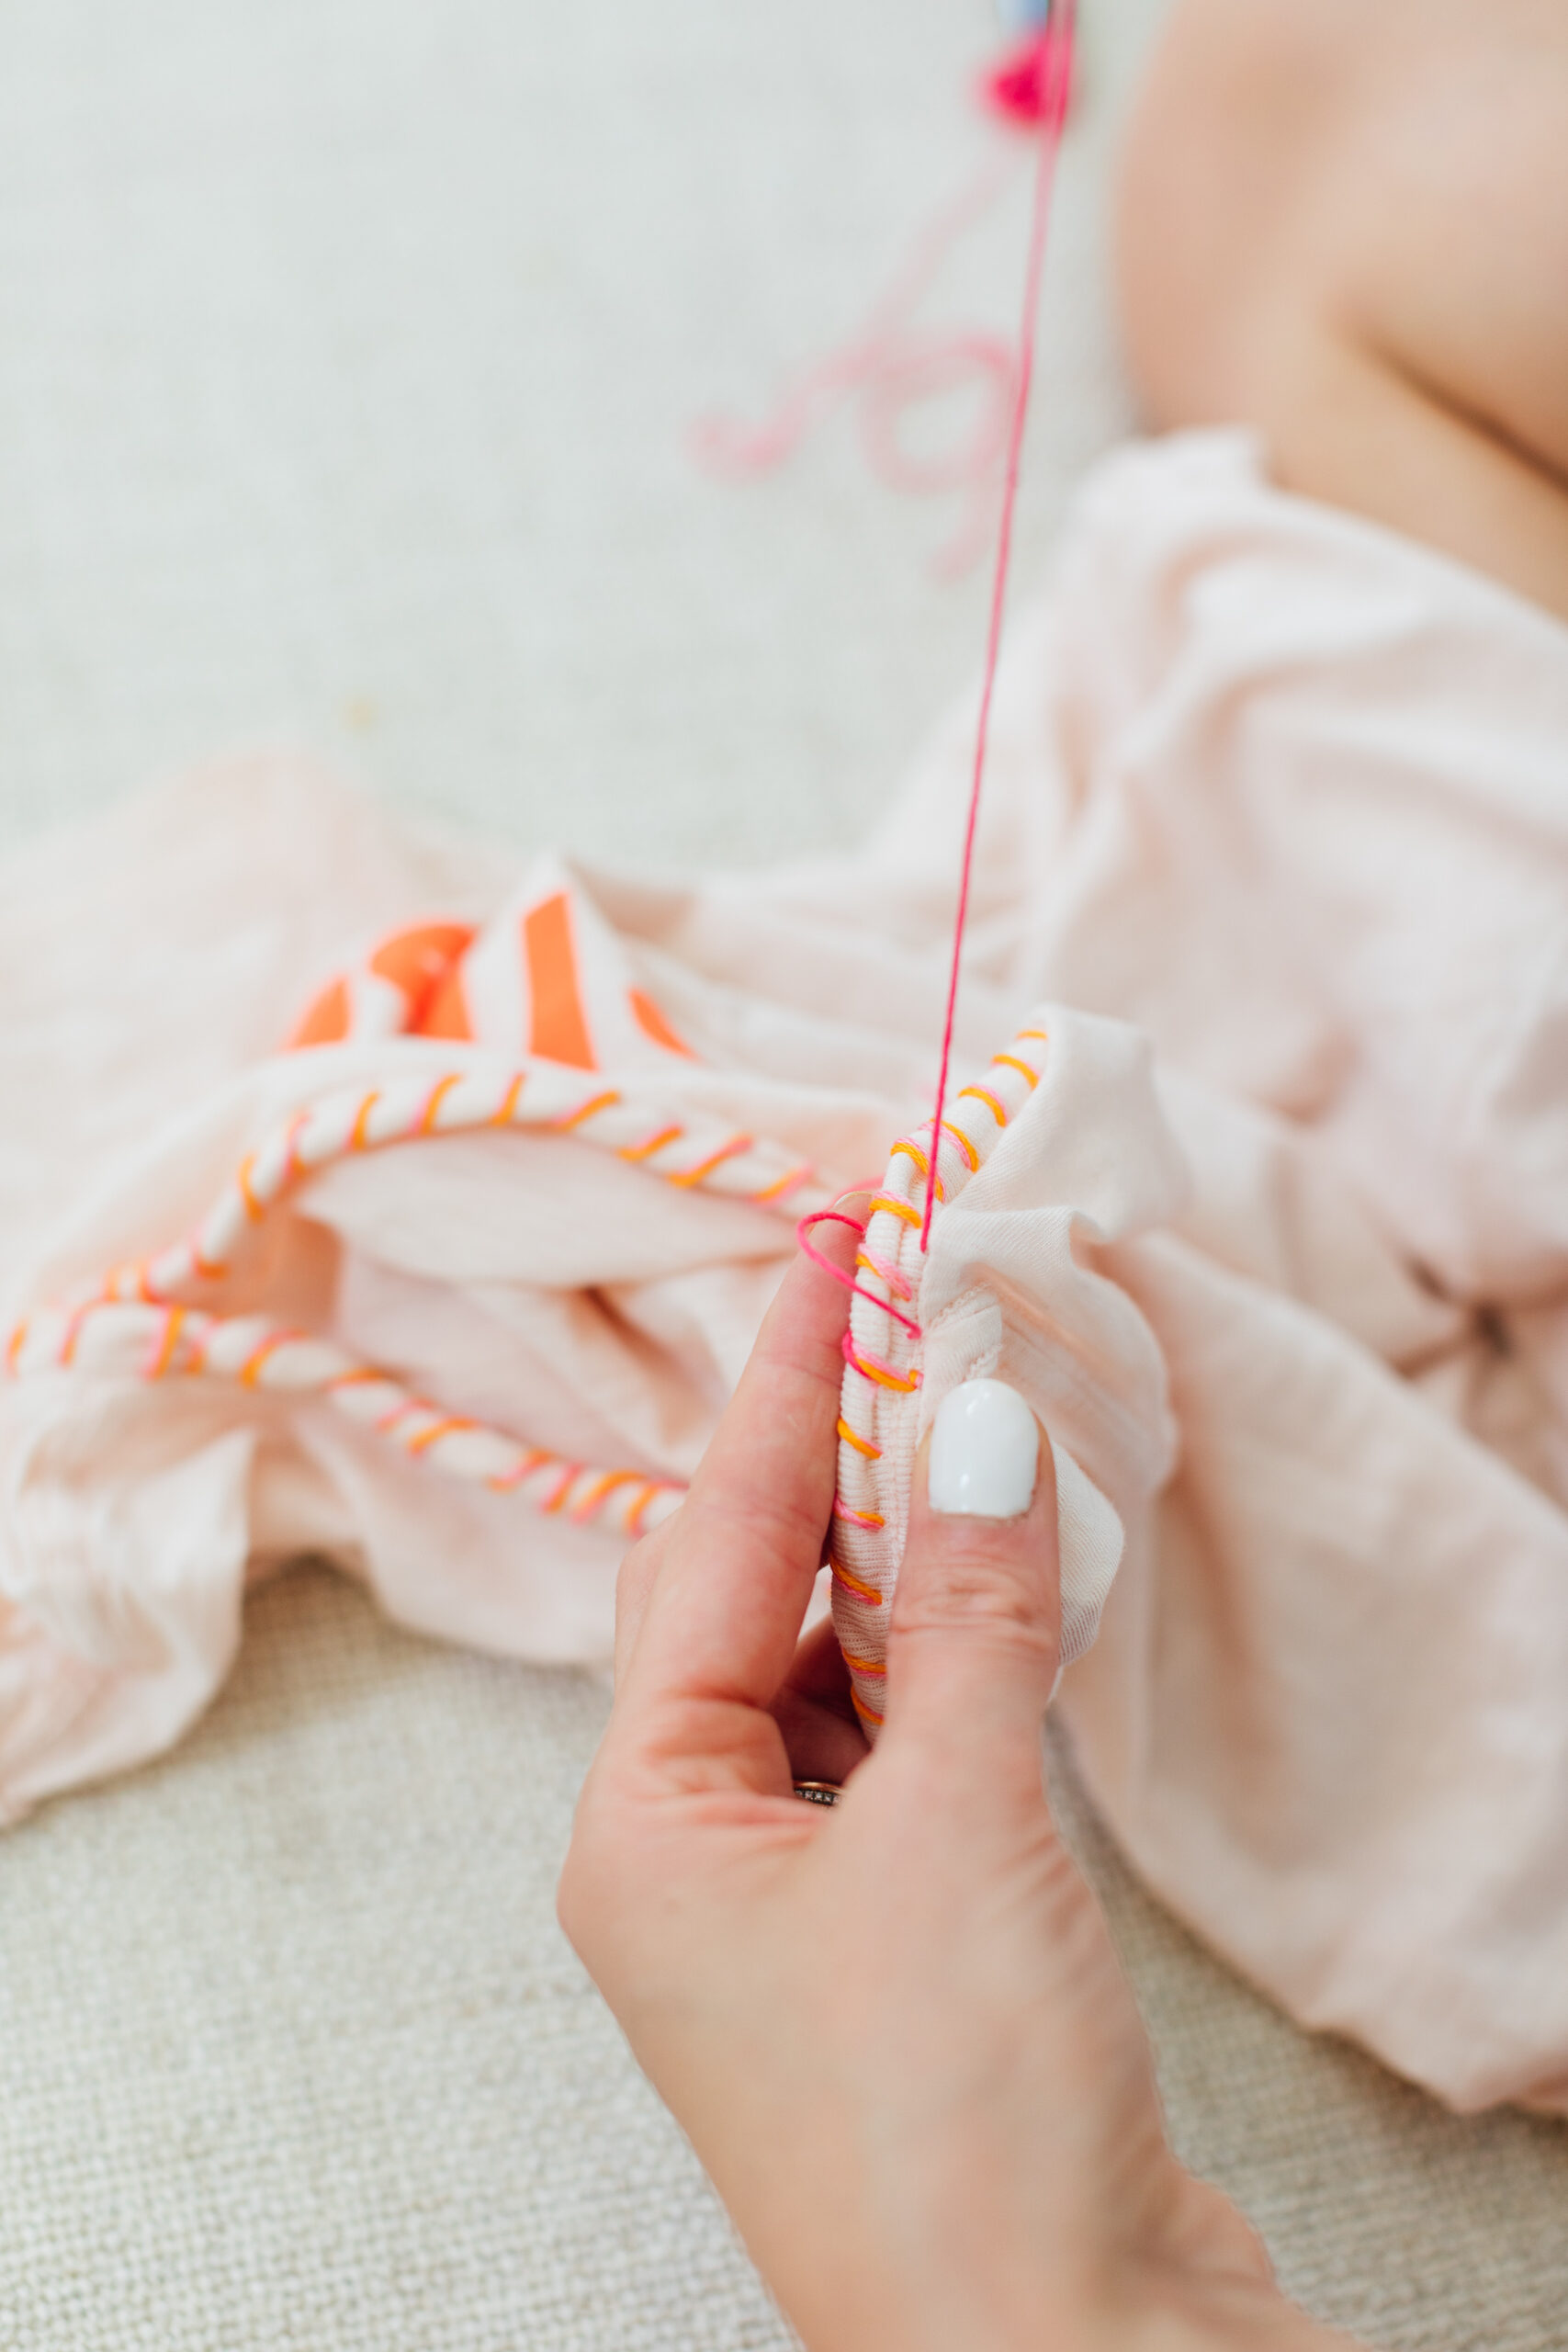
To begin, select your string. I used embroidery string in two different colors to create a fun dynamic. Create a knot in one end of a 3-foot piece of string, Begin by drawing the needle up through the inside of the T-shirt collar, at the base of the collar band. This will be the line you return to all around the collar, with each loop. Crossing over the top of the collar, go back around, about 1/2 inch further around the collar and under along the same rim, pulling the string firmly but not too tight. Repeat around the entire collar. Using your second color, repeat the process, just slightly distanced from the first round of stitches. Tie off at the inside of the color, so you can’t see the knot!
I love how these DIY Embroidered Tees turned out, and now my wheels are spinning about doing a tablecloth runner with red and gold for holiday! It’s truly so simple and took me no time at all. Keep me posted if you try this fun craft!
Photographs by Julia Dags | Copyright © 2024 Happily Eva After, Inc. All Rights Reserved.

















Love the creativity behind these DIY embroidered tees!