The following content may contain affiliate links. When you click and shop the links, we receive a commission.

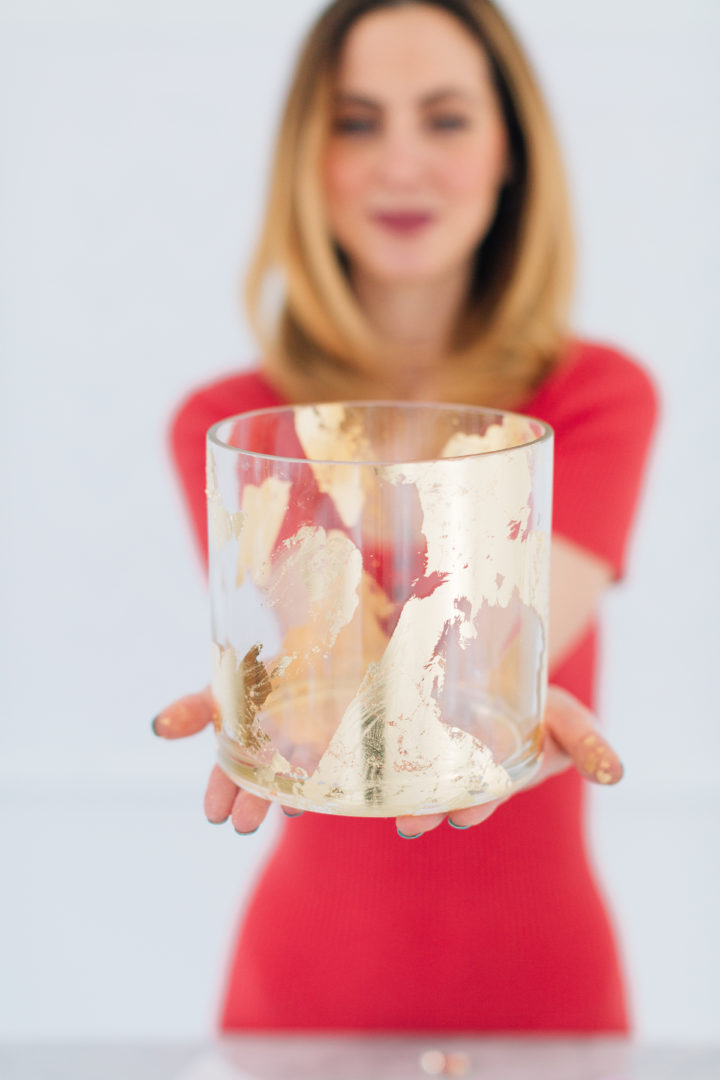
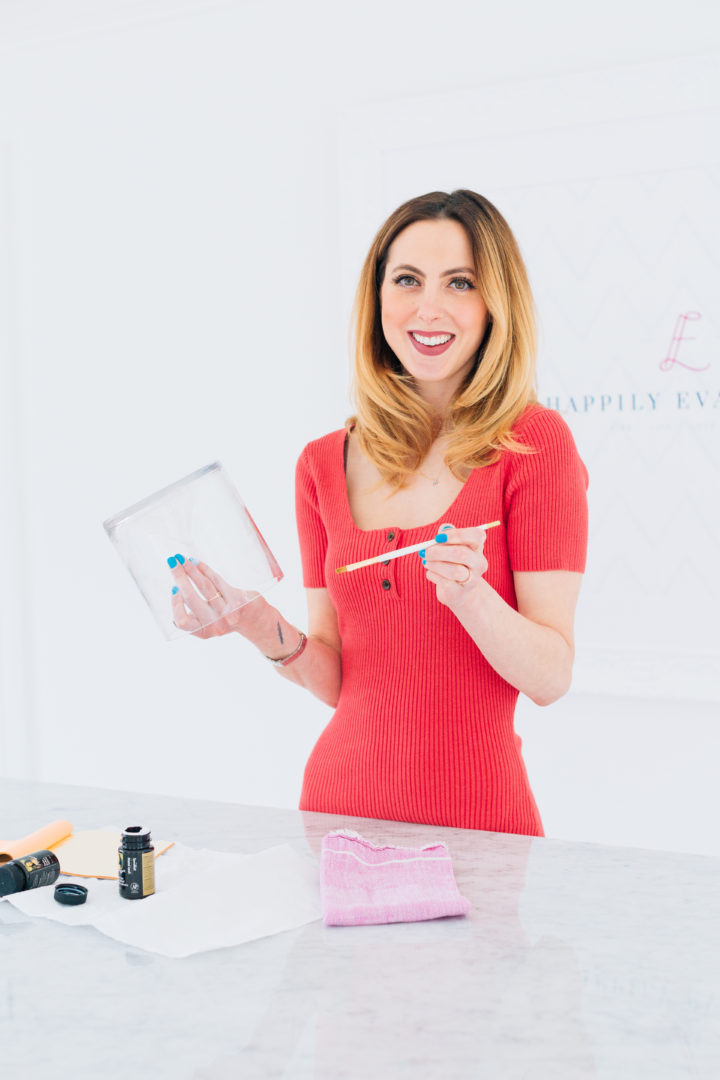
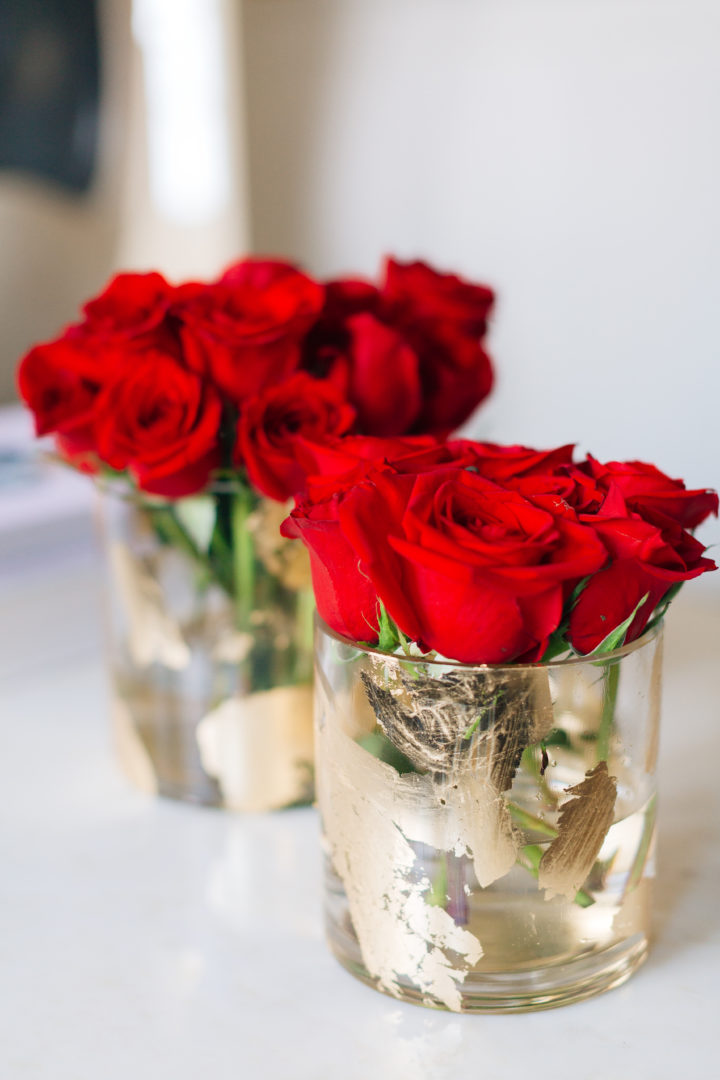
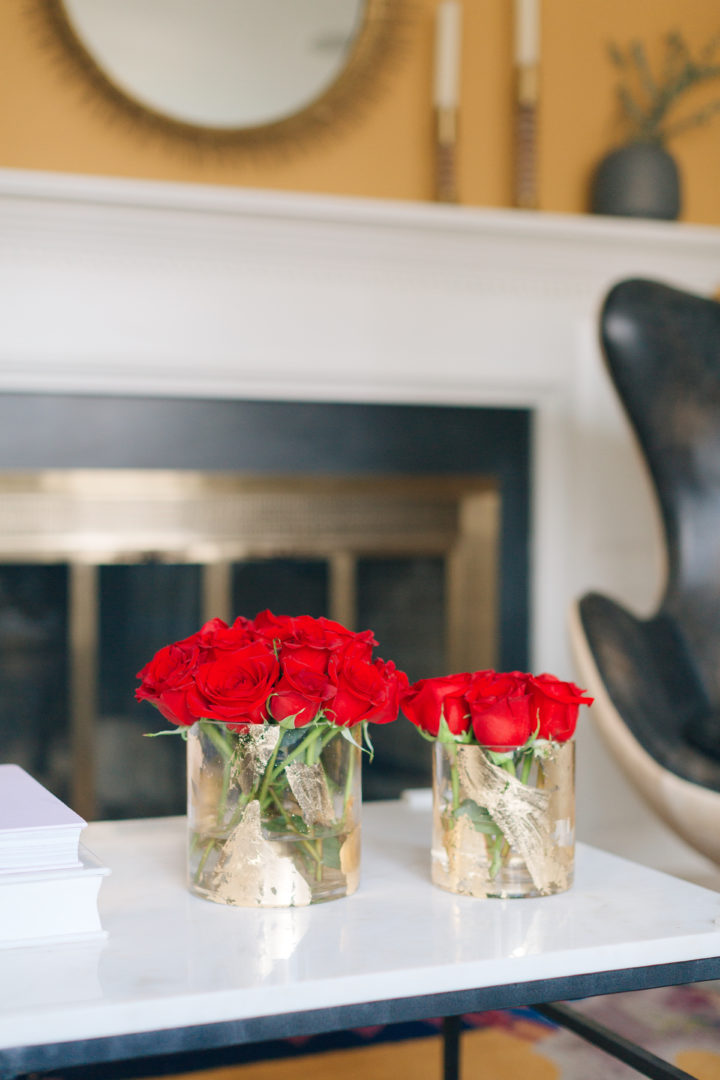
Sometimes it just feels extra special to craft something that you can fully imagine yourself buying at a home decor store for about ten times the cost it took to make it. It just feels like a little money-saving, chic one-two punch! I had been wanting to find a DIY that was stylish and super easy to pull off– and bonus points if it can be easily gifted for the upcoming Mother’s Day Holiday! This accomplishes all of those. I just adore this Brushed Gold Vase DIY, and it is beyond simple. I can’t stop staring at the finished product– even Kyle asked where I had bought the vases I crafted!
To create, the materials are super simple. All you need is a clear glass vase and a gold leaf kit. There is probably a way to do this without purchasing a kit and just buying individual pieces but honestly the kit is so much easier and also cost effective. Plus it comes with instructions so you can make tons of other things with your gold leaf!
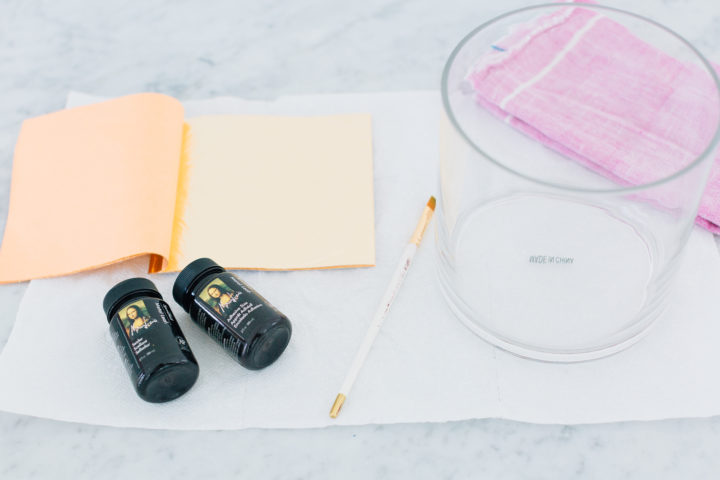
Materials…
- Clear glass vase (or try with clear glass votives!)
- Gold Leaf Kit
- Soft cloth
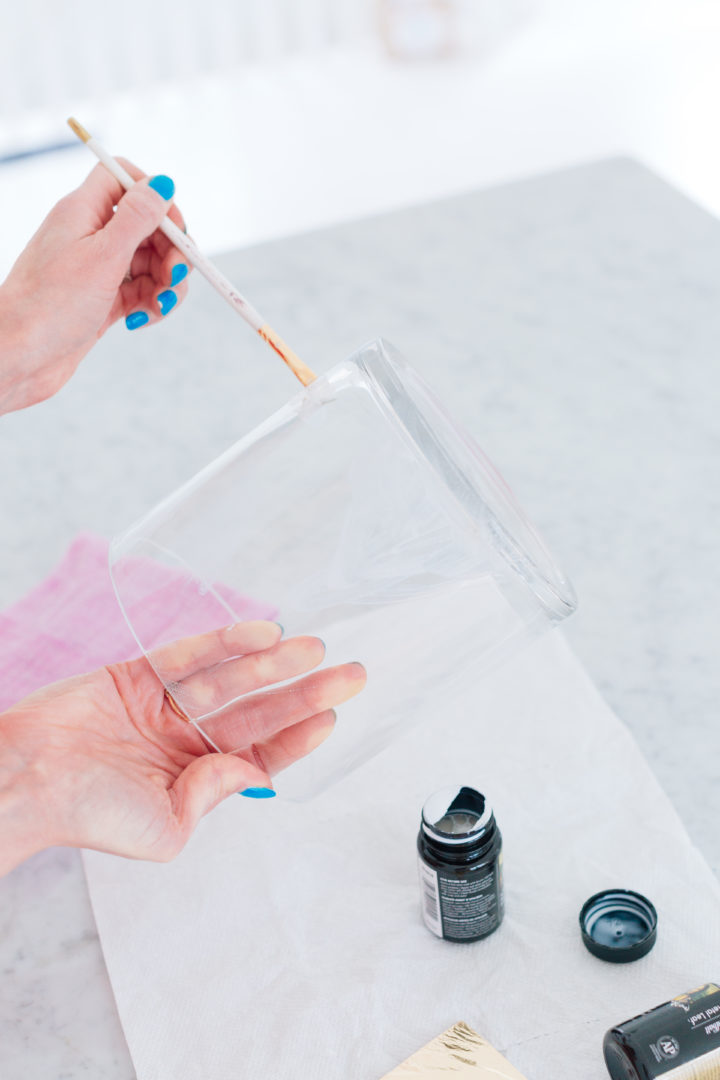
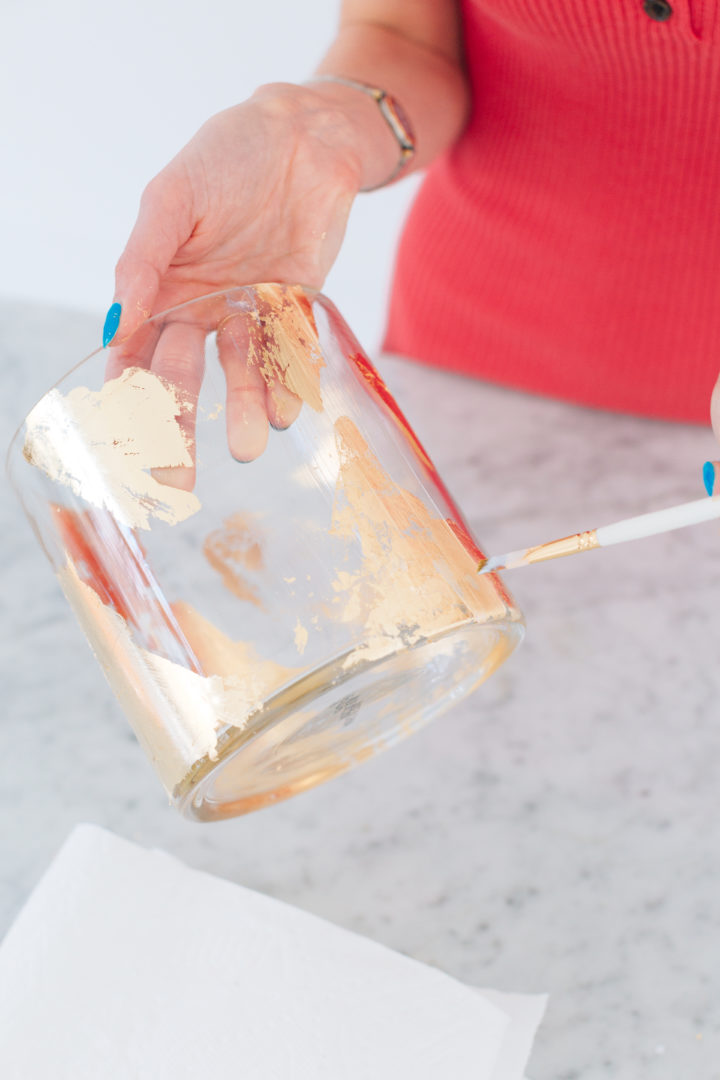
1. Apply The Base Adhesive
Start by painting the base adhesive on to the outside of your vase. I painted it in inconsistent strokes and sections, so that there is a variety of width brush strokes as well as some areas without adhesive so the glass can peek through. Allow to dry until clear.

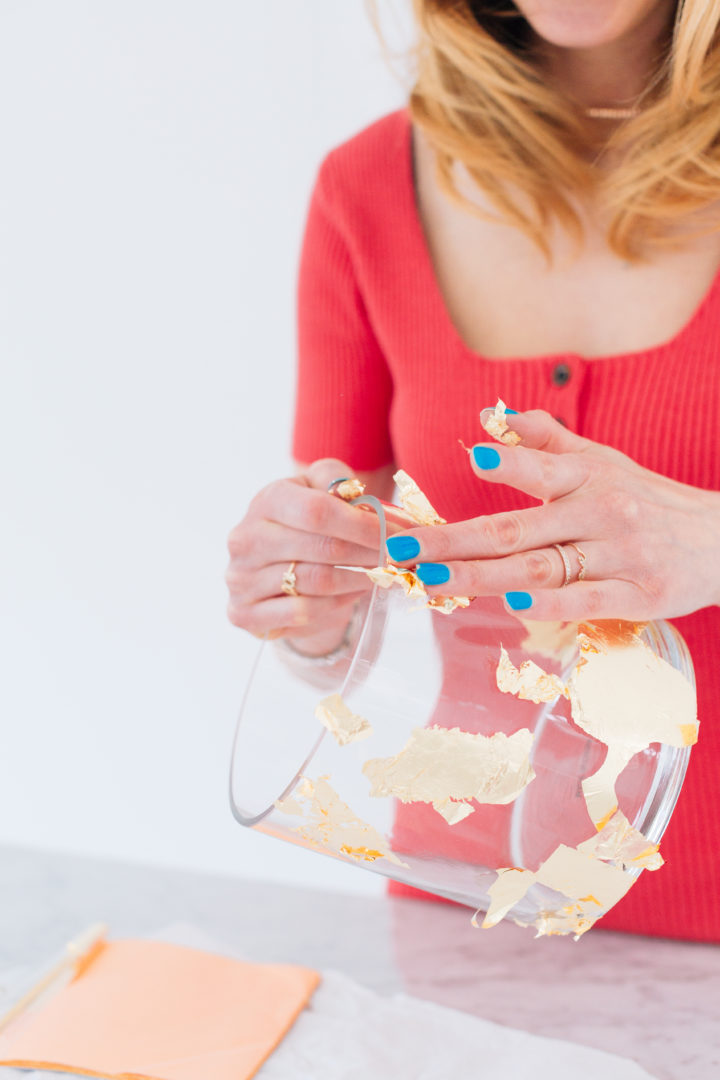
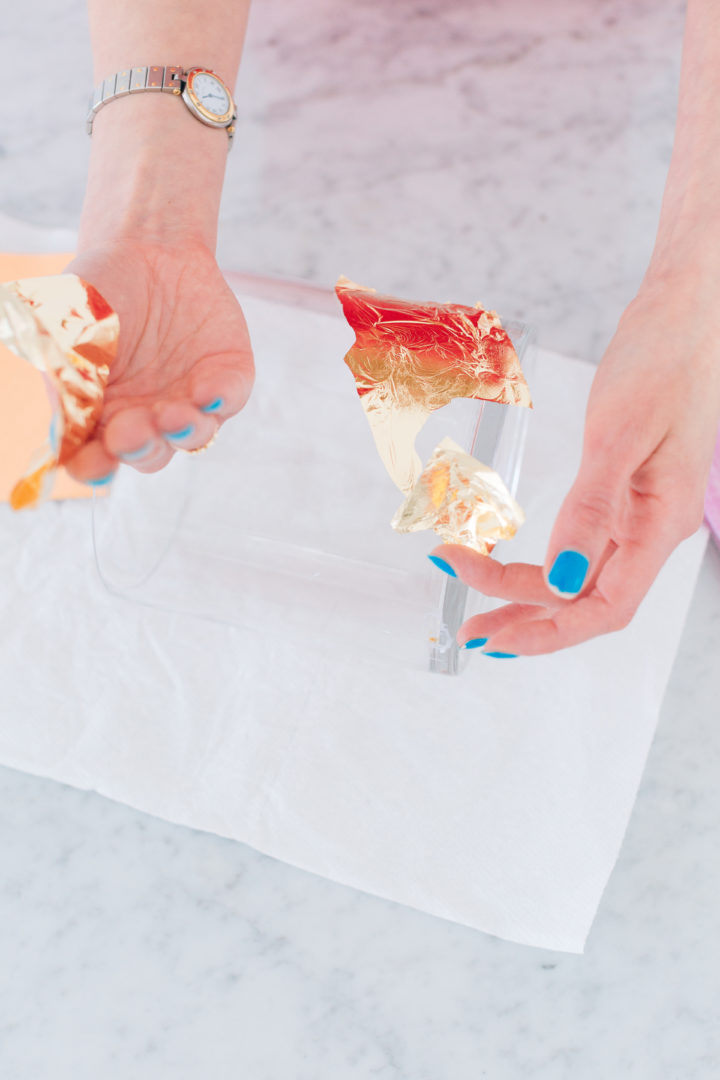
2. Apply The Gold Leaf
Take the sheets of gold leaf, and press them on to the areas with adhesive. It’s ok if the gold leaf breaks, just make sure you cover the adhesive completely, and pat to stick.
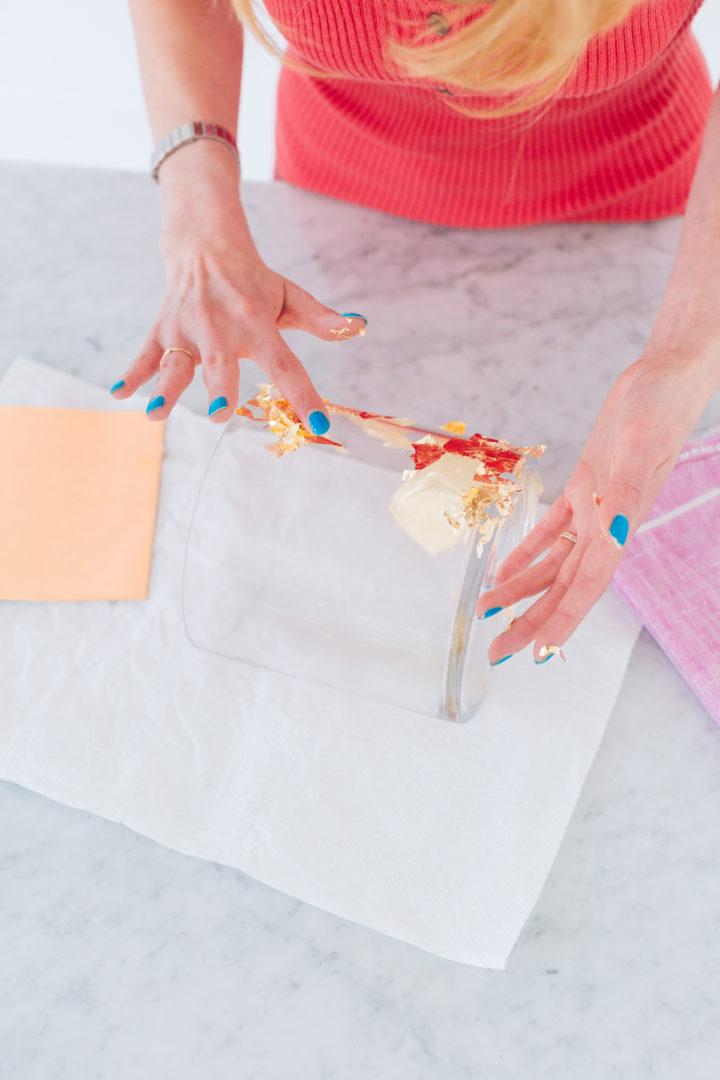
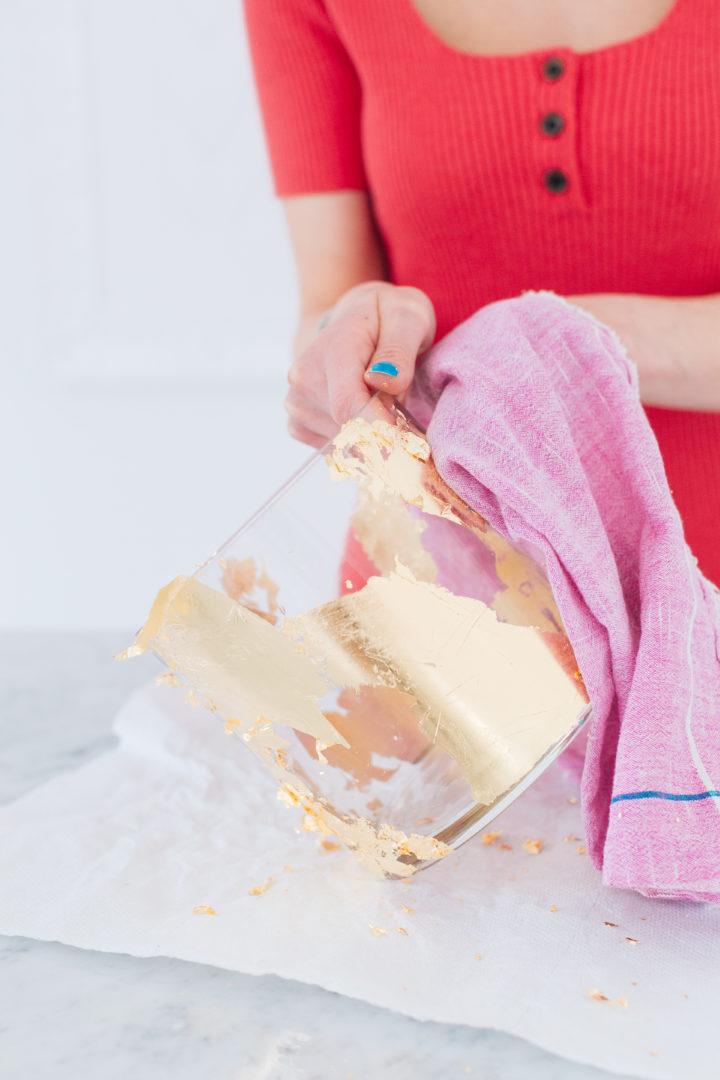
3. Rub Off Excess
Use the soft cloth to gently buff all over the surface of the vase in a circular motion. This will smooth the gold leaf, and take off the excess. Keep on going around the entire exterior, until the gold leaf is smooth.

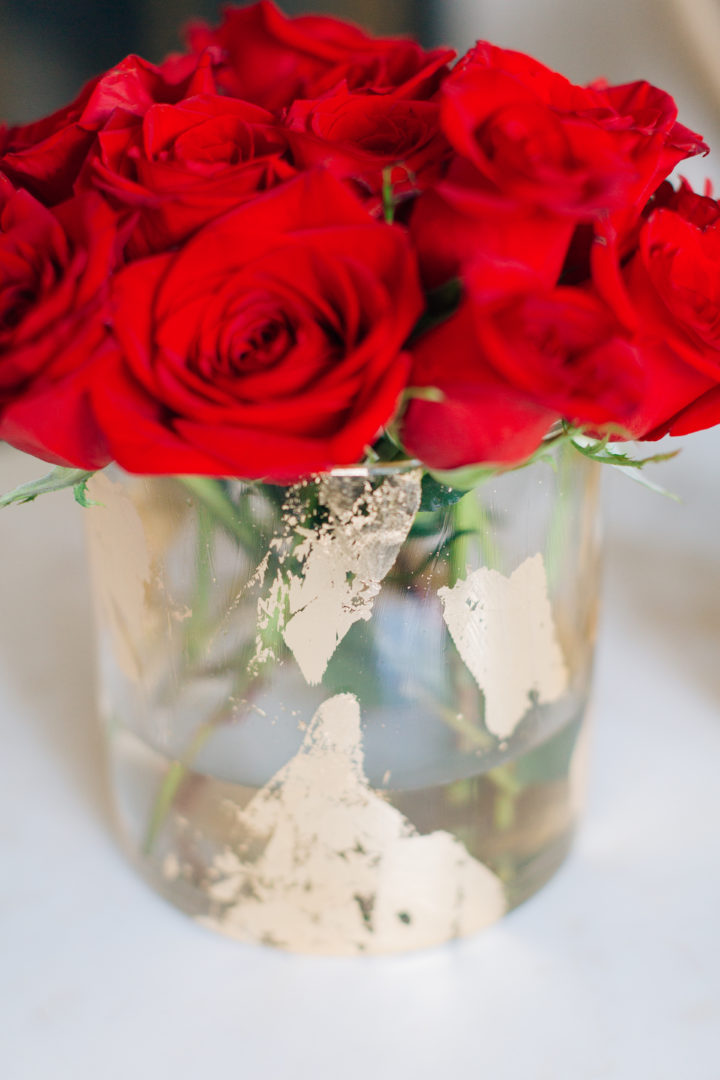
4. Seal The Gold Leaf
Once the gold leaf application is to your liking, seal it with the sealant from your Gold Leaf Kit. Be sure to coat every bit of gold leaf with the sealant, and allow to dry for at least an hour, and preferably overnight.
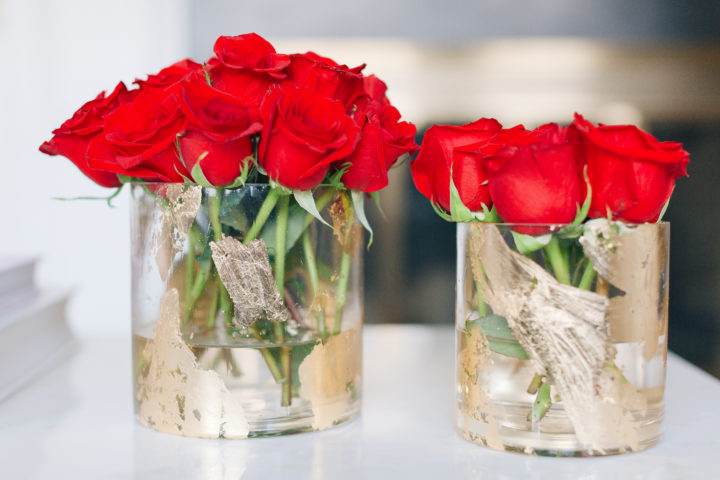
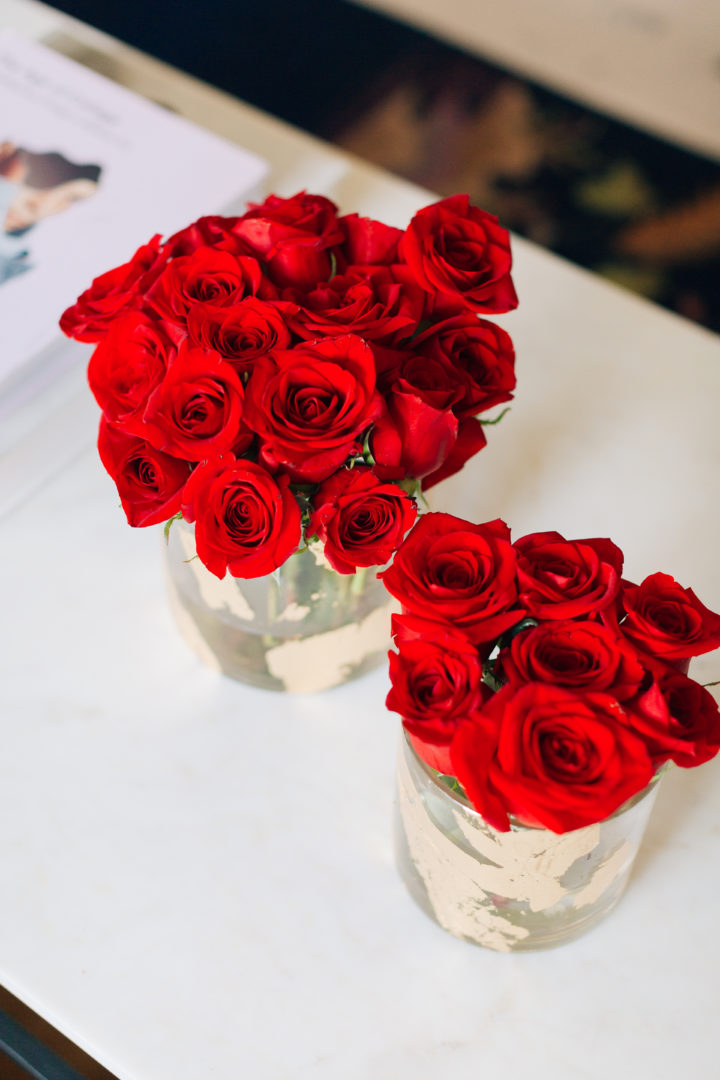
Once your DIY Brushed Gold Vases are complete, fill with beautiful flowers and enjoy! I keep mine in the living room, and I just adore how subtle and chic they are. I can’t wait to make more of these as gifts!
Shop the Post…
[show_shopthepost_widget id=”4922134″]

Hi, I would like to know how did you get the roses to stay like that. I will buy the gold kit to try it; it looks very nice!
Thank you! The roses don’t have any special trick, I just cut them relatively short and lined them all up next to each other in the vase!
Love this! Perfect for Mothers Day gifts and the 10 ladies we need to gift this year! Michaels here I come… xo