The following content may contain affiliate links. When you click and shop the links, we receive a commission.
This blog post was originally published on December 24th, 2015. It was updated to include new information.
For me, Christmas Eve has always been about one of my favorite traditions: leaving out Christmas treats for Santa!
Growing up we would do this every year. The treats changed a little over the years (I’m pretty sure Santa started off with milk, and ended up with Whiskey) but the tradition was always the same.
Leave a little something for Santa, and he left a little something for you!
When I was a kid, my brothers and I would write a note, and handpick what to leave for a snack. The note would say something like “We’ve been good! Seriously! No Coal, OK?” and the snack would be something like cookies—although one year I think we left pizza?
Santa is always parched after his long night of house-visiting, so a drink was in order as well. A glass of milk was the norm, and by the time I was in elementary school, it had transitioned in to a nice healthy tumbler full of whiskey.
We always were so anxious to make sure everything was set up for Santa before we went to bed at night. When we woke up on Christmas morning, our note was gone, a few bites of cookie, ALL of the whiskey, and there was a handwritten note by the plate thanking us for the snack!
Depending on how badly behaved we had been recently, there also was a set of instructions on how to improve if we wanted to be considered for his next run around the block. LOL.
Continuing this tradition with my kids was a total no brainer! Mateo is a little fuzzy on the exact details of Christmas, and hasn’t put together that anything exciting will be happening on Christmas morning, but he has probably gathered that Santa Claus is definitely “coming to town.” Involving all three kids this year in welcoming Santa down our chimney is a bit challenging, but worth it!
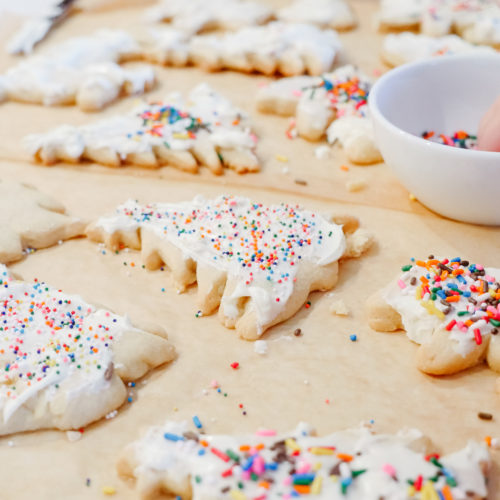
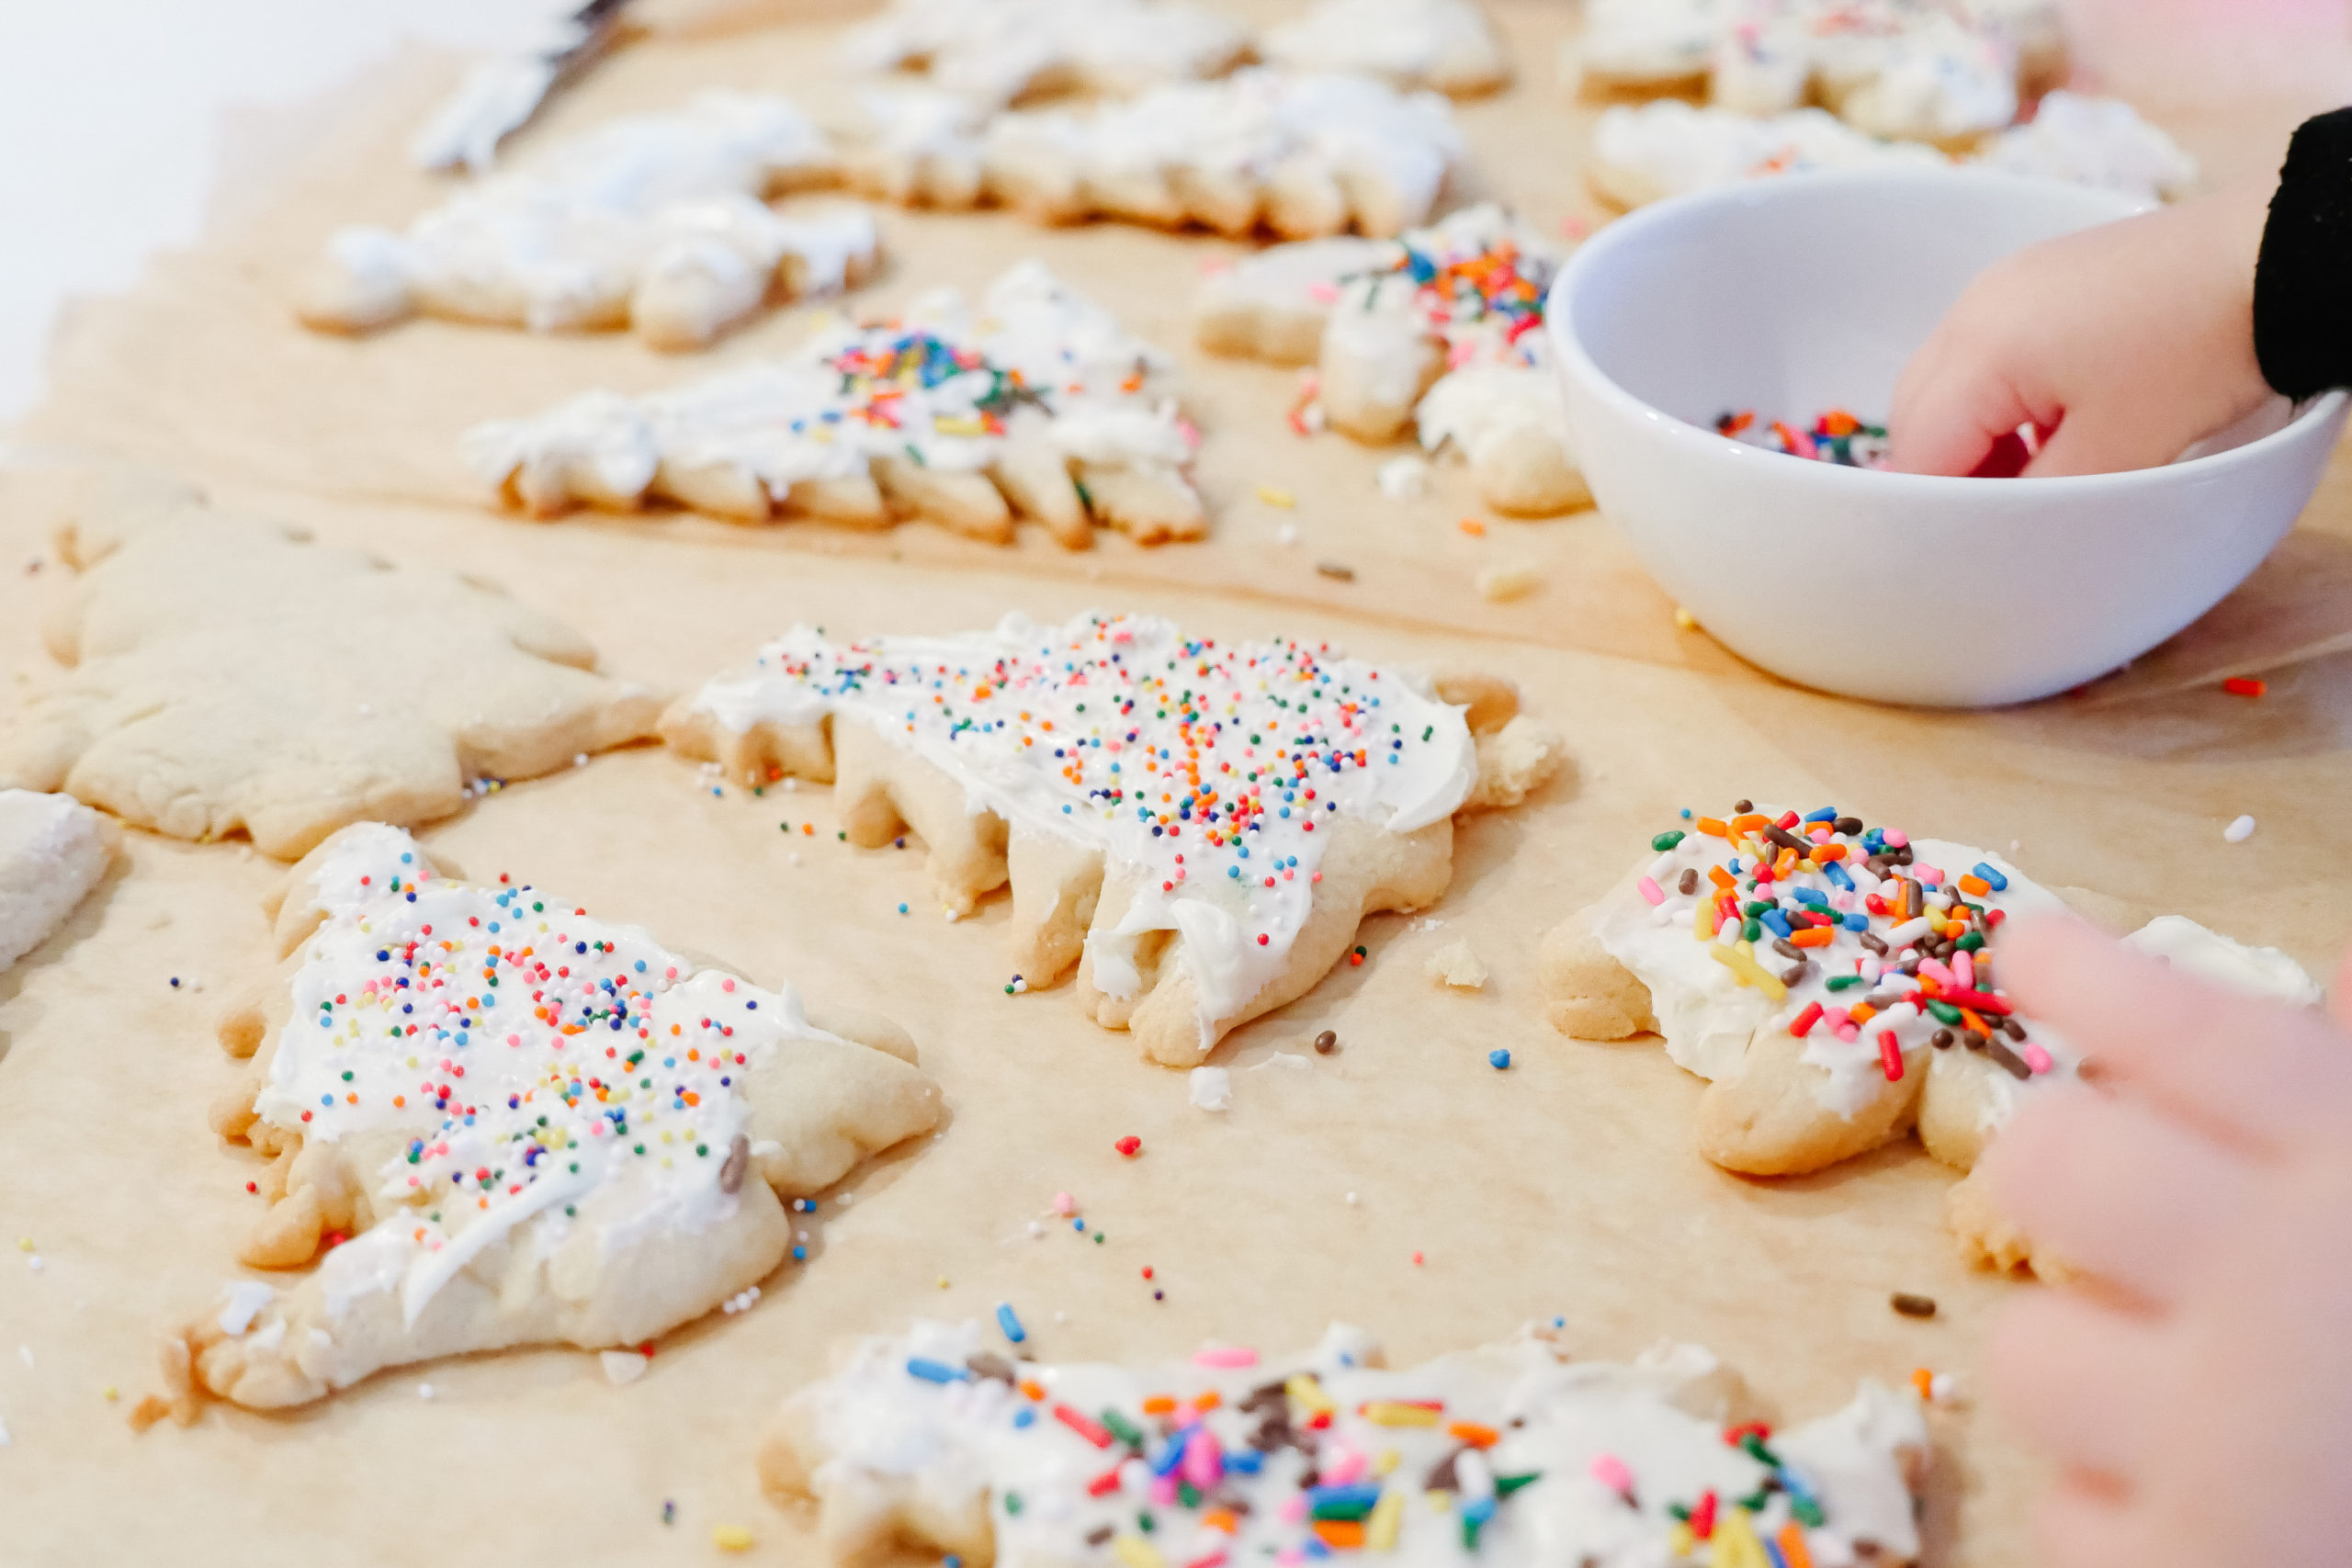
First up, it always starts with the Bigs making cookies! I make the dough (obviously), but then we unleash Marlowe and Major on some icing and sprinkles. Major is excellent at icing the cookies, and Marlowe is excellent at eating handfuls of sprinkles out of the bowl. She also bit the head off of three of the Teddy Bear cookies—party foul!
The cookies always ended up looking like something your crazy Aunt decorated after seventeen cocktails, but thankfully how they look has absolutely zero bearings on how they taste, LOL.
The recipe I’ve used over the past few years is a dairy-free riff off of a classic sugar cookie recipe, just substituting the butter with Earth Balance and the milk with oat milk, so I can eat them! (I’m allergic to cow dairy, which can be a bummer sometimes around the Holidays, so I was happy to find that these cookies were delicious even without the real butter and milk added!)
DAIRY-FREE SUGAR COOKIES
Ingredients…
(Makes 3 Dozen Cookies)
For the Cookies…
- 3 cups all-purpose flour
- 1 cup dairy-free butter, softened (I use Earth Balance)
- 1 tsp baking powder
- 1 cup sugar
- 1 egg, beaten
- ¼ tsp salt
- 1 tbsp oat milk
- powdered sugar, for rolling out the dough
For the Royal Icing…
- 3 cups powdered sugar
- 2 tbsp oat milk
- 2 tbsp light corn syrup
- 1 tsp vanilla extract
Directions…
- Sift together your flour, baking powder, and salt, and set aside.
- Add the softened butter and sugar to an electric stand mixer, and beat on medium until light in color.
- Add the egg and the oat milk to the mixer, one after another, and beat until combined.
- Lower the mixing speed and slowly add the flour mixture in small batches, until both are combined and the mixture begins to pull away from the side of the bowl. Rinse and clean your stand mixer bowl…you’ll need it again for the icing!
- Divide the dough in half, wrap each half in wax paper, and refrigerate for at least 2 hours.
- When you’re ready to bake, preheat the oven to 375º F, and remove the dough from the fridge.
- Meanwhile, take some powdered sugar and sprinkle it onto the surface that you’ll be rolling out your dough on top of, as well as on your rolling pin.
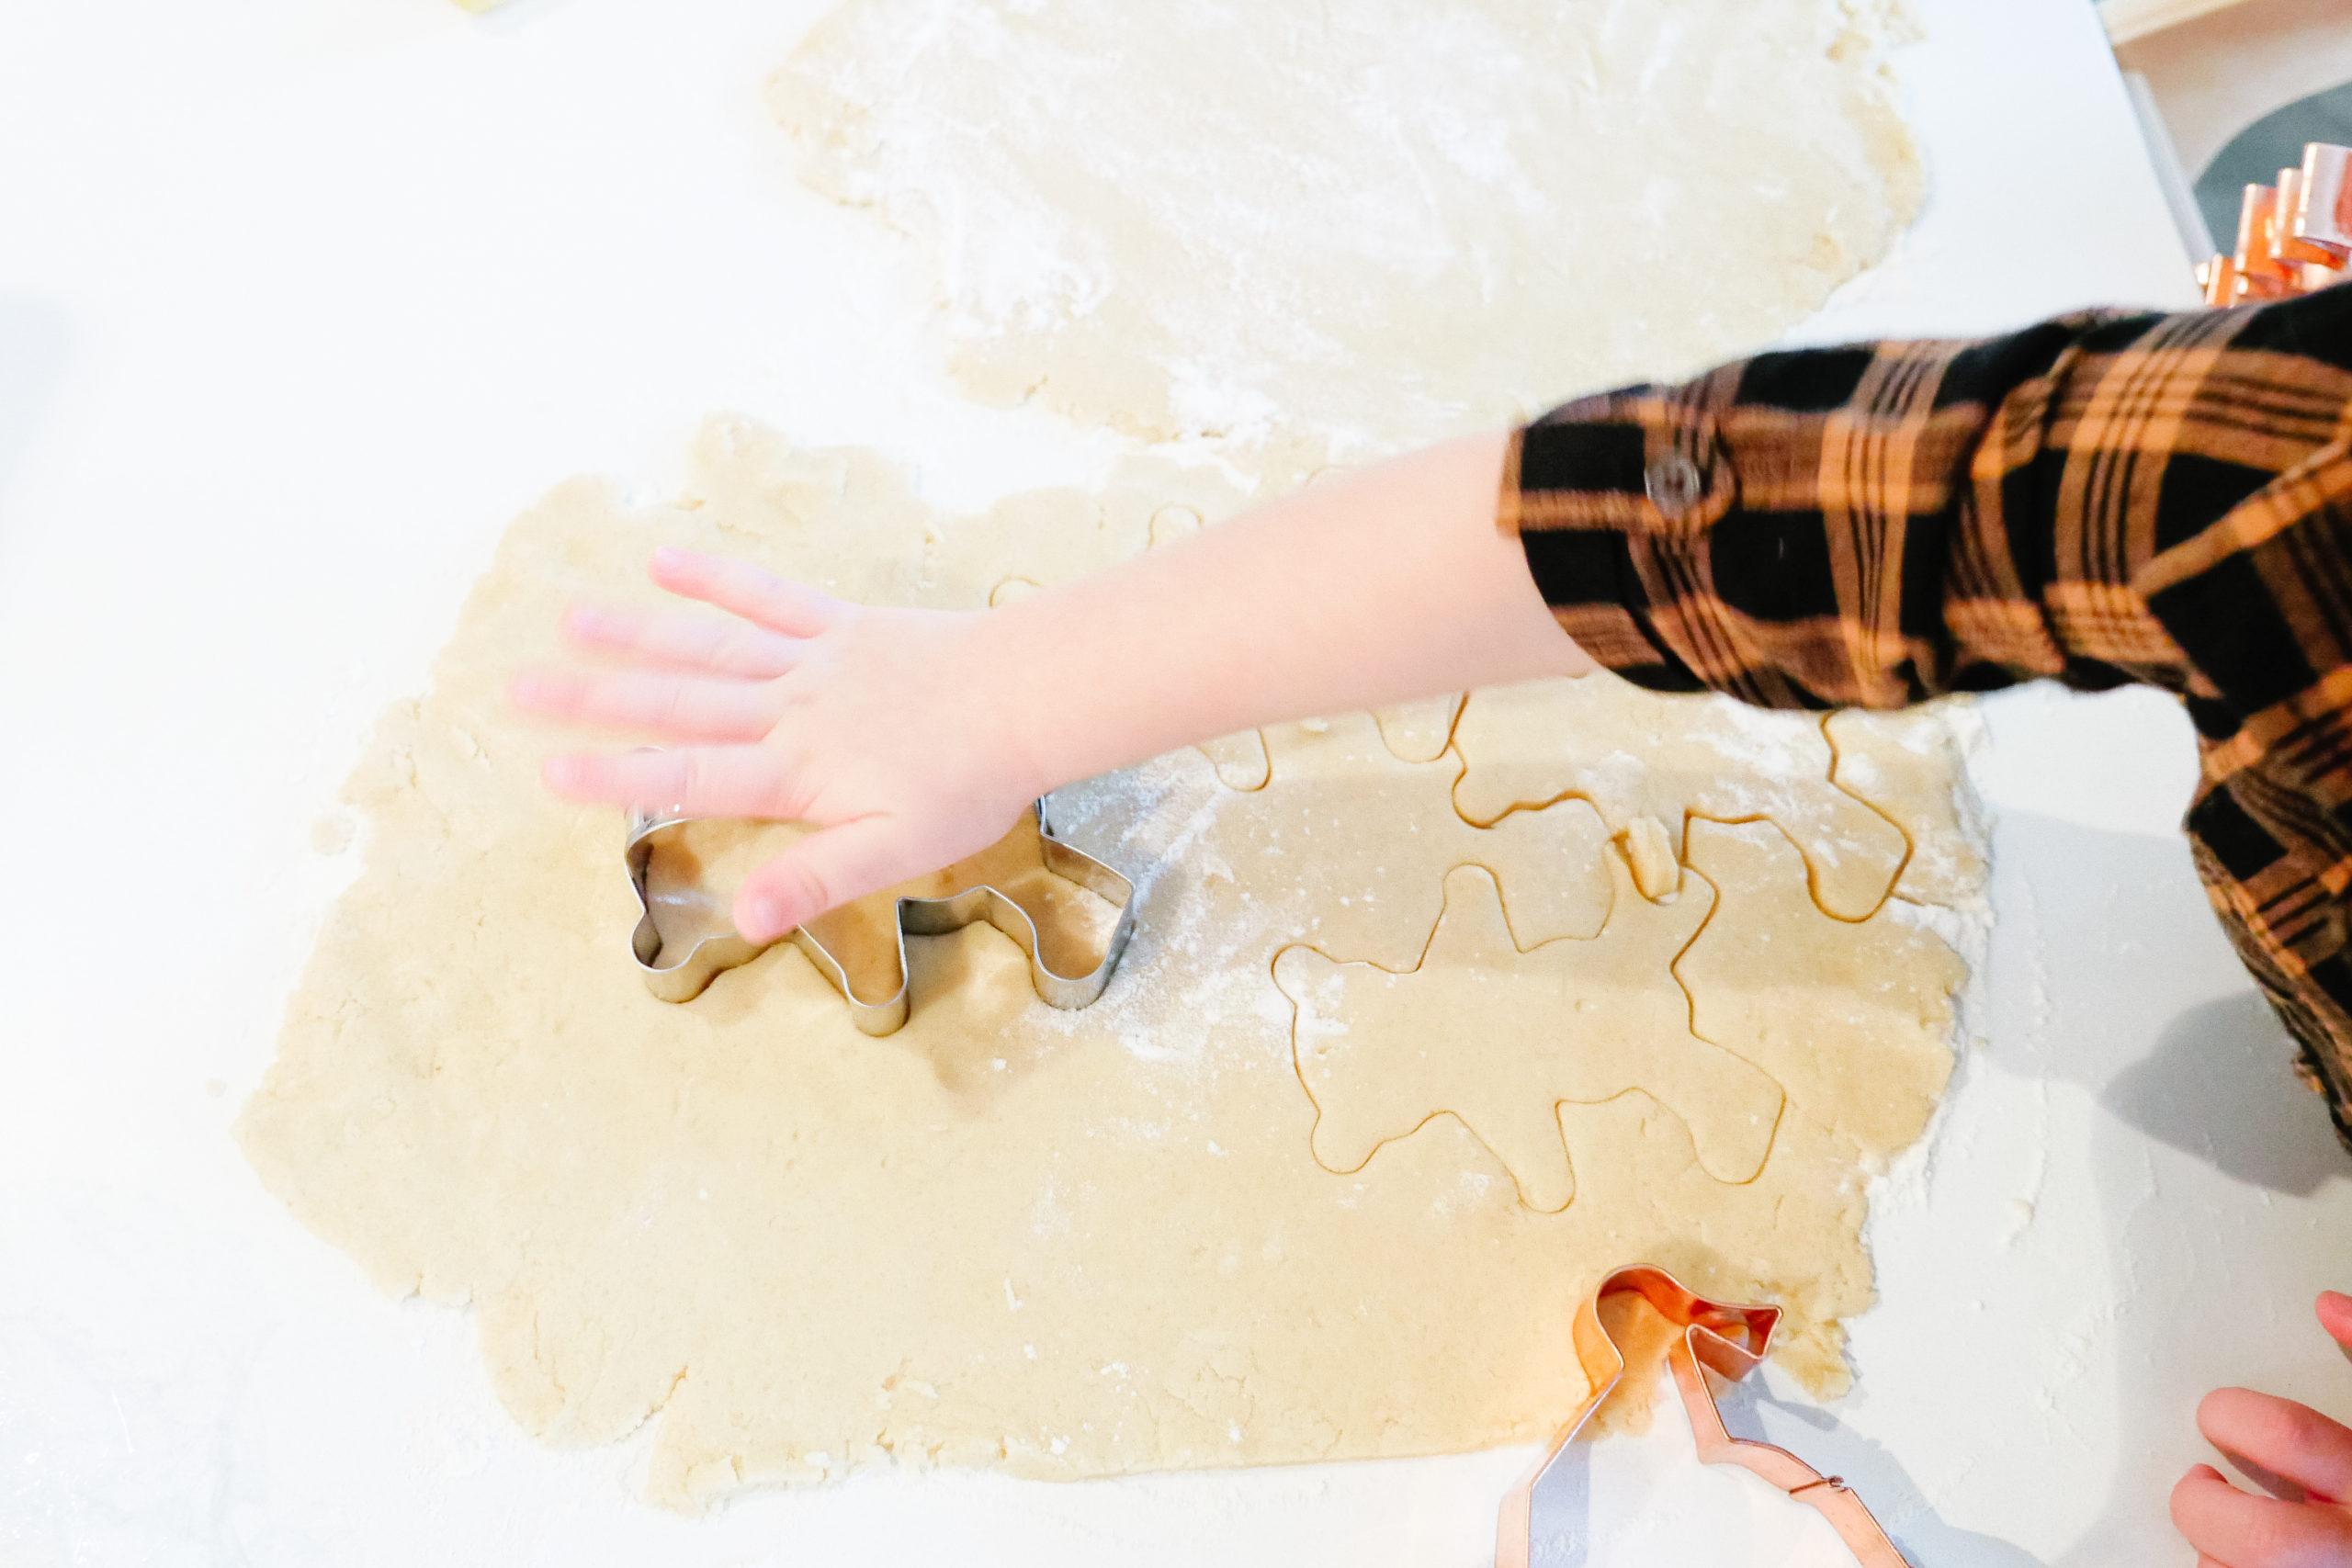
- Next, roll your dough to ¼-inch thickness, and cut cookies into desired shapes.
- Place the cookies 1-inch apart on a greased baking sheet (or on a baking sheet with parchment paper), and bake until the cookies are just beginning to brown around the edges (about 7-9 minutes).
- Remove the baking sheet from the oven and let rest for a few minutes before moving to a cooling rack.
- While you’re waiting on the cookies cool completely, it’s time to make your Royal Icing! First, add the powdered sugar to the stand mixer bowl with the wire whisk attachment.
- Start mixing the powdered sugar on low, and slowly add the oat milk, the light corn syrup, and the vanilla extract. Increase the mixing speed to medium until smooth. If the icing is too thick, add 1 tbsp of water at a time until it reaches the consistency you prefer. If it’s too watery, add powdered sugar 1 tsp at a time until it reaches the consistency you prefer.
- Once your icing is done, add it to a Ziploc bag and cut the tip of the corner off to create an easy (and free) cookie decorating bag, and add the icing to your cookies.
- Add any edible decorations you’d like to the icing before it dries (about 15-30 minutes), and serve!
Dairy-Free Sugar Cookies
Equipment
- Stand Mixer
- Baking Sheet
- Cooling Rack
Ingredients
For the Cookies...
- 3 cups all-purpose flour
- 1 cup dairy-free butter, softened
- 1 tsp baking powder
- 1 cup sugar
- 1 egg, beaten
- ¼ tsp salt
- 1 tbsp oat milk
- powdered sugar, for rolling out the dough
For the Royal Icing...
- 3 cups powdered sugar
- 2 tbsp oat milk
- 2 tbsp light corn syrup
- 1 tsp vanilla extract
- water, for thinning
Instructions
- Sift together your flour, baking powder, and salt, and set aside.
- Add the softened butter and sugar to an electric stand mixer, and beat on medium until light in color.
- Add the egg and the oat milk to the mixer, one after another, and beat until combined.
- Lower the mixing speed and slowly add the flour mixture in small batches, until both are combined and the mixture begins to pull away from the side of the bowl. Rinse and clean your stand mixer bowl…you’ll need it again for the icing!
- Divide the dough in half, wrap each half in wax paper, and refigerate for at least 2 hours.
- When you’re ready to bake, preheat the oven to 375º F, and remove the dough from the fridge.
- Meanwhile, take some powdered sugar and sprinkle it onto the surface that you’ll be rolling out your dough on top of, as well as on your rolling pin.
- Next, roll your dough to ¼-inch thickness, and cut cookies into desired shapes.
- Place the cookies 1-inch apart on a greased baking sheet (or on a baking sheet with parchment paper), and bake until they cookies are just beginning to brown around the edges (about 7-9 minutes).
- Remove the baking sheet from the oven and let rest for a few minutes before moving to a cooling rack.
- While you’re waiting on the cookies cool completely, it’s time to make your Royal Icing! First, add the powdered sugar to the stand mixer bowl with the wire whisk attachment.
- Start mixing the powdered sugar on low, and slowly add the oat milk, the light corn syrup, and the vanilla extract. Increase the mixing speed to medium until smooth. If the icing is too thick, add 1 tbsp of water at a time until it reaches the consistency you prefer. If it’s too watery, add powdered sugar 1 tsp at a time until it reaches the consistency you prefer.
- Once your icing is done, add it to a ziploc bag and cut the tip of the corner off to create an easy (and free) cookie decorating bag, and add the icing to your cookies.
- Add any edible decorations you’d like to the icing before it dries (about 15-30 minutes), and serve!
Nutrition
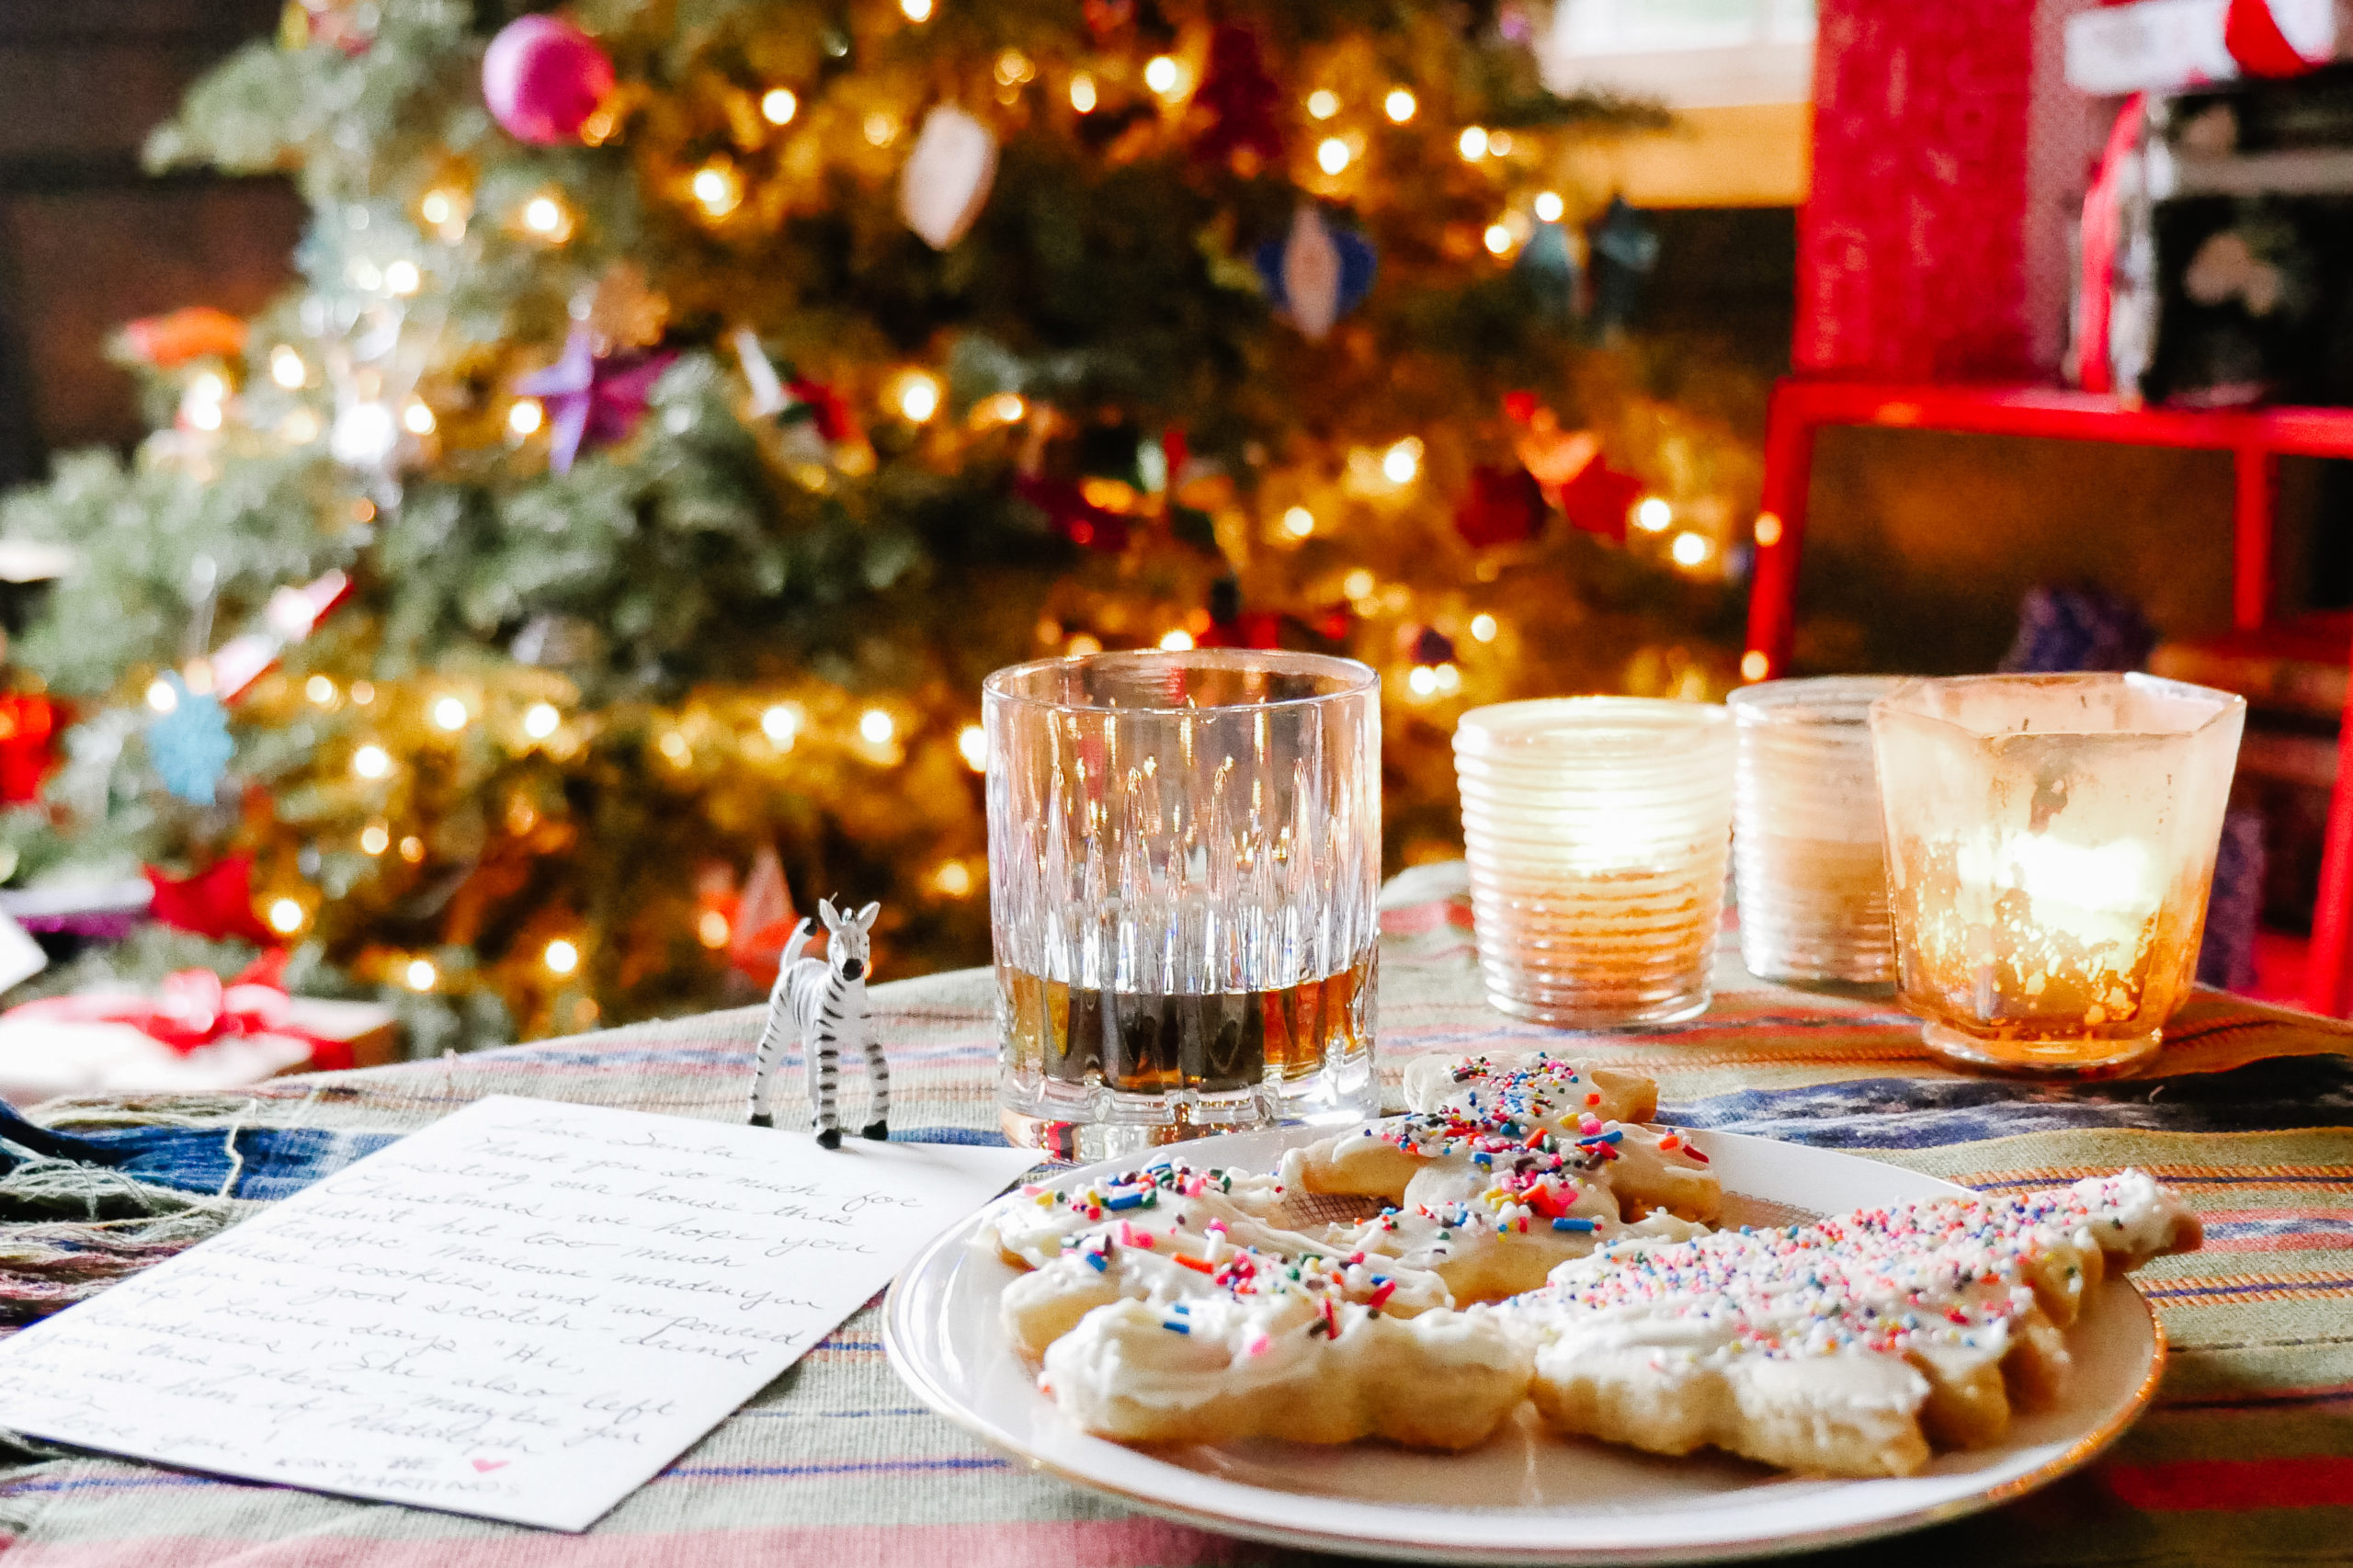
Once you’ve made and decorated your cookies, choose a few favorites, and lay them out nicely on a plate for Santa. Pour Santa a nice dram of scotch, and made sure to add a few whiskey rocks, just like Mama—I mean Santa—likes it.
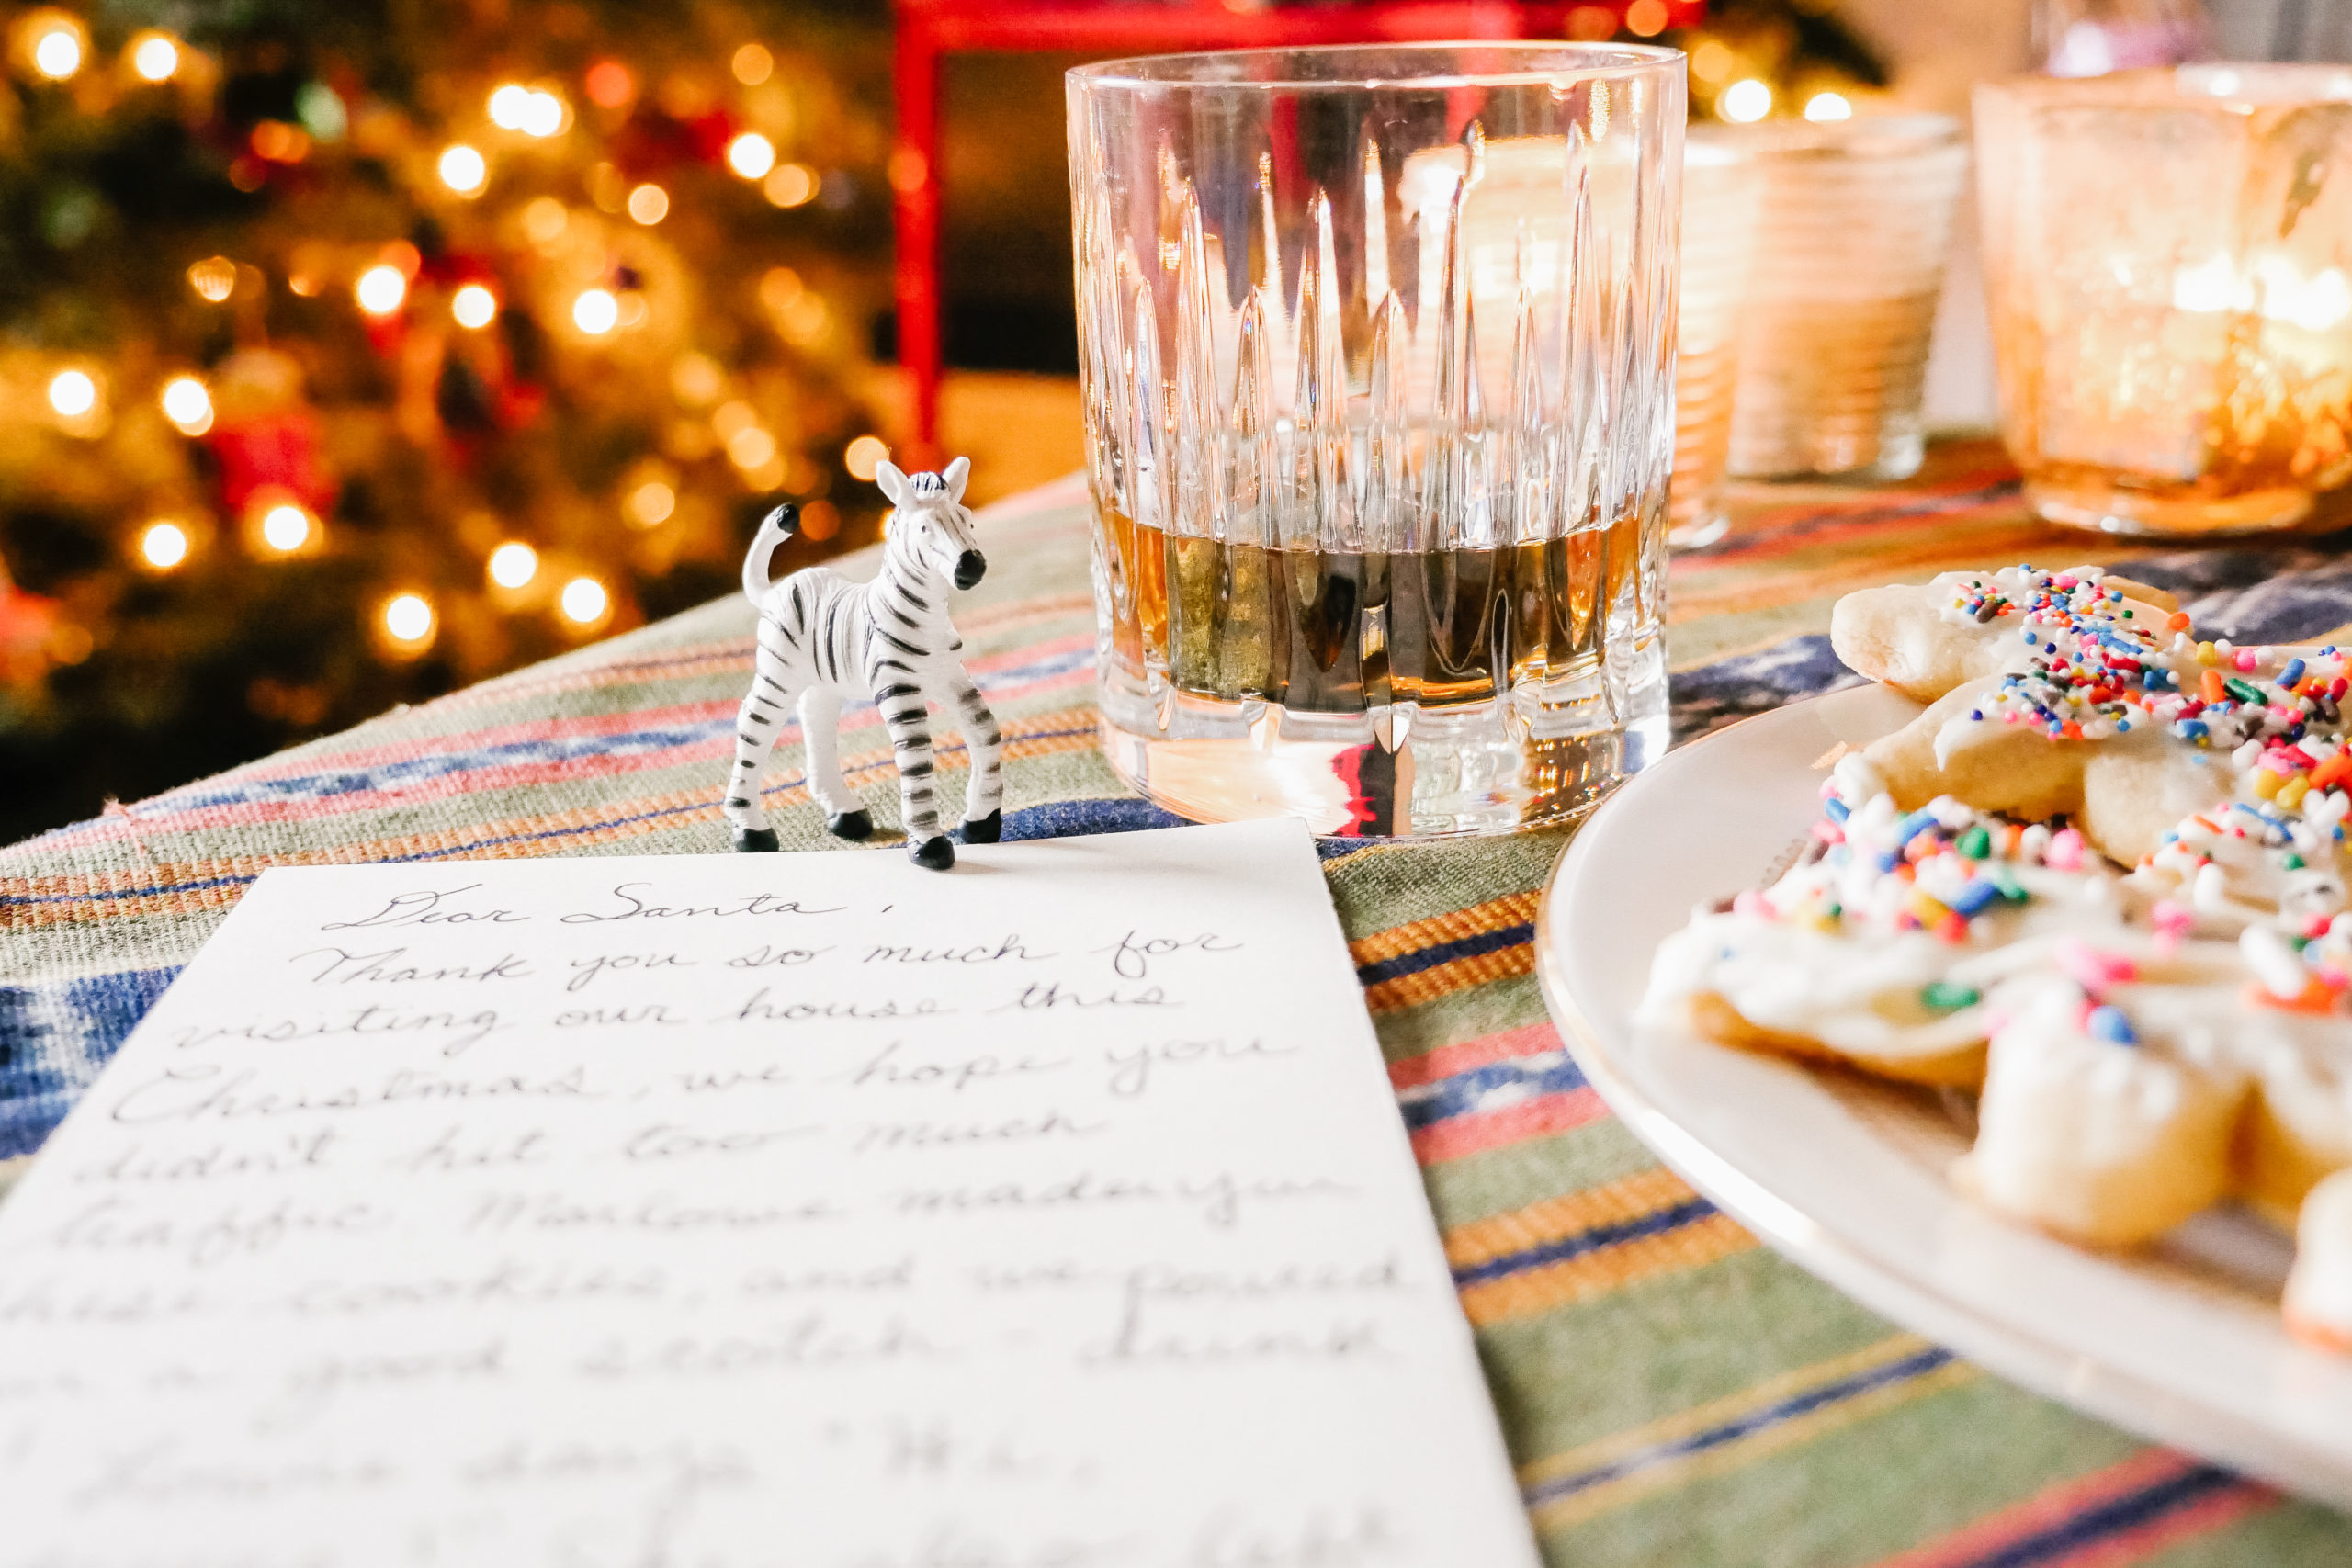
Last but not least, I’ll write a special note with the kids to let Santa know we were thinking of him. I’ll have them give it a couple of smooches before leaving it on the table as well. You really can’t be too safe when it comes to keeping in Santa’s good graces…
It really warms my heart to continue my childhood traditions with my kids—I can’t wait for next Christmas to see how much more involved Mateo will be in the process.
Wishing you all a beautiful Christmas with the ones you love.
xoxo,
EA
Happily Eva After, Inc. © 2020 All Rights Reserved

Merry Christmas to you and your family! We did the same, a note, cookies and milk.
Eva, Kyle and Lowie,
Have a MERRY CHRISTMAS…..I will tell Santa that you guys are definitely on the NICE list….or Nicely Naughty when he hits the East Coast! This year I downloaded some Christmas quizzes and puzzles for teens, as my nephews need to be kept busy….LOL
Love and happiness to all!
Sue C.
These cookies look sooooo good! Merry Christmas!
xx
Merry Christmas Eva,hope you and your lovely family have a wonderful time.Love the post,very sweet,baking cookies is one of my favorite traditions during the holiday 🙂
I’m finding the constant stream of recycled content really strange. A post about Christmas Eve treats just seems so misplaced, right before Halloween.
Would love to see new content instead of pieces that are a few years old.
I’m republishing these because believe it or not I’m getting emails and DMs asking for this content now! A lot of people are planning ahead. Also, they mostly all have current updates on them that I added now