The following content may contain affiliate links. When you click and shop the links, we receive a commission.
This blog post was originally published on November 4th, 2019.
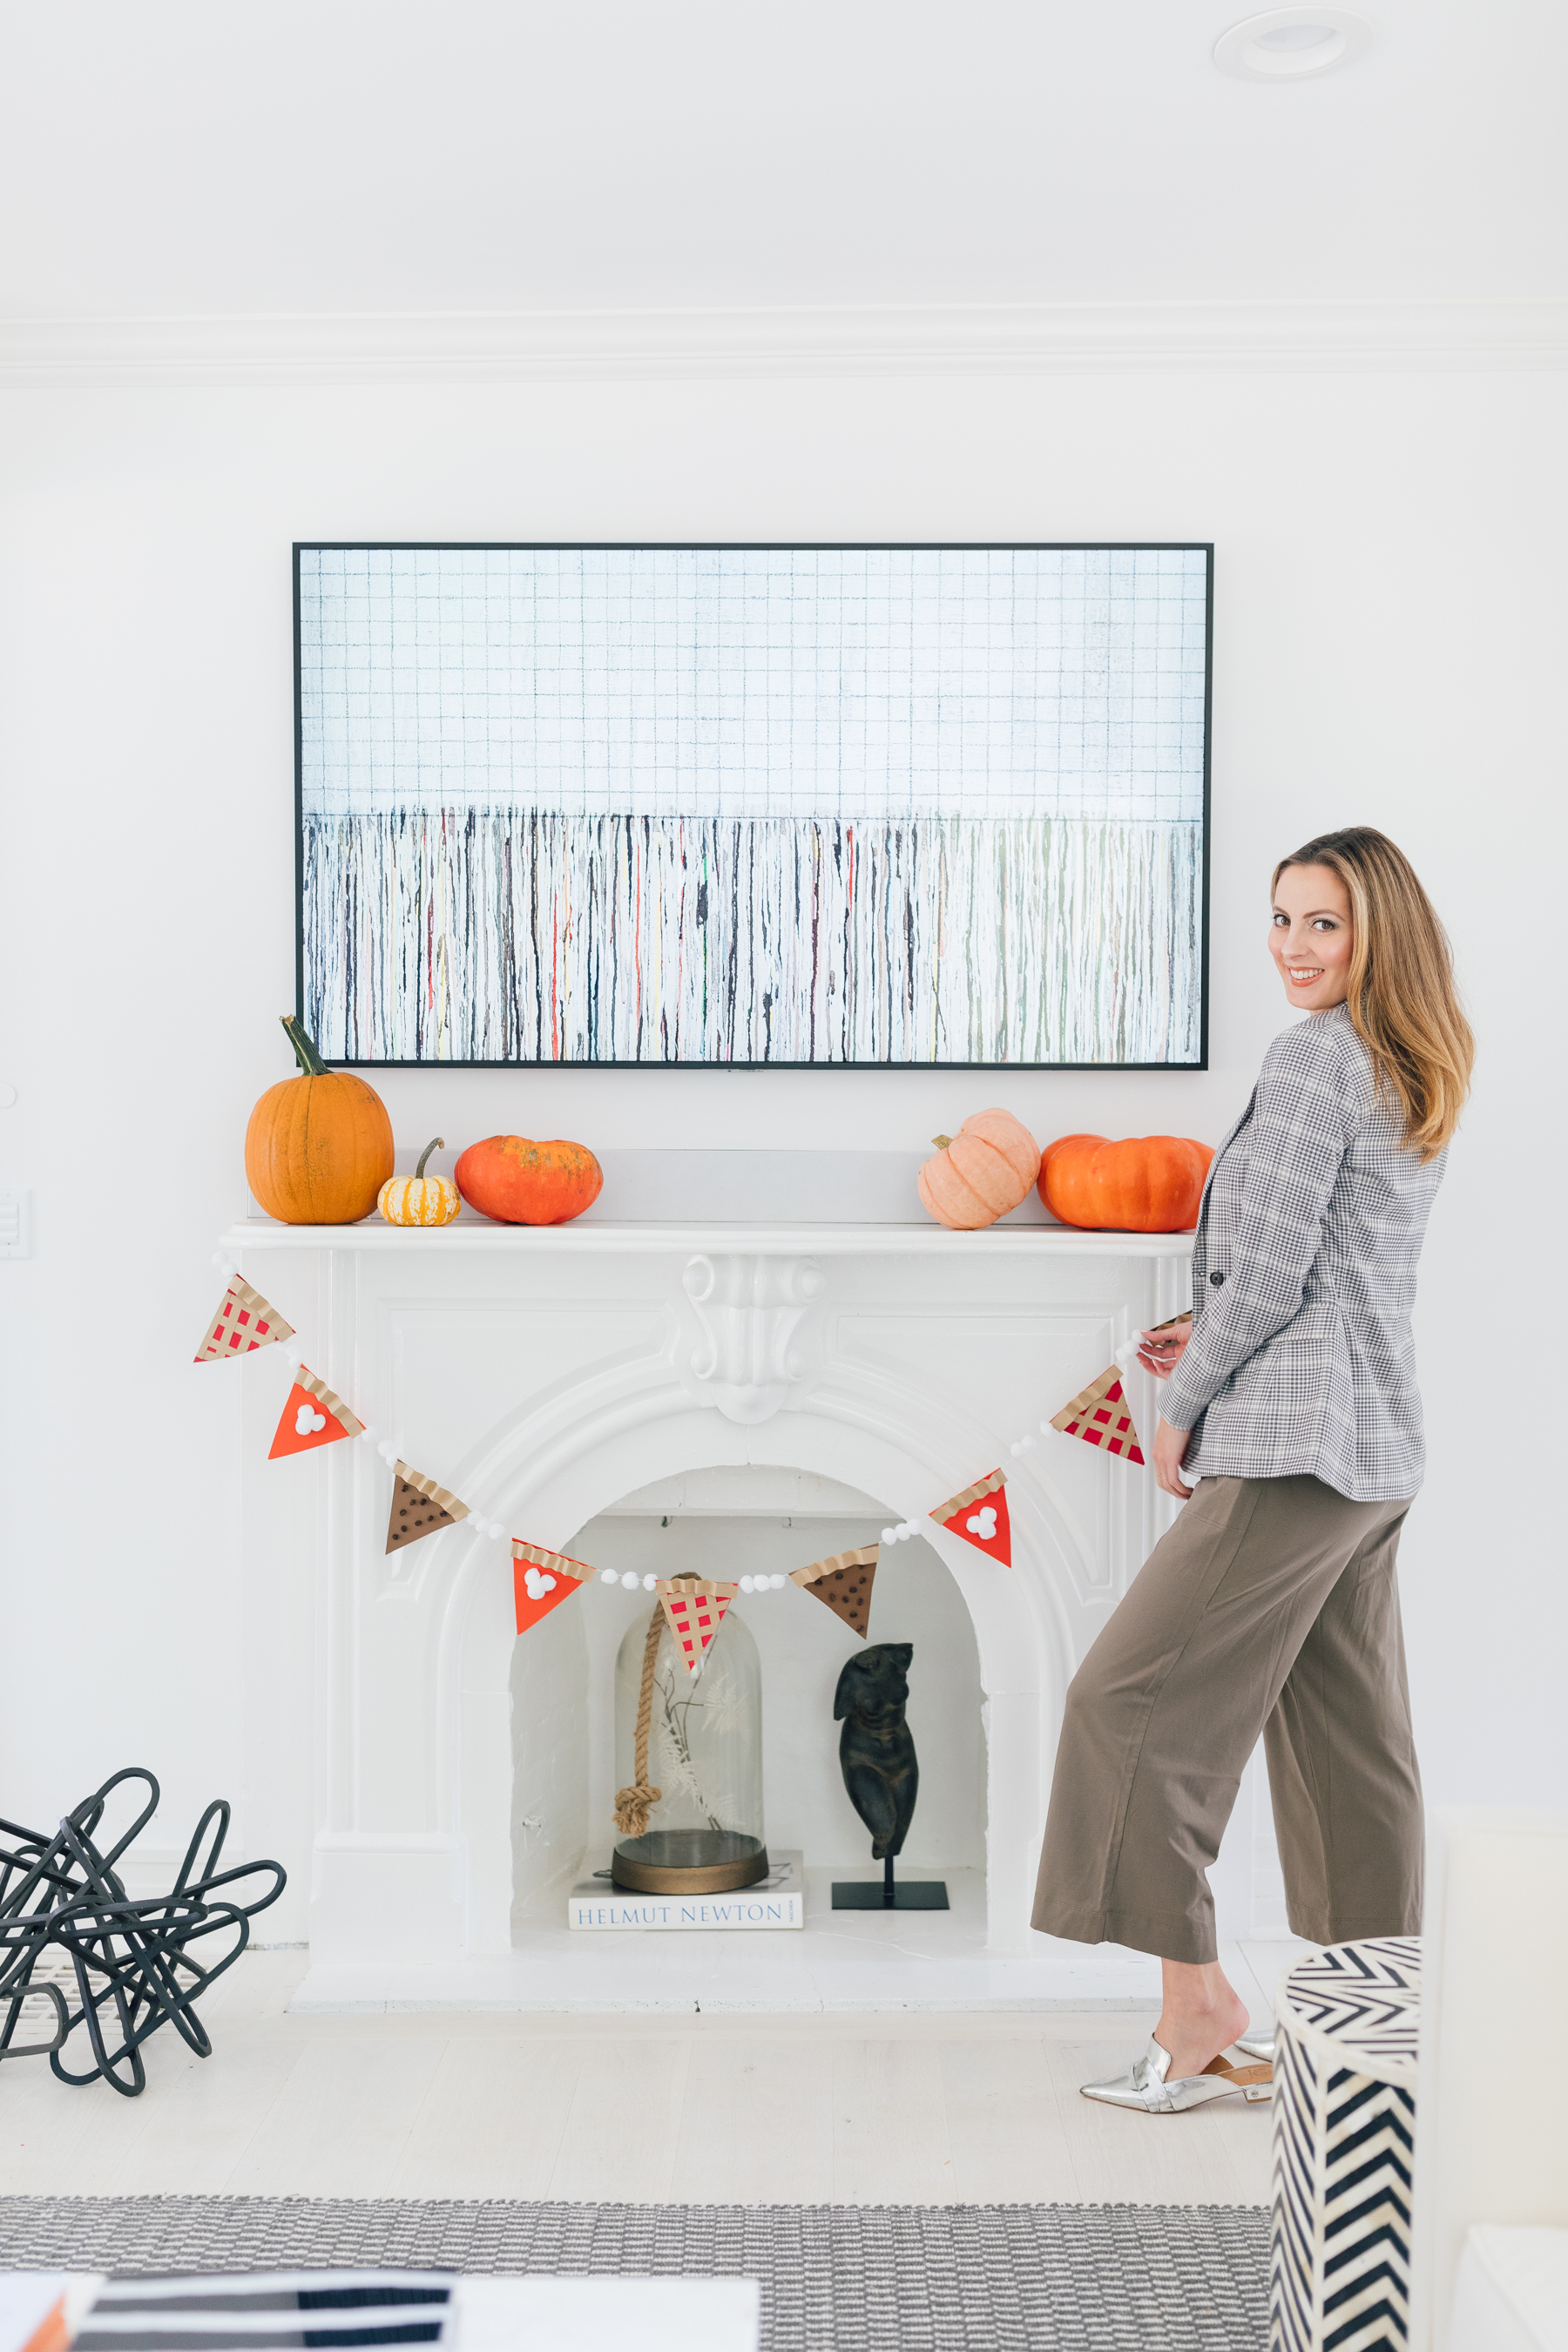
I really do love a fall-centric DIY…especially ones that are easy to assemble. Extra points if you can assemble them with kids! I tried this DIY Autumn Pie Garland and loved it so much I had to share. The materials are really straightforward and inexpensive, also. I made this expecting to have it up for a few days to test it out, and it has been front and center, hanging from our mantle for over a month. I’m just really digging it this year! LOL. Maybe it’s because I’m preggo and want all the pie…in any case, whip one up if you’re feeling like a fun and festive Fall craft! For this garland, I decided on Pumpkin Pie, Berry Pie (with a lattice crust), and an espresso icebox pie. But if you have personal faves, I say go crazy with those! It’s mostly about representing your own unique tastes! I made three of each “slice”, and then strung them on waxed string with pom-poms in between.
Materials…
- Clear Wire or Waxed String
- 1 Sewing Needle (with an eye large enough to accommodate the fishing wire or string)
- 1 Bag of Pom Poms
- 6 Sheets of Light Brown Cardstock (for crusts)
- 3 Sheets of Orange Cardstock (for Pumpkin Pie)
- 3 Sheets of Berry Cardstock (for Berry Pie)
- 3 Sheets of Chocolate Brown Cardstock (For Espresso Pie)
- ½ Cup Espresso Beans
- Glue Gun
- Glue Gun Sticks
Instructions…
Step 1
Cut Pie Slices!
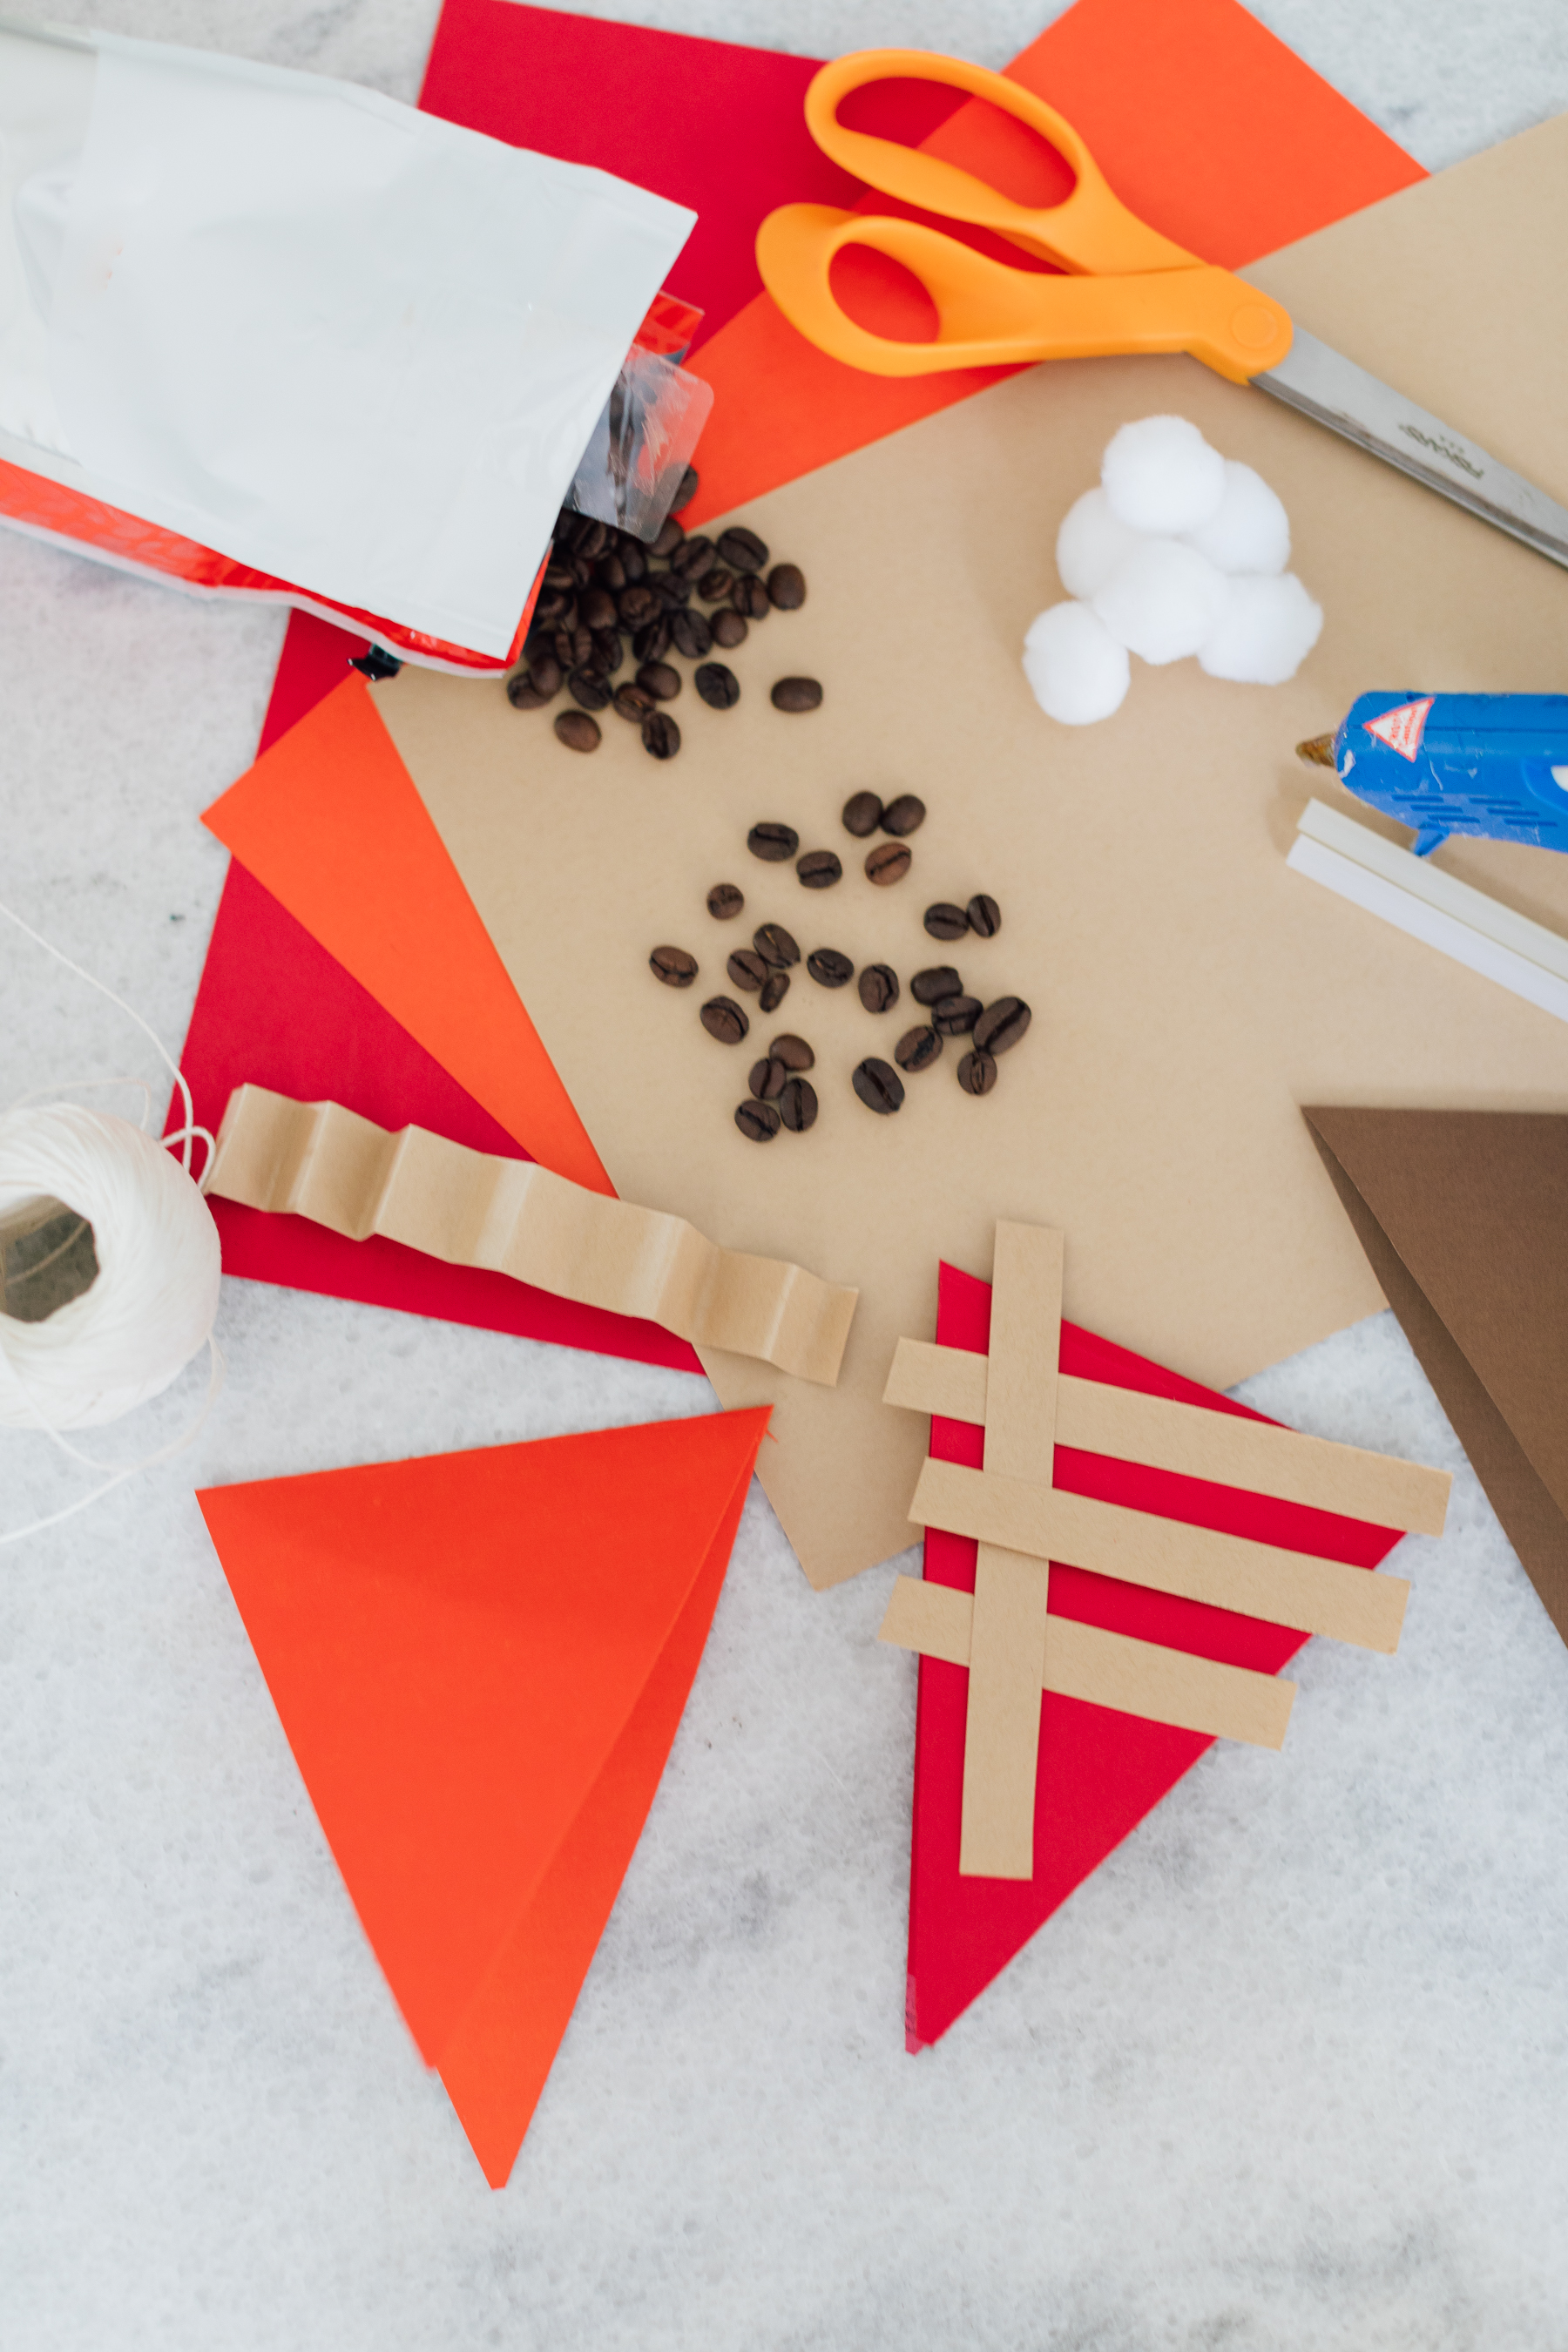
Making sure that all the pie slices are identical sizes, cut the triangles for each flavor of pie. I did this by first folding the rectangular card stock in half to make each triangle double-sided. This allows you to easily thread the string through when your garland is ready to be assembled! I made three of each flavor.
Step 2
Cut Pie Crust!
Cut 3/4 inch strips for the pie crust at the top of the pie, and fold them back and forth in an accordion shape to create a crimped look. Working with each flavor at a time, create your pie slices! I chose to do a lattice-type “crust” on the Berry Pie. For the Espresso Ice Box Pie, I used the glue gun to attach espresso beans on to the chocolate brown paper, and for the Pumpkin Pie, I added a few pom poms to the top of the slices as whipped cream!
Step 3
Assemble!
Now, assemble your garland. I alternated pie slices and added three pom pomps between each. Enjoy or share your creation!


