The following content may contain affiliate links. When you click and shop the links, we receive a commission.
**Many thanks to ēlicit Wine Project for sponsoring this post! As always, the thoughts and opinions expressed below are entirely my own.
We’ve all heard of Meal Planning…but have you heard of Wine Planning? Allow me to blow your mind! LOL. I’ll back it up a minute and share how I even got here…to this place where I am truly relishing in the simple joys in life AND the fact that we can now get most of those simple joys delivered directly to our doors.
In case you haven’t heard, we’re in the middle of a national (and global) pandemic. All of us have been spending more time at home than ever before…and waaaay less time out and about doing the things we used to love and cherish. It’s enough to make any of us climb the walls, and yes especially if we also have kids to take care of and/or careers to keep on track. I wrote an entire blog post about the silver linings of quarantine, but one major thing it’s taught me is that it is most certainly in all of our hands to make our time at home more enjoyable and to FEEL fun each and every day—even if the world is crazy outside our four walls! One way that I’ve put the fun and excitement back into my routine is with weekly Wine Planning with ēlicit Wine Project!
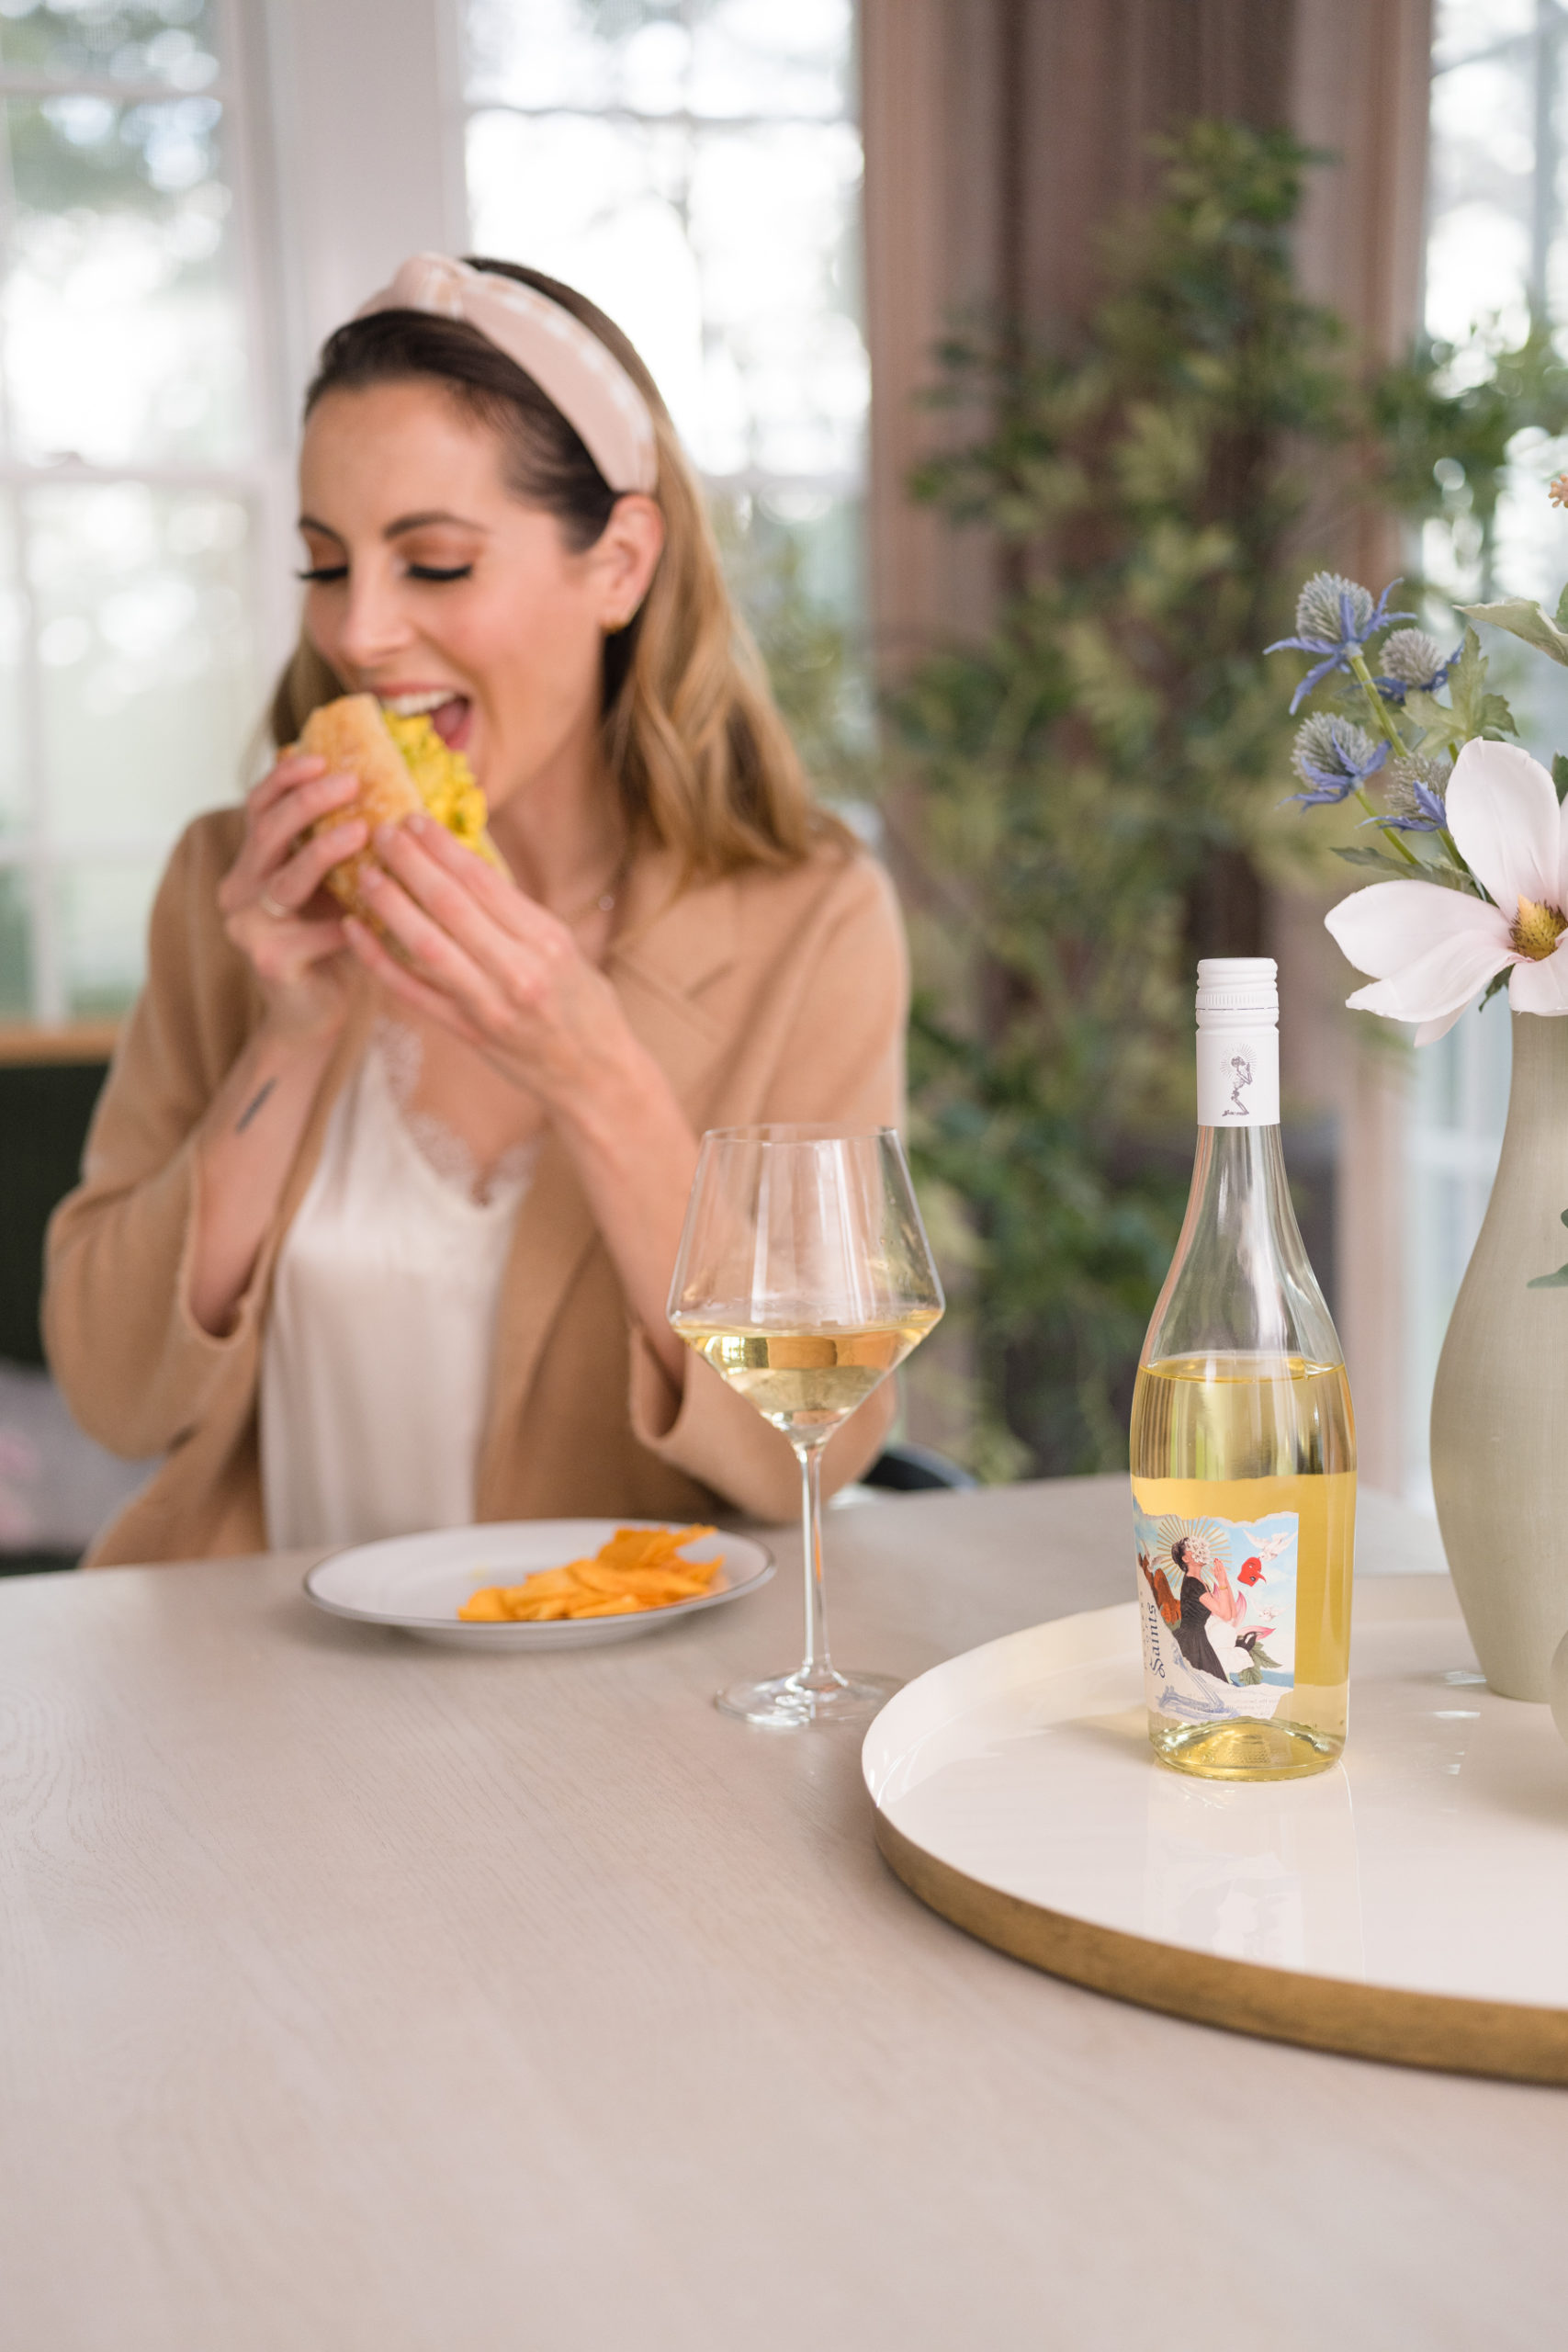
Wine planning is when you not only plan your meals in advance (and don’t worry I have you covered on that below), but you plan your wine pairings too! The key is to plan wines that go perfectly with what you’re eating to really enrich your dining and drinking experience in a way that feels simply luxurious…even at home. And wine planning is best when you have delicious and adventurous wines to go with it! I’ve been LOVING the ēlicit Wine Project because I think it perfectly encapsulates how people want to enjoy wine today: easily and interestingly, with thoughtful construction, excellent taste, good value…and delivered straight to YOU. Modern times deserve a modern take on wine!
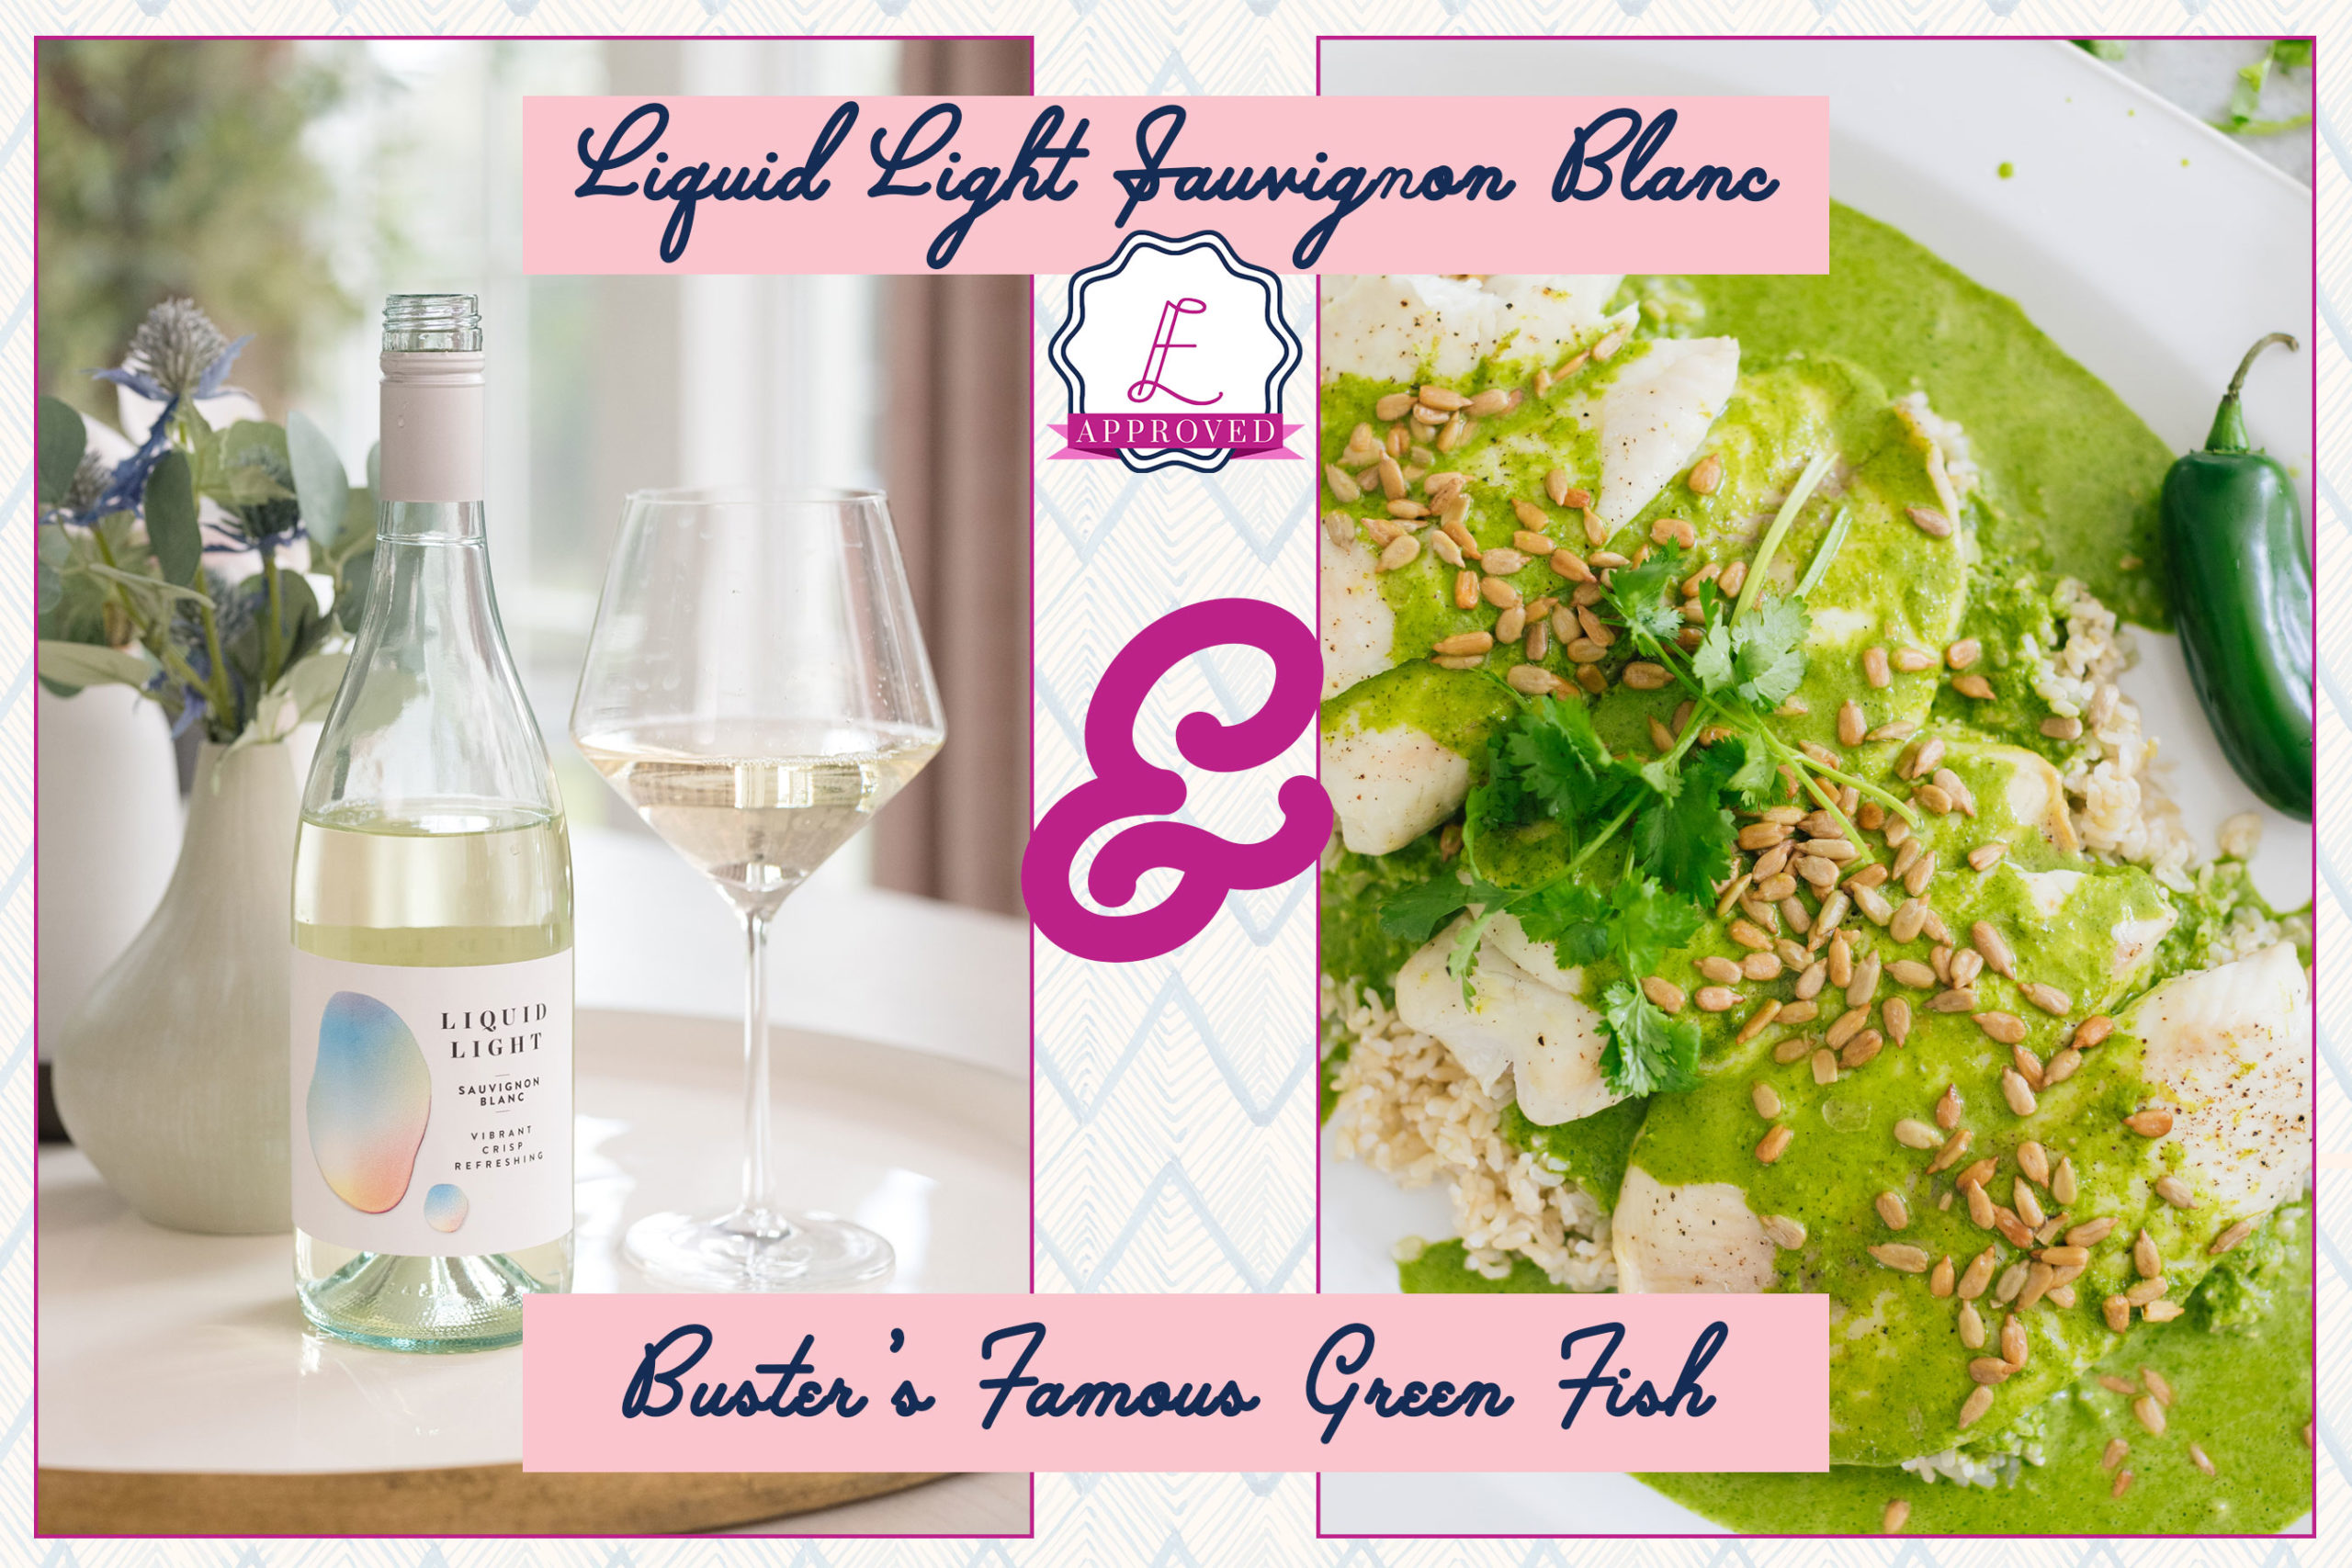
ēlicit Wine Project is an innovation and incubation hub dedicated to creating wines that provoke response and emotion, where products that anticipate and shape the future of wine come to life. It’s a subscription service that offers unparalleled flexibility in the wine delivery space—where shoppers can customize the frequency, quantity, and specific wines for their subscription. Plus, it walks you through the notes and flavors of each wine allowing you to repeat faves or try new things! I LOVE the wines I’ve tried so far—the Liquid Light Sauvignon Blanc and the Borne Of Fire Cabernet are my two faves!
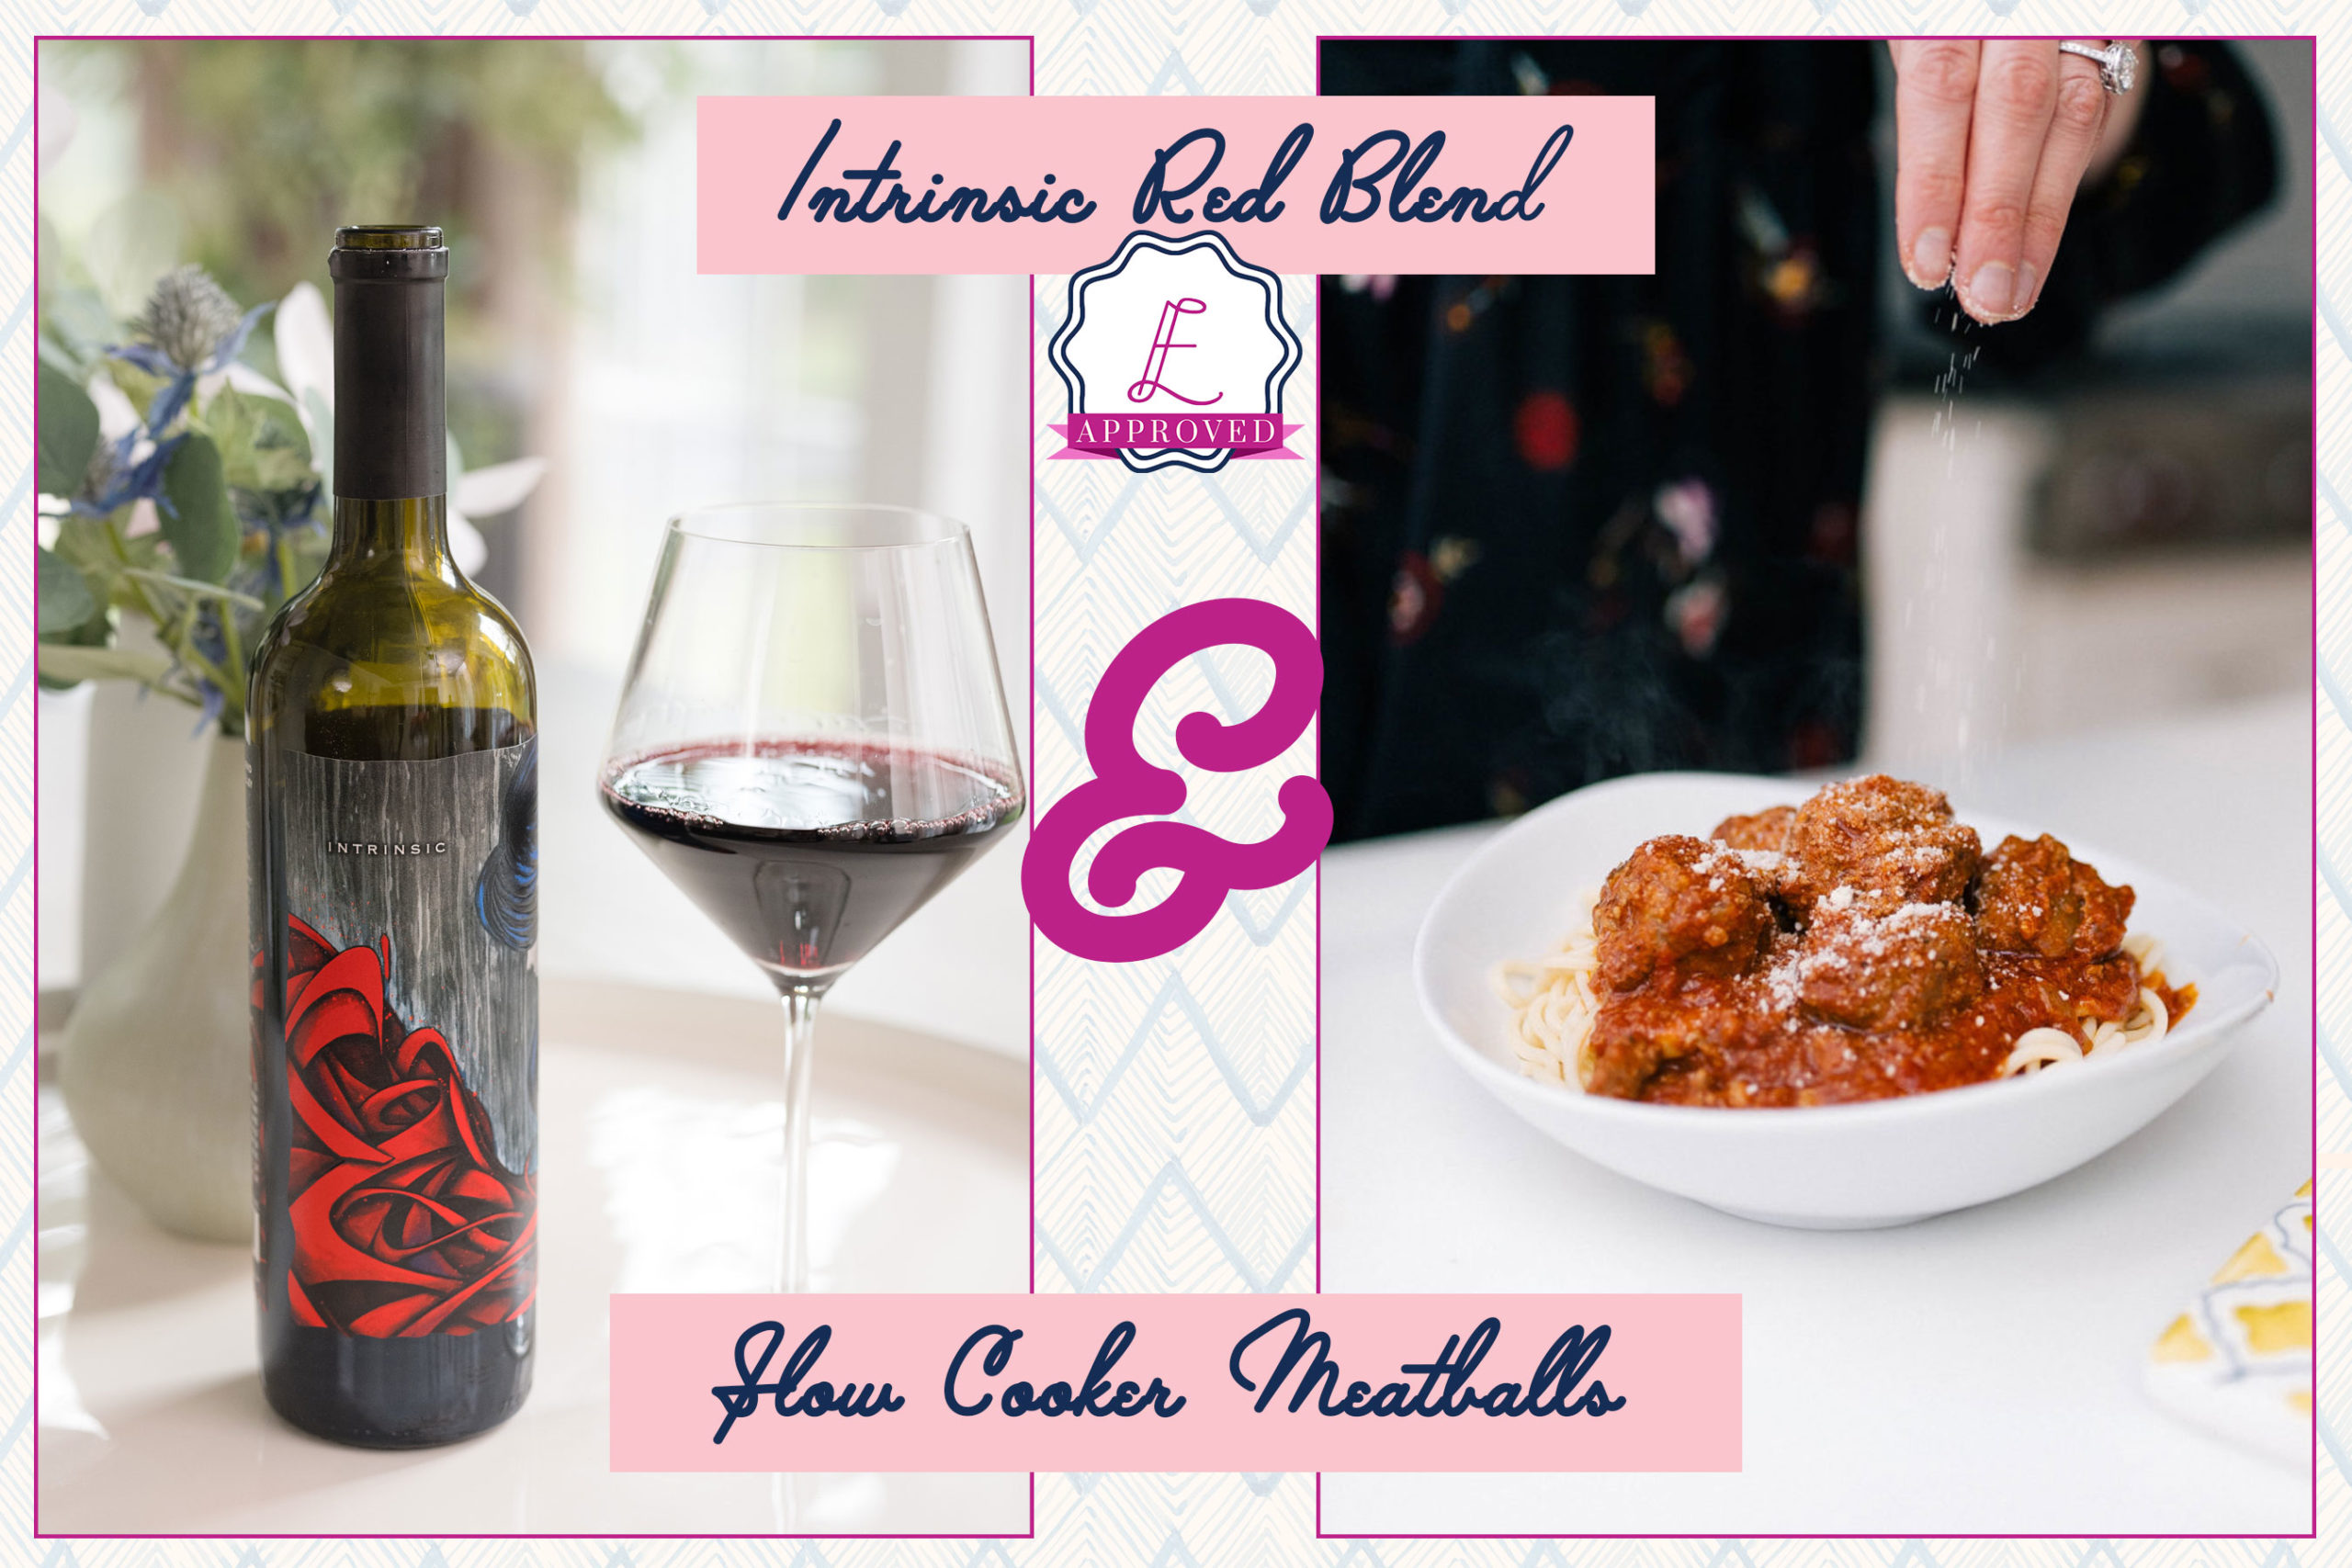
I find it so fun to add bottles to my box and then go through my favorite recipes to plan in advance for the dinners and wines I’ll be enjoying together. I’ve included below some of my favorite ēlicit wines along with some of my favorite HEA recipes that I’ve paired together. You can even click to print the recipes and save them to enjoy with their perfect wine pairing!
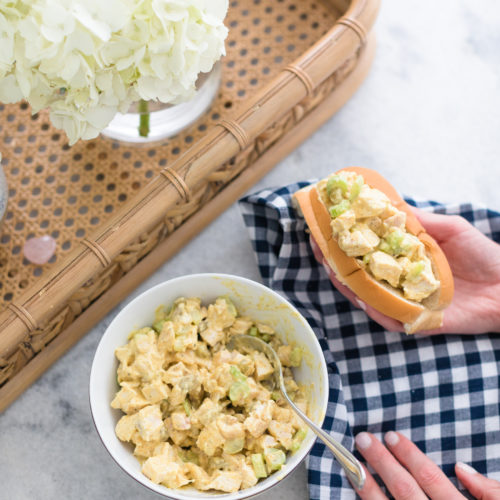
Curry Chicken Salad
Ingredients
- 2 cups chicken breast, cooked and chopped into bite-size pieces. (You can also use leftover rotisserie chicken!)
- ½ cup light mayonnaise
- 1 tbsp dijon mustard
- 1 tbsp curry powder, Sometimes I use more depending on how I'm feeling
- 2 tsp honey
- ½ lemon, juiced
- ½ cup celery, chopped
- ⅓ cup raisins, I prefer golden raisins
- 2 tsp Maldon salt
- 1 tsp black pepper
Instructions
- Add all ingredients into a large mixing bowl, and combine until uniform.
- Refrigerate at least 2 hours to chill and blend the flavors before eating.
- Enjoy!
Nutrition
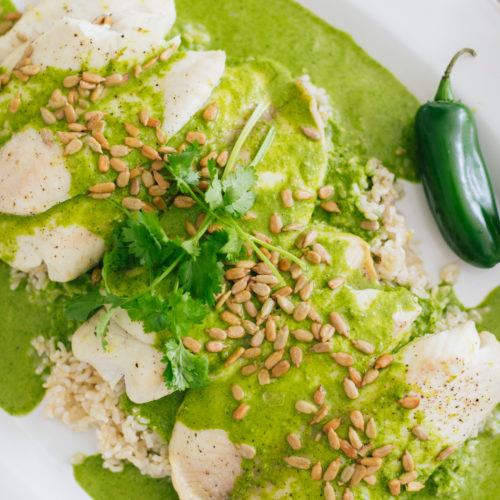
Buster's Famous Green Fish
Equipment
- Blender
- Shallow Baking Dish
Ingredients
- 2 fillets tilapia
- 2 limes, zested and juiced
- ⅓ cup seasoned rice vinegar
- ⅓ cup extra virgin olive oil, (plus one tbsp extra)
- ½ jalapeño, seeded and chopped
- 1 bunch cilantro, rinsed, stems removed & leaves chopped
- ½ cup dry roasted sunflower seeds
- salt, to taste
- black pepper, to taste
Instructions
- Preheat the oven to 400º F. Rinse the tilapia fillets and pat dry, and place them in a shallow baking dish that is large enough to hold the fillets without overlapping. Drizzle with 1 tbsp extra virgin olive oil on both sides, and then season both sides with salt and pepper.
- Sprinkle a pinch of the lime zest on top of each fillet and place in the oven for 20-25 minutes, or until cooked through, but not dried out.
- Meanwhile, prepare the vinaigrette: Pour the rice vinegar, extra virgin olive oil, lime juice, chopped jalapeño, cilantro (reserve a couple of pinches for garnish), and the rest of the lime zest into a blender or food processor. Slowly increase the speed until the vinaigrette is completely smooth. Season with salt and pepper, to taste. If you would like it spicier, add the other half of the jalapeño, seeds removed of course.
- Once cooked, remove the tilapia from the oven. Place a cup of cooked rice (if using) into the bottom of a platter, and place the tilapia fillets on top. Douse with green vinaigrette! (I drown mine).
- Sprinkle with half of the sunflower seeds and a pinch of chopped cilantro. Enjoy!
Nutrition
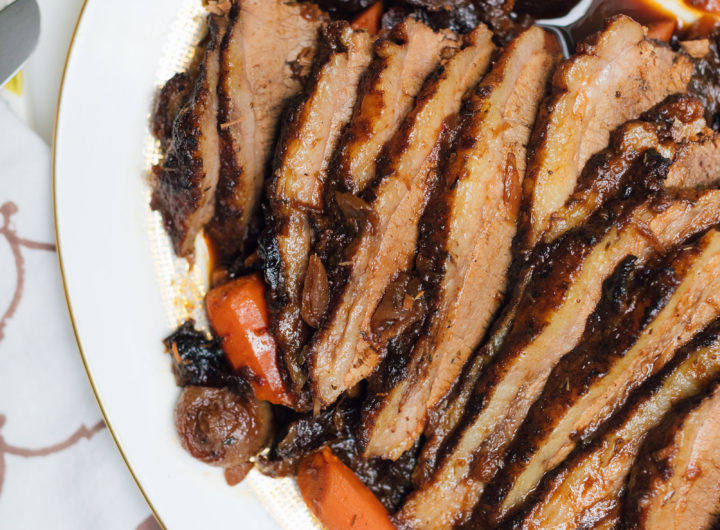
Slow Cooker Sunday Brisket
Equipment
- Slow Cooker
Ingredients
- 3-4 lbs beef brisket, trimmed of excess fat
- 4 tbsp extra virgin olive oil
- 1 tsp salt
- 1 tsp black pepper
- 2 tsp thyme
- 1 tbsp paprika
- 1 lb Cipollini onions, peeled and halved
- 6 cloves garlic, sliced
- 1 cup red wine
- 1 cup beef broth
- 1 cup ketchup
- 2 bay leaves
- 2 cups prunes, halved
- 5 carrots, peeled and cut into 3-inch pieces
- 1 cup orange juice
- 1 cup brown sugar
Instructions
- Mix together the paprika, salt, and black pepper, and rub it all over the brisket.
- Heat the olive oil over medium-high heat, and brown the brisket on both sides beginning with the fat side down. Remove the brisket from the pan and set aside.
- Add the onions to the pan and saute until starting to brown, about 5 minutes.
- Add the garlic and sauté for another 1-2 minutes.
- Pour in the wine, and deglaze the pan, scraping up all the browned bits with a wooden spoon.
- Add the beef broth and the ketchup and bring to a boil.
- Place the brisket fat side up in your slow cooker.
- Add the onion/garlic/broth mixture and the bay leaves, and sprinkle the thyme over the top. Cover and cook for 2 hours on the high heat setting.
- Meanwhile, combine the prunes, carrots, orange juice, and brown sugar in a bowl, and mix well.
- Carefully place the carrots and prunes into the liquid surrounding the brisket, and then drizzle the liquid from the bowl over the brisket.
- Close the slow cooker and cook for 1 hour on the high heat setting.
- Once the brisket has cooked for 1 hour, transfer it to a cutting board, cover with aluminum foil, and allow to rest for ten minutes.
- Meanwhile, remove the carrots and onions from the slow cooker liquid with a slotted spoon, and place on a large serving platter.
- Reduce the slow cooker cooking liquid by bringing it to a boil and allowing it to thicken for approximately 5-8 minutes.
- When ready, cut the brisket against the grain into ¼ inch slices.
- Lay them on top of the carrots and onions on the platter, and spoon the gravy over the slices. Serve immediately!
Nutrition
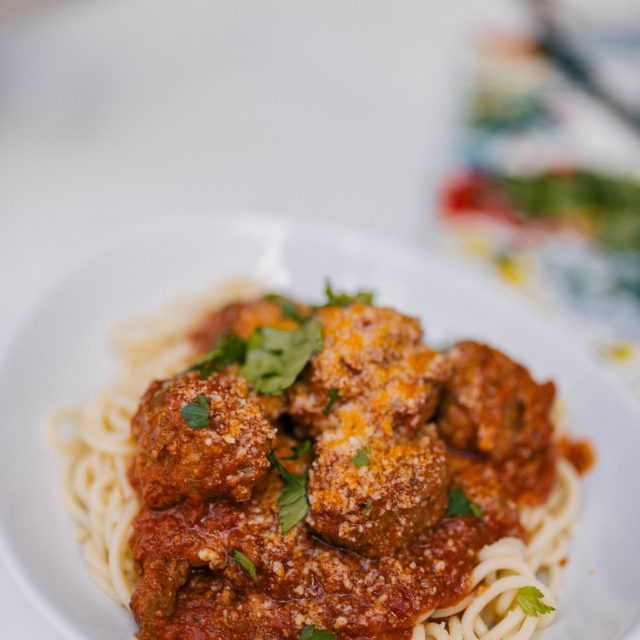
Slow-Cooker Meatballs
Equipment
- Slow Cooker
Ingredients
- 1 lb ground beef
- 1 egg
- ¾ cups Italian Seasoned Breadcrumbs
- 1 small onion, diced
- 1 carrot, peeled and diced
- 1 15oz can tomato sauce
- ½ tbsp kosher salt
- ½ cup parmesan cheese, plus more for serving
- 1 tsp ground black pepper
- ½ tbsp dried oregano flakes
- 4-8 cloves garlic, peeled
- parsley (optional), chopped
Instructions
- In a large mixing bowl, combine the ground beef, egg, breadcrumbs, diced carrot, diced onion, parmesan cheese, and the salt and pepper. Mix with hands until well combined.
- Now start forming in to golf ball-sized meatballs. As you form the meatballs, it may look like they’re veggie heavy. Don’t worry! This is ok! They will cook down and work to make the meatballs so moist. As you make each meatball, place them in the bottom of the slow cooker cavity. You will probably have to add a second layer, depending on the size of your slow cooker. This is fine, just make sure you’re placing the meatballs gently!
- Now dump both cans of tomatoes/sauce on top of the meatballs, sprinkle the oregano over the top, and scatter the garlic cloves over that.
- Close the lid of the slow cooker, and cook on low for 6-8 hours. Mid way through cooking, open the cooker and with a wooden spoon slowly and gently stir the sauce and meatballs up to combine well.
- When the meatballs are done, remove them in to a bowl with a slotted spoon.
- Season the sauce to taste with salt and pepper.
- Spoon the sauce over your pasta, and top with meatballs.
- Sprinkle with parmesan cheese and parsley and devour immediately!
Nutrition
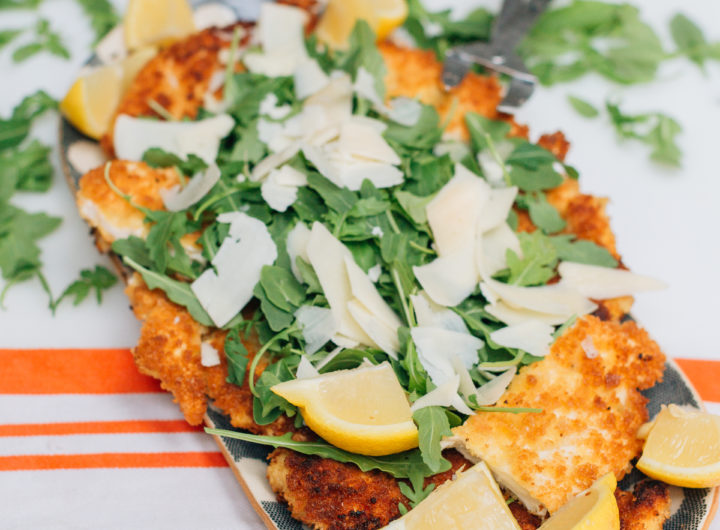
Chicken Milanese
Equipment
- Meat Mallet
Ingredients
- 4 boneless skinless chicken breasts , pounded to ¼ inch thickness (if you have a nice butcher they can do the pounding for you, otherwise, I put the breasts between doubled-up sheets of wax paper and use a mallet to pound them down.)
- 1 cup all-purpose flour
- 2-3 cups panko bread crumbs
- ¼ cup Parmigiano Reggiano, finely grated
- ½ cup Parmigiano Reggiano, shaved
- 2 eggs
- 3 tbsp vegetable oil
- 1 tbsp salt
- ½ tbsp black pepper
- 4 cups arugula, tightly packed
- 1 lemon, quartered
Instructions
- Begin by setting up your dipping stations. First, beat the 2 eggs in a wide, shallow bowl and set aside for your egg dip.
- Put the all-purpose flour on a large plate, mix with the salt and pepper, and set aside.
- Put the panko breadcrumbs on another large plate, mix with the finely grated Parmigiano Reggiano, and set aside.
- Take one more empty large plate and set aside.
- Take a chicken breast, coat in the flour mixture, and shake off excess.
- Next, dip the chicken breast in the egg mixture, and allow excess egg to drip off.
- Then dip the chicken breast in the panko mixture. Set aside the prepared chicken on the clean plate.
- Repeat with the other chicken breasts.
- Next, heat the vegetable oil in a large pan (preferably with raised sides) on medium-high heat until hot.
- Place the chicken breasts in the pan carefully, making sure not to crowd them—they should not be touching. You may need to work in batches.
- Fry on one side until browned and crispy, but not burnt, approximately 4 minutes.
- Flip over once, and cook until browned and crispy.
- Transfer to a clean plate with 3 pieces of paper towel on it to absorb the residual oil.
- Repeat with all chicken breasts until cooked through.
- Dress with arugula and shaved Parmigiano Reggiano, and squeeze liberally with lemon slices.
- Enjoy immediately!
Nutrition
And here are some perks and savings you definitely want to know about if you want to check out an ēlicit Wine Project subscription:
- You can build a box from 1-12 bottles and the discounts increase as you subscribe to a higher bottle quantity.
- The 4-5 bottle box ships for only $10 and receives 10% off wine.
- The 6-11 bottle box ships for $5 and receives 15% off of wine.
- The 12 bottle box ships for a penny and receives 15% off of wine!
For me, it’s a no brainer to have exciting wines to try that are delivered directly to me. It makes the repetitive evenings at home so much more fun! I hope you love these pairings I’ve made for you! Let me know if you plan to make any, or if you enjoy them once you do!
Photographs by Julia Dags | Happily Eva After, Inc. © 2020 All Rights Reserved


