The following content may contain affiliate links. When you click and shop the links, we receive a commission.
Many of you know from reading my blog that I grew up splitting time between the United States (Mother) and Italy (Father), and I feel very connected to my Italian heritage. I even majored in Italian Studies at Brown University and studied abroad at L’Università Di Bologna. My mother’s side of the family has Italian heritage as well! My maternal grandmother’s entire family is from Sicily, and still has roots there. All in all, my Italian blood runs thick. LOL.
One of the things I bring with me through the years from my Italian heritage is my love of food and cooking. There are certain tastes and smells that I associate with my childhood and that I’ve made an effort to explore more, or perfect, in my own kitchen. As a result, I’m REALLY picky when it comes to Italian food. Because it’s all wrapped up in nostalgia for me, Italian dishes either float or sink in my book—and I can be a pretty annoying person to go to an Italian restaurant with…(any other Italian girls feel me on this?)
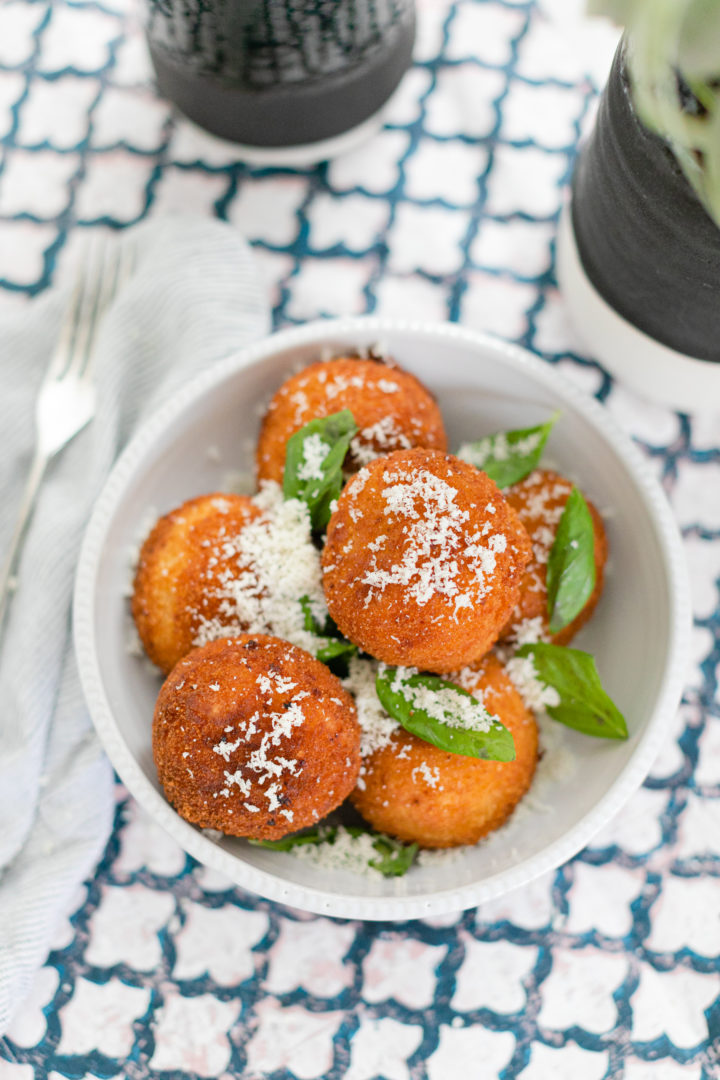
Recently, I’ve been trying to bring some of the tastes and smells of Italy that I grew up loving into the repertoire for my own kids. And one of my favorite Italian comfort foods is Arancini! Arancini are fried balls of risotto that are made fresh and delicious—in Italy, you can buy them at the counter at the grocer or even at the butcher. You can eat them as a snack or appetizer, and it’s one of those impulse counter snack-buys that you can grab to nibble on the way home or pass to your child if they’re getting fussy while you run errands.
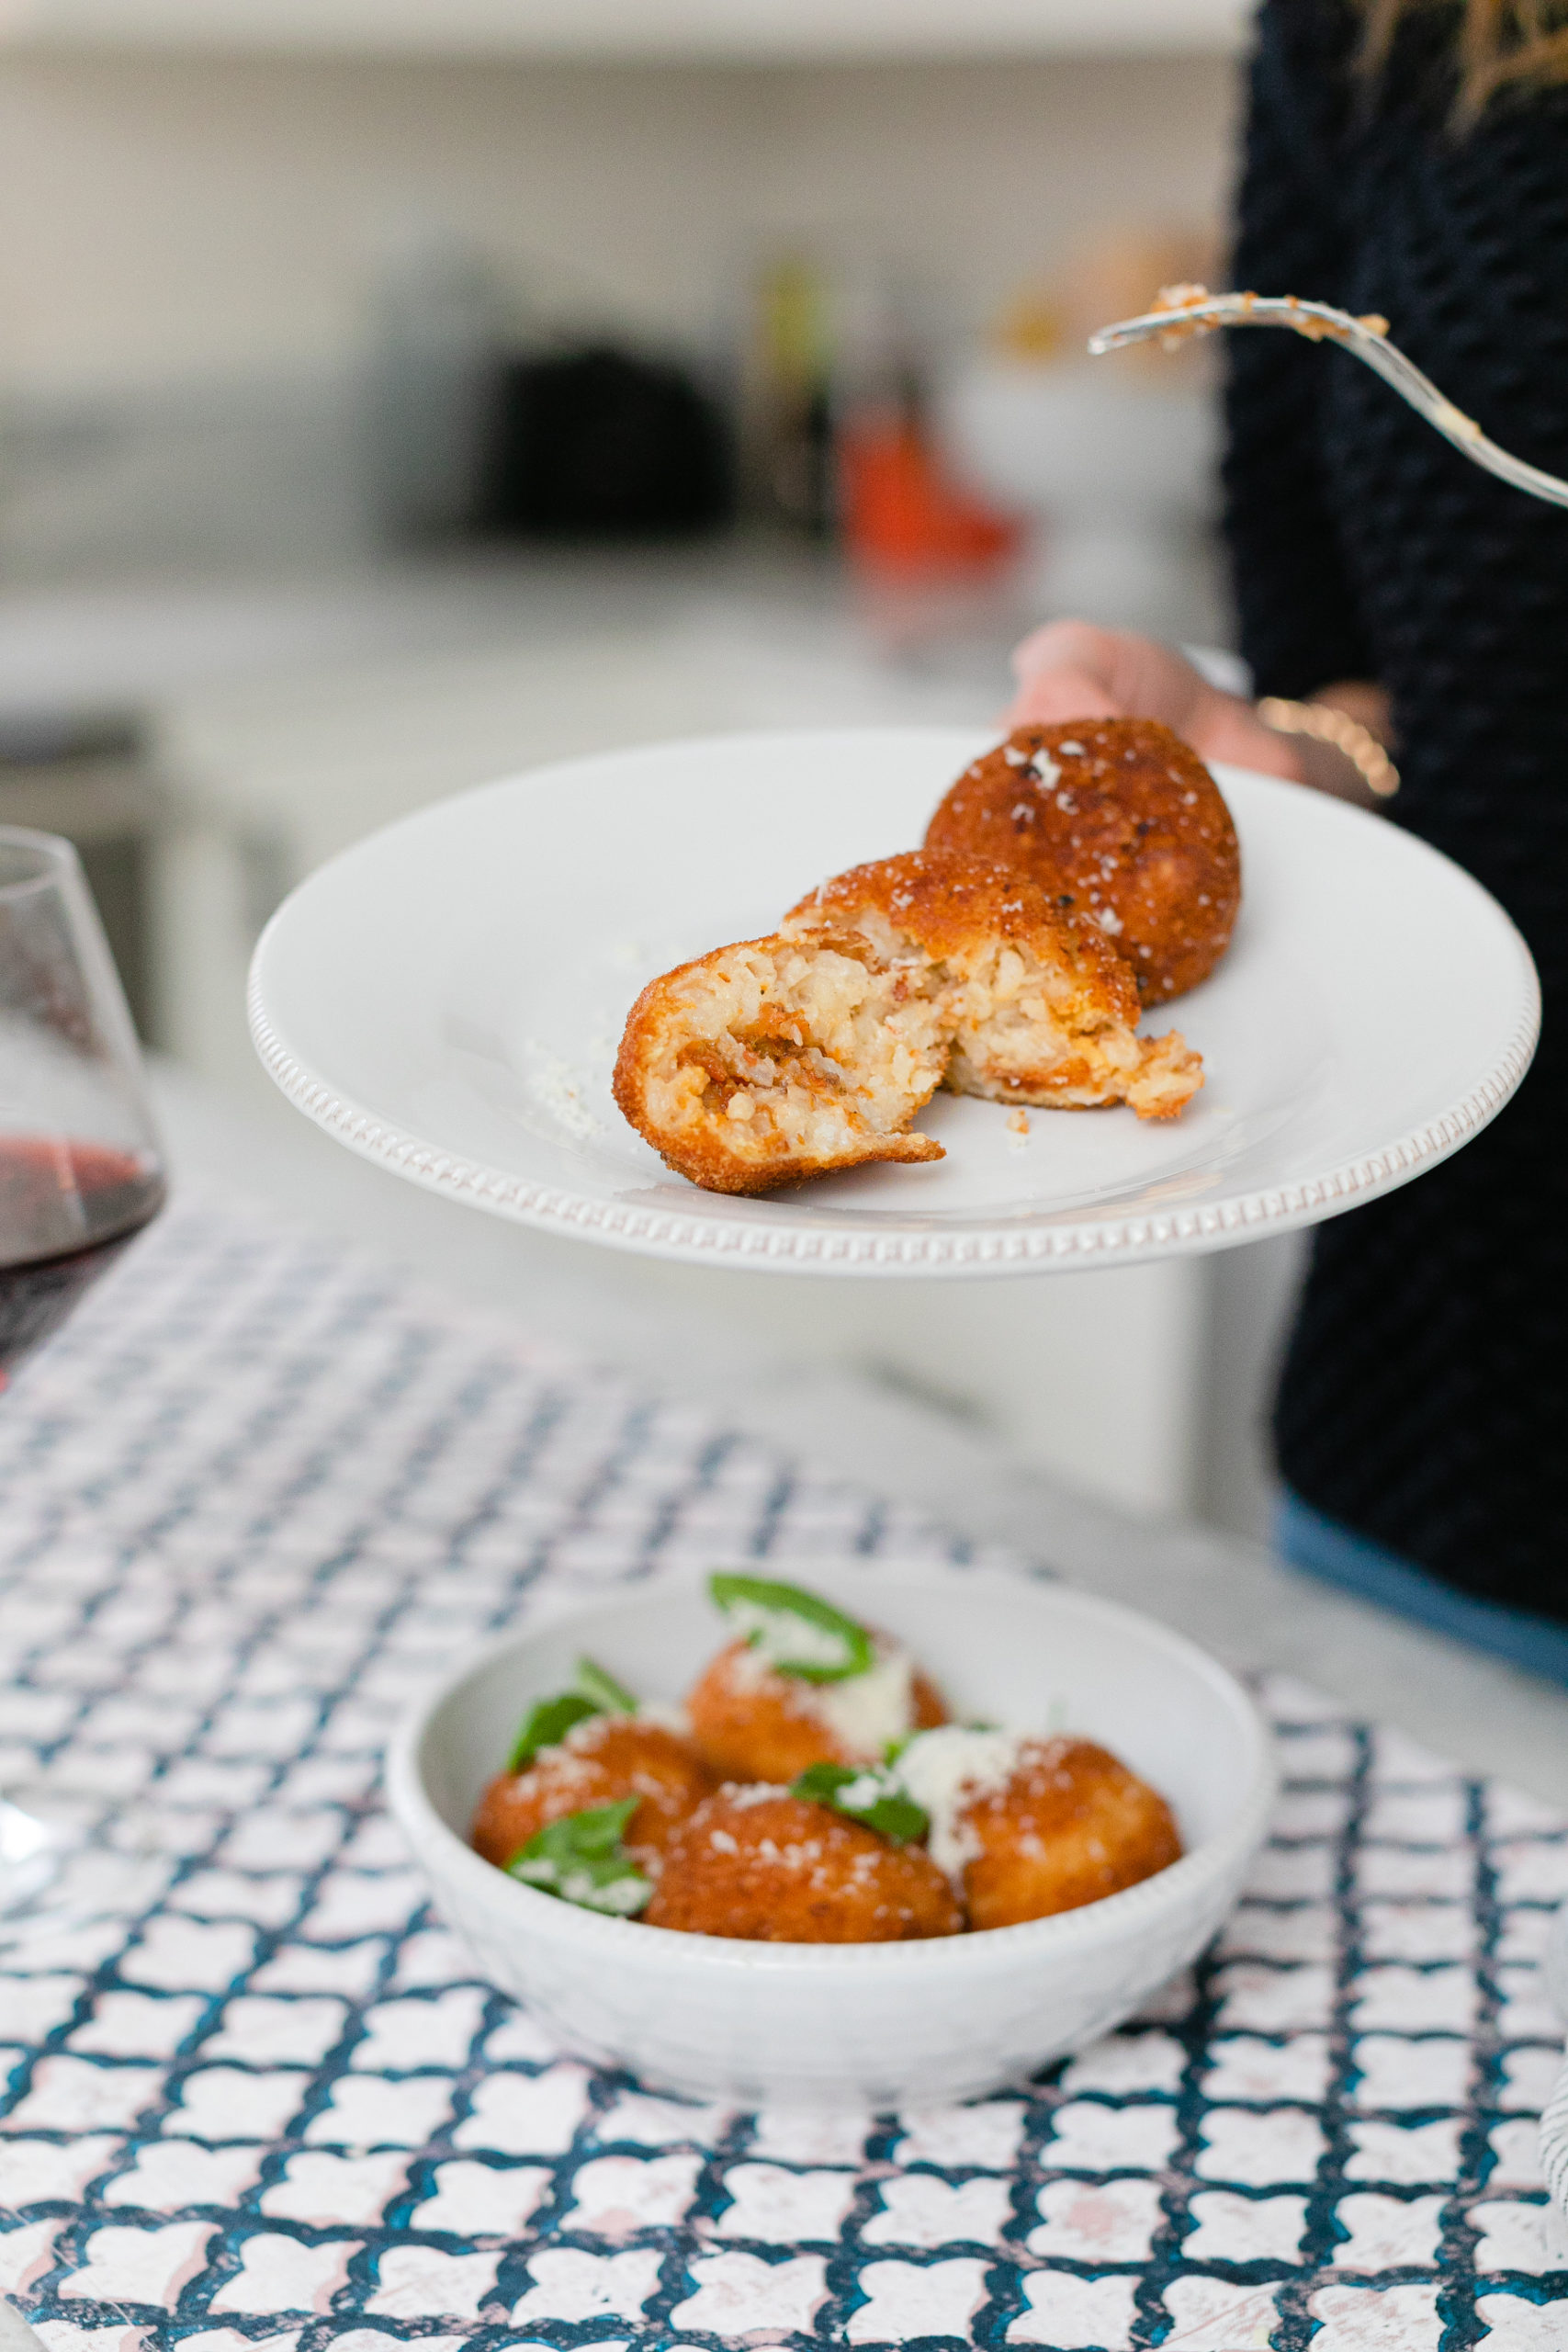
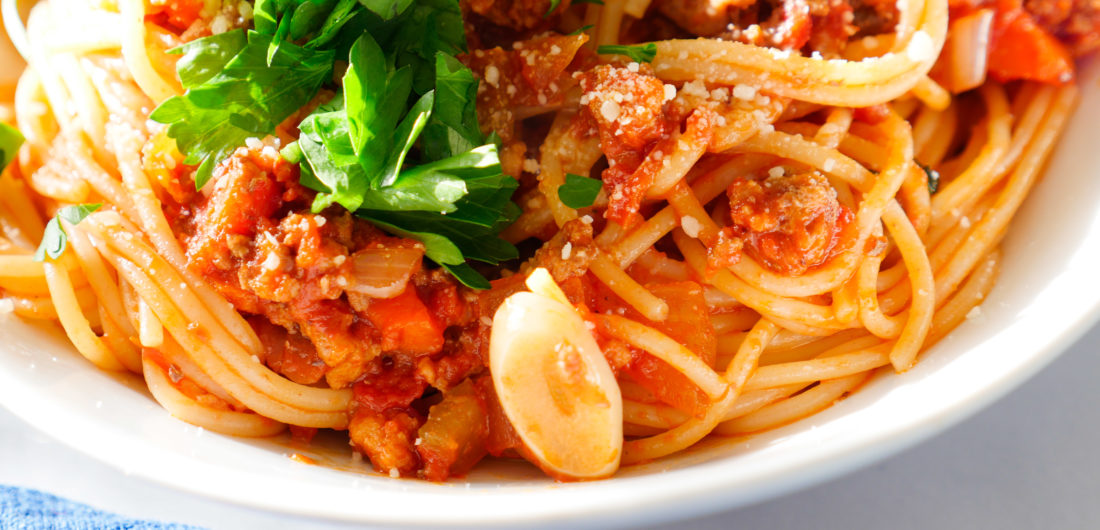
Arancini have a creamy, perfectly seasoned interior, and a golden, crusty shell…and they can have a fun filling or none at all! Some people put a piece of cheese in the middle of their arancini, but I prefer meat sauce. There is something so comforting and delicious about biting into a warm ball of rice and getting to a hearty and earthy bite of perfect bolognese in the middle. I make these arancini with my own Bolognese Sauce (which you need to try if you haven’t yet!), and it becomes the perfect way to use leftover sauce when I’m craving comfort food. You can even make extra balls (Don’t go through the breading process, just stuff and form into balls), and freeze them to defrost later when you want a quick snack. To defrost, leave them in your fridge overnight to defrost, and bread them the next day as per the recipe. I hope you love this little, comforting bite of Italy as much as I do!
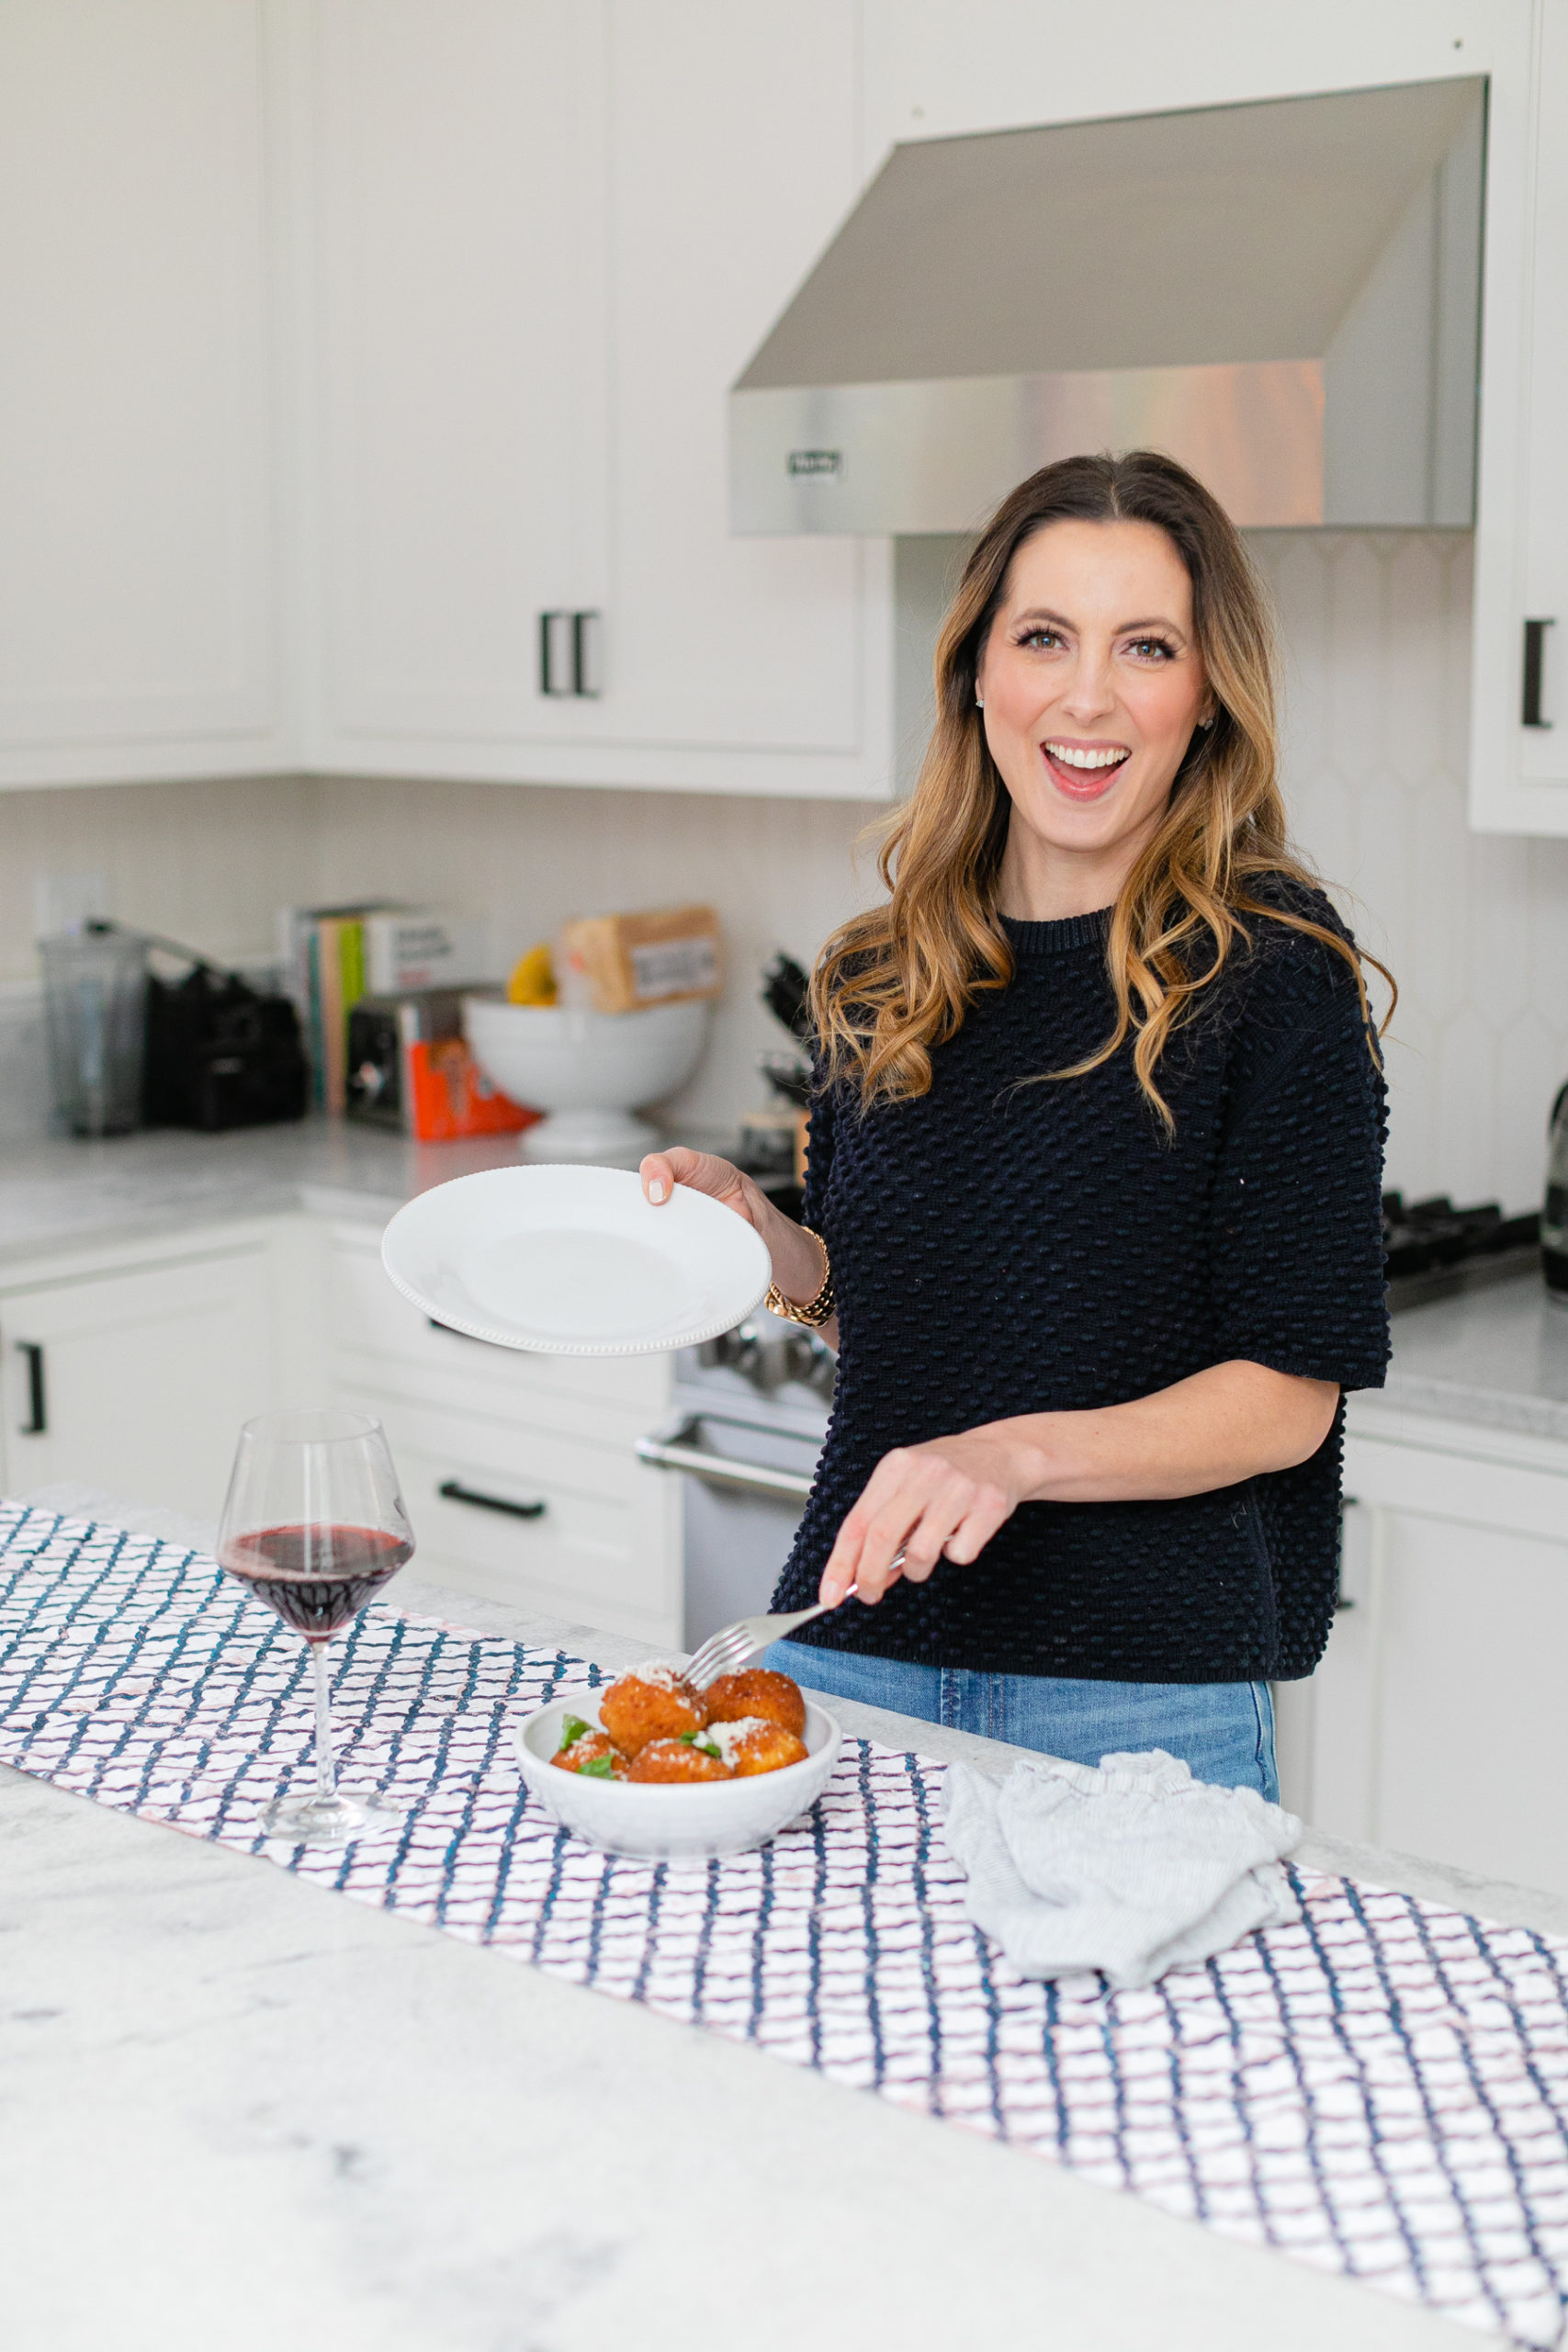
My favorite way to enjoy these Arancini is with Pecorino Romano grated on top, and a nice glass of Italian Wine…
Italian Arancini
Equipment
- 2 Baking Sheets and Wire Racks
Ingredients
For the Risotto...
- 3-4 tbsp extra virgin olive oil
- 1 large onion, finely diced or chopped in a food processor
- 5 cloves garlic, finely diced or chopped in a food processor
- 2 cups arborio rice
- 8 oz white wine
- 40 oz chicken stock
- salt, to taste
- 1 cup parmesan cheese, grated plus rind
For the Filling...
- ¼ cup extra virgin olive oil
- 3 cloves garlic
- 1 onion, peeled & chopped
- 2 stalks celery, chopped
- 2 carrots, peeled & chopped
- ½ lb ground beef
- ½ lb ground pork
- ½ cup red wine
- 1 28oz. can of crushed tomatoes
- salt, to taste
- pepper , to taste
- 10 fresh basil leaves
- ½ cup parmesan, grated
For the Breading...
- 2 cups all purpose flour
- 3 eggs, beaten
- 3 cups panko breadcrumbs, finely ground in food processor
For the Frying...
- 3 qt canola oil
Instructions
Risotto...
- Bring your chicken stock to a simmer and hold it there—keep a ladle close by. If you have a wedge of parmesan to use in later steps, now is the time to cut the rind off and throw it in the chicken stock. The more flavor you can get into the stock the better your risotto!
- Heat a medium-large pot over medium high heat. Add EVOO and onion, and sauté until the onion is translucent (about 5 minutes). Season with salt.
- Add the garlic, season with salt again, and sauté an addition minute or 2.
- Add the arborio rice and toast until the opaque grains become translucent on the edges and just a spot of white remains in the center. You may need to add a little more EVOO at this point. It’s important that the rice is moved almost constantly during this process; I prefer a wooden spoon but a spatula works well too.
- Add the white wine and cook until completely absorbed. Begin ladling the hot chicken stock into the risotto pot. You can add 8-12oz at a time making sure that the liquid is completely absorbed by the rice before adding more liquid. Continue cooking and stirring until the risotto is completely cooked (about 30 minutes). If the risotto seems wet at this stage turn the heat down and cook some of the liquid out until it tightens up.
- Once the risotto is cooked, turn the heat off and add the cheese until combined.
- Cool the mixture down to room temp, and place in fridge until cold (about 30 minutes).
Bolognese...
- In a large and deep skillet/sauce pan, heat the olive oil over medium-high heat.
- When the oil is shimmering, add the beef and pork, and brown well on both sides (approximately 5 minutes). Remove the meat with a slotted spoon and set aside on a plate.
- Next, add the garlic, onion, carrots, and celery. Season generously with salt and pepper. Cook over medium heat (stirring often) until the onions are translucent (approximately 6 minutes).
- Now, add the wine. Scrape up all the browned bits in the pan, and turn up the heat to high. Stir continuously.
- When the wine is almost evaporated, add the can of crushed tomatoes to the pan. Turn the heat down to low, add the meat back in to the pan, and add the sliced basil. Give it a good stir, and cover with a lid. Simmer for 30-40 minutes, stirring every so often.
- Once the sauce has simmered, remove the saucepan from heat, and add the parmesan cheese, stirring to blend.
- Season with salt and pepper to taste, and set aside.
Forming & Stuffing...
- Remove your risotto from the fridge, and form the risotto into balls.
- Dimple each ball with your thumb, and fill it with bolognese and carefully close each one.
Breading...
- In bowls, lay out (in this order): the flour, the eggs (beaten), and panko breadcrumbs (finely ground).
- Working with a separate fork for each bowl, move the ball around the flour, then transfer to the egg bowl, and finally the panko.
- Keep the finished balls on a wire rack. Once complete, let the breading mixture “dry” a bit on the rack to ensure a uniformly crispy exterior.
Frying...
- Heat the canola oil to 350º F.
- Once heated, drop the balls in very carefully with a dry slotted spoon. Make sure to leave enough space so they don’t touch. It’s important that the oil is at least half way up the ball so you don’t get weird “tan lines”, LOL.
- Once golden brown, flip the ball over.
- When the ball is totally golden brown, place on another rack, season with a little salt and let cool before serving.
Nutrition
Shop the post…
[show_shopthepost_widget id=”4312554″]
Photographs by Julia Dags | Happily Eva After, Inc. © 2020 All Rights Reserved


They look so perfectly breaded and fried! I wish you’d put on a video of you cooking this recipe because the whole art (besides the delicious stuffing) is the breading and frying.?
I was thinking the same thing! We need a video!
ha! Maybe I’ll film it next time 😉
Love this! I prefer meat sauce in mine as well, will give your recipe a try soon.. got rave reviews for your stuffing at Thanksgiving by the way. Sicilian girls ??
Yay! So happy everyone loved it!
Yes!!!! I can’t stand when Americans put ricotta in their lasagna! Noooo
My Family Loved it. I am definitely sharing Guys, Thanks For sharing this Great Recipe. this recipe and this website with my friend. Hope they also love it. Thank you again for sharing such a great recipe.