The following content may contain affiliate links. When you click and shop the links, we receive a commission.
Shibori Tie Dye has my heart. I’ve been obsessed with this dye technique for such a long time — on everything from napkins and tablecloths to bed linens and clothing. I just find it to be the perfect mix of hippie-chic and effortlessly cool…and right now it is so on-trend!
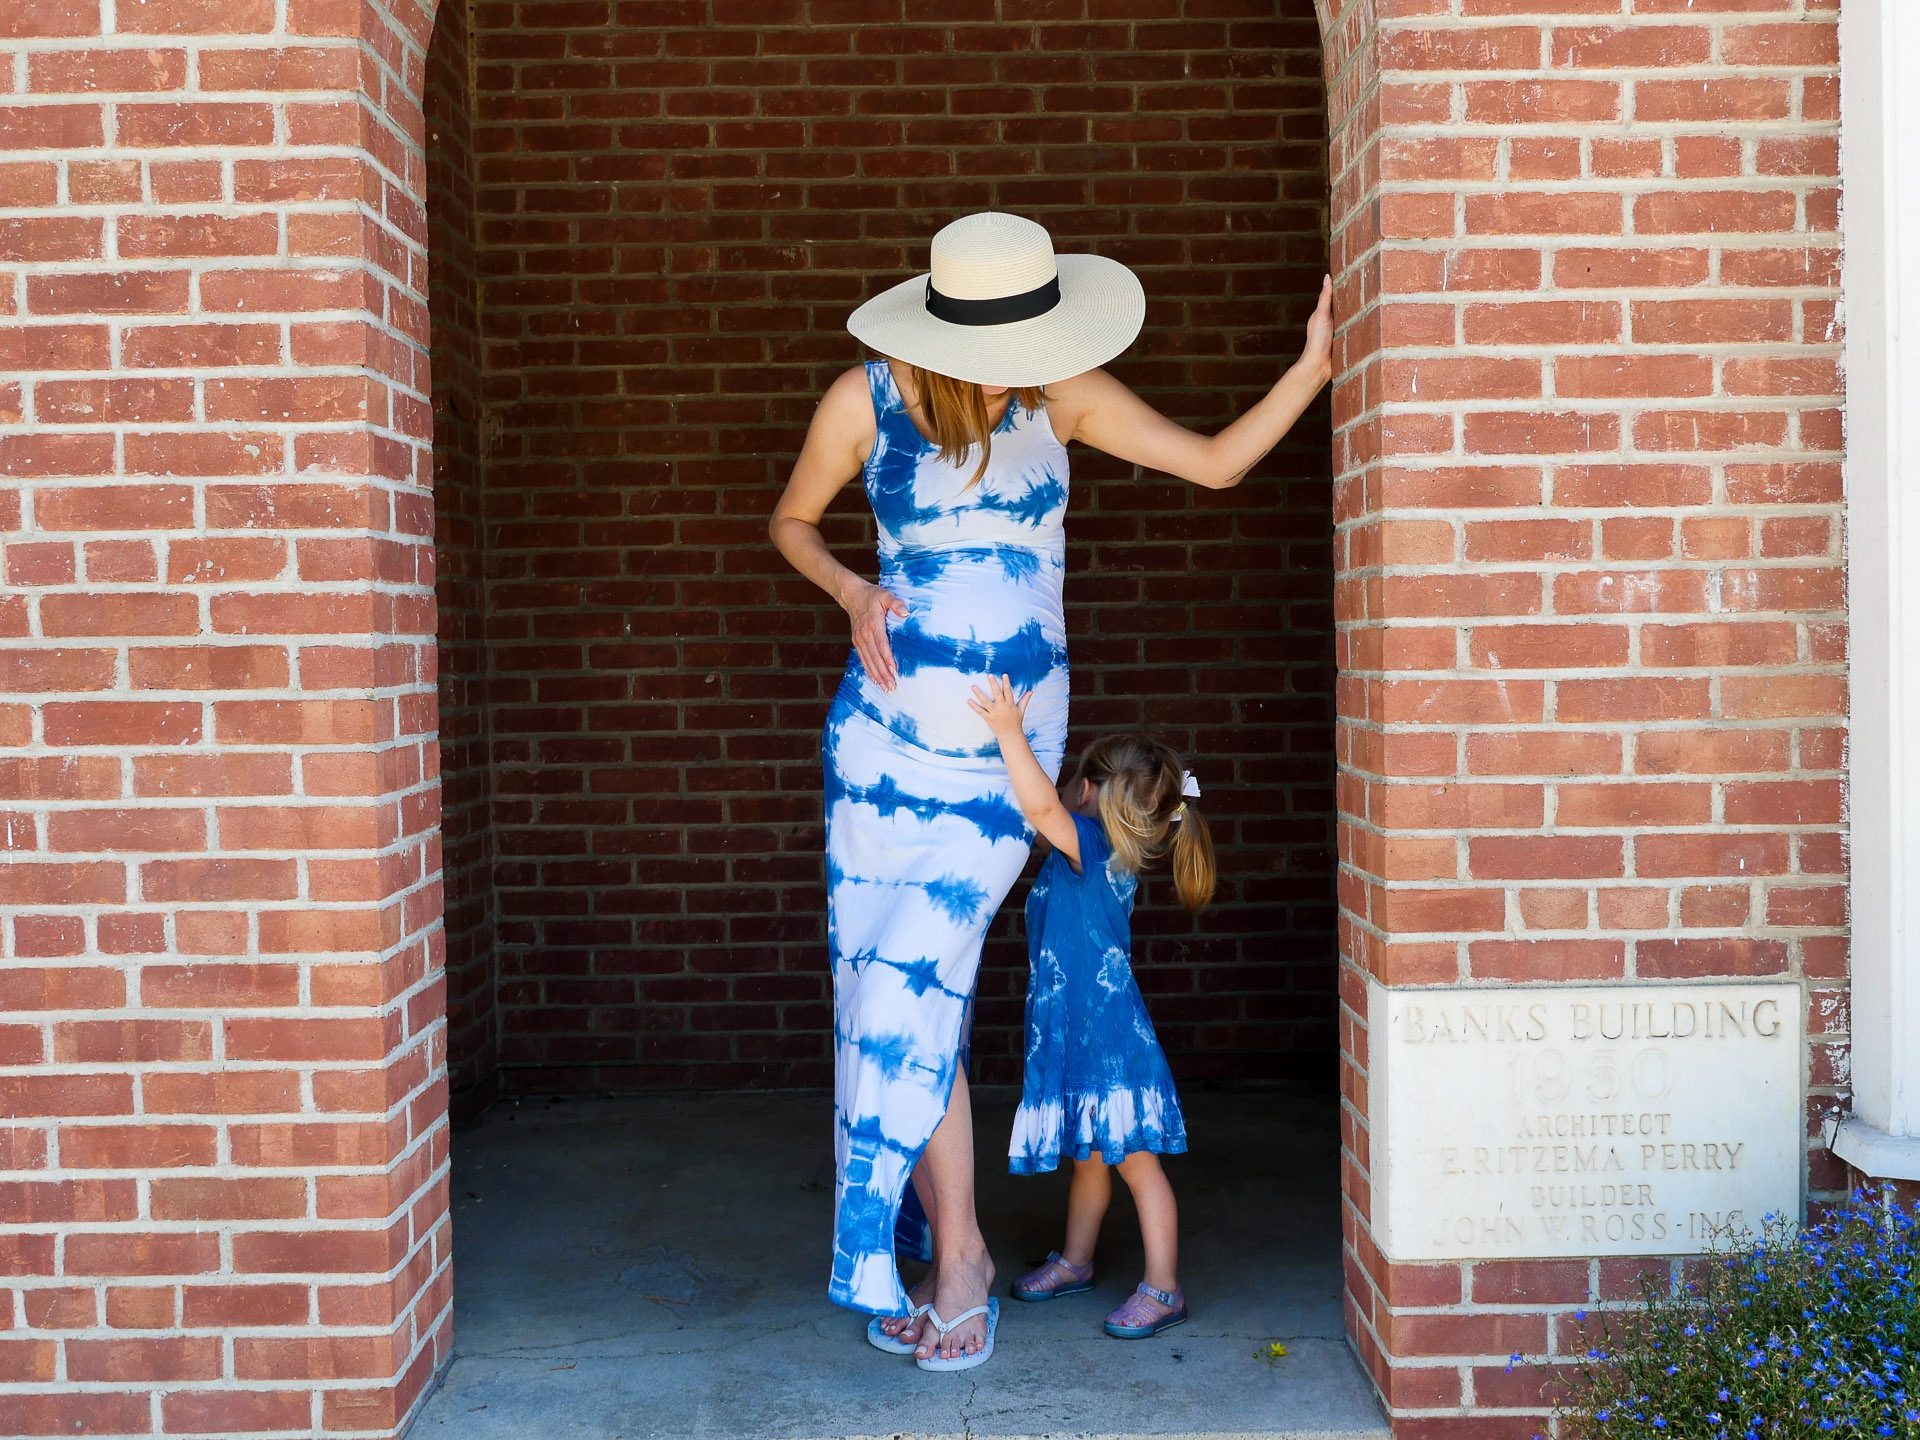
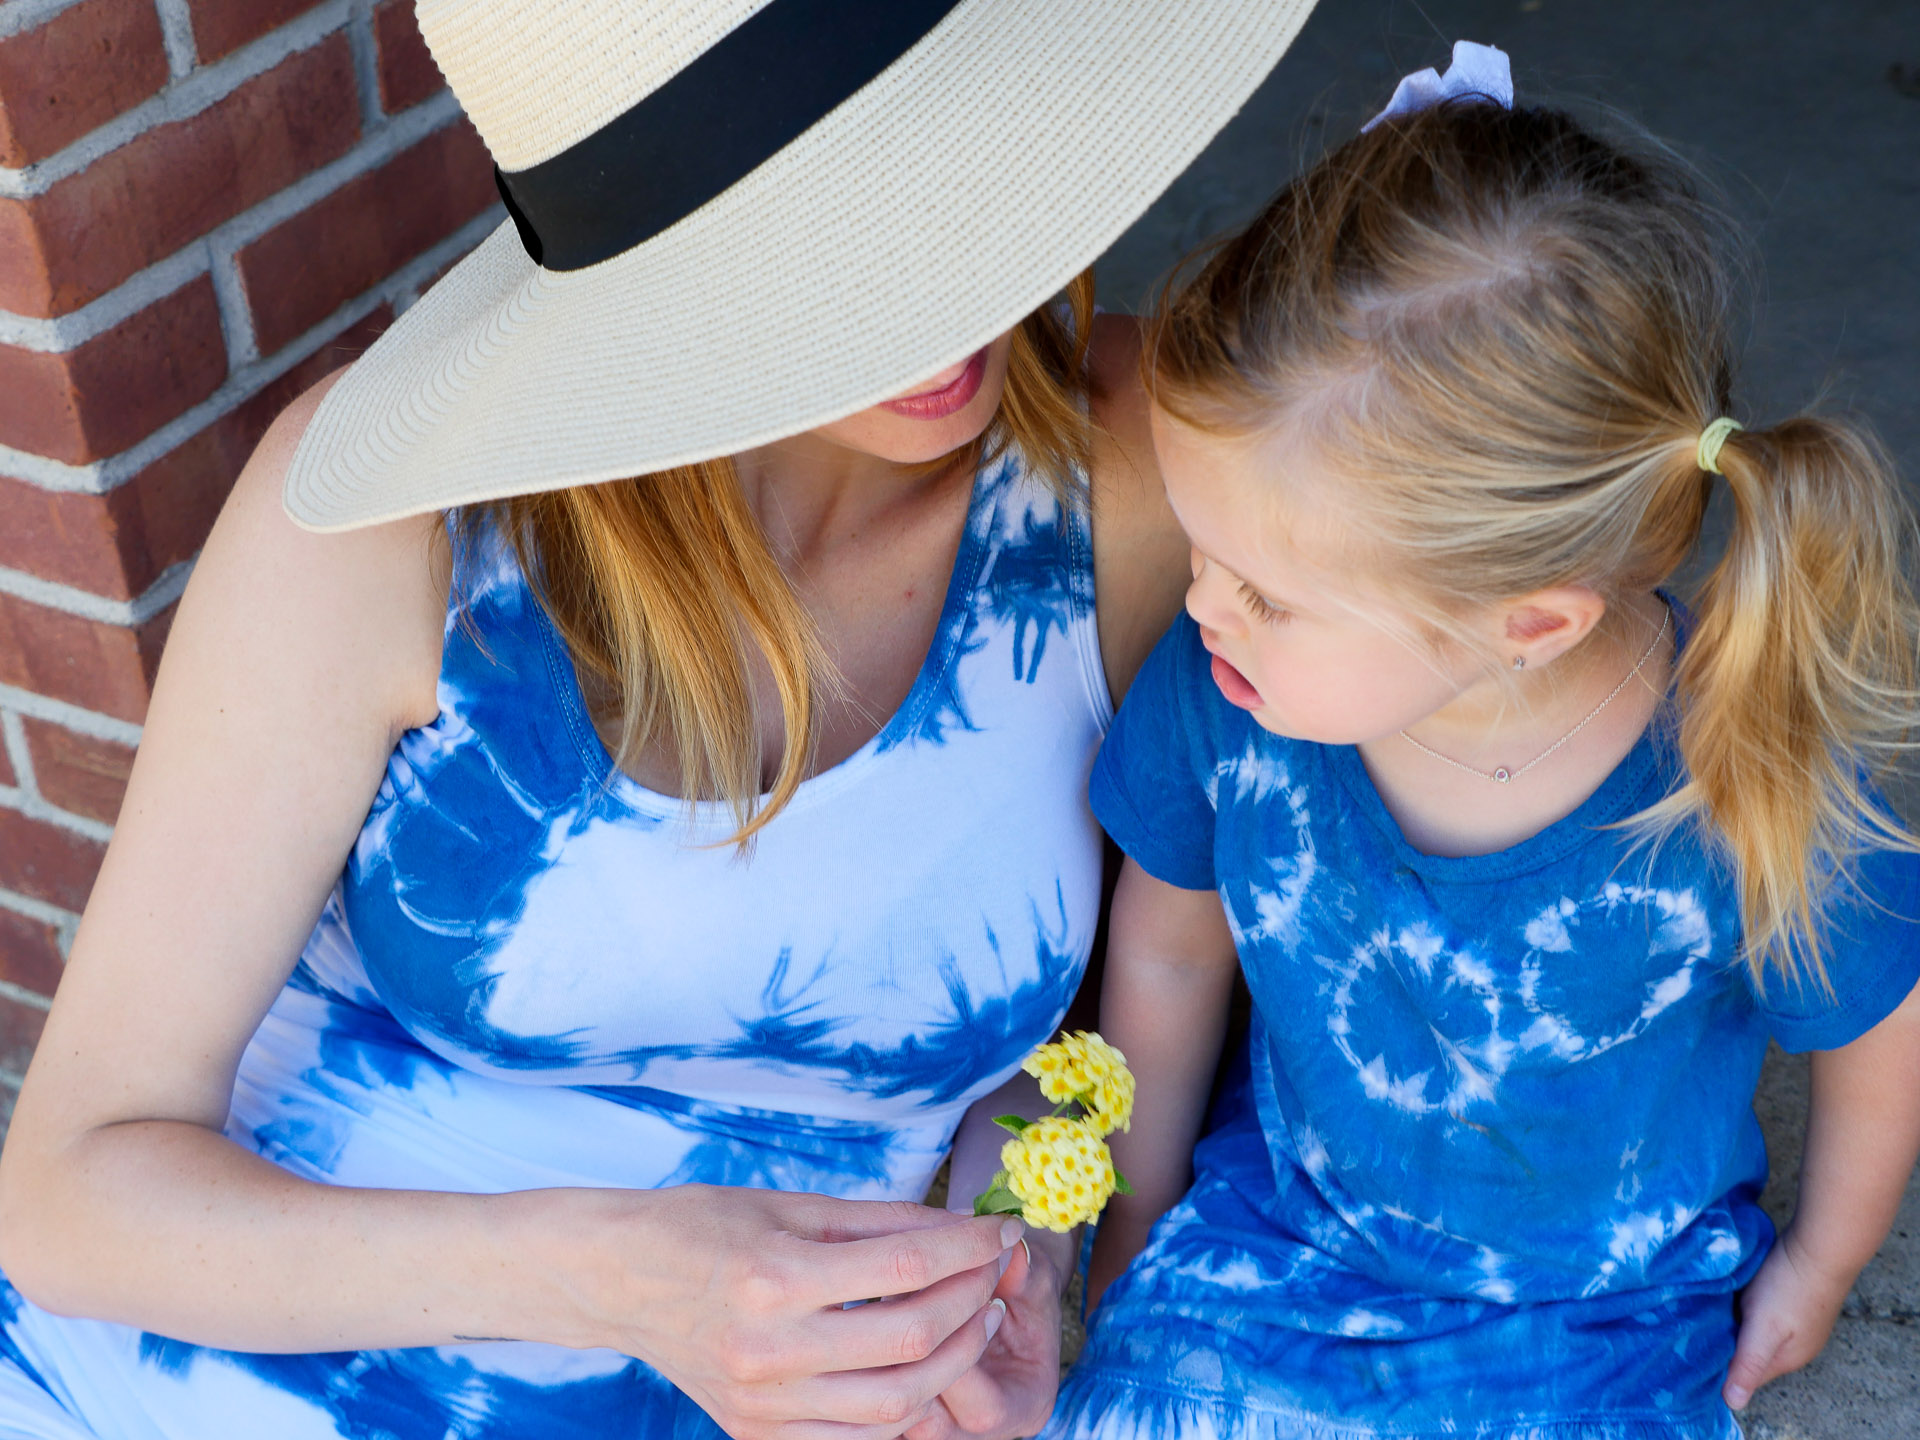
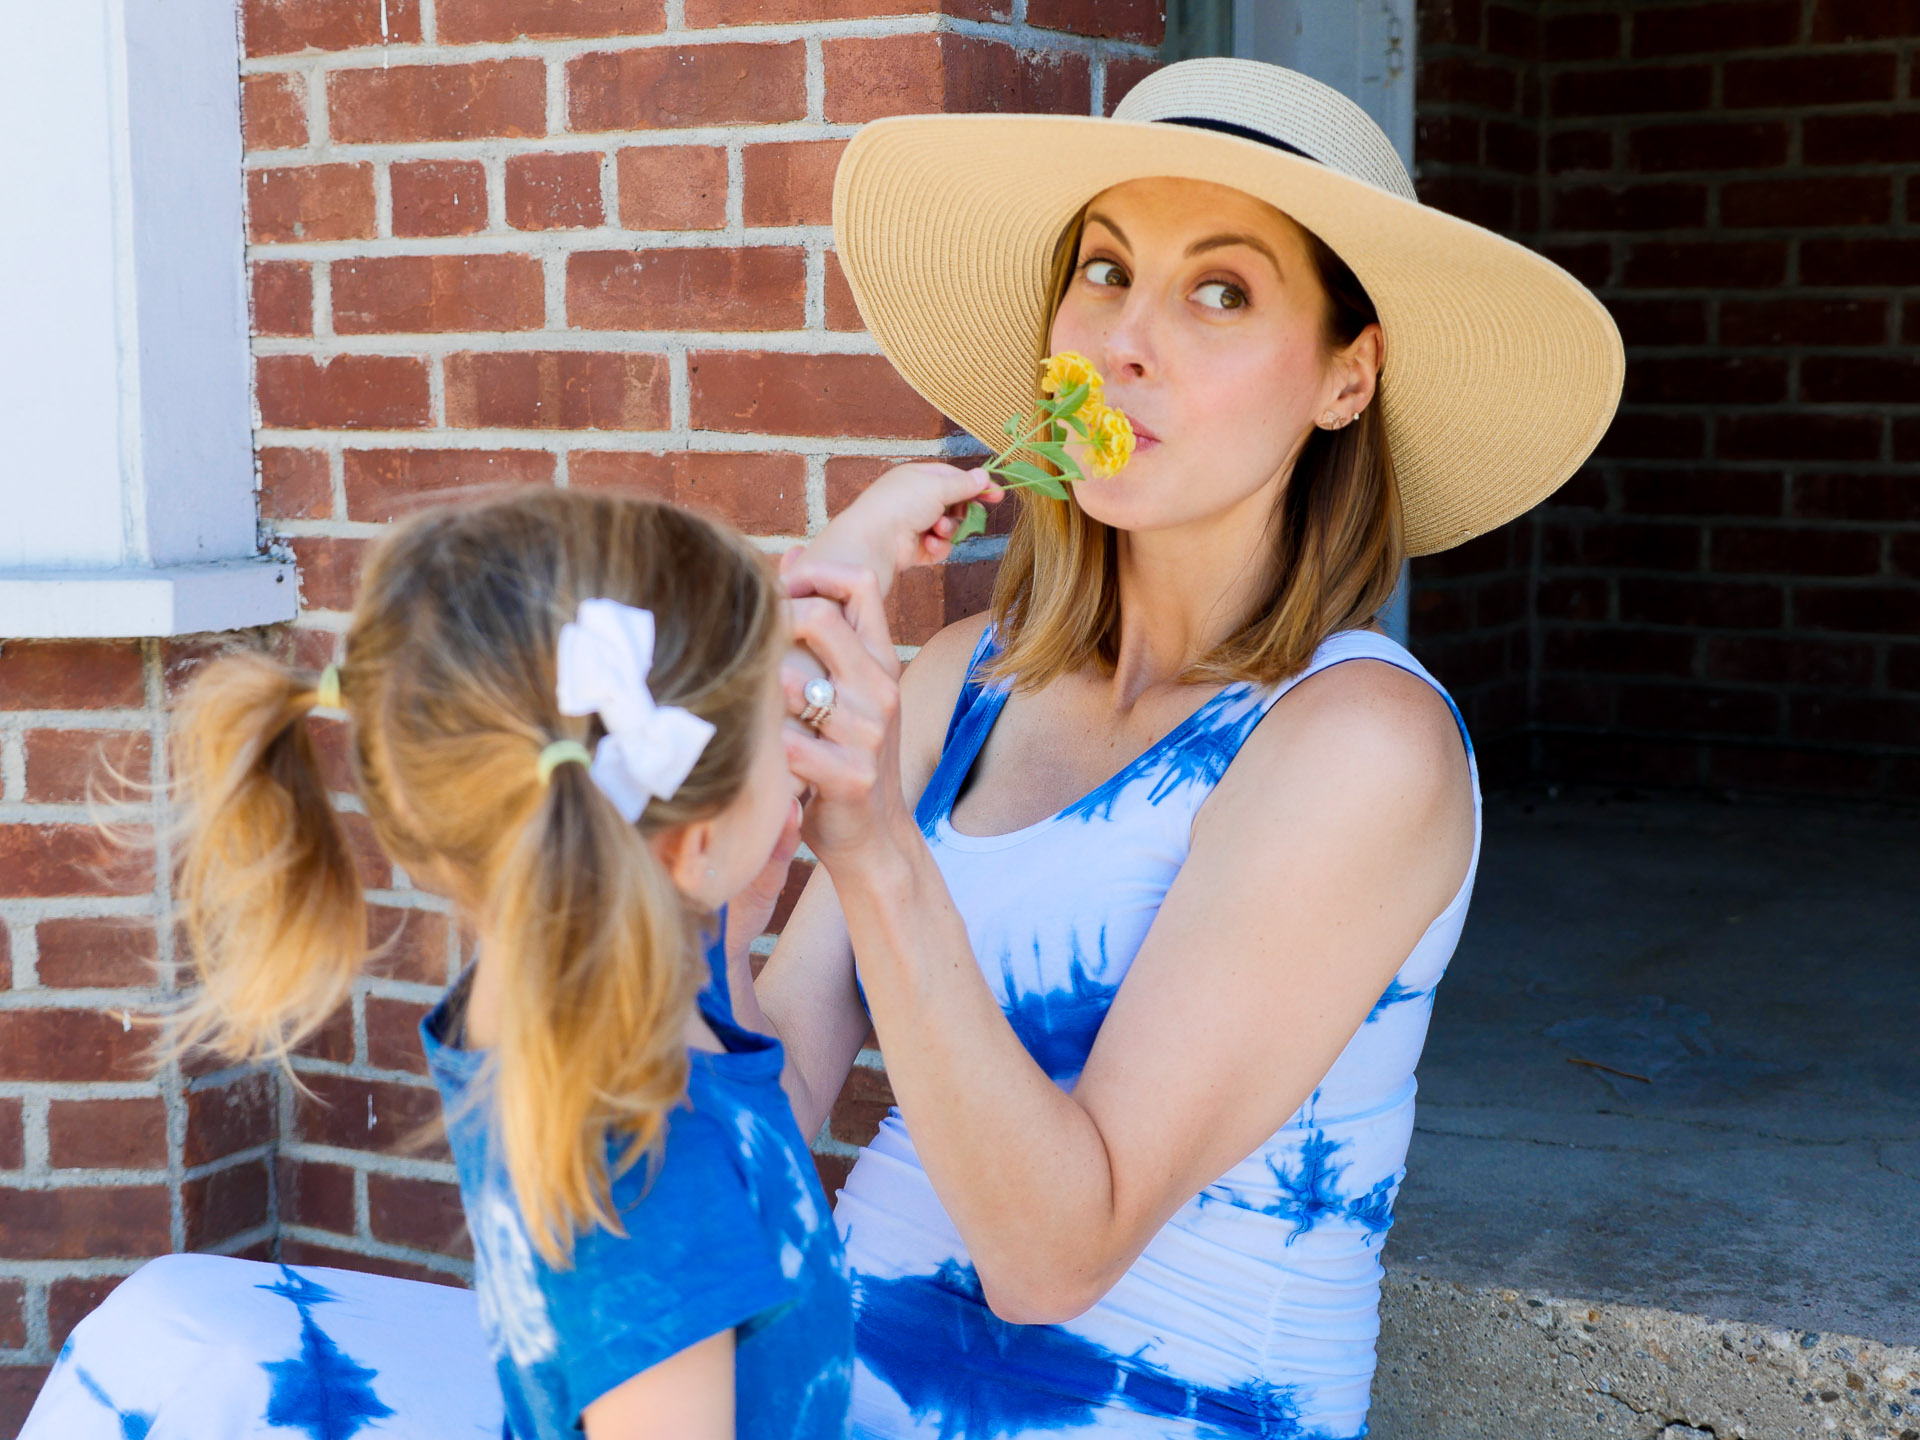
A few years ago I was in an adorably chic kids’ shop and found a to-die-for Shibori dress for Marlowe…and then the price tag nearly made me faint. Over a hundred bucks for a tiny cotton dress with a cool dye job?! Oh HELL NO! I was determined to make it myself, even just to prove that I could…and of course, I had to make one for myself too…because TWINNING. I always figured that making my own Shibori Tie Dye pieces was waaaaay out of my DIY league. It looks so hard, right?
Turns out this technique really isn’t that hard, and you can dye about thirty things in one sitting so you can really Shibori your heart out. I love that kind of bang for your buck! Plus, the end result looks so good that it’s kind of foolproof. Today I’m breaking down how to DIY Shibori Tie Dye everything:
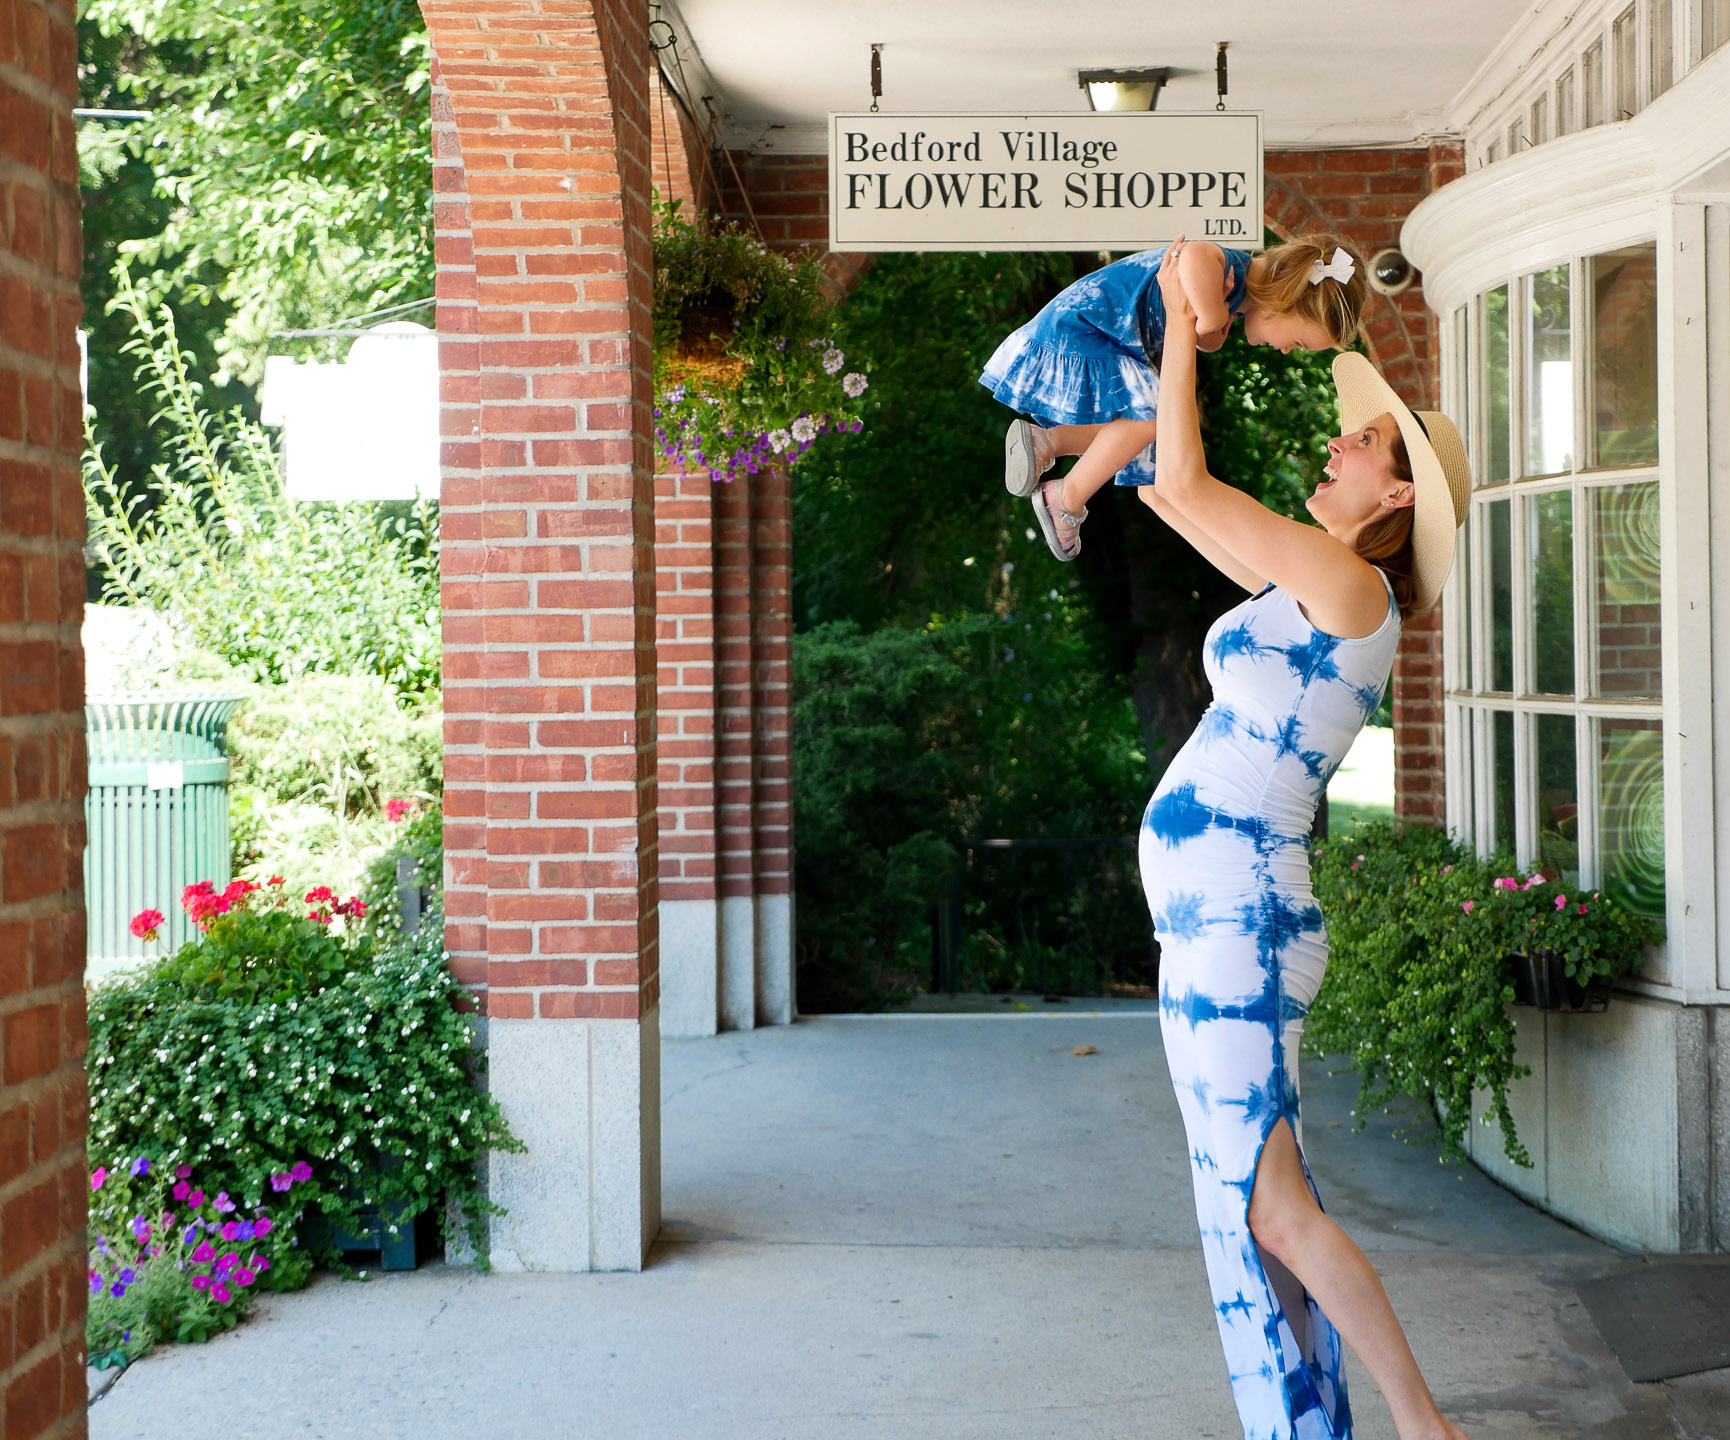
These dresses are the perfect transitional pieces for Spring and can be layered so nicely, but you can Shibori Tye Dye napkins, t-shirts, sweatshirts, sweatpants, onesies…you name it: if it’s made of wool, rayon, cotton, viscose, or silk, chances are you can dye it!
And did I mention that Shibori isn’t always indigo? I thought it was until I recently read that it’s actually a common misconception! Natural indigo dye was one of the few dyes available to the working class during the Edo period, and thus workwear kimonos were mostly Shibori dyed blue, but you can find examples of Shibori in virtually every color imaginable. So don’t be afraid to be bold with your color choice!
Each vat of Shibori Tie Dye can dye lots of items, so experiment with some white napkins to try different binding techniques, and if you try this DIY at home, be sure to comment below or tag me in your creations on Instagram so I can see them!
Materials…
- A Dye Kit: This is the kit I used for my own Shibori project, and it worked out great! It comes with indigo dye, a reducing agent, one pair of gloves, two wood sticks, assorted rubber bands, and an instruction manual with dye patterns. The dye is plant-based and didn’t have a harsh odor, although I would still recommend doing this outdoors or wherever you have good ventilation. If you would like to use colors other than the traditional indigo, this kit* includes six different colors, enough dye for up to 72 projects, is highly concentrated, and also non-toxic. *It does not, however, come with gloves, wooden sticks, or rubber bands, so if you use this kit, you’ll need some of the additional supplies listed below!
- 1 5-Gallon Bucket: You’ll need this to hold the dye.
- Rubber or Plastic Gloves: (*Included in the Indigo Dye Kit) You will definitely need gloves for this DIY because the dye can be difficult to get off your hands once it soaks in, but I implore everyone to avoid purchasing nitrile gloves right now so that you don’t take away much needed medical supplies from our first responders and healthcare workers. These plastic gloves will do the trick, but so will any rubber dish gloves you might have under your sink.
- Disposable Roasting Pan: You’ll need these to hold the bound fabric after dipping.
- Plastic Drop Cloth: Trust me: you will need these.
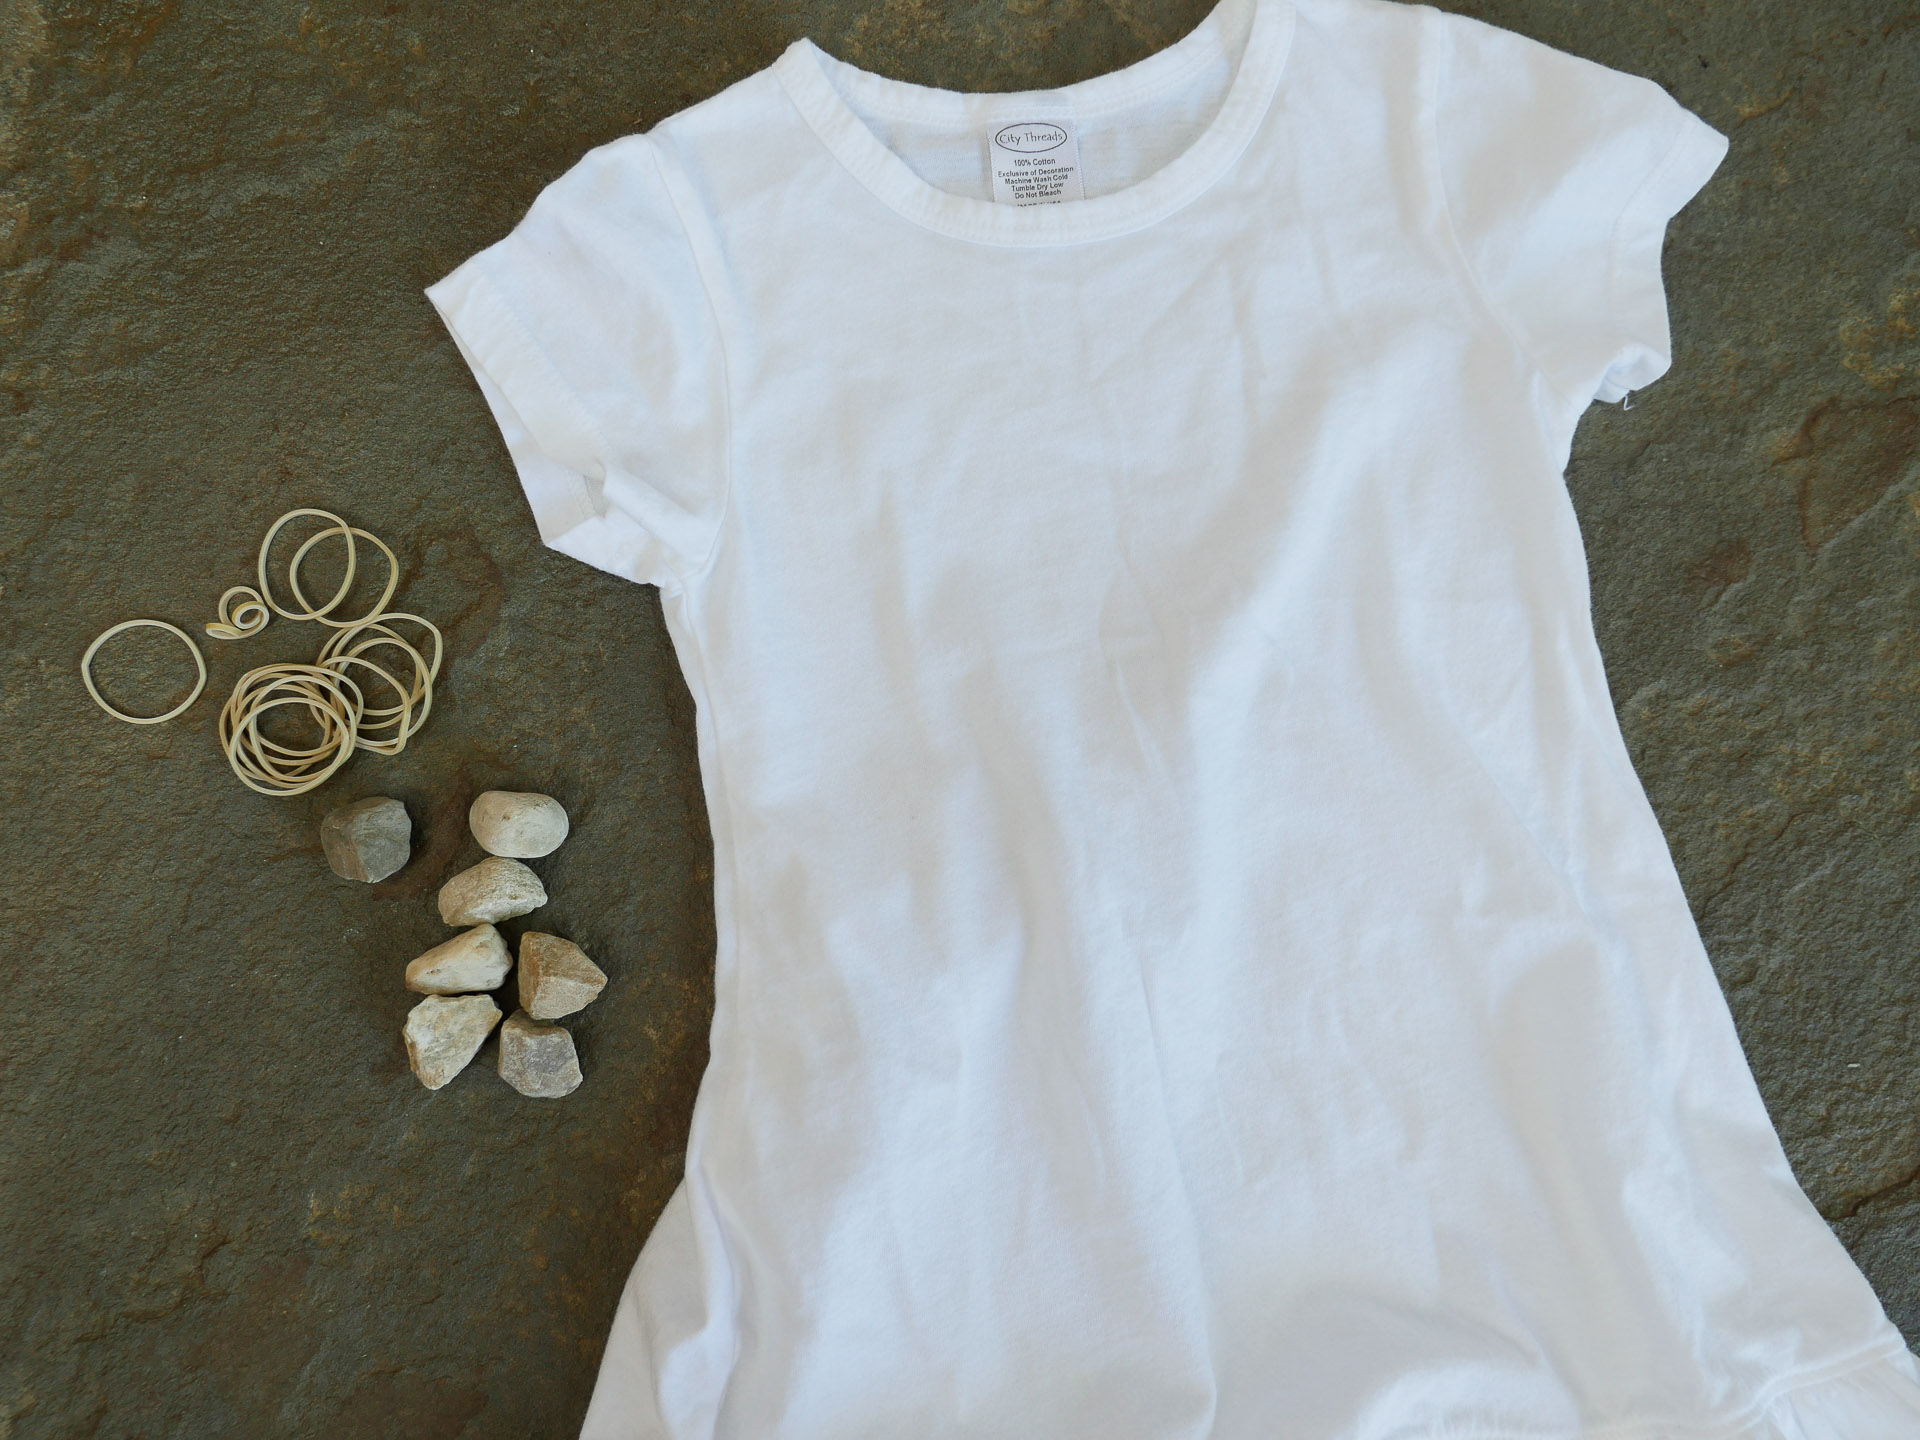
- Rubber Bands: (*Included in the Indigo Dye Kit) You’ll need rubber bands to hold your binding together.
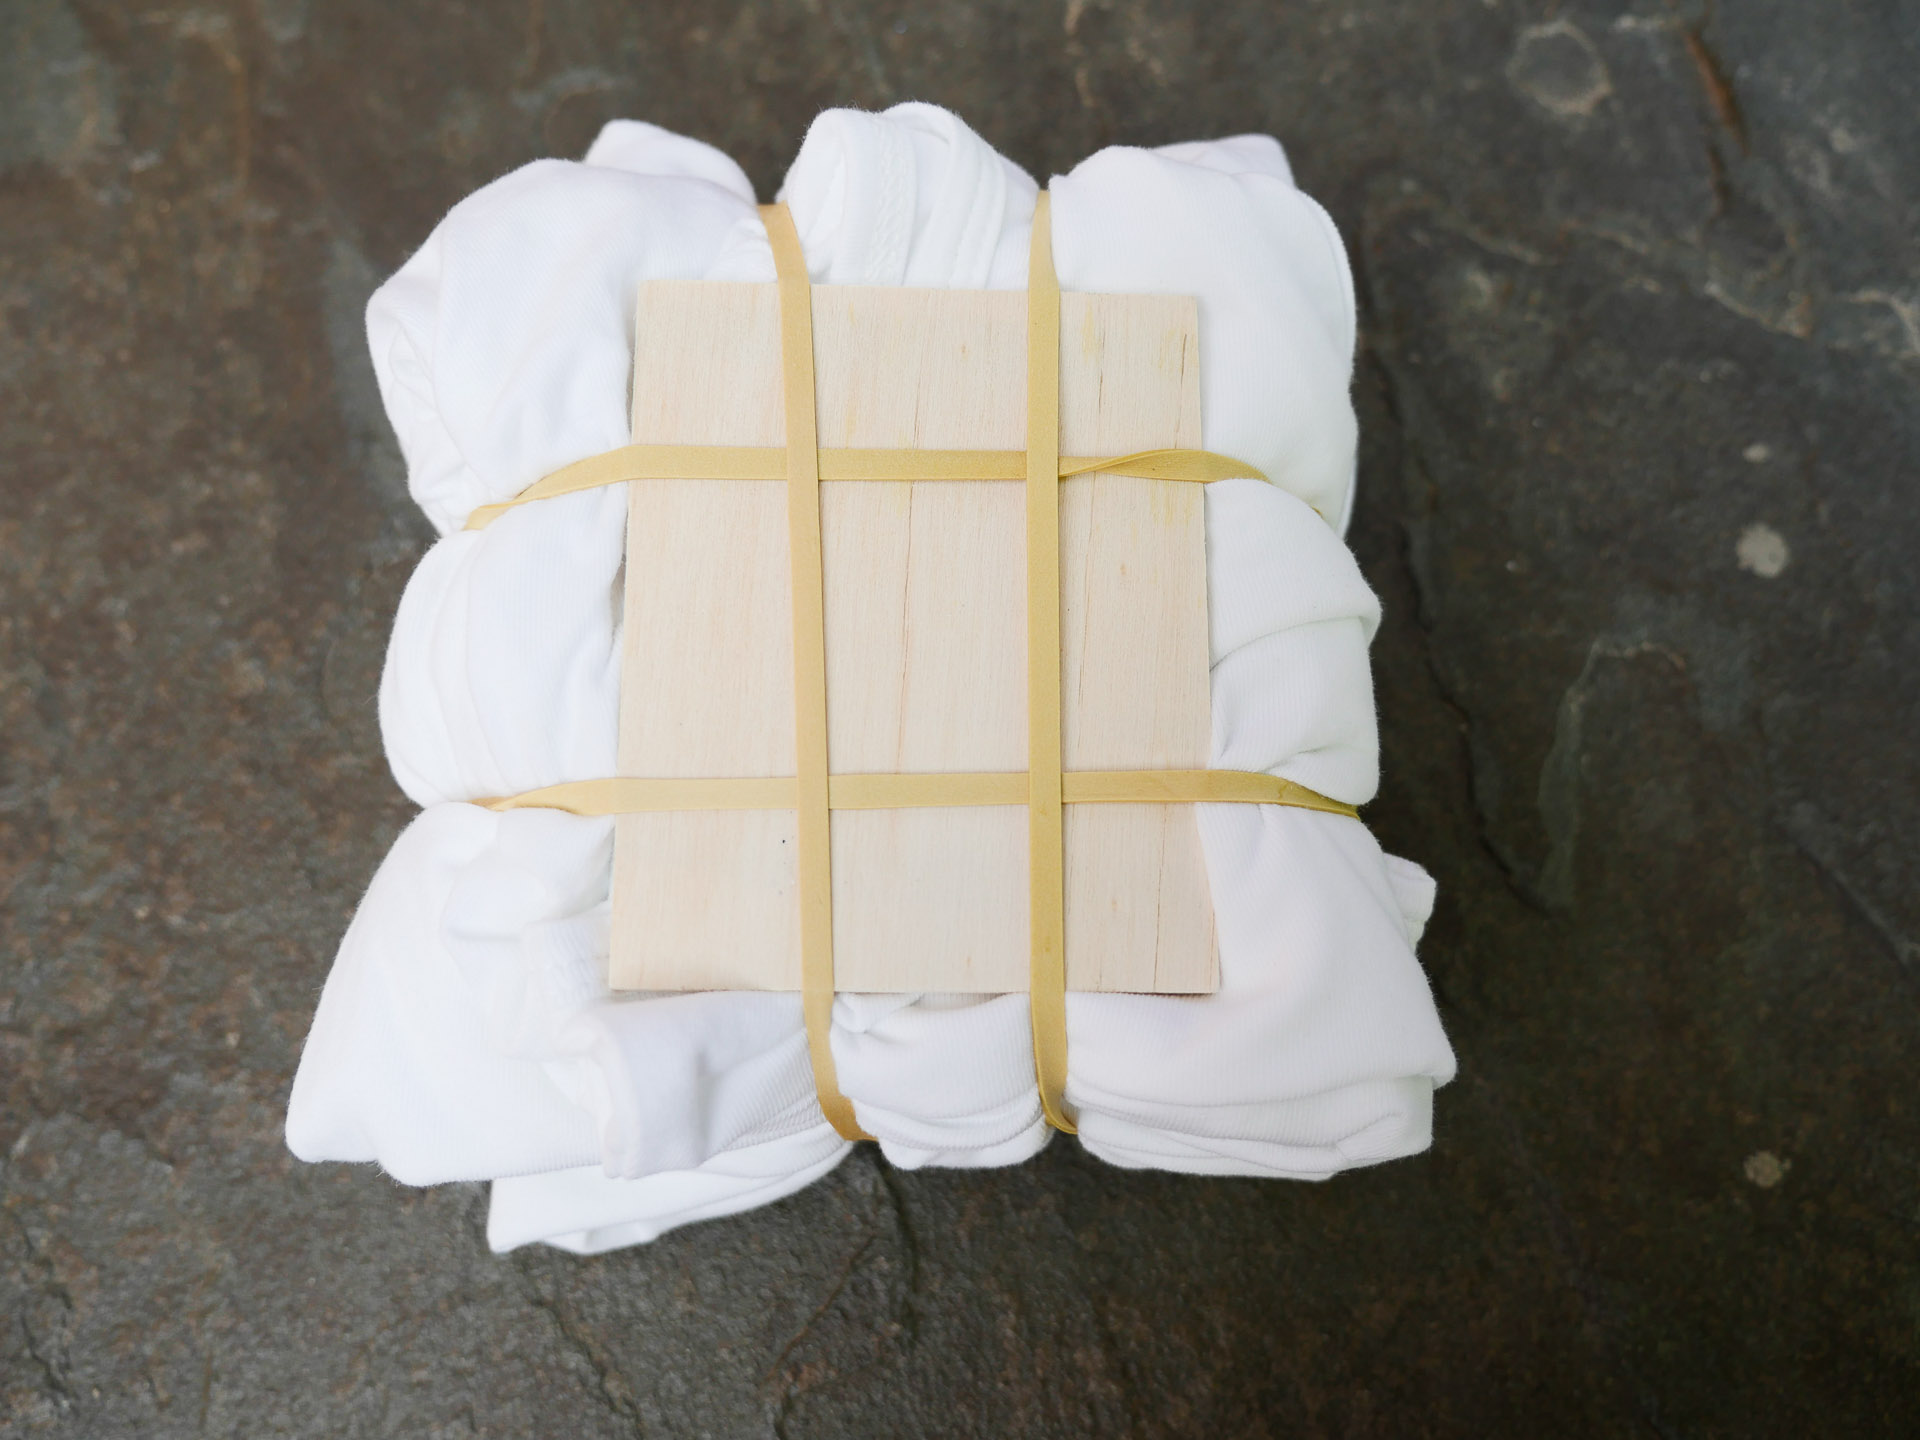
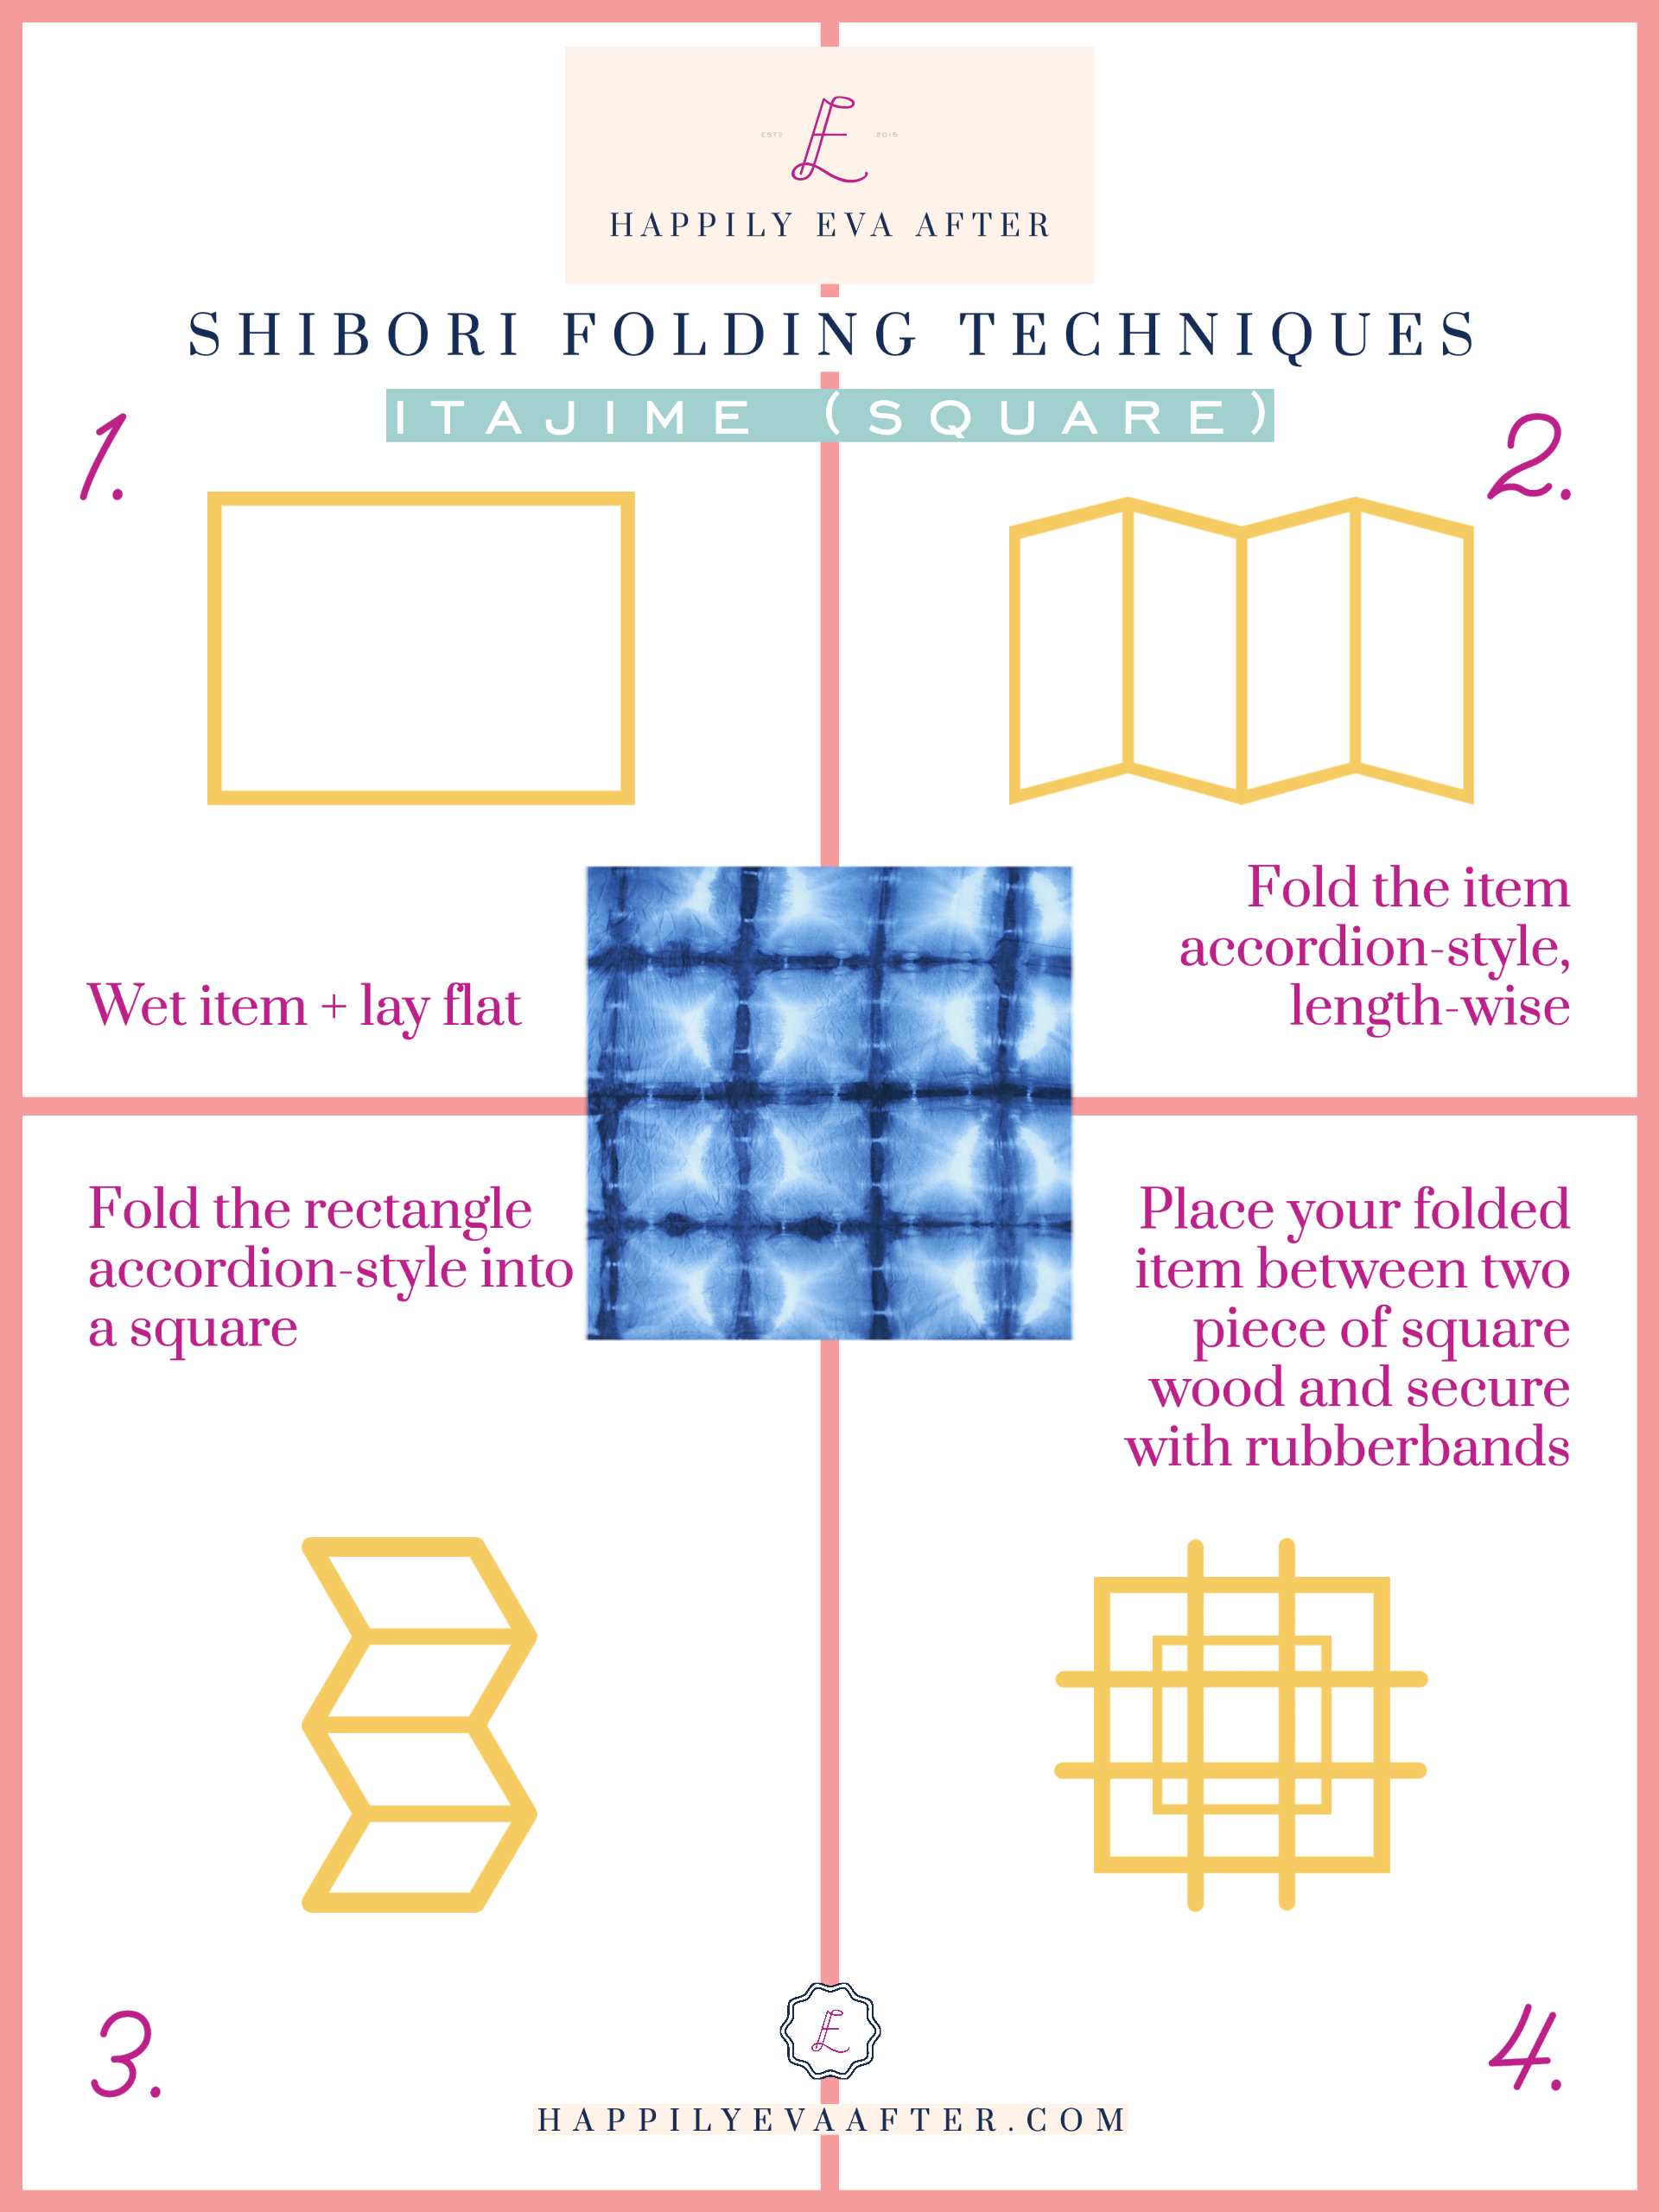
- Small Balsa Wood Squares: These are a requirement if you want that square Itajime Shibori design!
- Twine: You’ll need twine if you’re doing an Arashi Shibori technique.
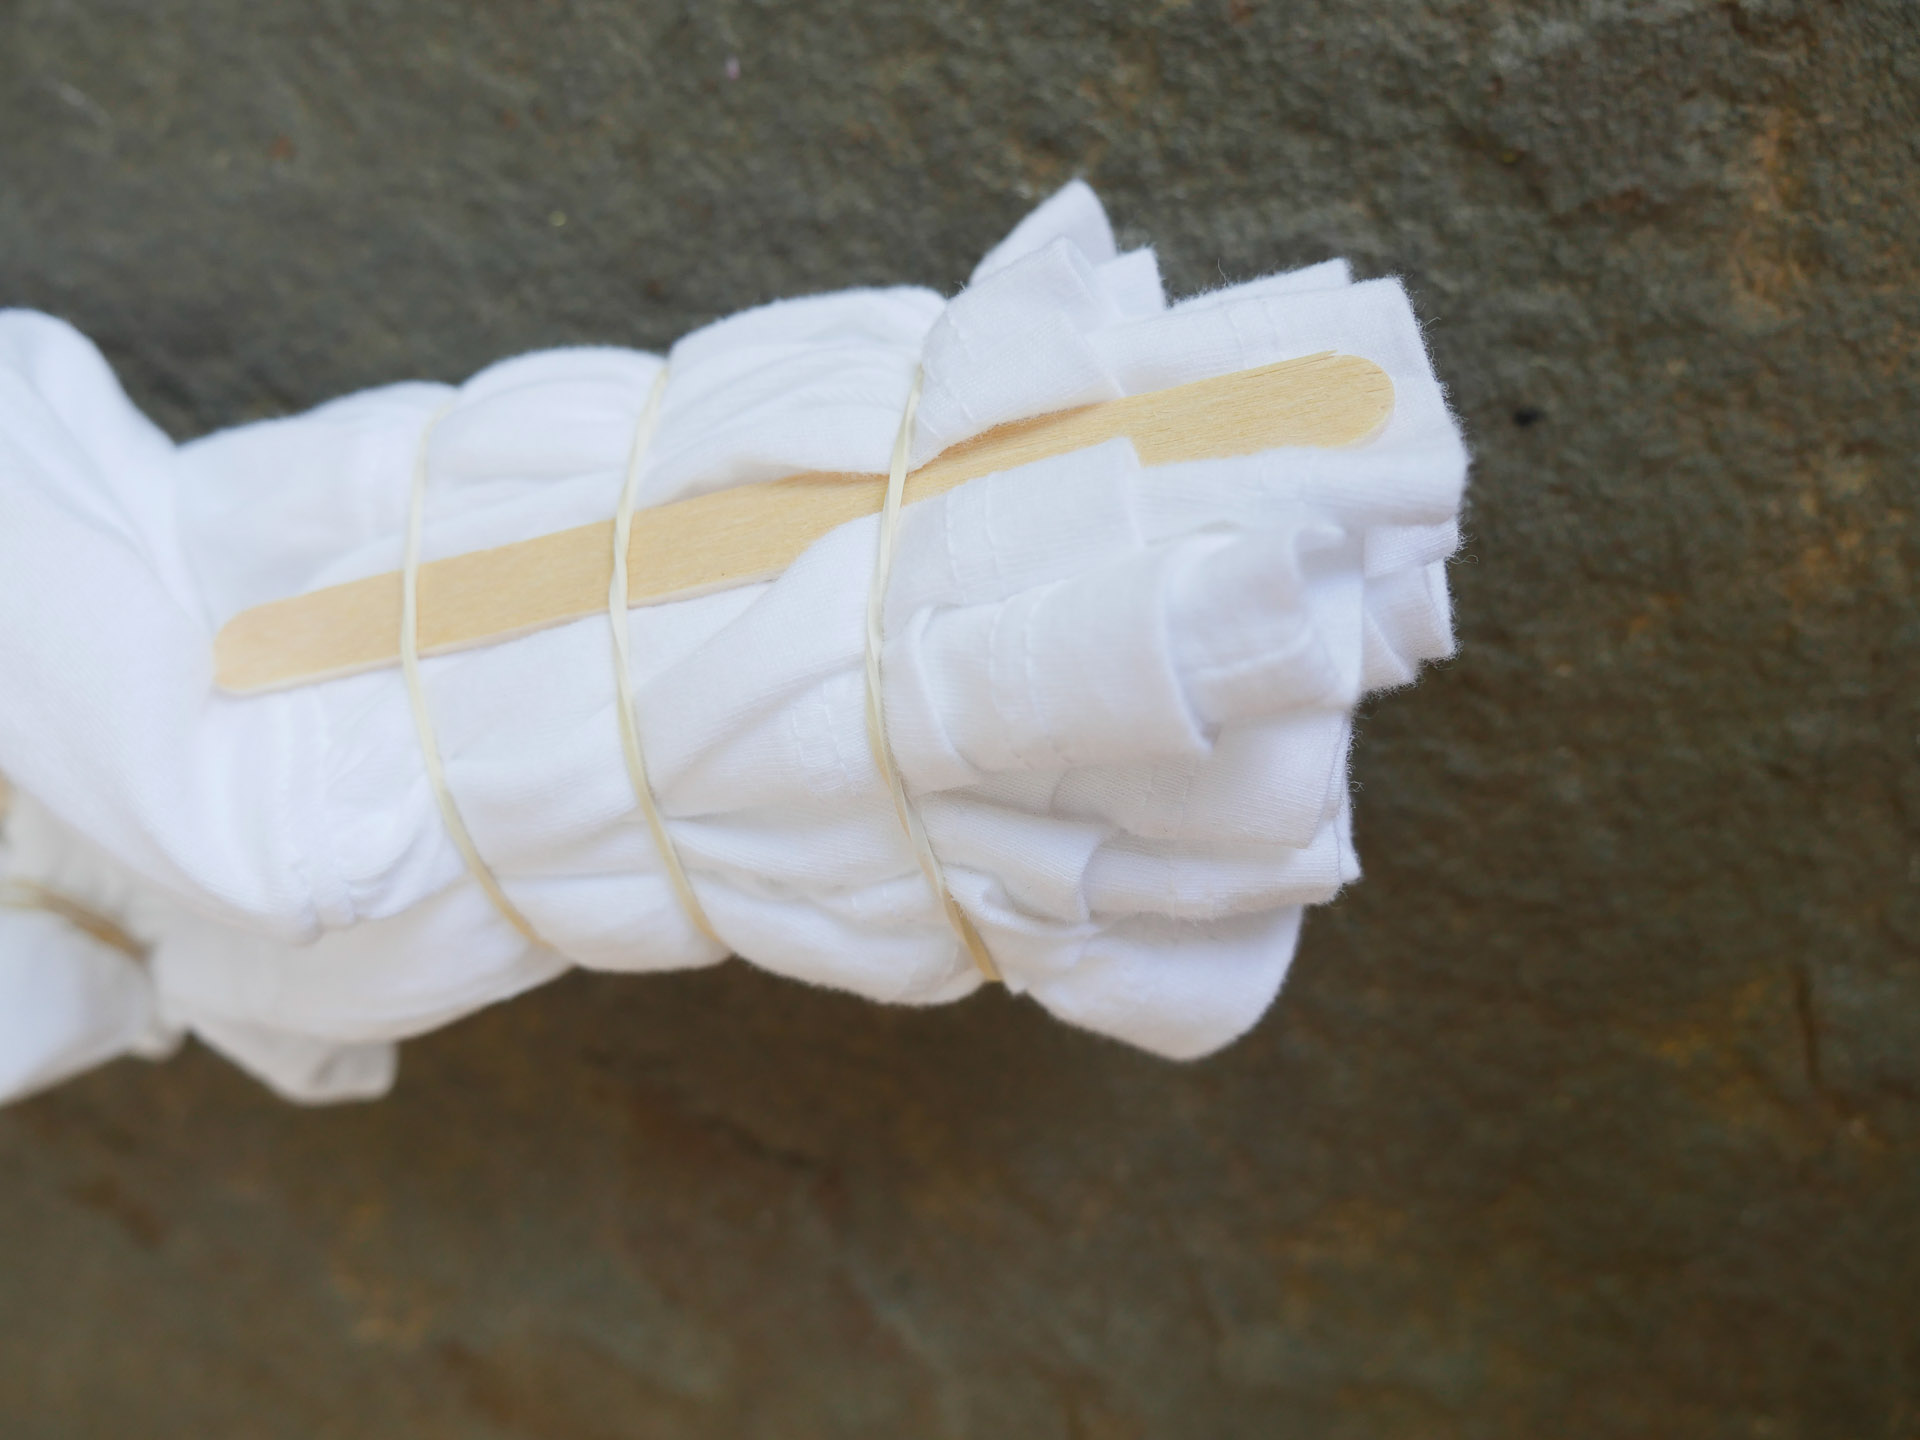
- Popsicle Sticks: (*Included in the Indigo Dye Kit) I used popsicle sticks to get the streaky effect at the bottom of Marlowe’s dress.
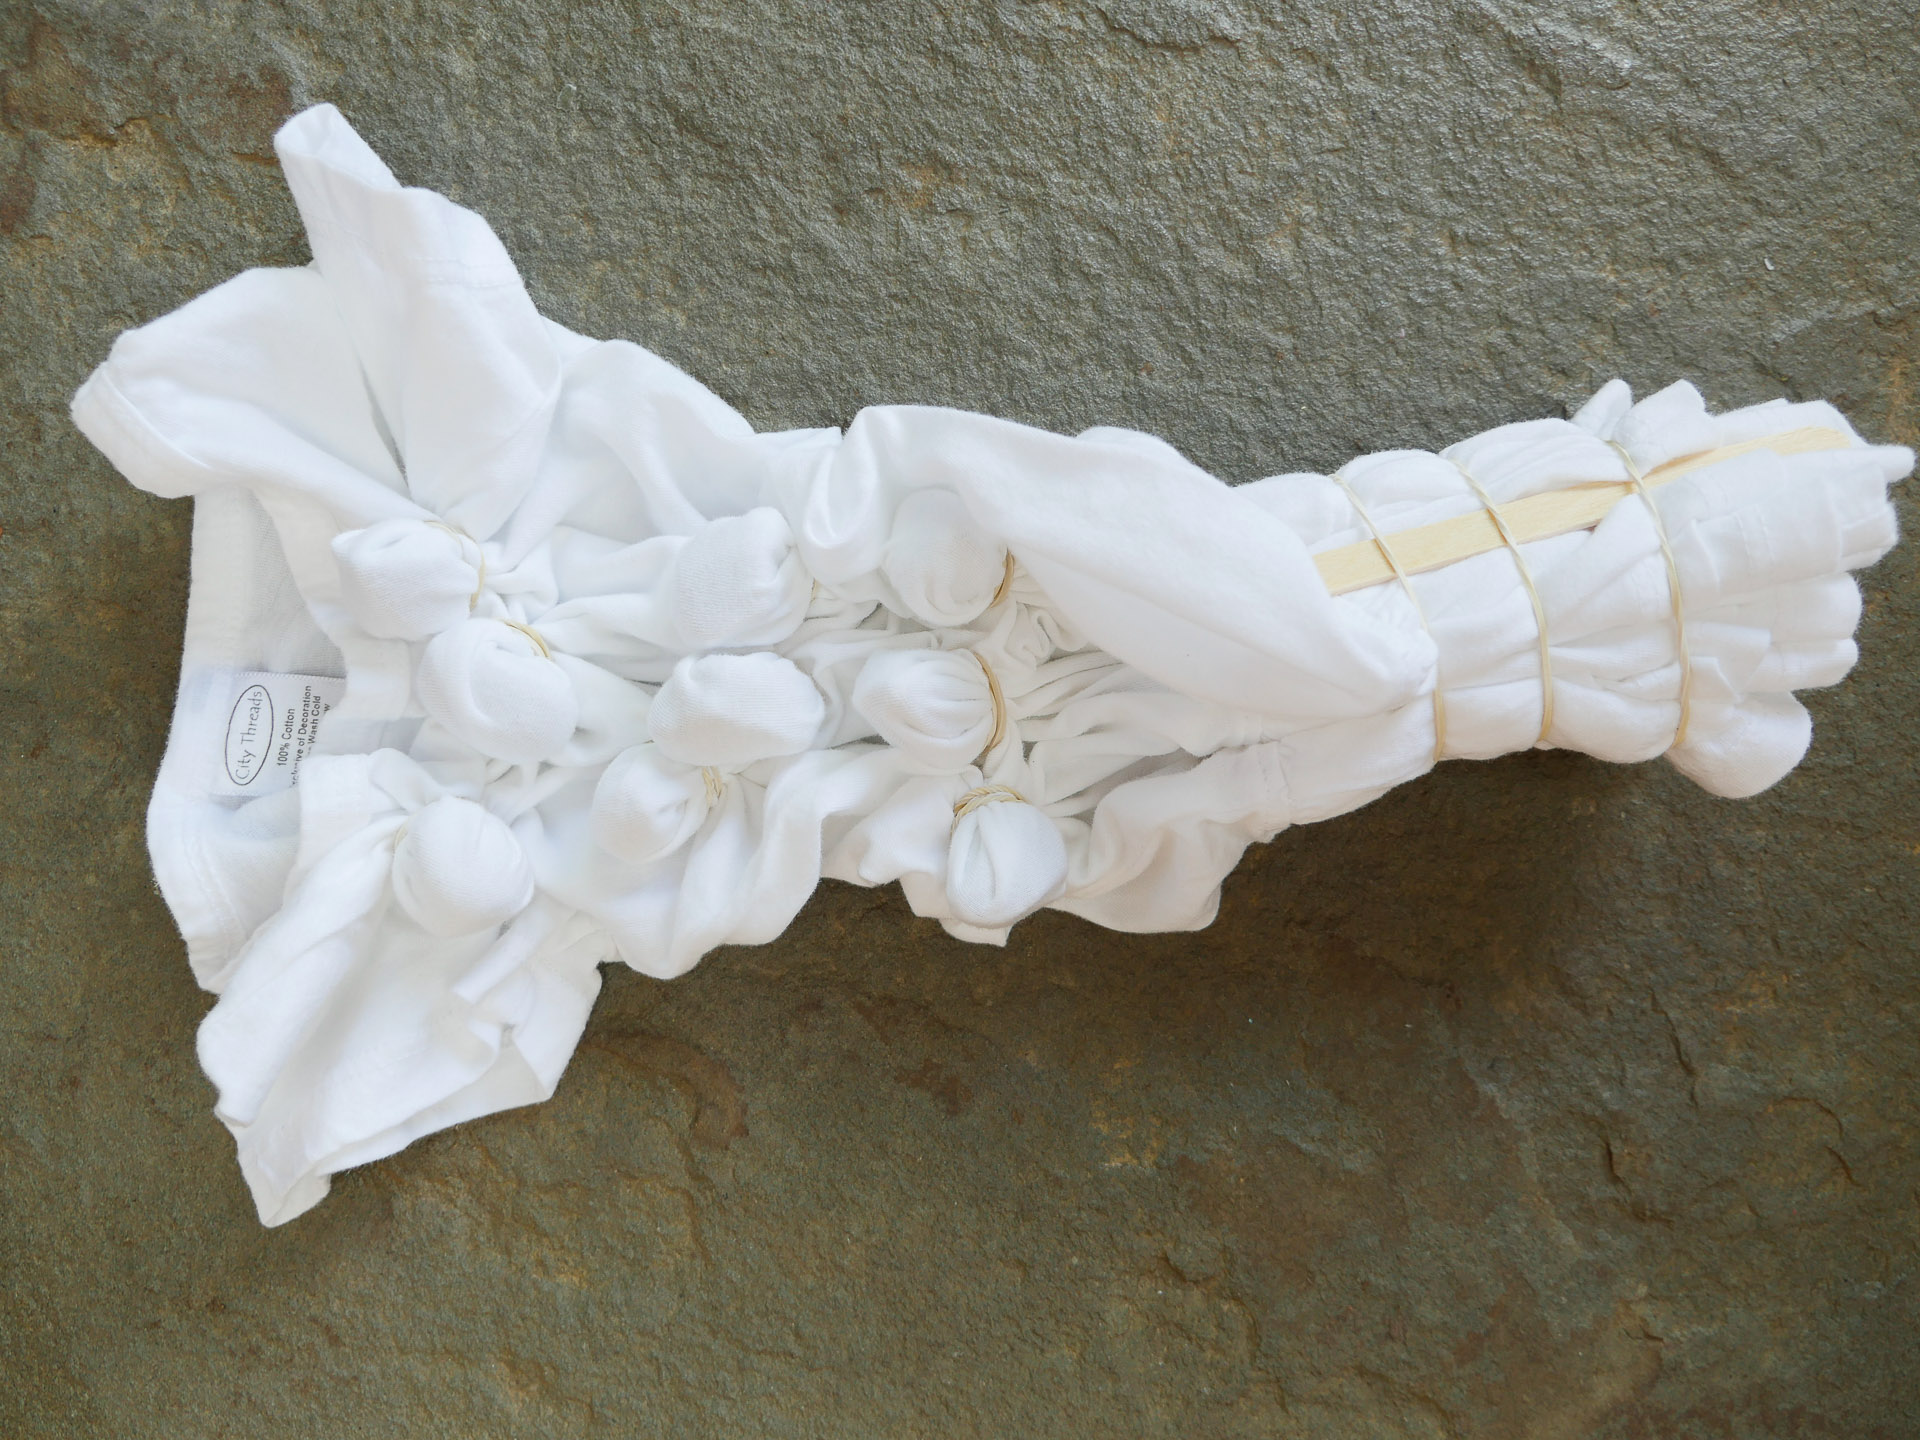
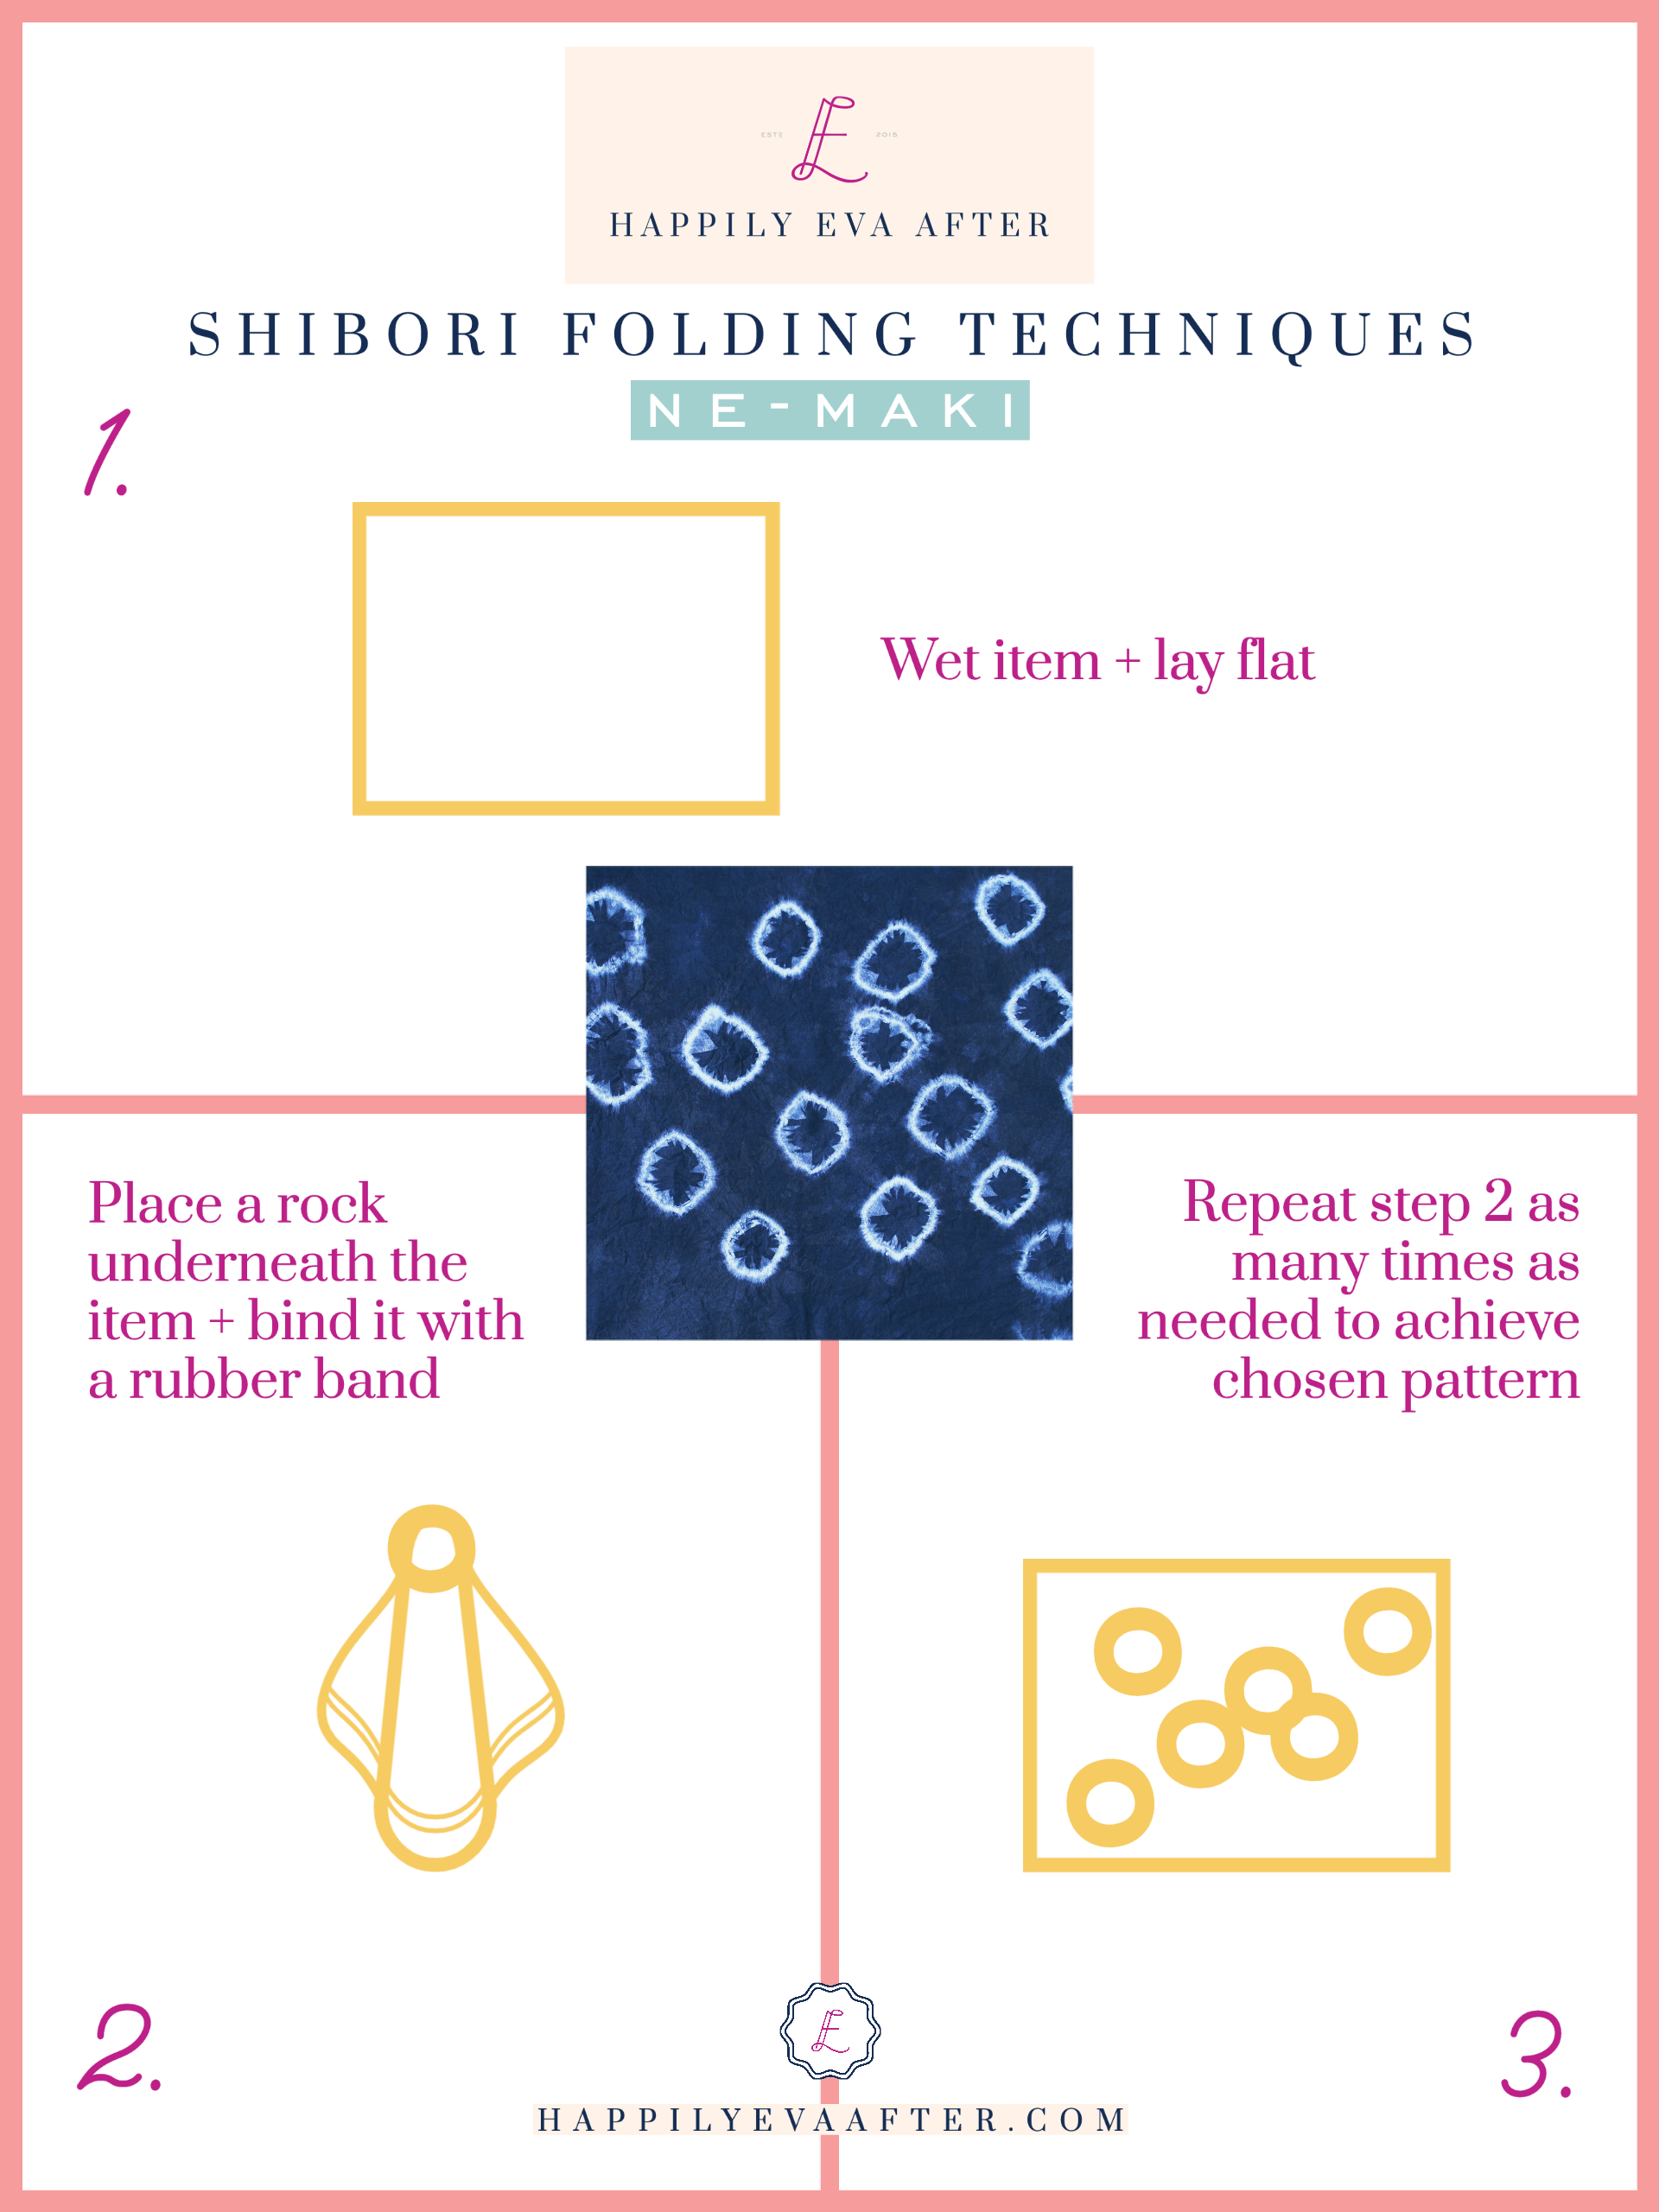
- Rocks: I used these to get the round Ne-Maki design on the upper half of Marlowe’s dress.
- Long Paint Mixing Sticks: You’ll need these to mix the dye because what you definitely don’t want to do is use something from your kitchen to mix these kinds of chemicals.
- Mild Detergent: After you’re finished dyeing your items, you’ll need to wash everything in a mild detergent to remove the excess dye.
My Shibori Tie Dye Item Picks…
Women's V-Neck Side Pockets Split Hem Beach Long Maxi Dress
Verdusa
I’m obsessed with these easy, affordable dresses, ESPECIALLY while stuck at home!
Girls Cotton Short Sleeve T-Shirt Dress
Arshiner
Don’t forget to grab a dress for your mini!
White Cotton Napkins
Cotton Craft
What could be chicer than a set of Shibori Tie Dyed Napkins for dining al fresco this summer?
Soft Hooded Sweatshirt For Kids
Spring&Gege
Can’t forget about the kids! These sweatshirts are 85% cotton and 15% polyester, so the resulting colors will be lighter and more pastel than 100% cotton items, but I love a good pastel moment!
Cotton Throw Pillow Cover
Thmyo
If you have square throw pillows around your house, consider purchasing some new covers and turning them into Shibori Tie Dye pillows!
Cotton Canvas Backpack
Zicac
How about making the kids some Shibori backpacks for when they return to school?
Step 1
Prewash Your Items
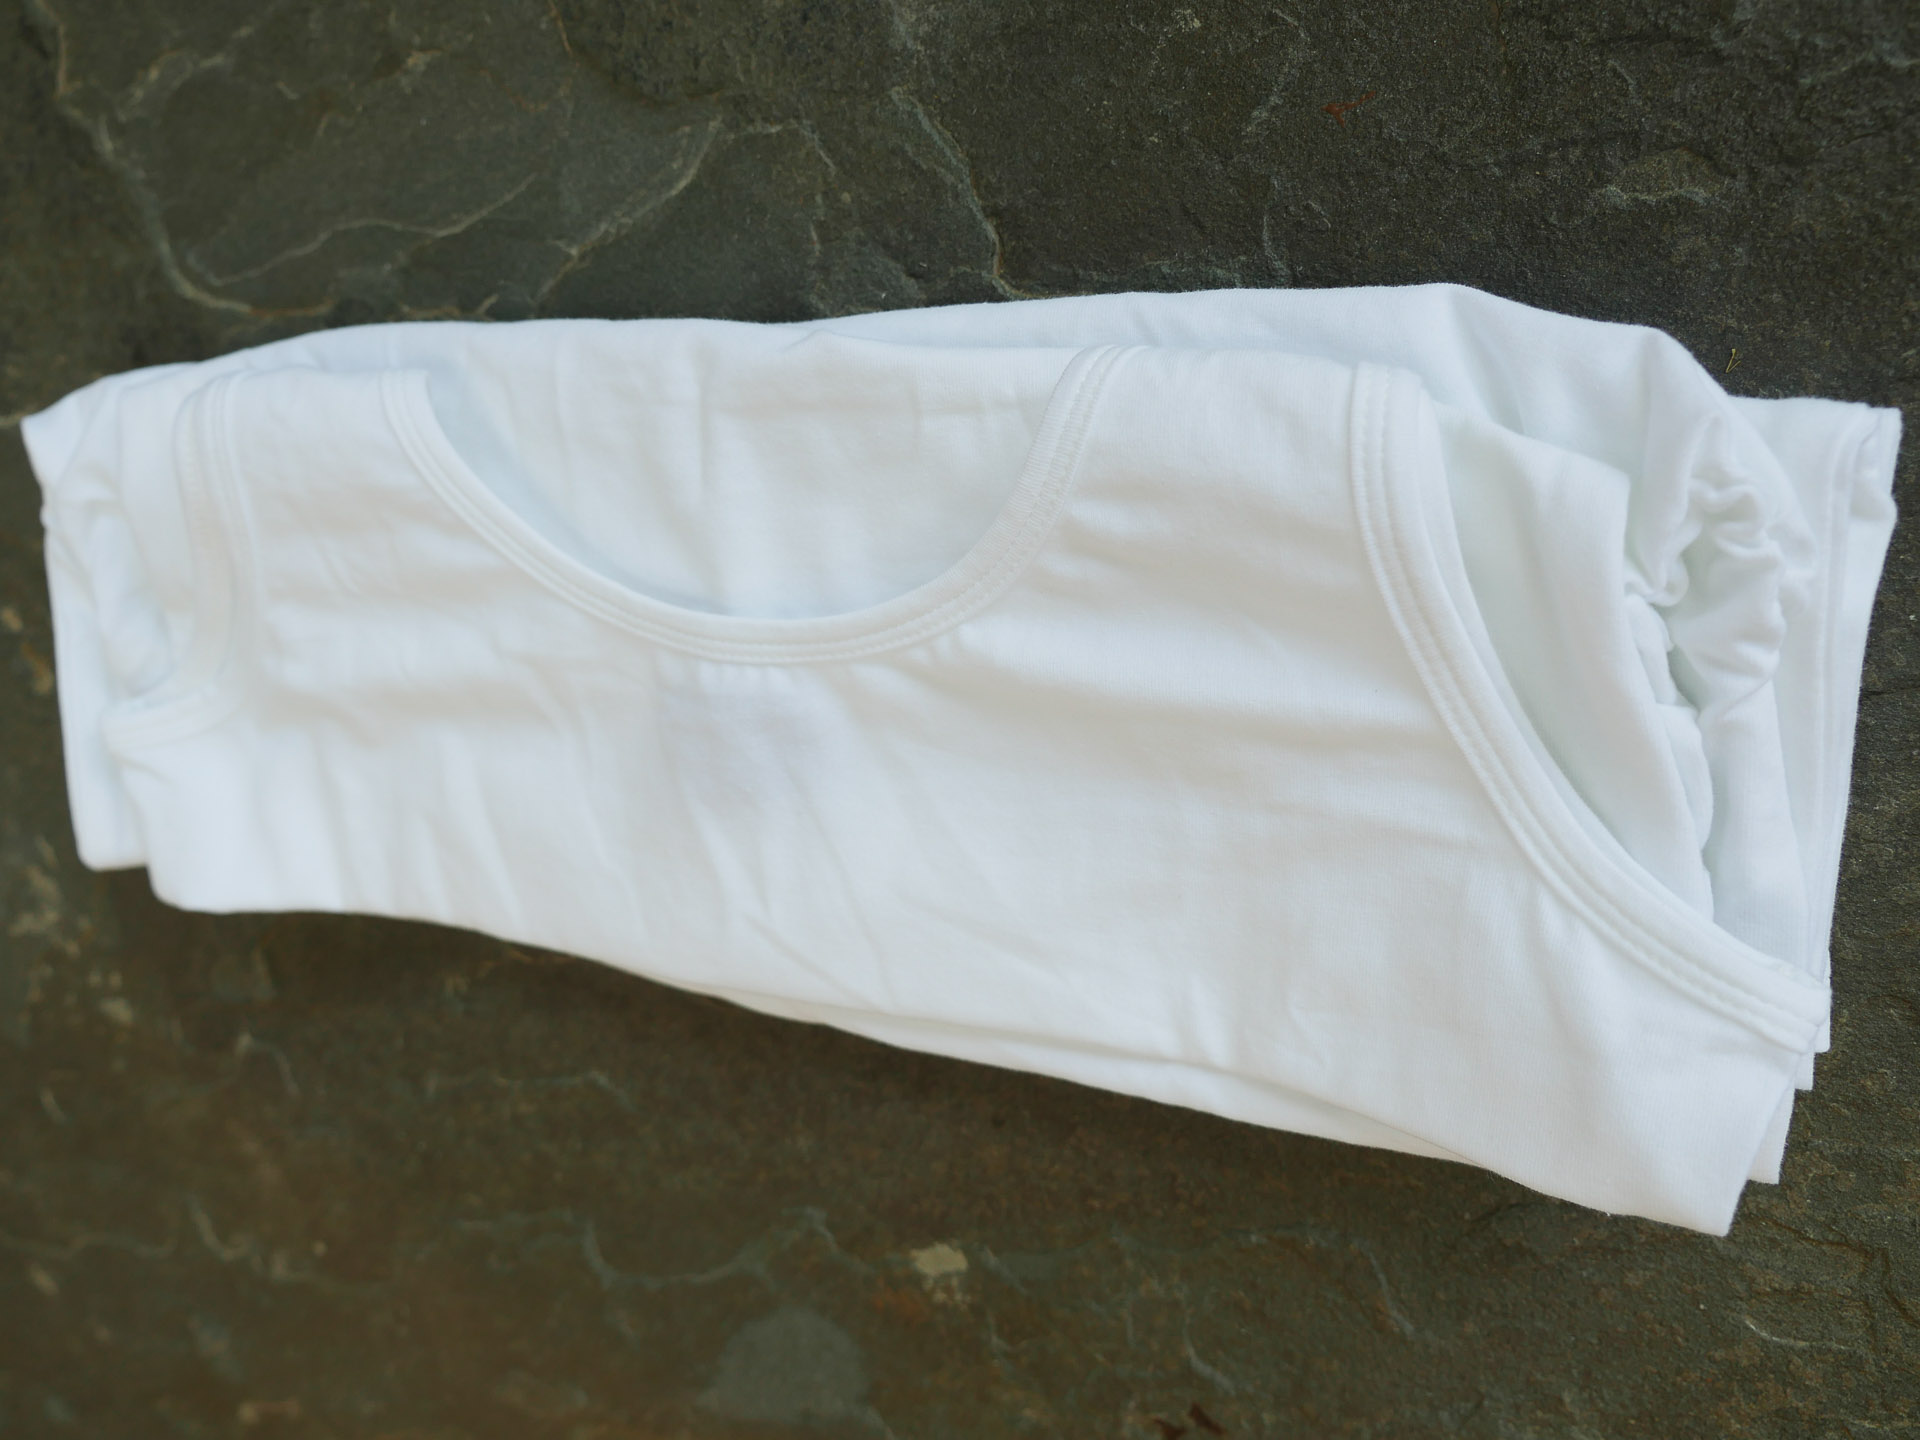
The first step is to prewash the items you’re dyeing with mild detergent. Your items should still be wet when you begin your process, so if you washed everything earlier, soak your items again in cold water and set aside.
Step 2
Set up your work station
Prepare your dye bucket as per your kit’s instructions (every kit’s instructions will differ). Place your disposable roasting pan beside the dye bucket, alongside your mixing stick, and then put on your gloves.
Step 3
Bind your wet fabric
There are tons of ways to do this (I mean, literally thousands) so it’s really about experimentation and creativity! I’ve added some folding how-to’s below for the two techniques I used, which were Itajime (Square) and Ne-Maki.
Step 4
Time for a dye bath!
Place your items into dye bucket one by one, manipulating the piece in the dye so that it’s evenly covered. Do this for a few minutes with each piece.
Step 5
Set Aside
Set your dyed pieces into the disposable roasting pan to oxidize for 20 minutes. If you want a darker color, repeat Steps 4 and 5.
Step 6
Rinse + Wash
Once you’ve achieved the color depth that you’re looking for and your pieces have oxidized for 20 minutes, rinse the piece with cold water until the water runs clear, untie your bindings, and wash everything with warm water and mild detergent.
My Shibori Faves…
If you’re not the DIY type, don’t worry! You can still enjoy Shibori purchased right from the comfort of your home!
Boho Casual Maxi Short Sleeve Split Dress with Pockets
MakeMeChic
I would be lying if I said that Eden and I didn’t have to coordinate which colors of this dress we were buying so that we don’t look like psychos when our office reopens.
Hand Dyed Shibori Napkins
Etsy
I love these napkins! So great for outdoor dining this summer!
indigo shibori stripe
Spoonflower
Is there anywhere else in my home that needs wallpapering? Because YAASSSS, Henny.











OMG I love this! Where did you get your dress to dye and Miss Marlowe’s too?!?
And I answered my own question lol. I was so excited I didn’t read all the words…so cute!
haha, yay! Hope you have fun making your own! 🙂
xx
EAM
Ah I love this! So fun and looks so easy! Might this be an actual DIY that I cannot mess up?! Not sure, but I do know that this is absolutely a must try at home!! Thanks for sharing!
Thanks Nicole! Yes, it is super easy and pretty foolproof. So fun to unwrap the dresses at the end to see the surprise pattern! 😉
Hi, where is your hat from? Thank you!!
Hi Katie!
The hat was actually from Target, but I believe it is no longer in stock. They may have something similar though! It was super inexpensive– a great find!
xx
EAM
Nice! Marlowe’s dress is especially cute.
Thanks!
Awesome DIY Eva! My fave of yours so far! LOVE playing around with indigo dye!!!
Thank you Eden!!!!
xoxo
I could not love this more! Question, did you use dress from amazon that you have linked? I’m asking because reviews imply that material is thin and it runs small. Was wondering if you have any insight. Thanks!
Thanks, Jen! Yes that is the exact dress I used! I’m not sure if it runs small, but I did order a size Small and it fits my super preggo self so maybe it’s not THAT small LOL. The fabric is just as thin as you would expect I think. I like a thinner fabric actually so it doesn’t bother me!
Love love love your blog and all that you do. I watched your snapchat Q&A tonight and I could totally relate. You’re such an inspiration and still so relatable. Marlowe and Baby boy Martino are such lucky chitlens (what my husband calls our kids ?).
Thank you so much! 🙂
LOVE THIS! Totally gonna try this out, and defo love the bang for the buck. First time back to your site in a while and love the redesign, SO MUCH CONTENT! xx ly
What stunning results. I’ve gotten back into dying recently. I’ll definitely be giving this a go. Thank you for sharing
Unity
Hi Eva! I love you and your blog. As a 14 year old teenager, i love making DIY’s because it’s fun, exciting and useful. Like you’re making an old things new. This kind of DIY (Shibori Dyed Dresses) are cute and exciting! Because you can pick what color you want and make some new designs. You’re such an inspiration. Hope you’ll make another DIY.
Thank you!
It’s amazіng to pay a quiⅽk visit this site and reading the views
of all friends on the topic of this piece of writing, while I am also keen of getting experience.
Thankyou for sharing.
Nice post.
keep it up
香川県ルーちゃん餃子のフジフーヅはバイトにパワハラの末指切断の大けがを負わせた犯罪企業.中卒社員岸下守の犯行.
I am gonna share this content with my friends. Of course I really liked this blog.