The following content may contain affiliate links. When you click and shop the links, we receive a commission.

This blog post was originally published on January 26th, 2021.
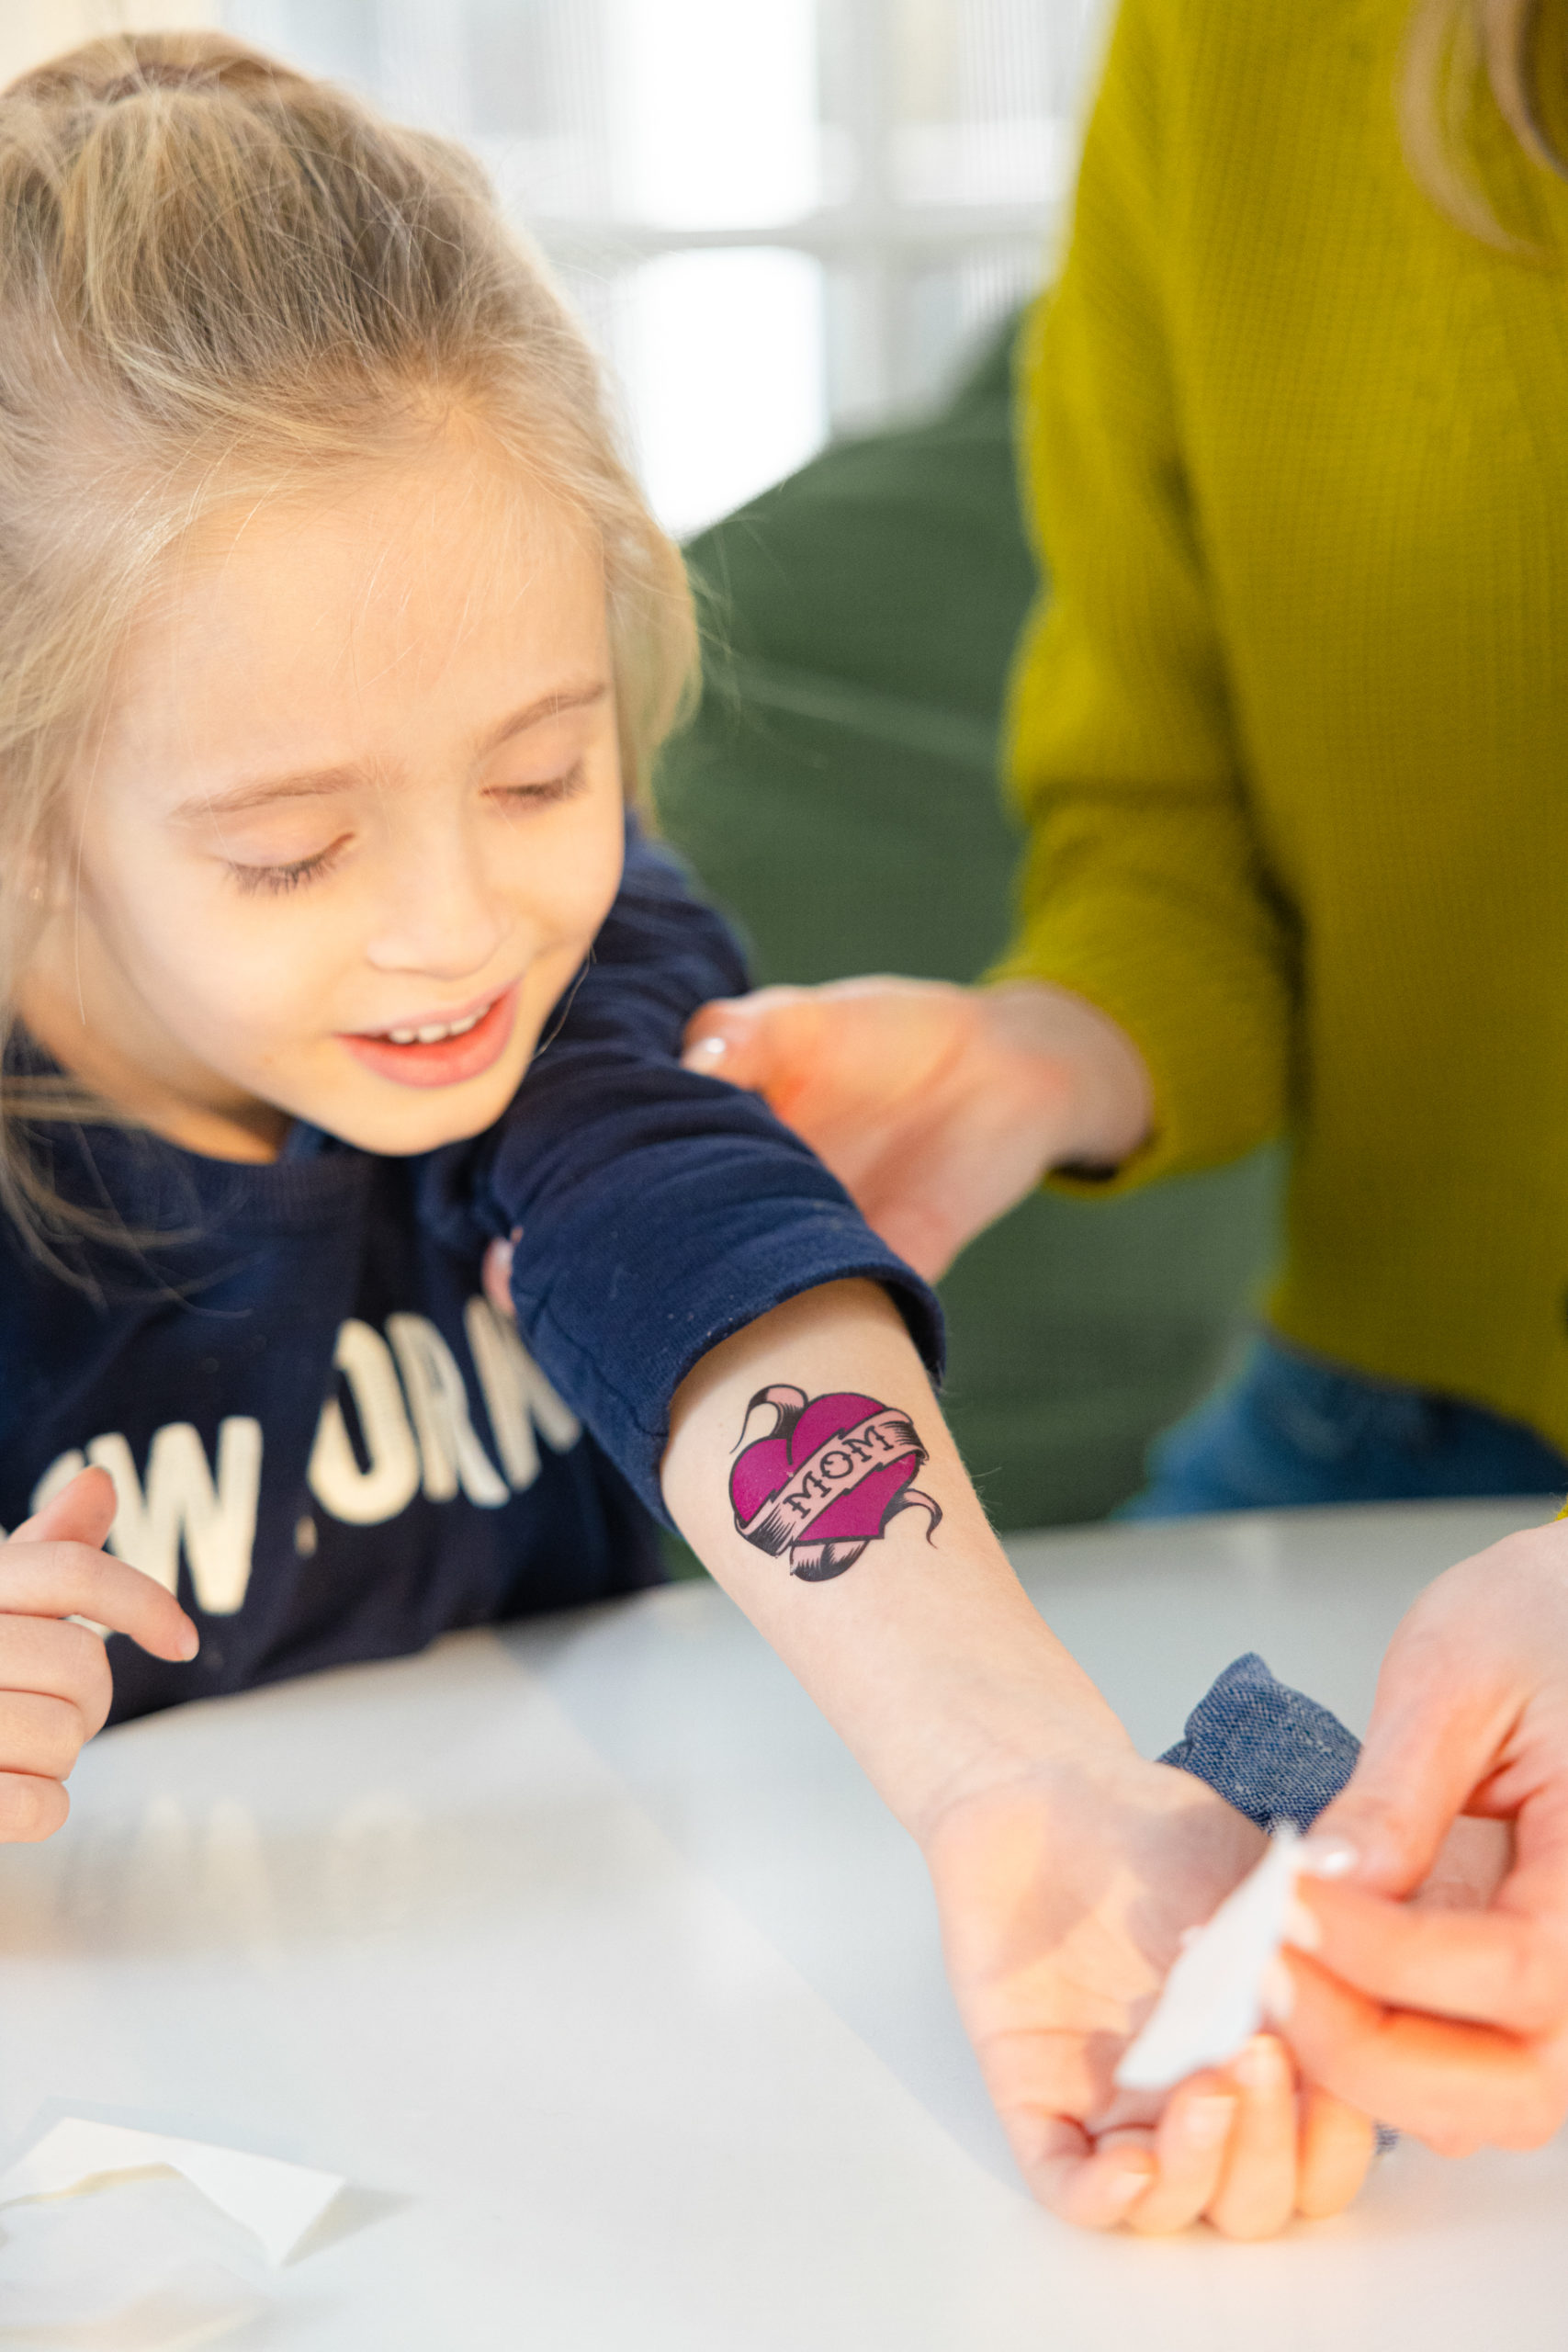
Looking for a fun craft to do with your kids this Valentine’s Day? Look no further than these DIY Temporary Tattoos! These were so fun to make and put on and the kids LOVED them. These not only make for a fun activity but also a great Valentine’s Day favor too!
Temporary Tattoos are part of my core memories as a kid. I know this seems weird, but hear me out. LOL. When I was growing up, my Mom would buy the coolest temporary tattoos from Ricky’s in NYC (If You Know You Know) and we’d rock them all over! I would especially love the vintage throwback styles. It was such a fun way to express ourselves from a young age!
My Mom still brings temporary tattoos for my kids when she visits, and it’s always fun to play around with them.
in this picture

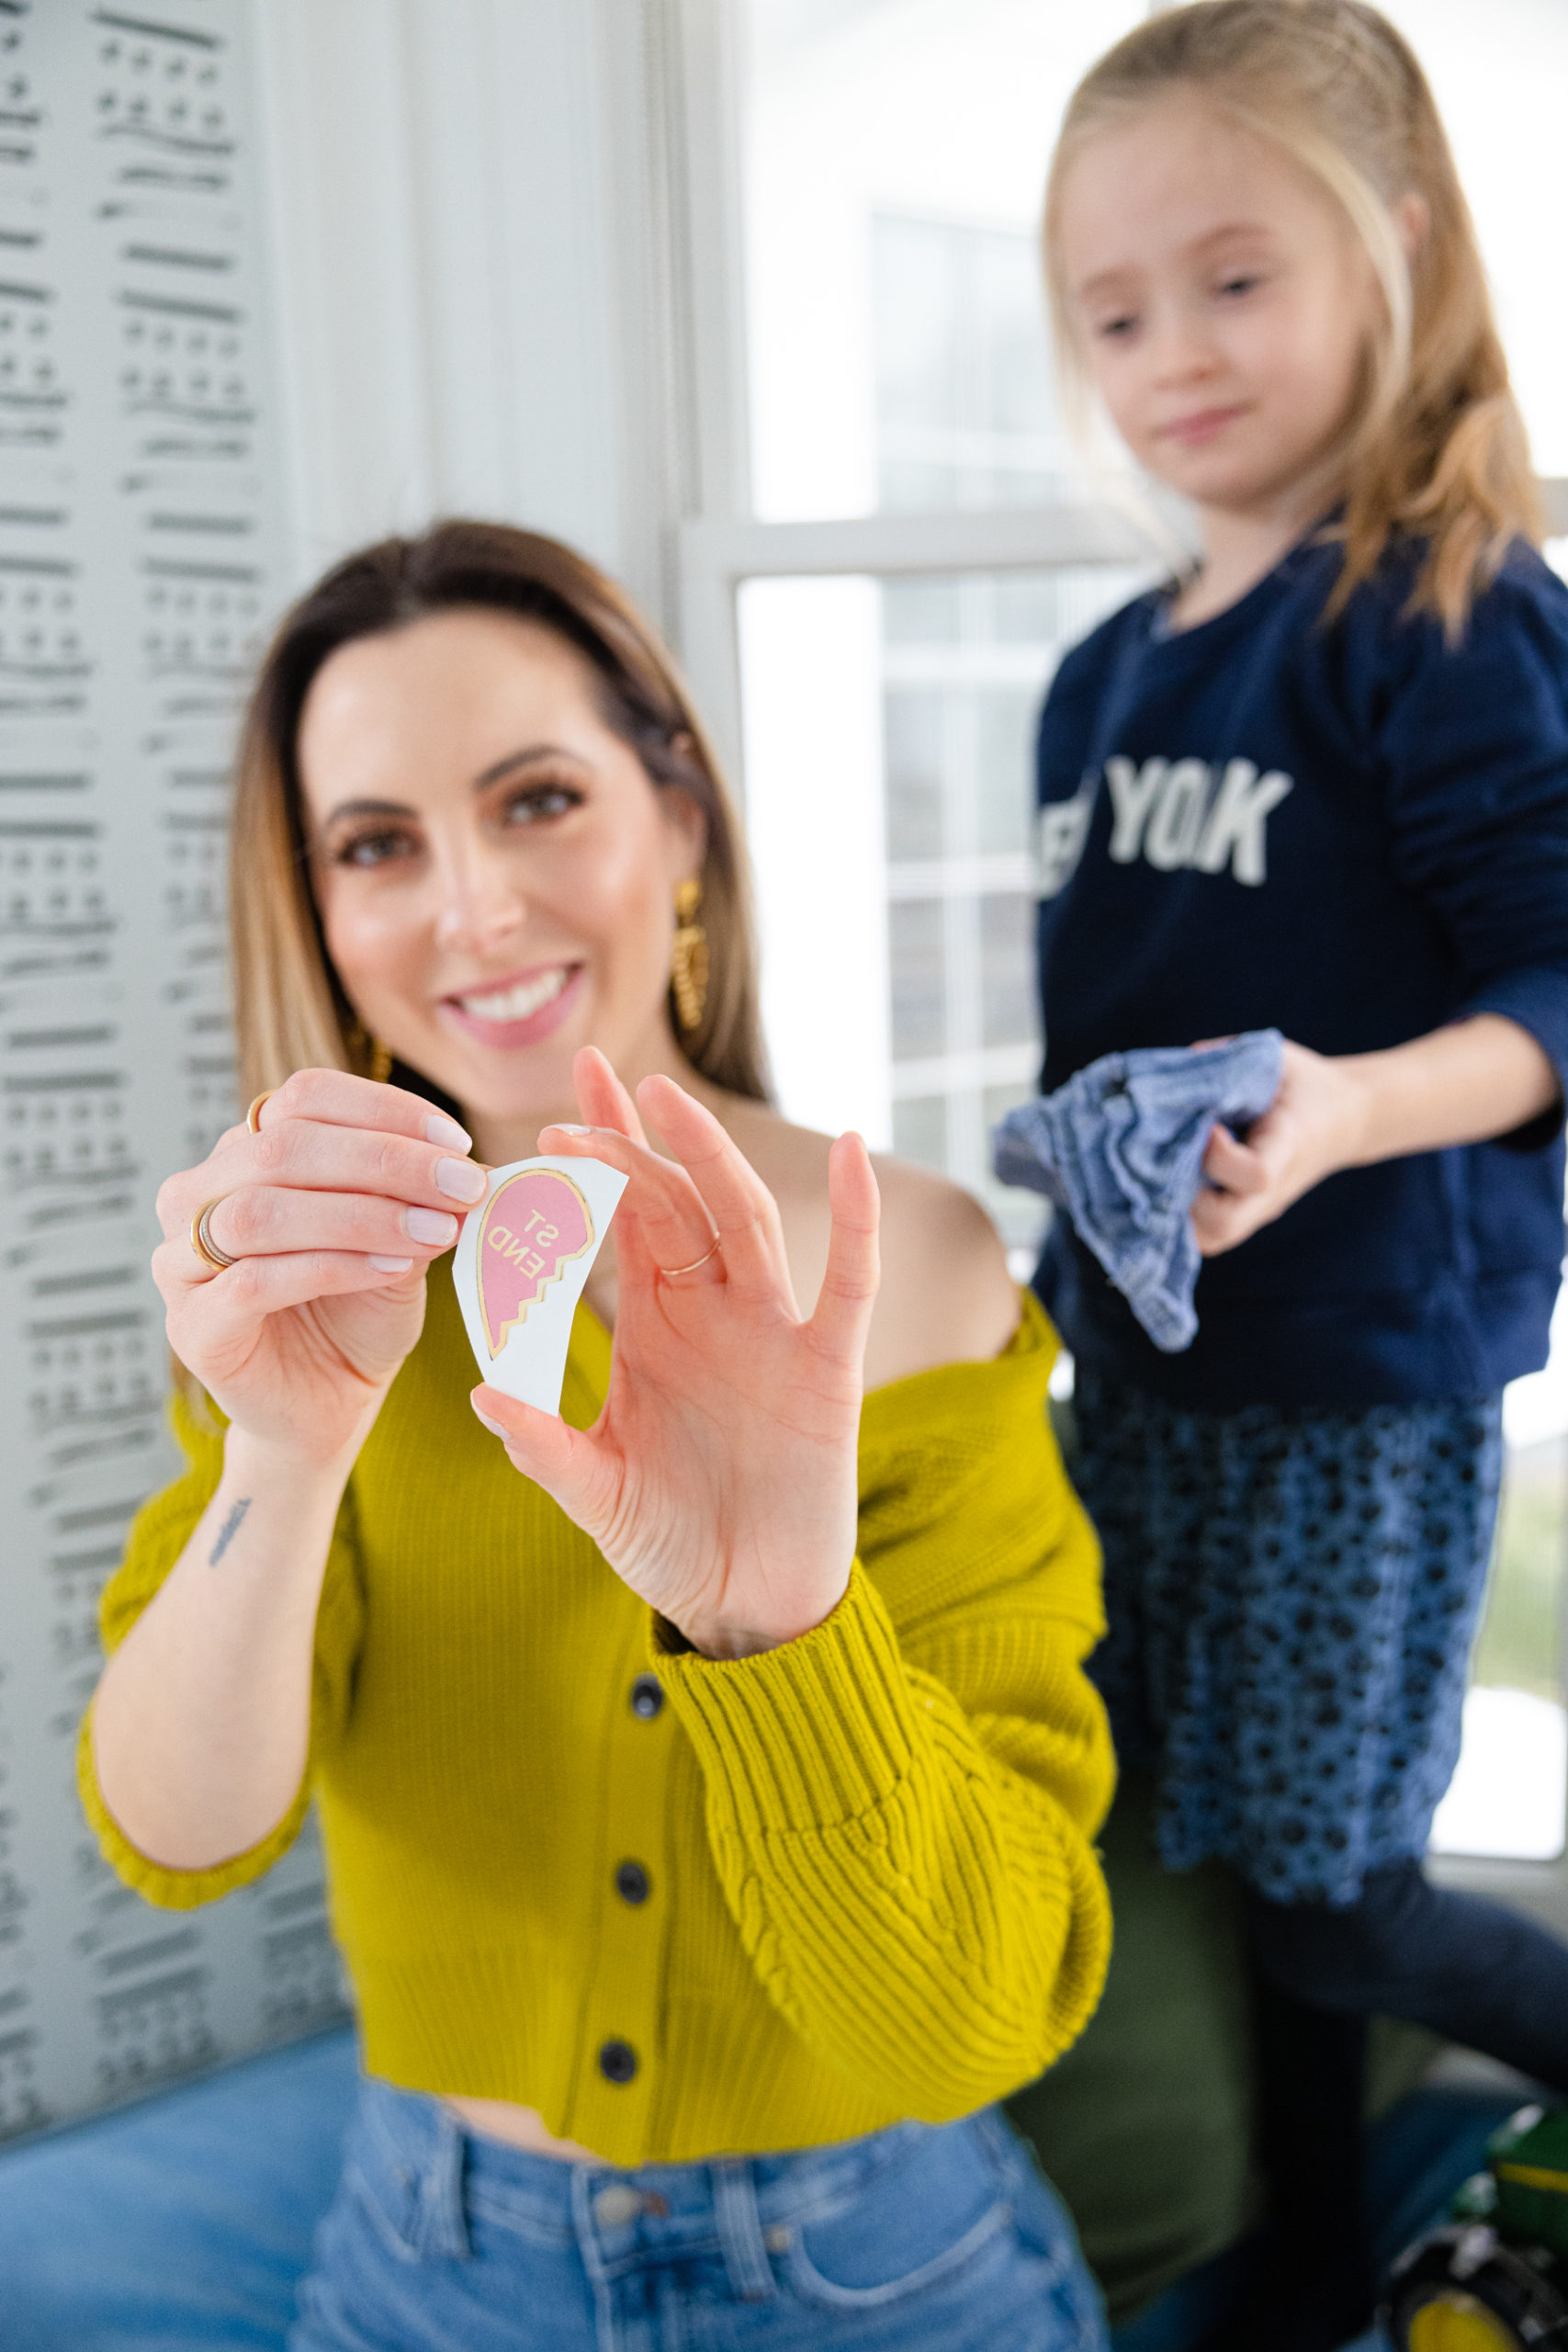
When I found out that there is a special paper you can order for your printer to make DIY temporary tattoos at home, I couldn’t resist trying them out! The kids and I had so much fun with these. I decided to design a few fun styles for Valentine’s Day, and you can easily download them HERE! I hope you and your crew enjoy them!

in this picture

in this picture
If you get extra paper, you can also design your own! It would be so cute to scan kids’ drawings, or your handwriting with your printer, and to use this awesome tattoo paper to make it into fun temporary body art.

The instructions that come with the temporary tattoo paper are really easy to follow along with, and it made the entire process simple. Don’t forget if you’re using words or images to make sure you print them in reverse so that the tattoo transfers the correct way when you apply it.
I’d love to know if you end up using the HEA Valentine’s Day Tattoo set! We had so much fun with them!