The following content may contain affiliate links. When you click and shop the links, we receive a commission.
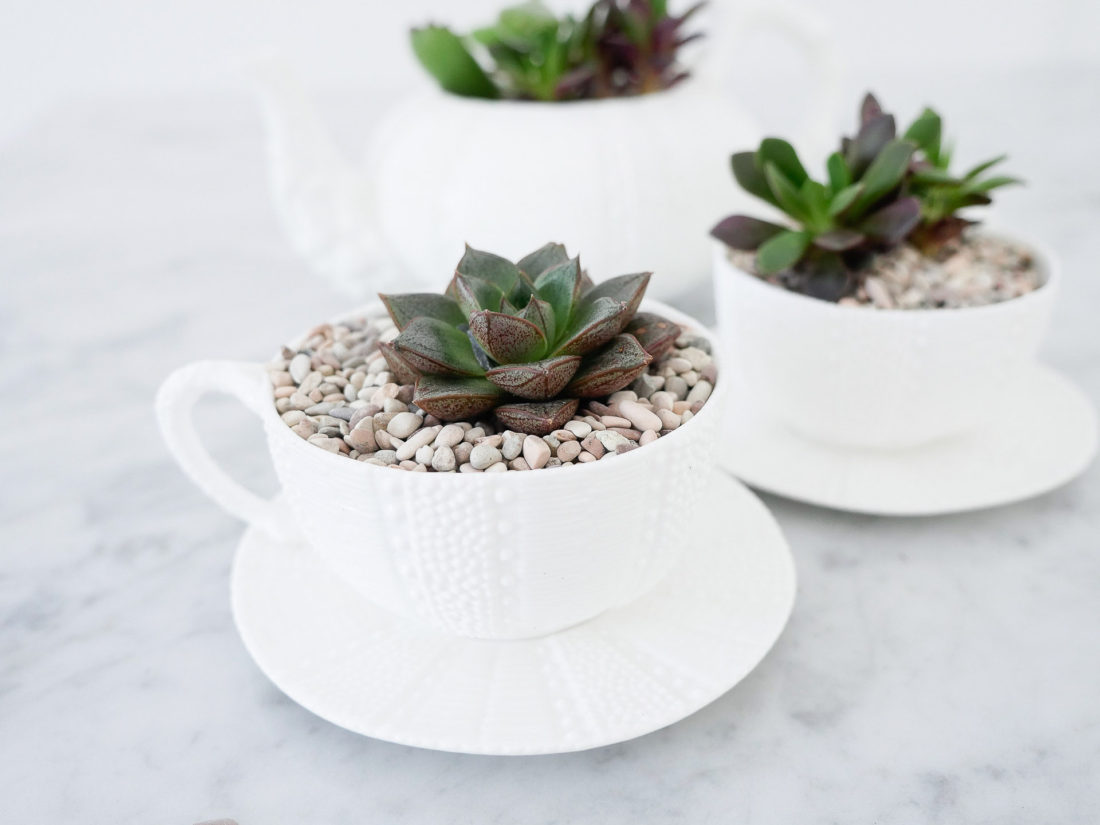
We’re in the midst of unpacking our new house, and I’ve been coming across tons of things that I had forgotten I had. Namely, things that have been shoved in to corners and boxes and forgotten about for probably the past six years. But just because we seldom use things doesn’t mean we can’t come up with another way to celebrate them. I adore this “urchin”-esque porcelain tea set– but I hardly ever use it. I’ve had it since college! I have few reasons or opportunities these days to sit down and enjoy a full tea service, so I decided to re-purpose it as a planter! This is a super easy DIY trick, and one that can work with any pretty teapot, teacup, or tea set. They even make excellent gifts, favors, or coffee table decor. Today I’m sharing how to make these DIY Teacup Planters to give a little life to your forgotten tea sets.
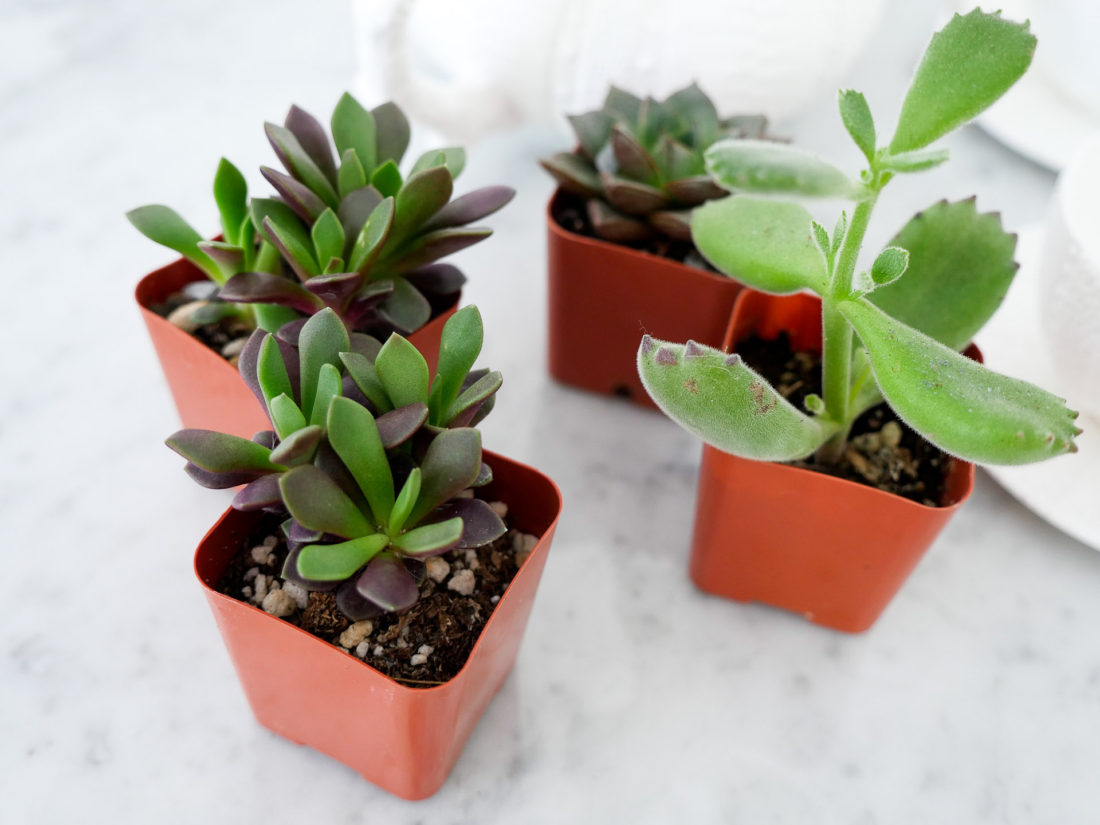
I decided to use succulents in my planters since Fall is upon us and these low-maintenance plants are great for our indoor windowsills and tables. It’s almost impossible to kill them– SCORE! Seeing as in a few weeks I’m going to have two kids I’m trying to keep alive, I figured I can use all the help I can get when it comes to my indoor plants. I also think succulents are super chic and have such a laid back elegance to them. I love the simplicity of a succulent juxtaposed with the prettiness of a girly tea set. You can also use other types of plants in these planters! Just make sure that they don’t require full sun to thrive if you plan on keeping them inside.
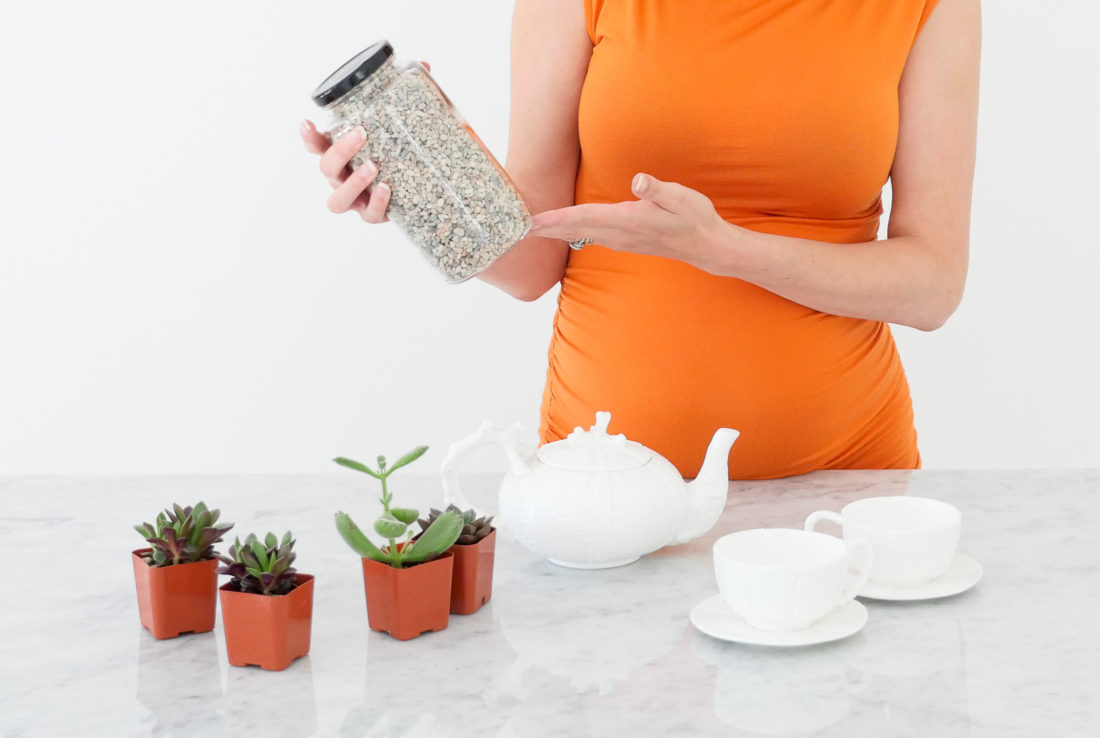
Materials…
- Pretty Tea Cup, or Tea Pot…or both!
- Small plant, still in its soil
- Small rocks or pebbles
- Styrofoam packing peanuts (optional)
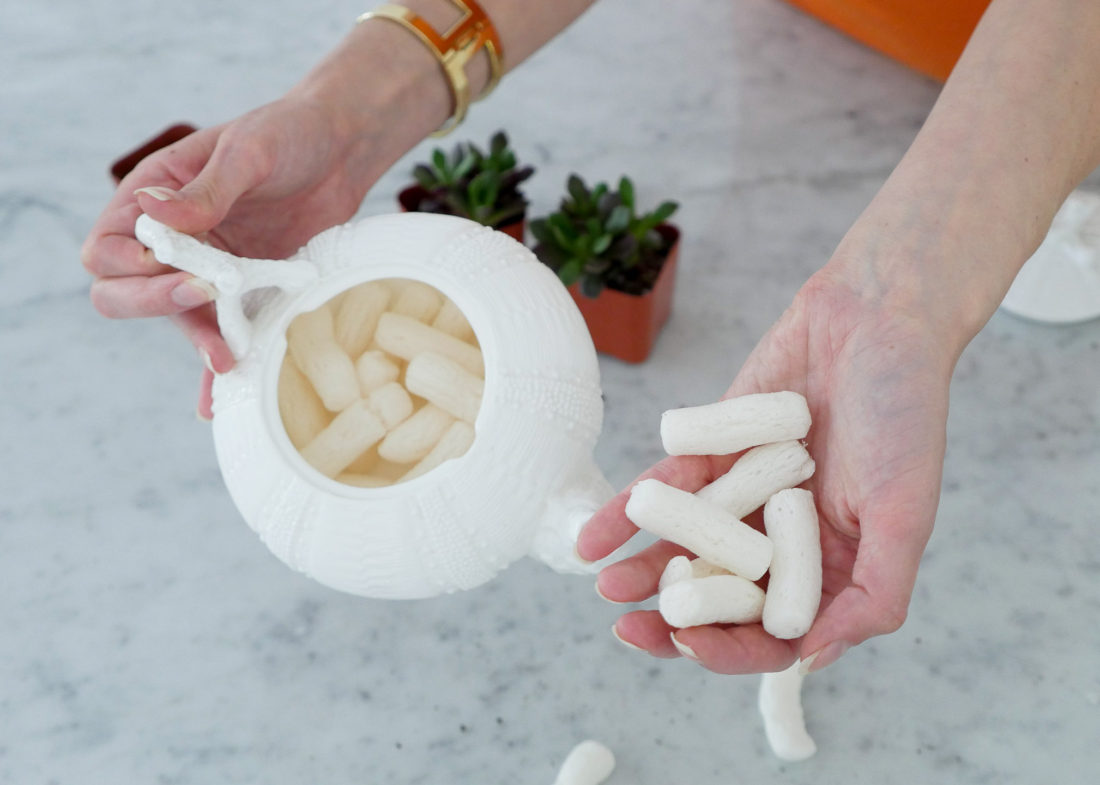
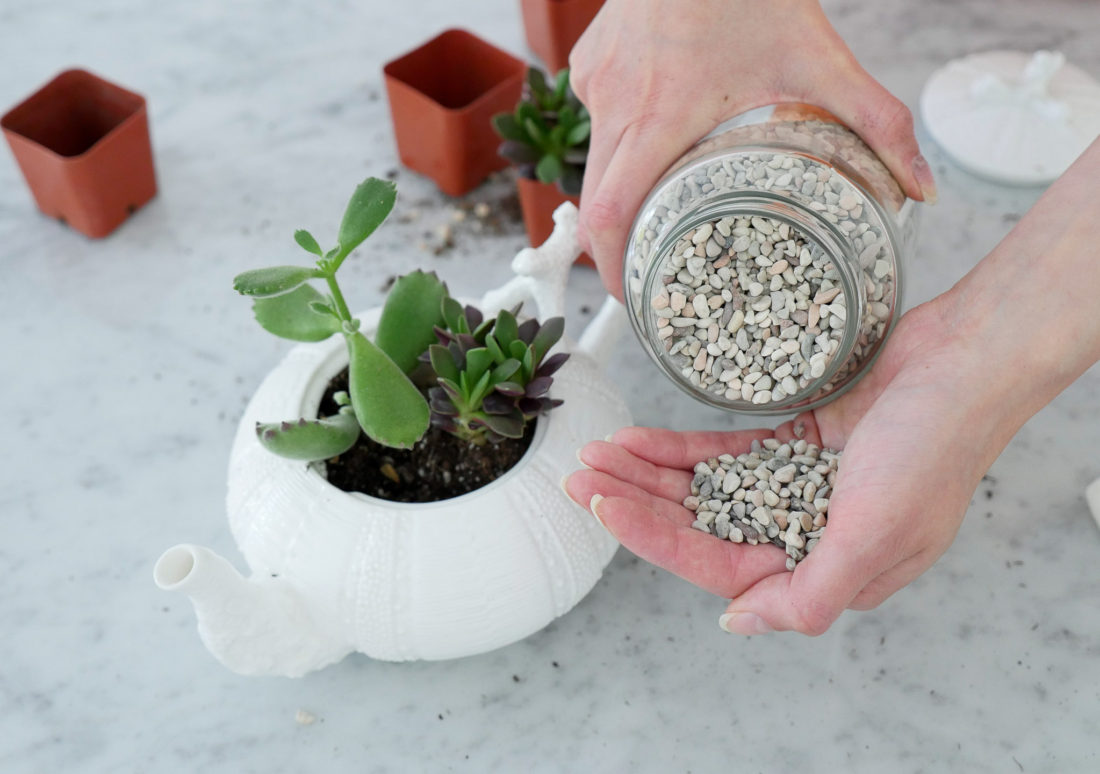
Begin by carefully separating your plant from its pot. Be very gentle so you don’t tear it away from its roots! Now, place the plant in the tea cup or tea pot. If your vessel is too deep, or has a lot of room around the plant, you may fill in the space with bigger rocks, or even styrofoam. If you’re using styrofoam, BE SURE that it isn’t the biodegradable kind. Some styrofoam disintegrates when it comes in to contact with moisture, so this won’t work for your planter! Now fill with your tiny rocks or pebbles so that it fills in around your plant and on top of the soil in a thin layer. Follow the watering directions that came with your plant. For succulents, water only when the soil is dry! I put an ice cube or two on the surface of my planter to water these tiny guys.
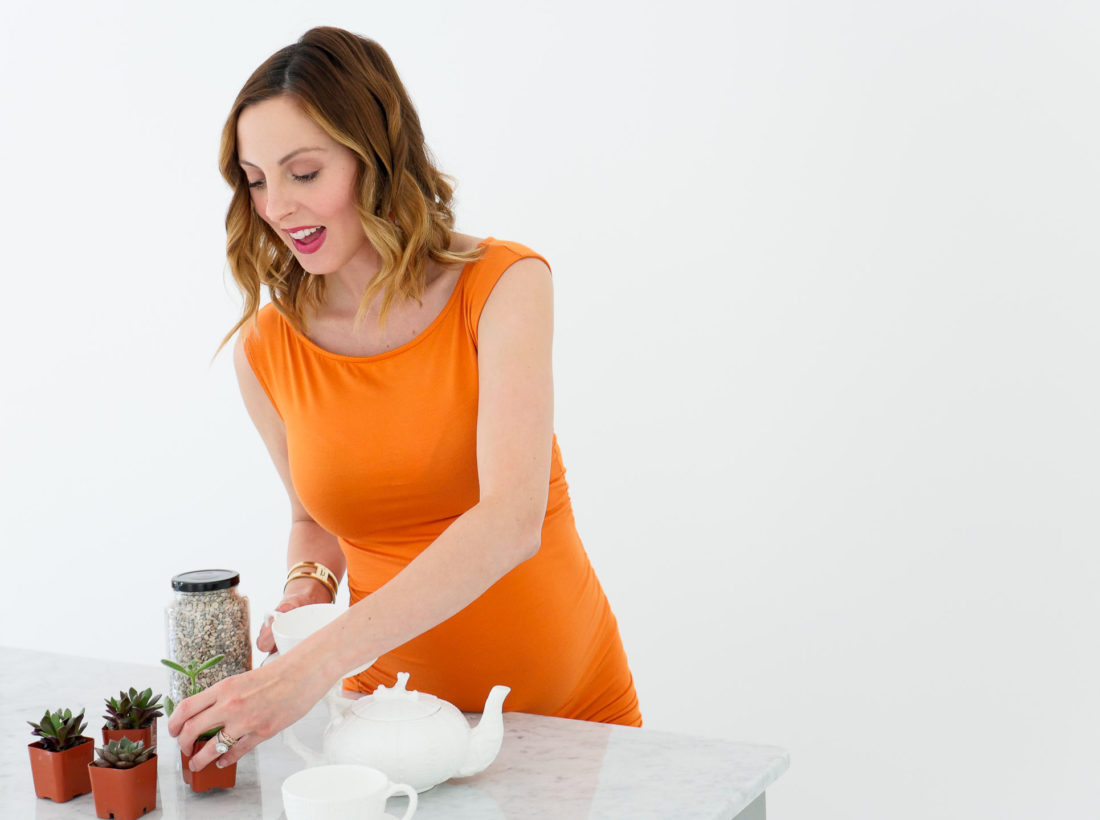
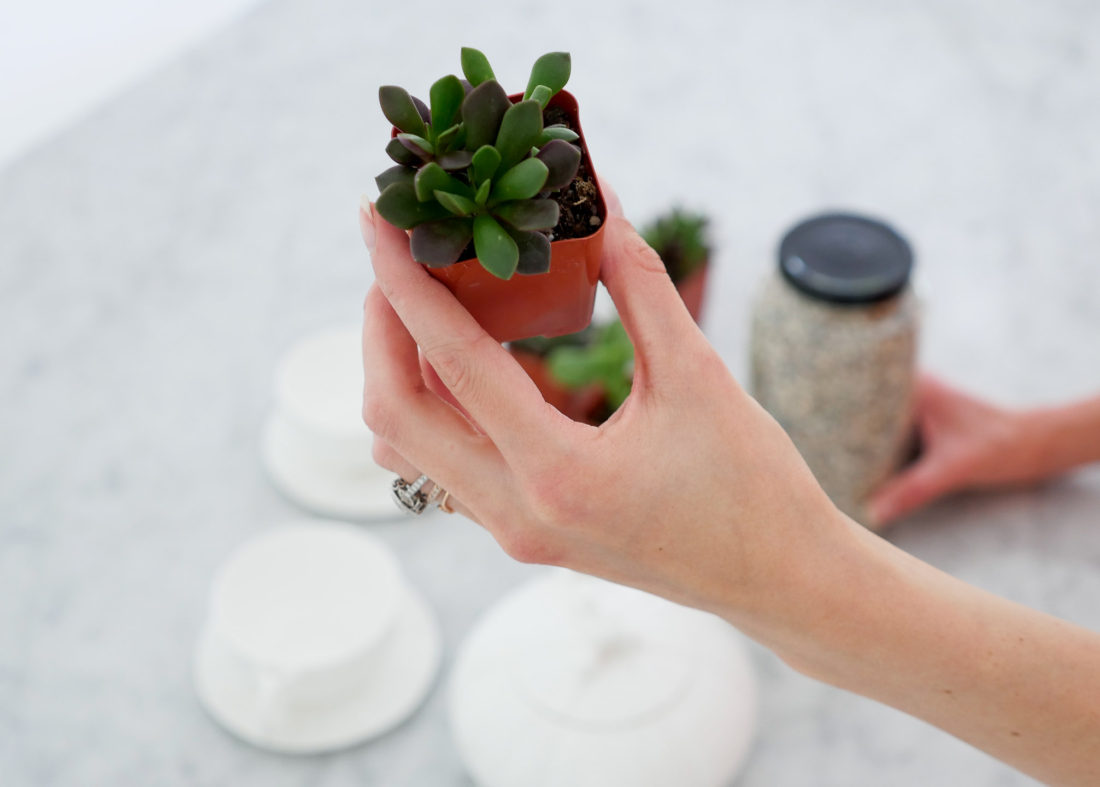
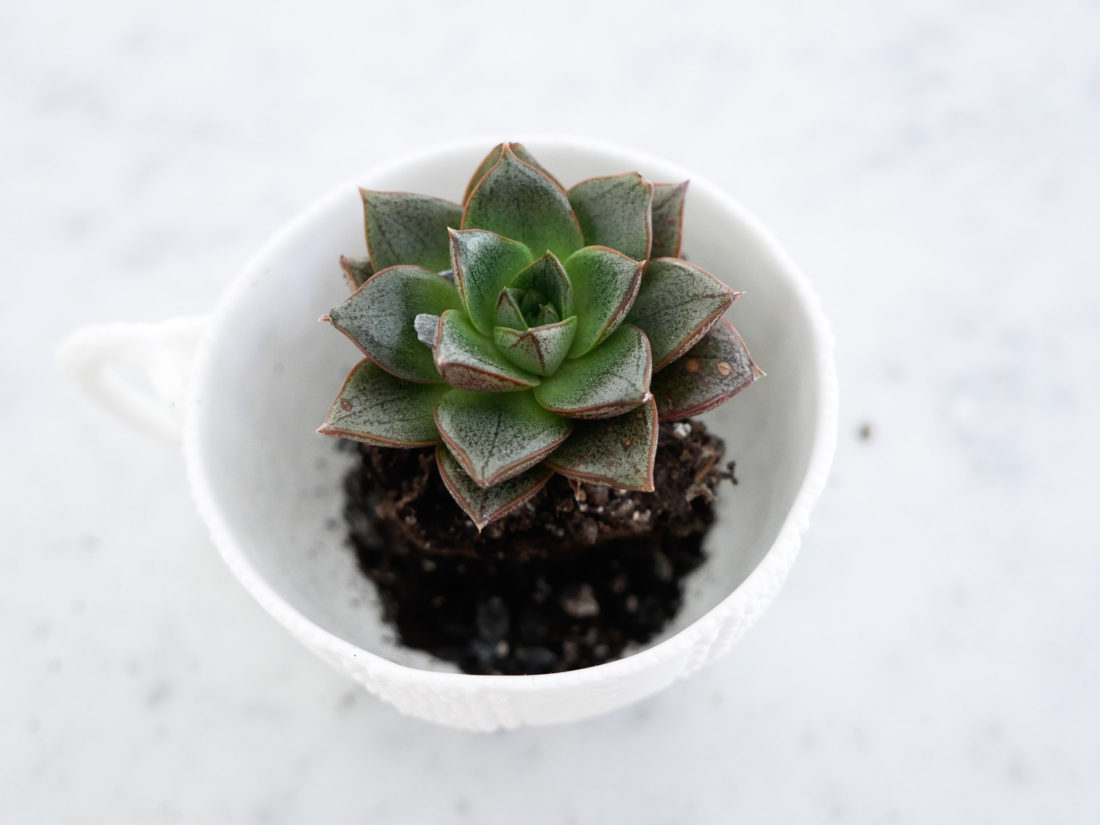
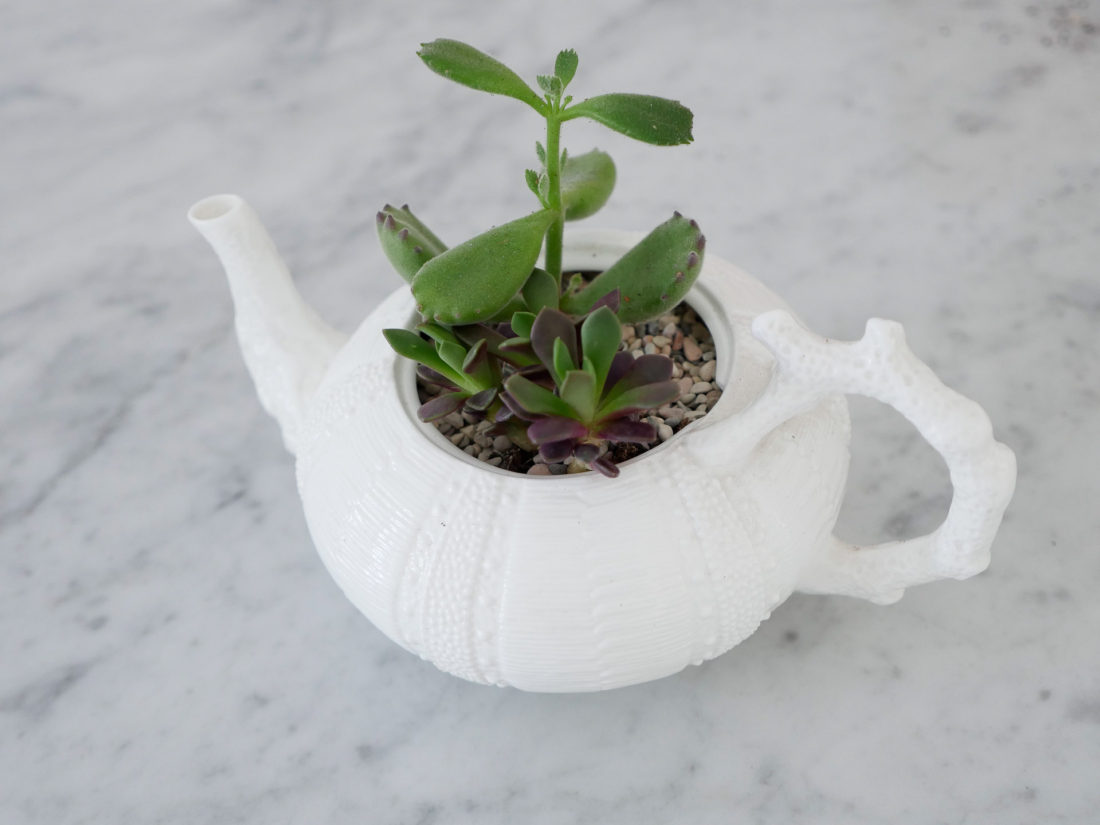
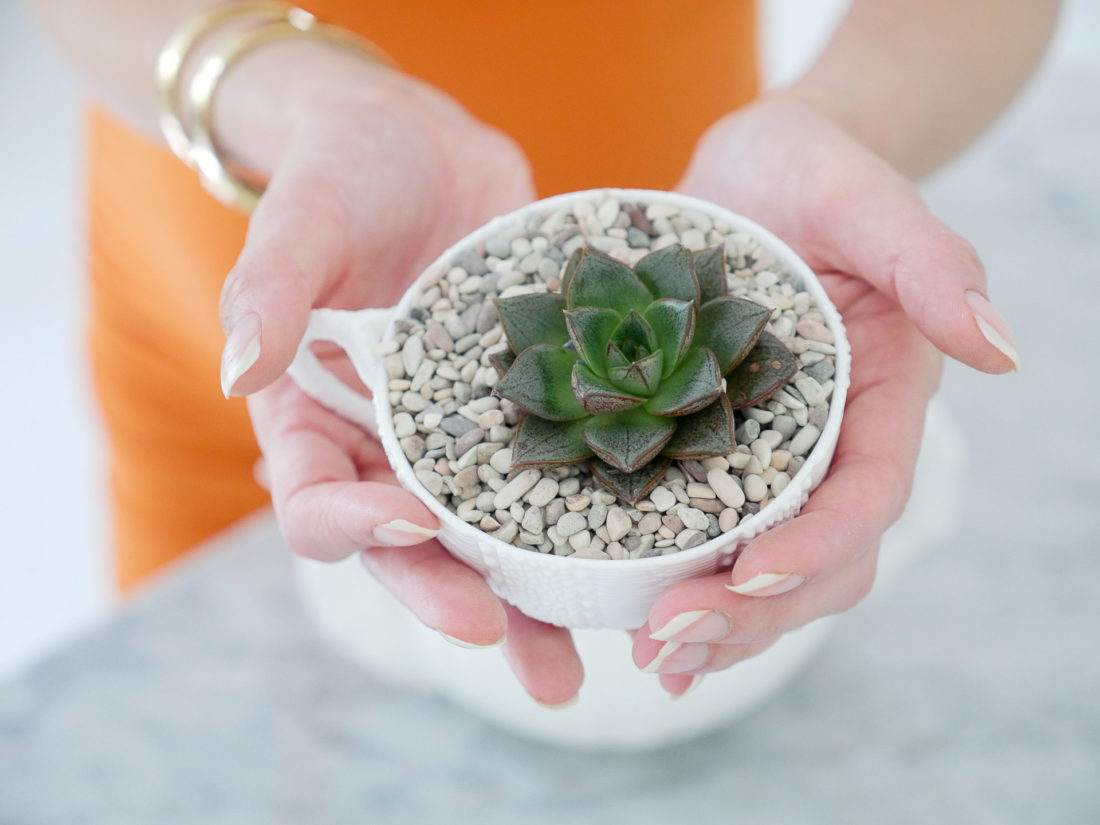
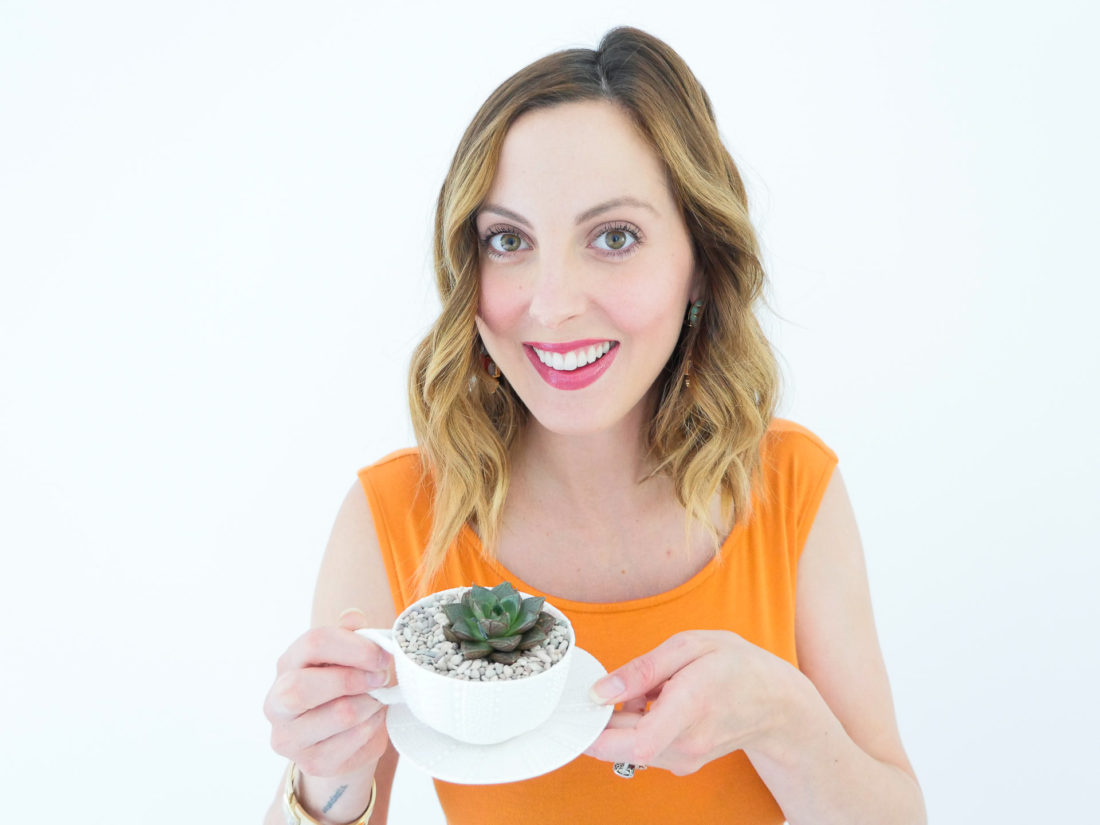
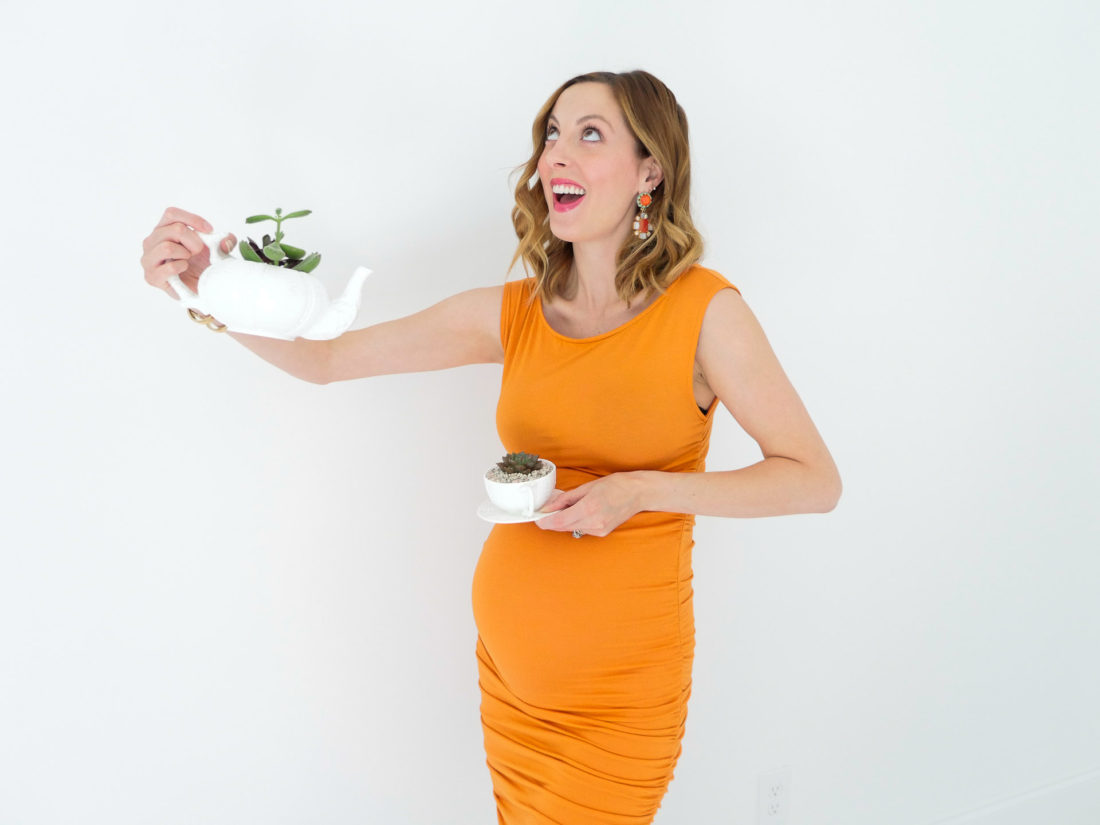
Tea anyone? This fun DIY literally took me ten minutes once I had all the materials together– such an easy decor refresh! These charming tea cups already have a place of honor on my desk as a nice little pick-me-up in the mornings. Don’t have any pretty Tea Sets on hand? Check out the ones I found below!
Charming Tea Sets…
[show_shopthepost_widget id=”4921211″]
What a great idea! I have a collection of beautiful china cups with flowers painted on them from my grandma. I am too afraid they’ll get broken to use them, but always want to display them. I may try this adorable idea. Thanks, Eva!
Yay!! I can’t wait to hear how they turn out! It really is a great way to repurpose pretty (but seldom used) china!
xo
EAM
I know. I know. I’m just reading it. I am so not a DIY crafty person, but I have this teapot I painted a few years ago. It’s not a work of art by any stretch of the imagination, but I like the beachy them I painted on it.
Oh yeah, I don’t drink tea. Ever.
Making it a planter with a low maintenance succulent is genius! Now I can display something I made instead of having it sit in the cupboard collecting dust.
Oh my gosh, I’m actually really excited about this! Who would’ve thought?!
Hi Pam! So glad that this sparked your imagination and excitement! It takes no time at all, too, which is kind of the best part.
Happy crafting!
xo
EAM
Uhmmmm, this DIY TEACUP PLANTERS is legit & something i would spend all day doing. Beautiful, creative idea!! Btw, not only is Lowie stunning but, that lil girls intelligence is sky high.