The following content may contain affiliate links. When you click and shop the links, we receive a commission.
This blog post was originally published on June 10th, 2020.
Father’s Day is less than two weeks away and it certainly slipped up on me this year! Are you looking for a DIY gift for Dad this year to do with the kids? These adorable portrait keychains are a hit and so fun to put together with only 6 materials. Happy Crafting and Happy Father’s Day!!
I think both Mother’s Day and Father’s Day are such a great time to hand-make some gifts for parents, from kids. There’s something so special about receiving something that your child really did have a hand in creating for you. I like to suggest offering some other kind of gift *in addition* (LOL) but Father’s Day wouldn’t feel like Father’s Day without a cute craft! This year, I decided to make these cute DIY portrait keychains with the kids for Kyle.
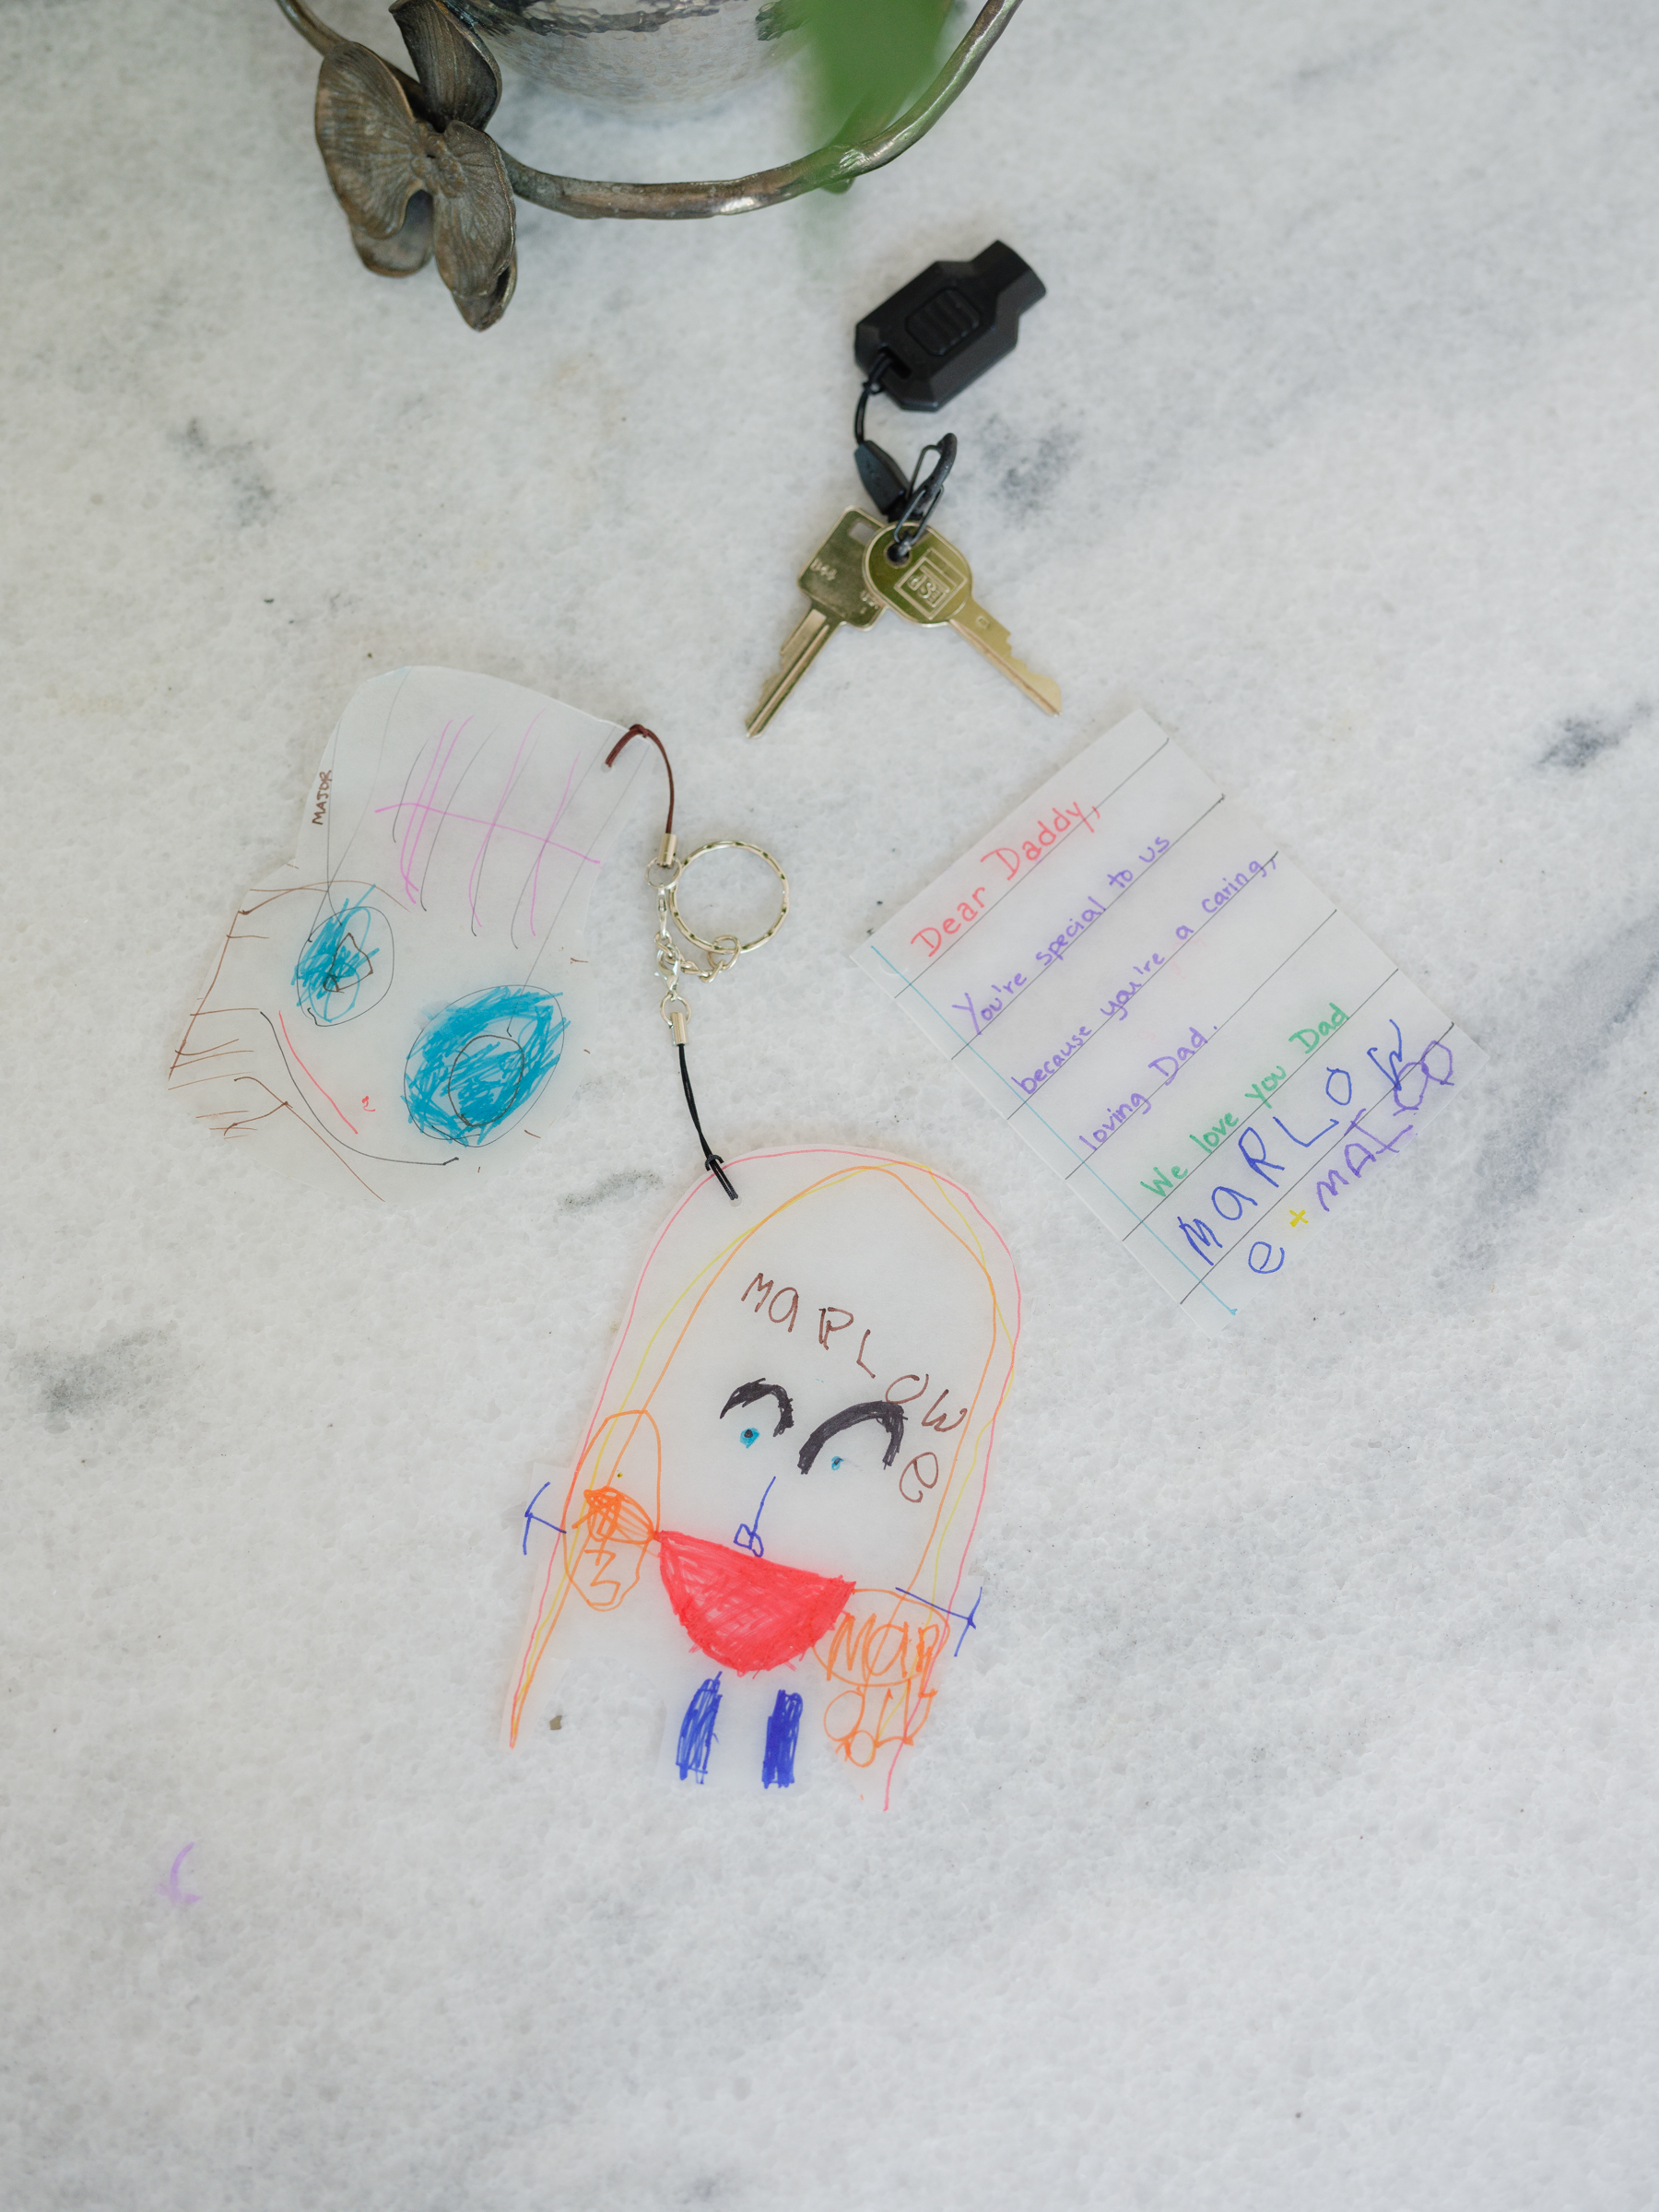
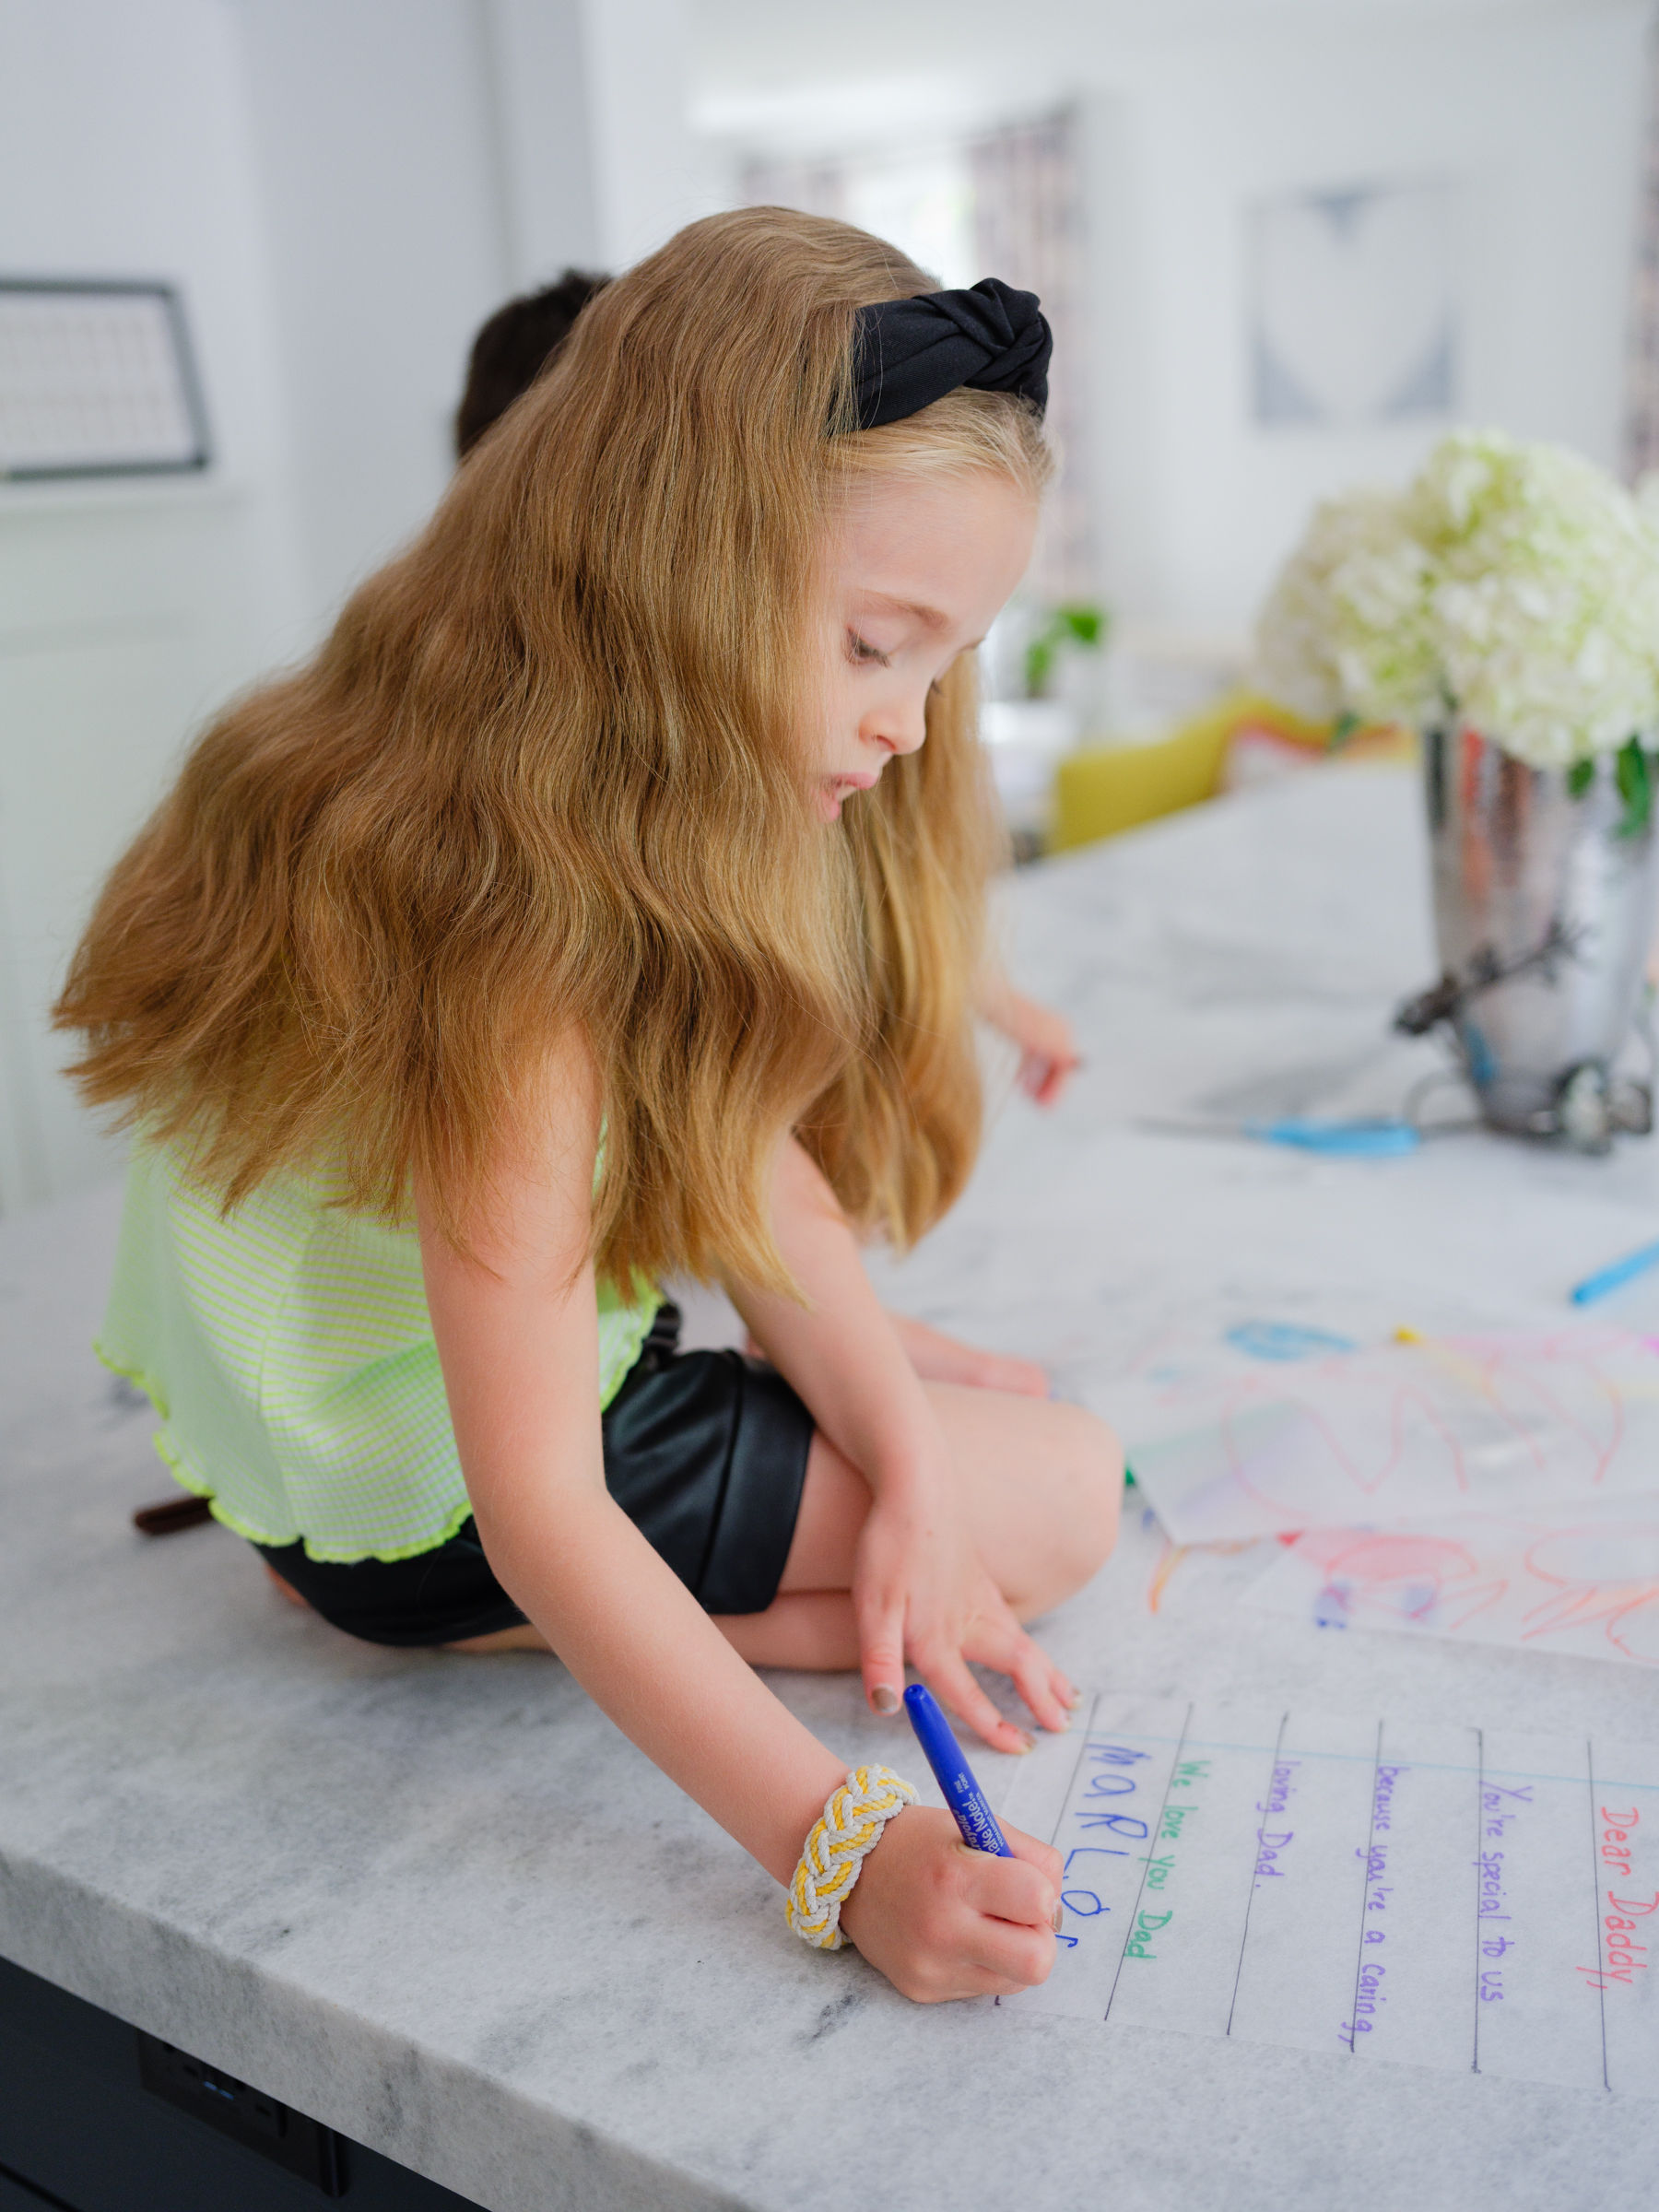
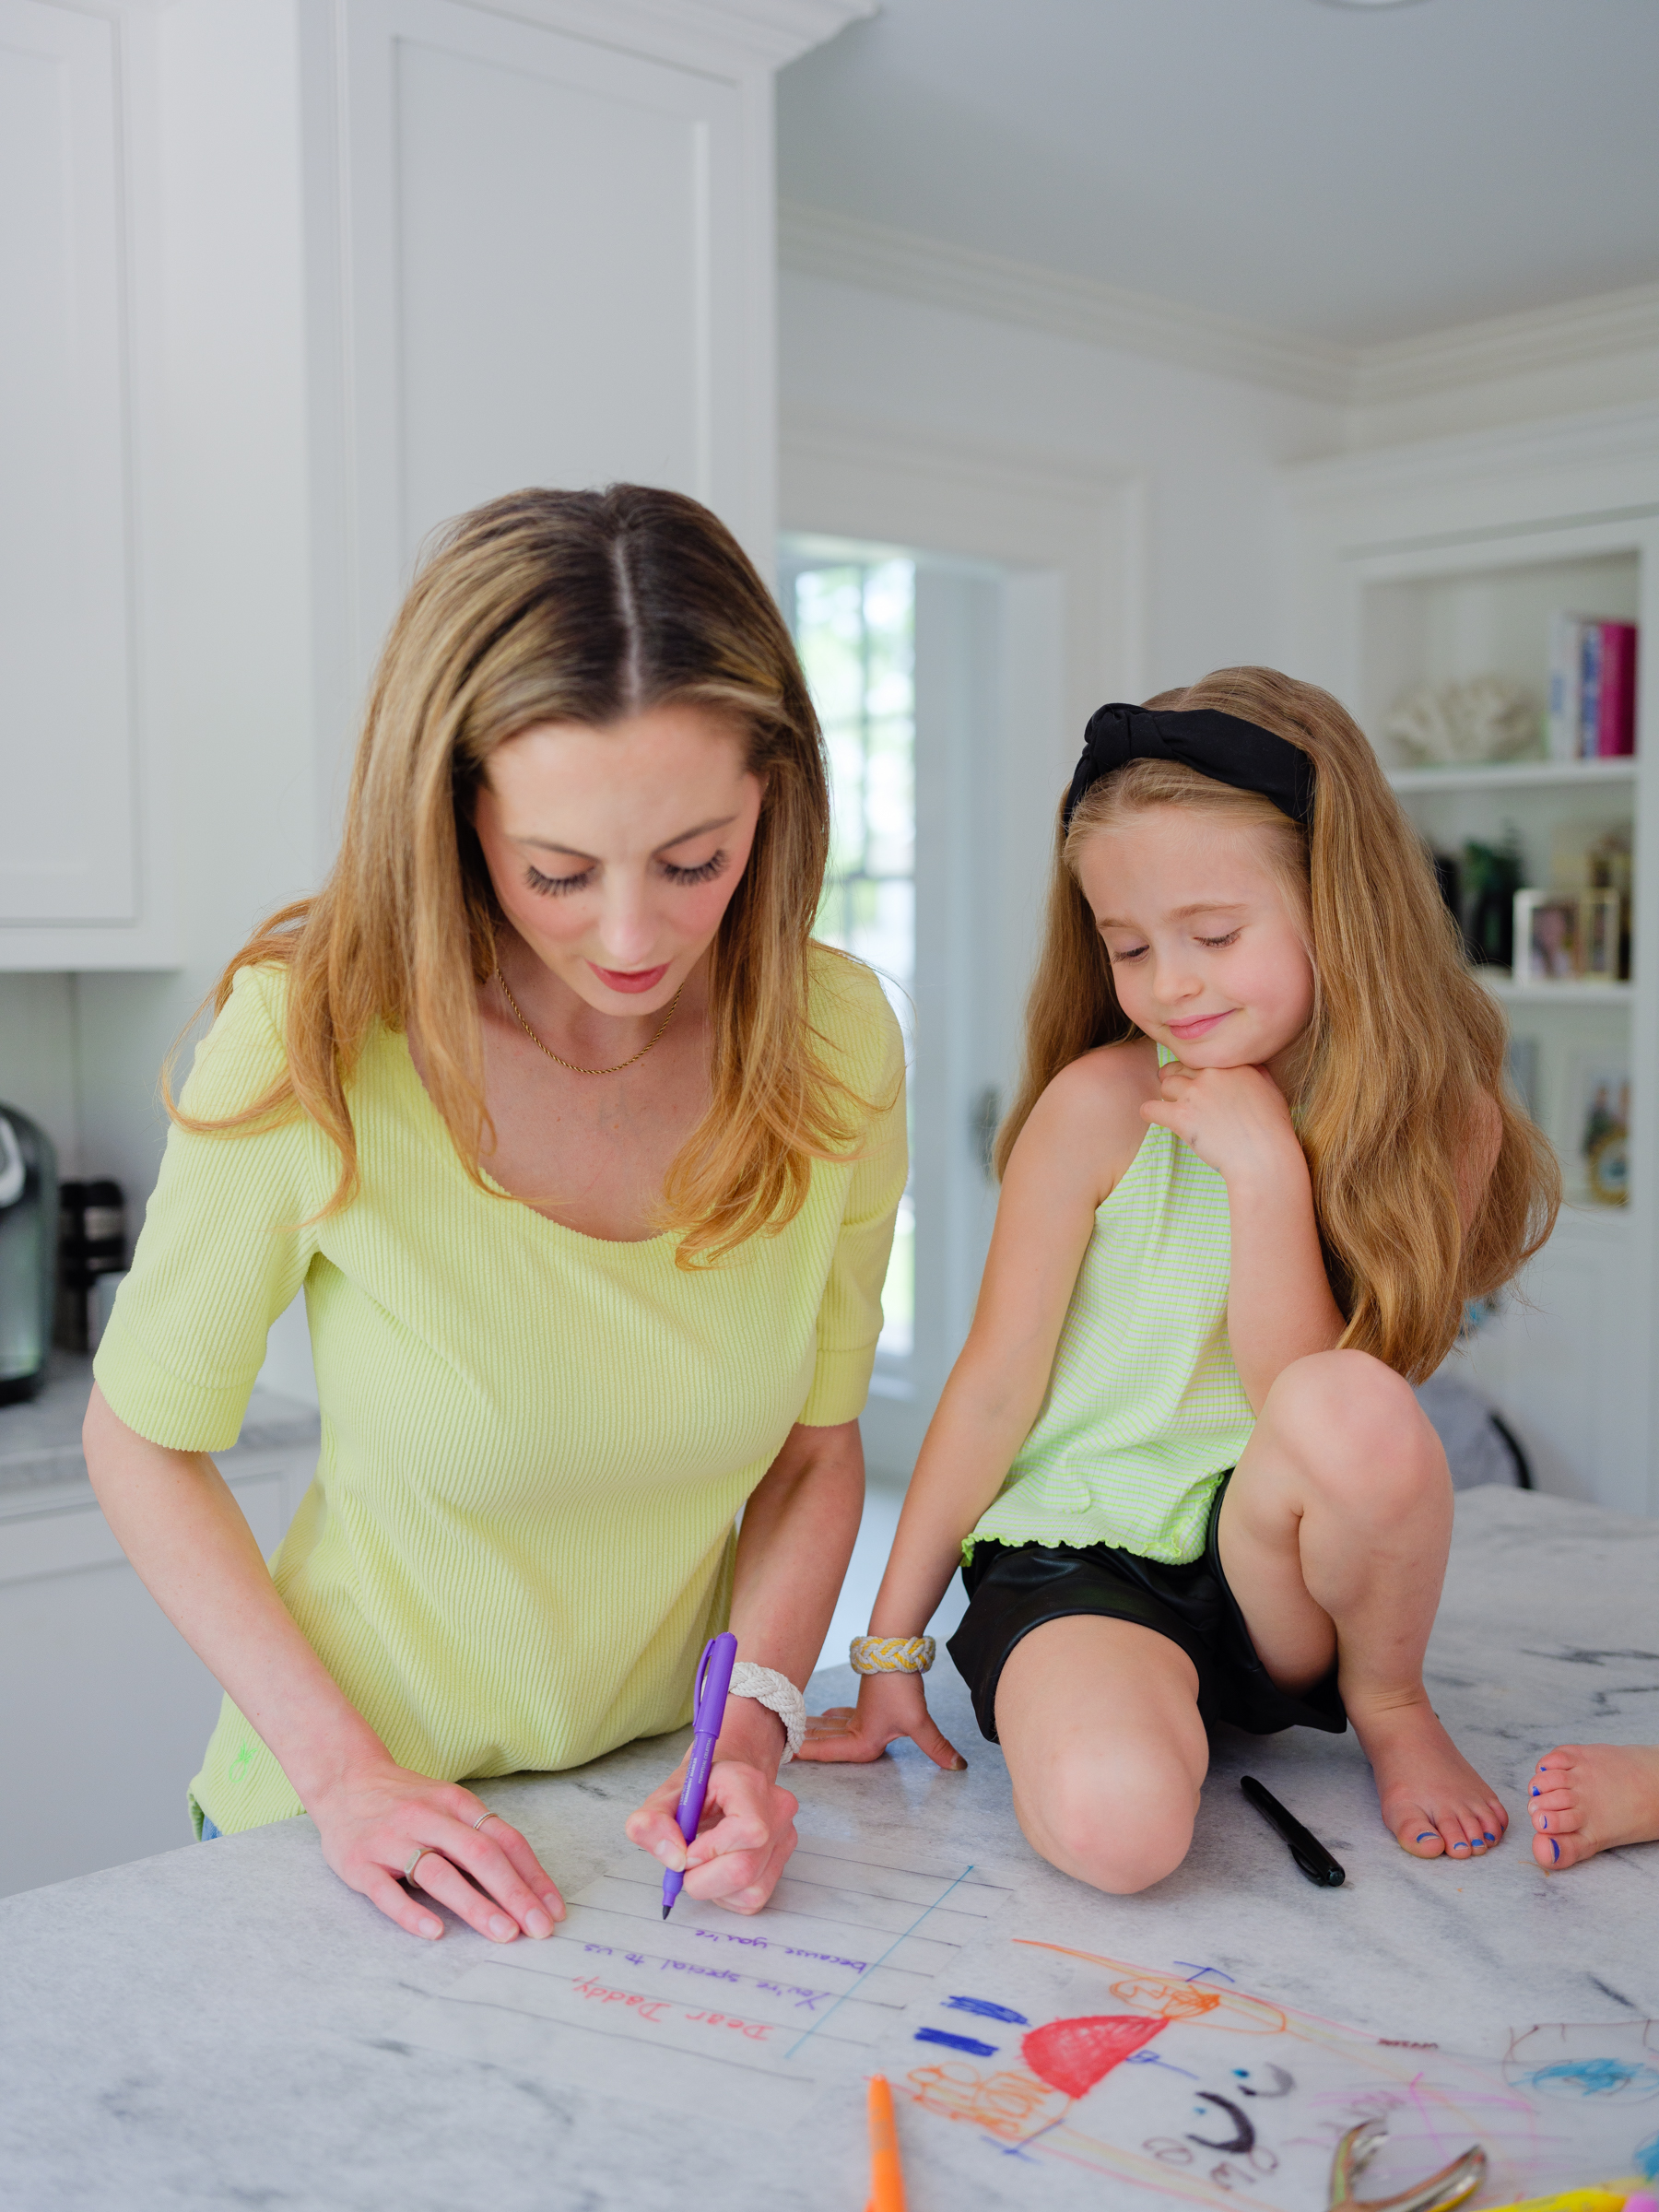
Kyle recently moved into a new house in the city, and I thought a keychain would be a useful gift that had some sentimentality. I love using shrinky dink paper for crafts since it really does shrink down into the cutest size and preserve drawings, shapes, and letters in miniature. For this project, I had the kids draw portraits of Kyle and sign their names. Then we made them into a keychain! My kids wanted to draw big portraits, but you could also make the drawing space a bit smaller if you want the keychain to fit in dad’s pocket. We also made a “Letter To Dad” for Kyle to keep on his desk or in his glove compartment. It’s always so sweet to hear the message that the kids want to write for him. I hope he loves this gift as much as the kids loved making it! I’m linking the exact kit I used to make this because it was awesome and had all the keychain supplies too!
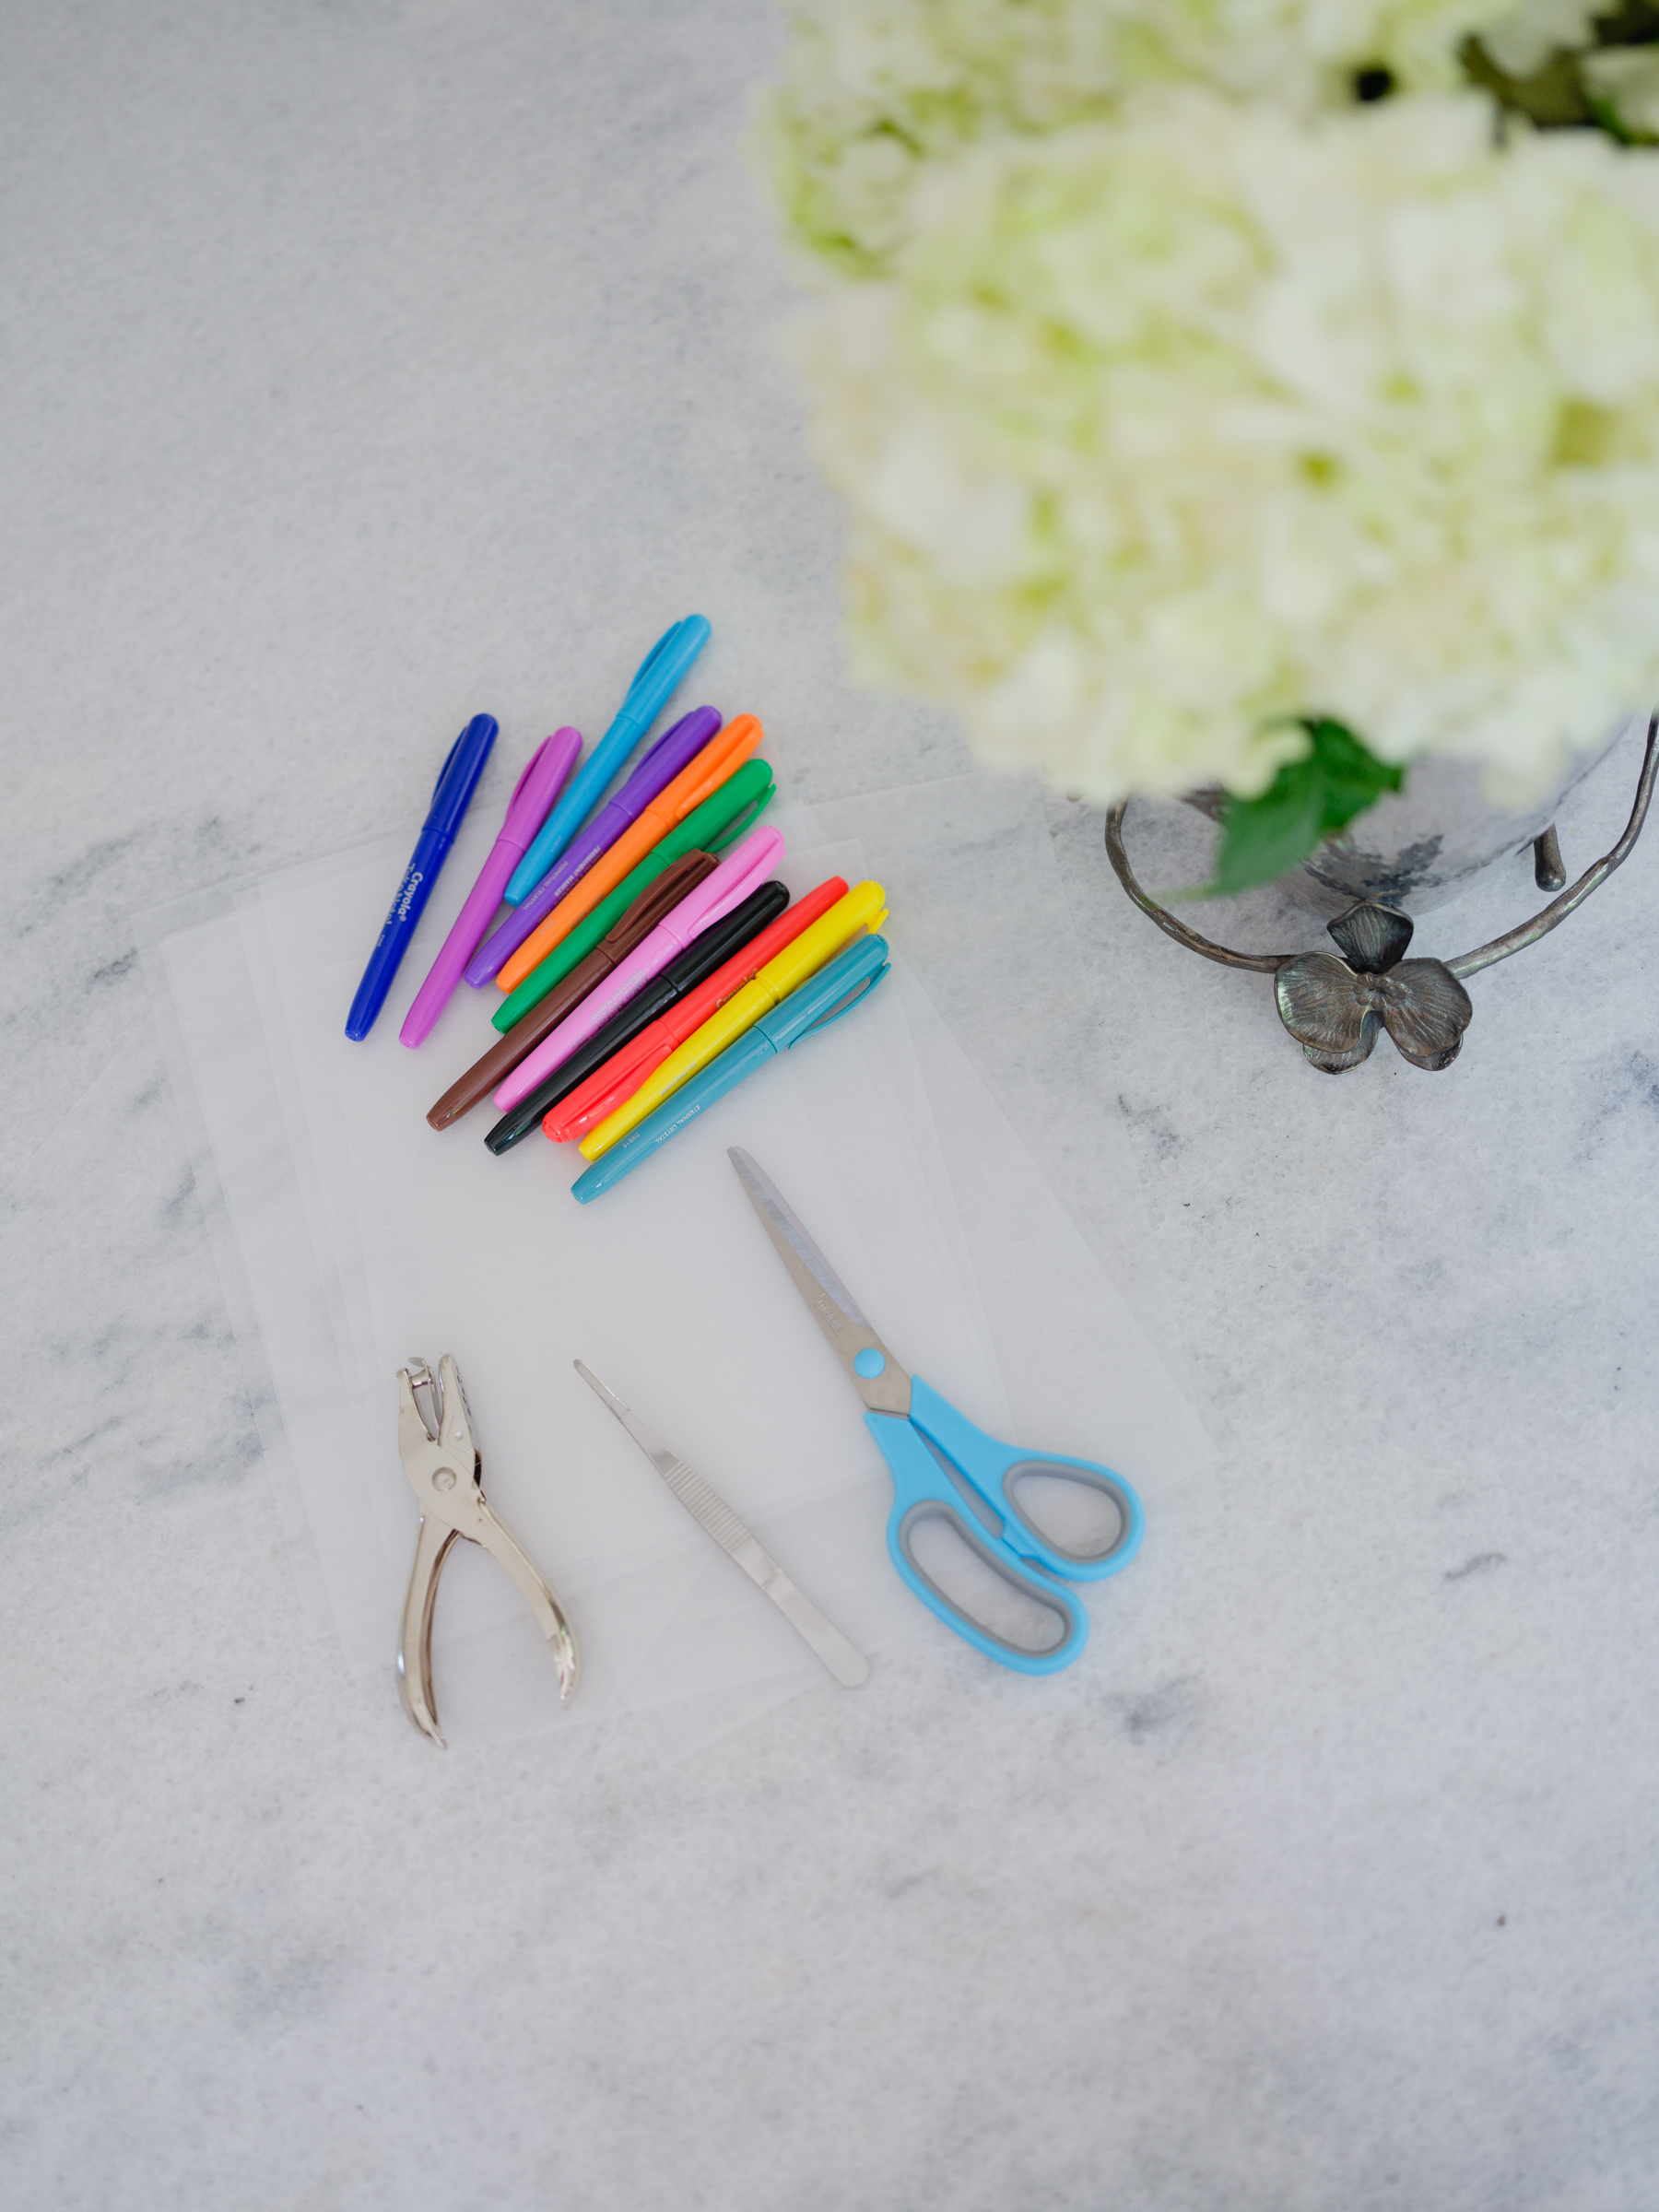
Materials:
- 1 Shrinky Dink Kit
- Colorful Permanent Markers
- Scissors
- Hole punch (Included in the above kit)
- Baking Sheet
- Parchment Paper
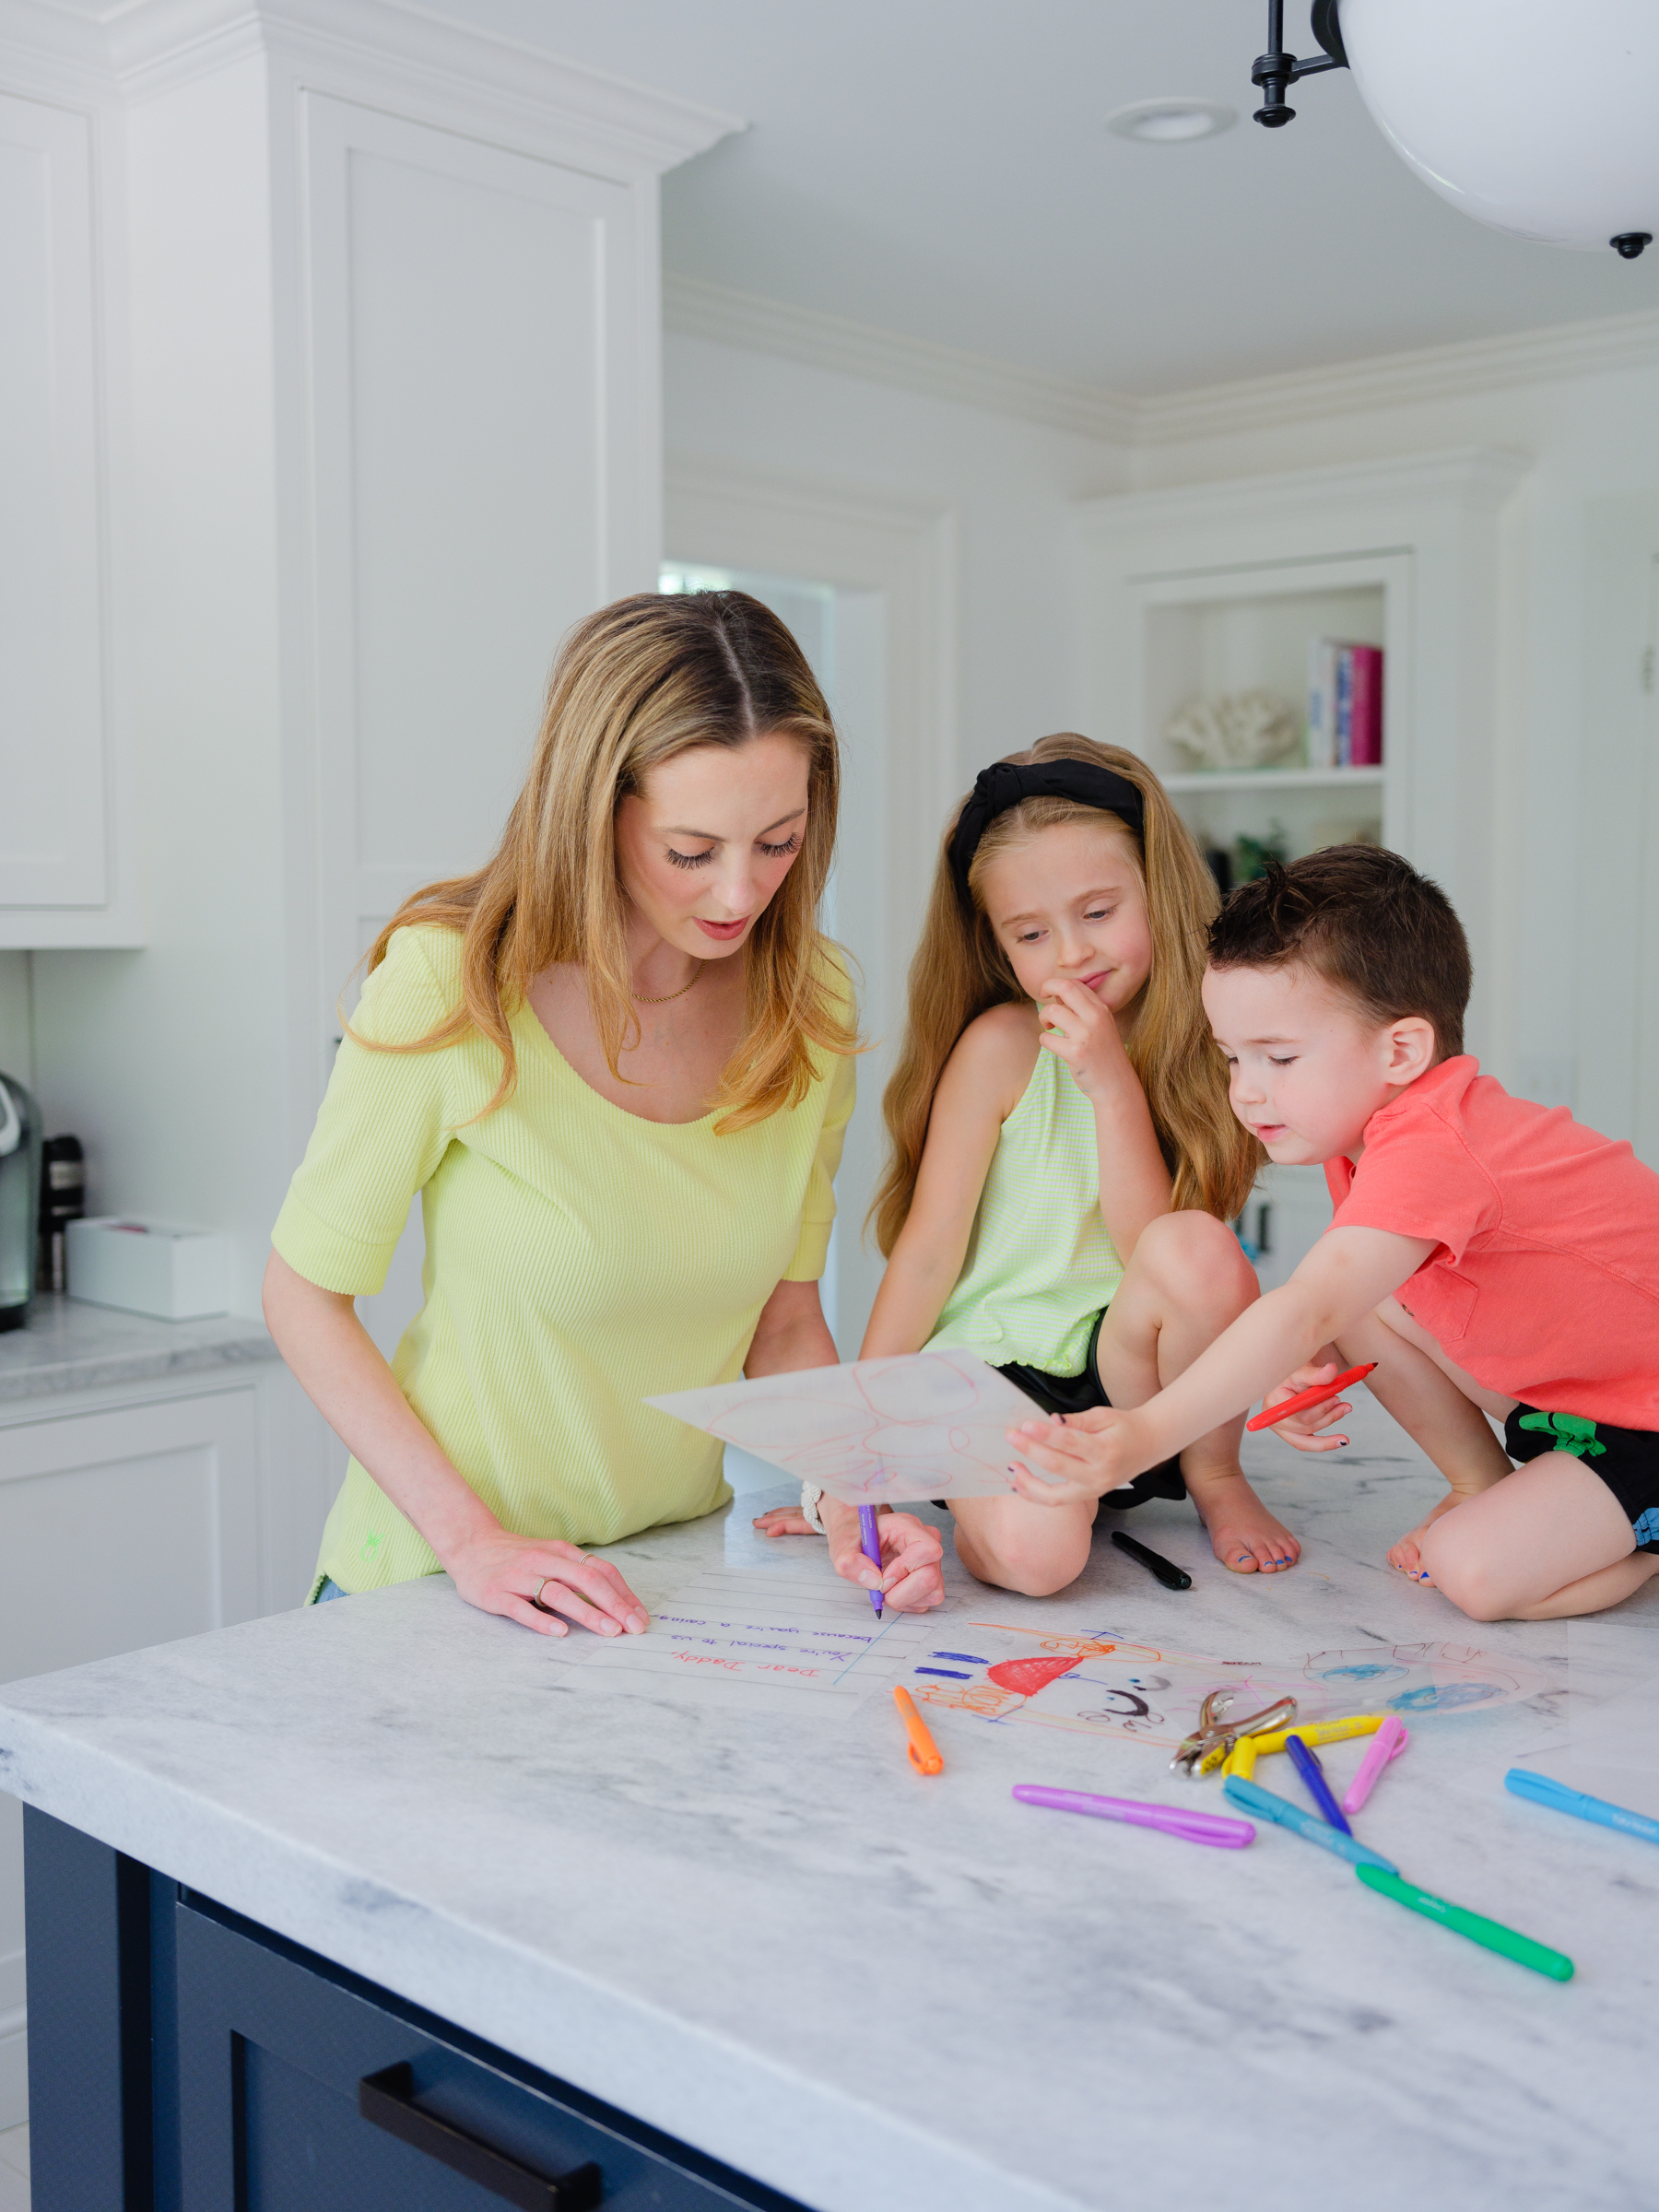
Step 1
Draw!
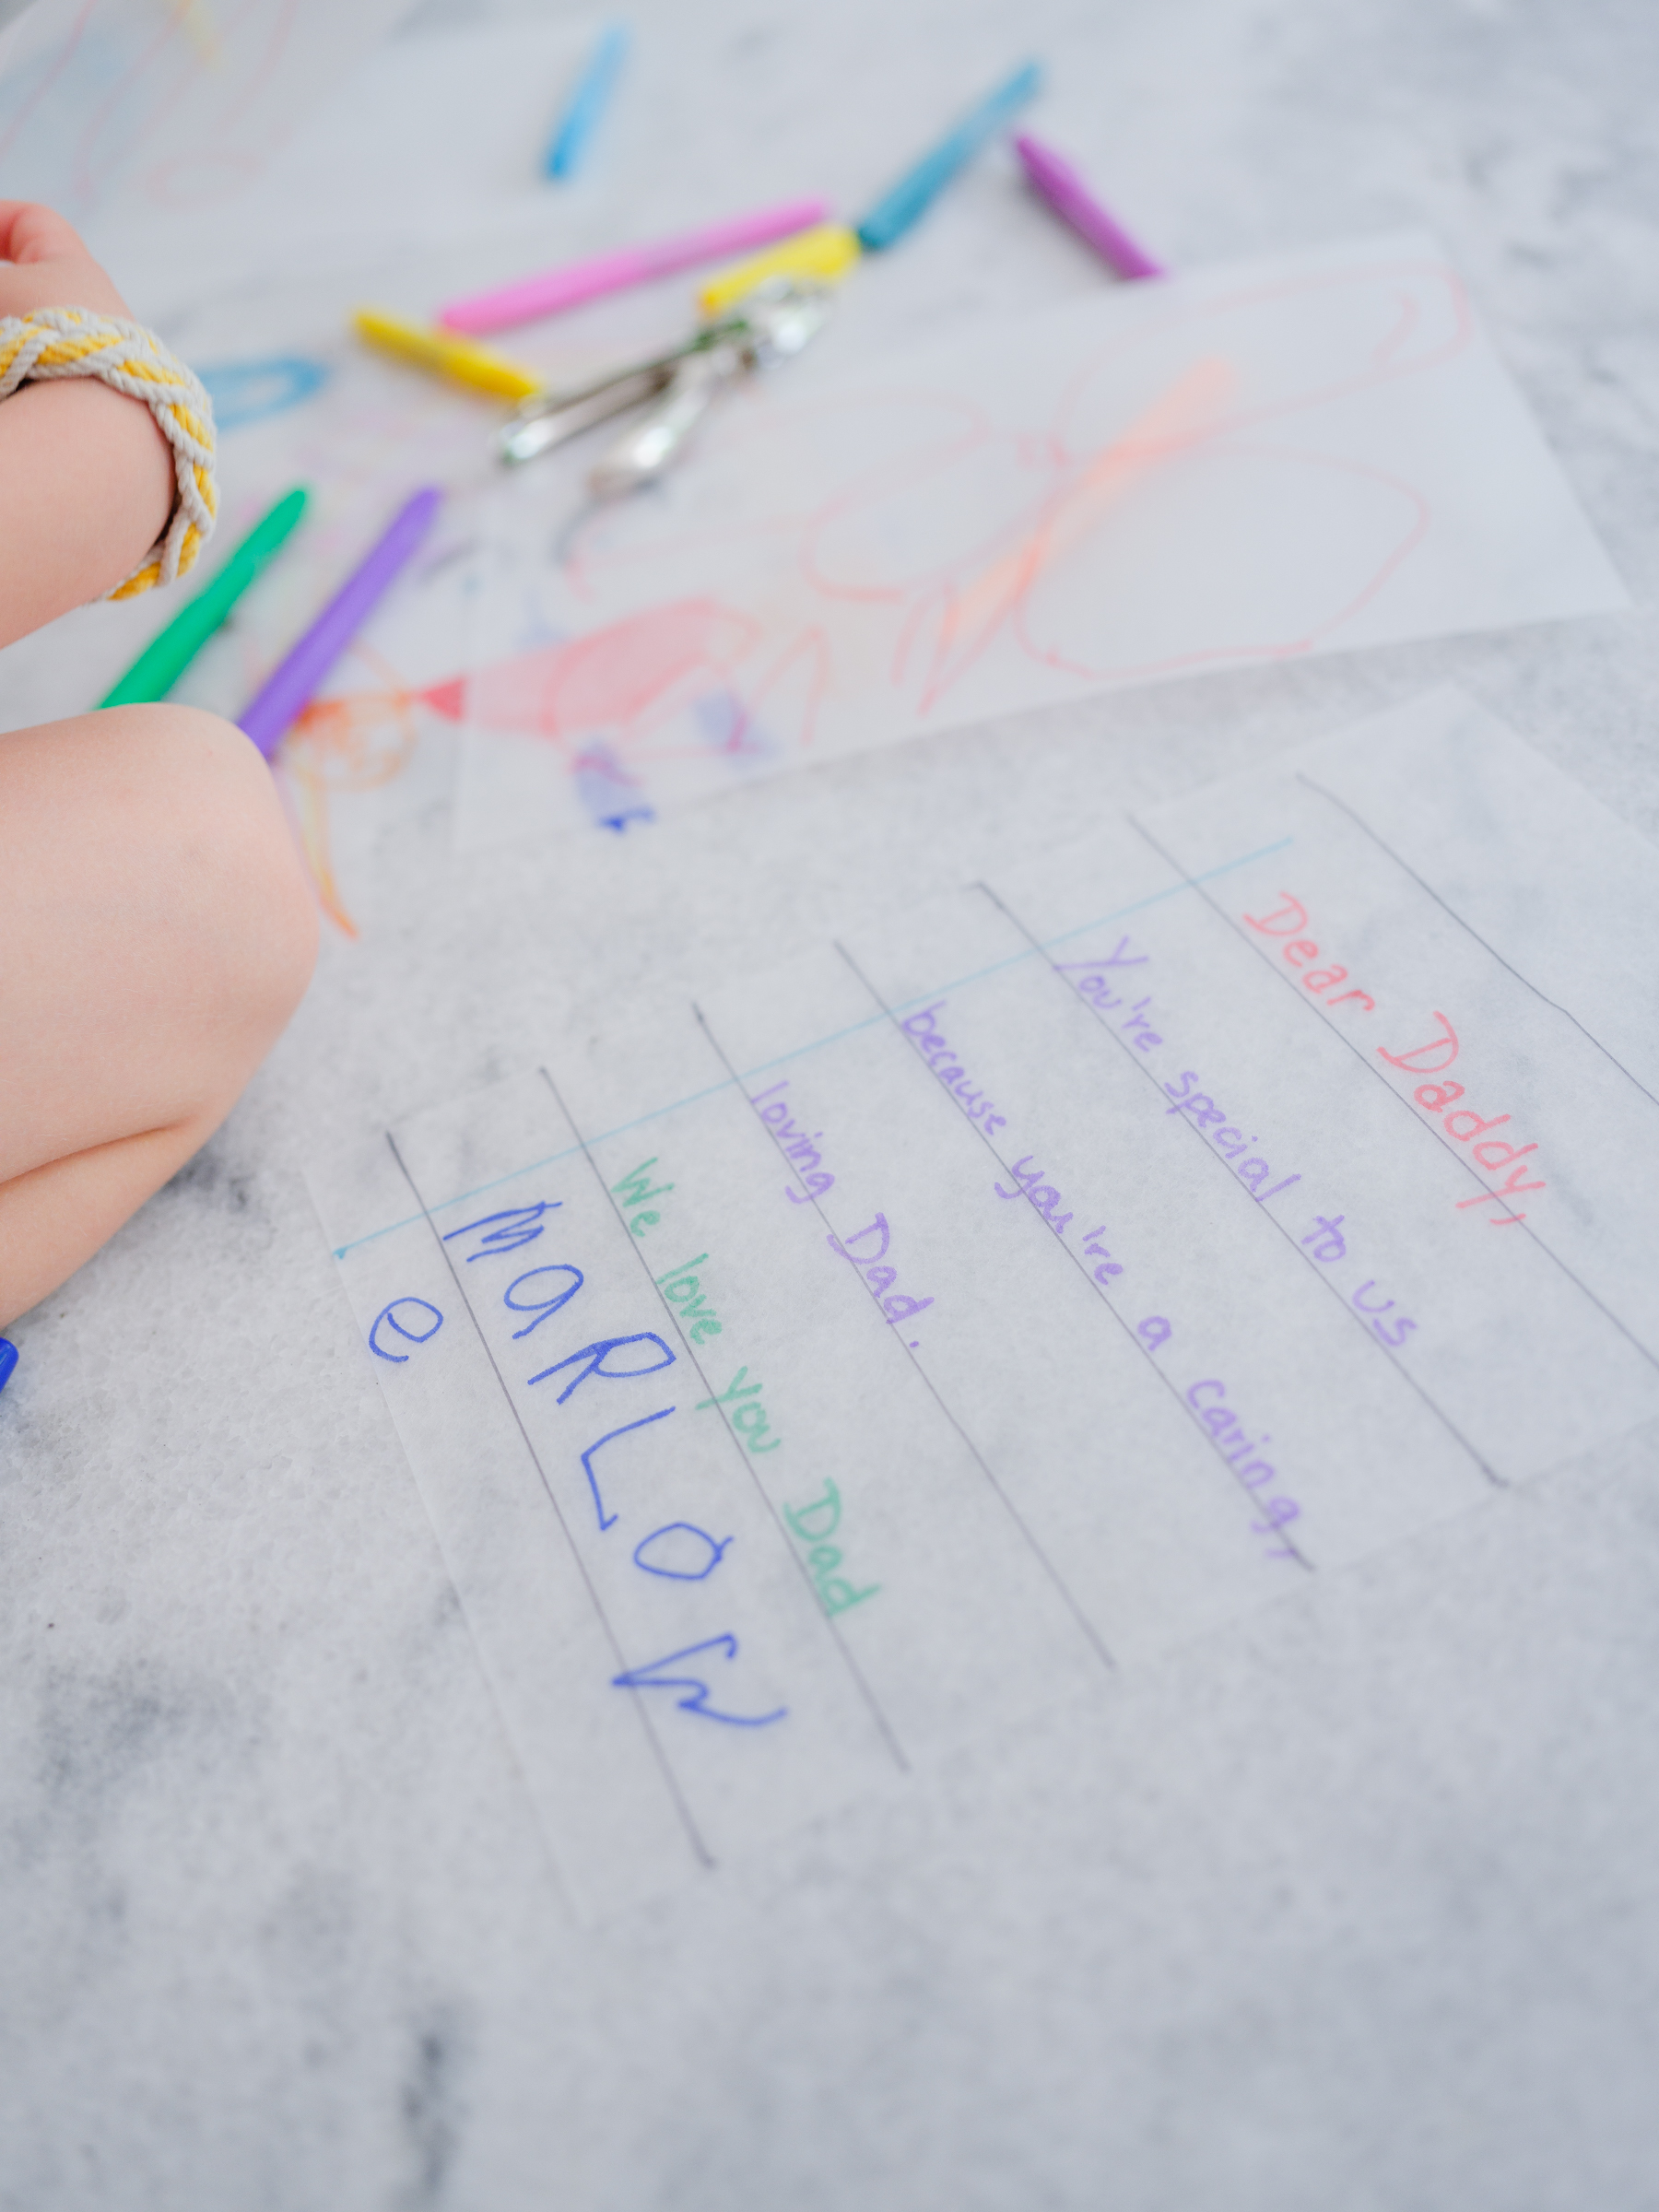
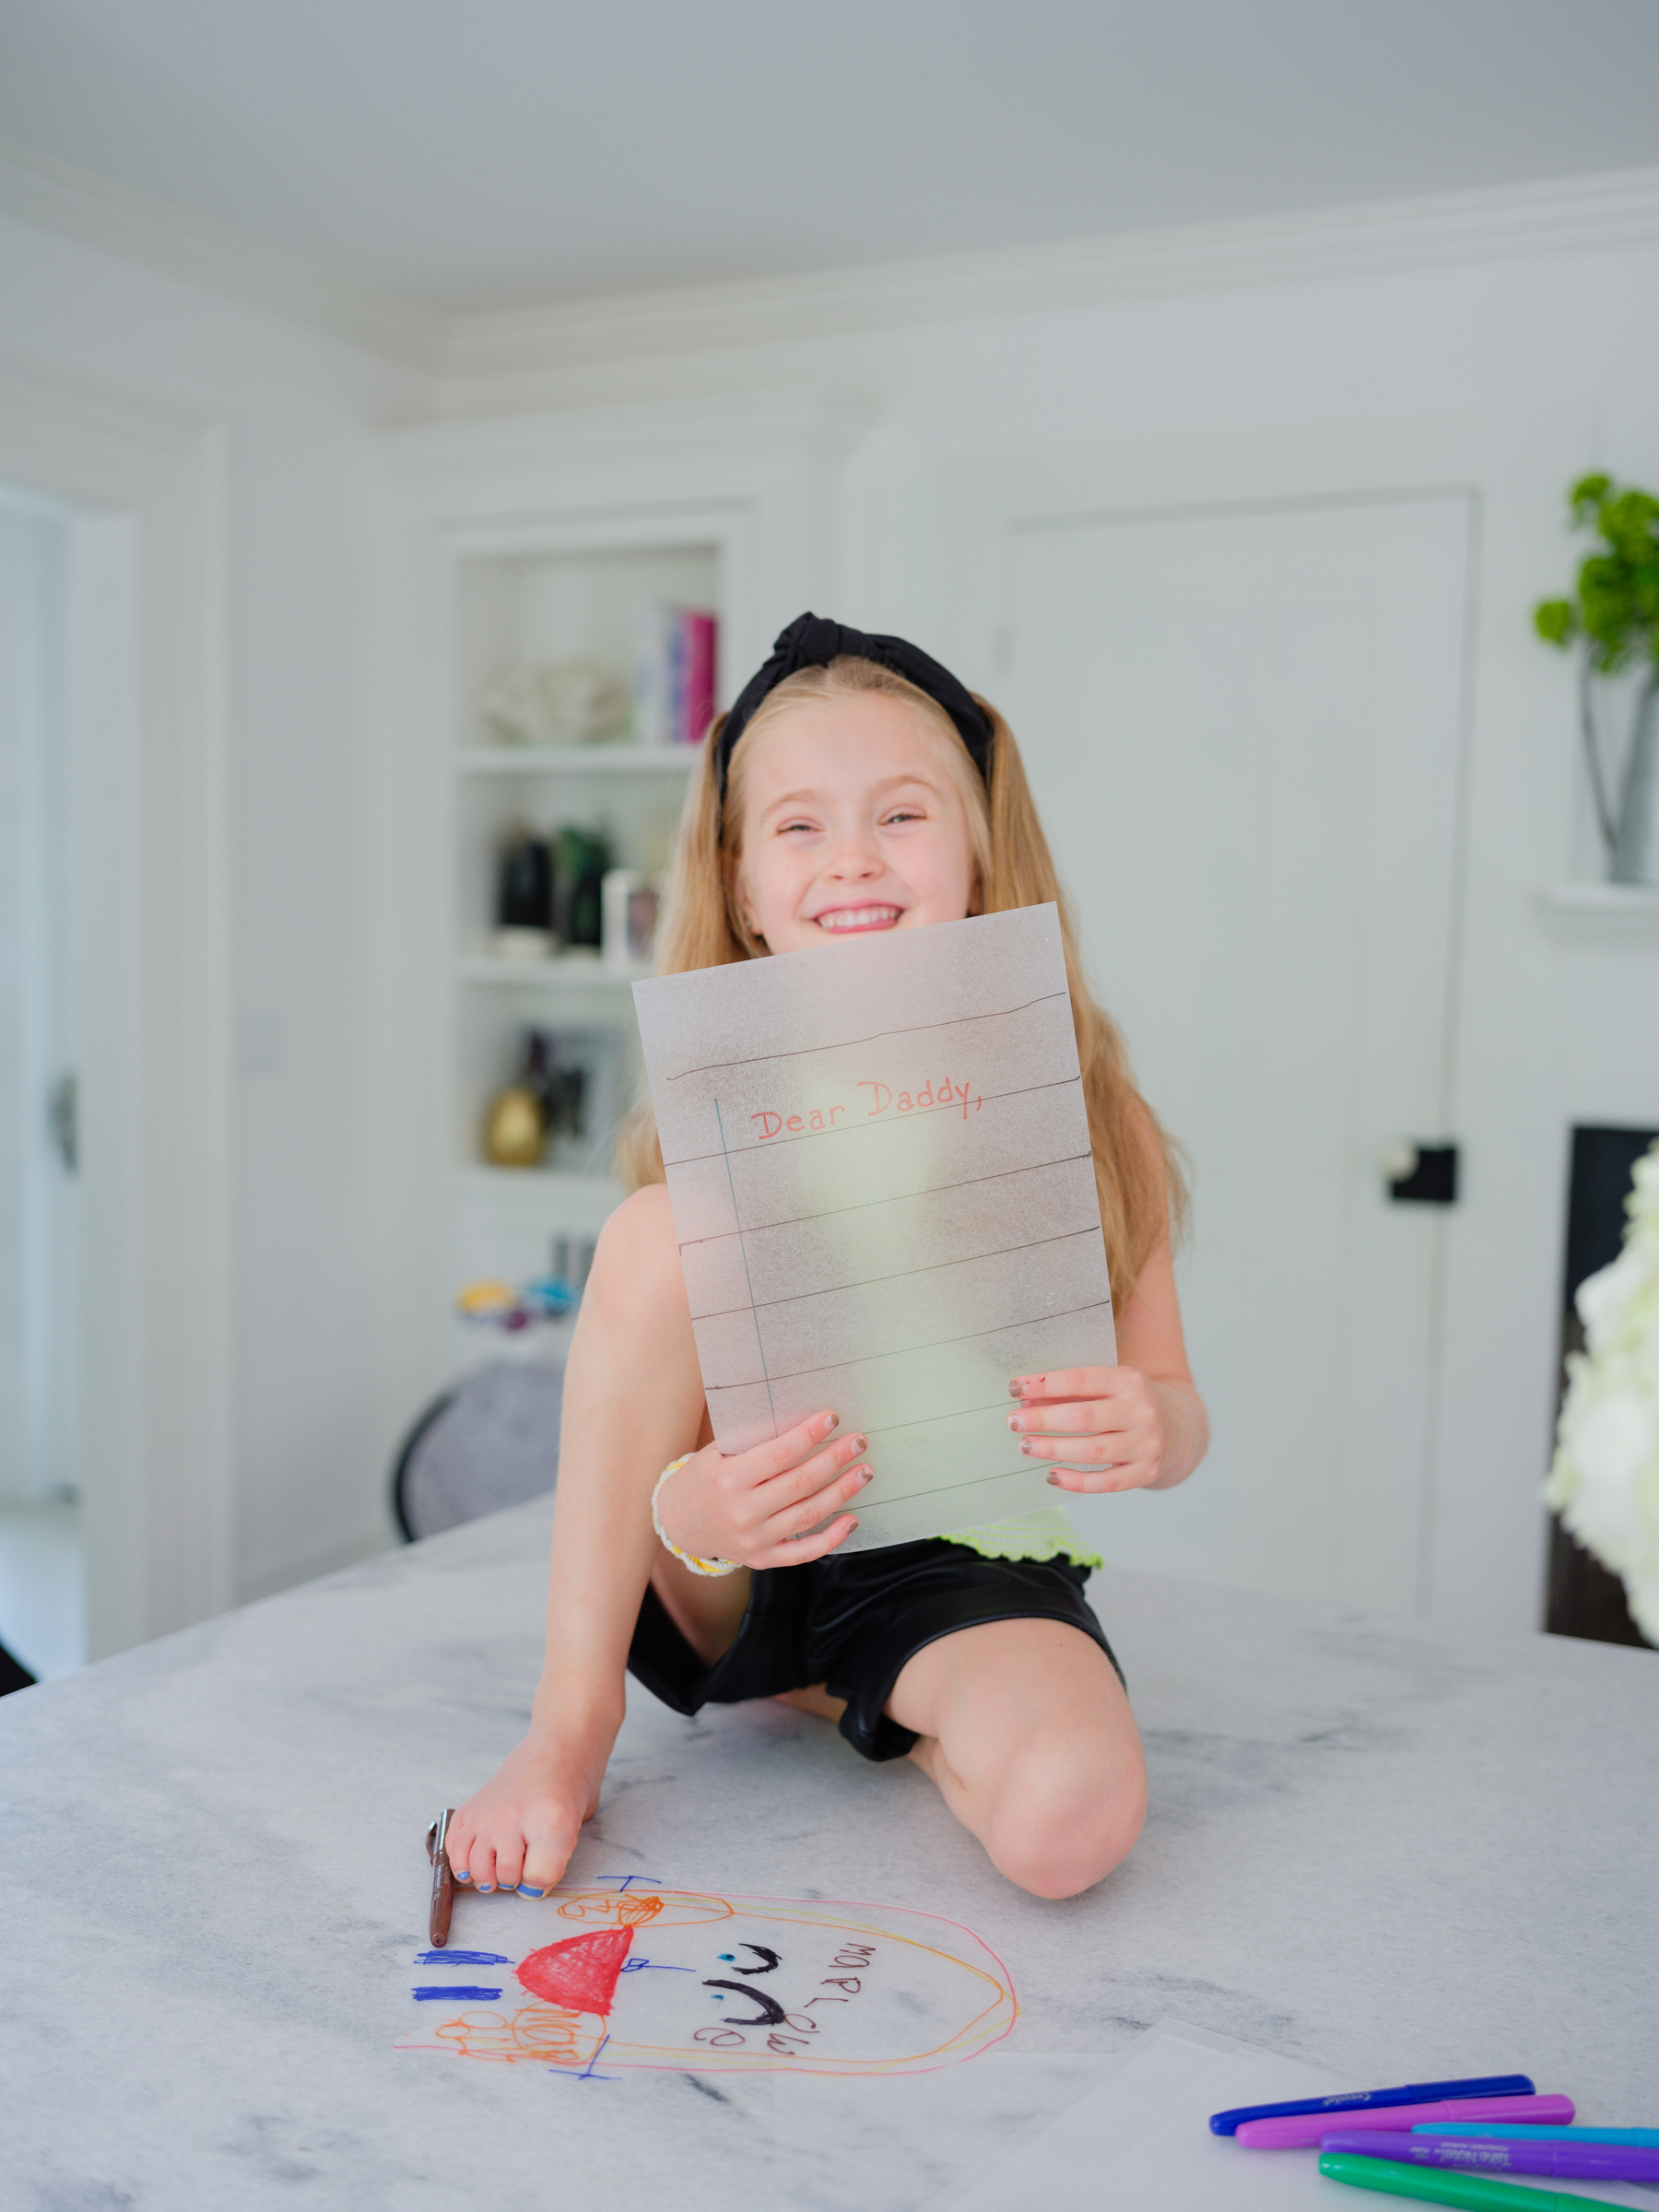
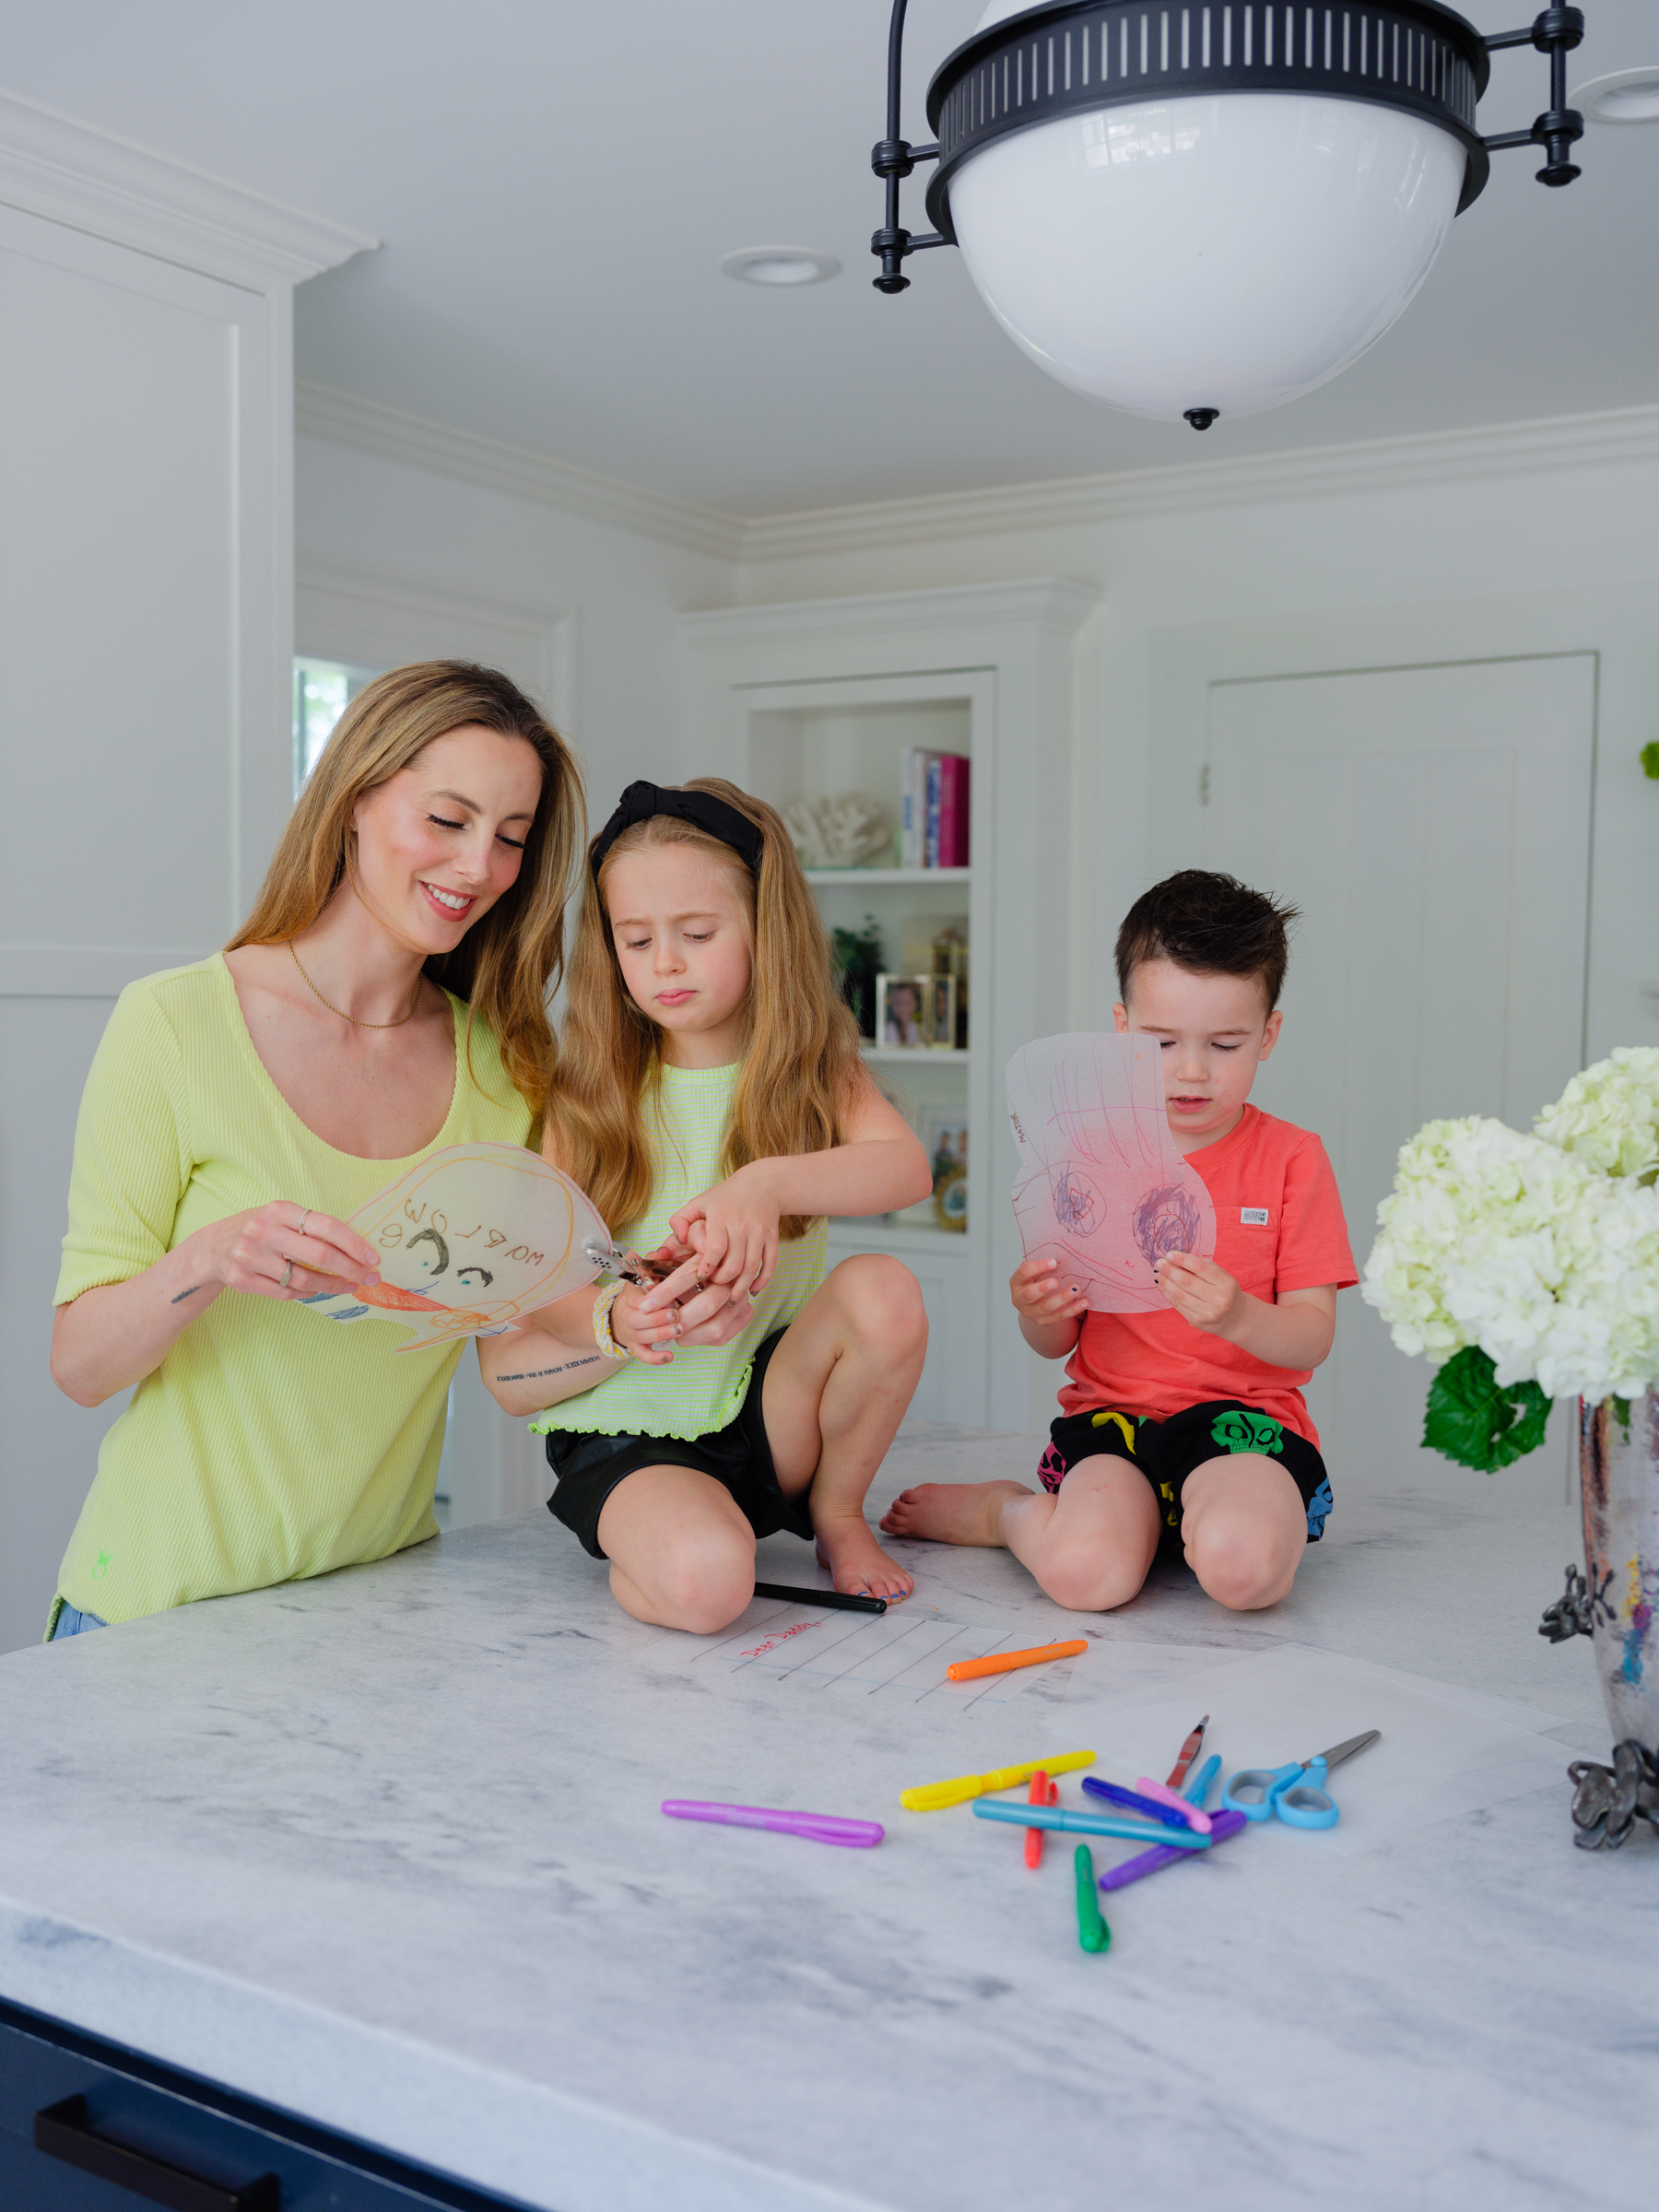
Preheat oven to 300 degrees. Prepare a cookie sheet with parchment paper. Have your child draw a portrait of Dad! You can limit the size of the portrait by cutting the shrinky dink paper to a smaller scale at this phase, or cutting out an oval shape for the face if you wish. Draw on the frosted side of the paper using permanent markers.
Step 2
Cut!
Using the scissors, cut out your child’s drawing and place on the prepared cookie sheet. Do not crowd your shrinky dink portraits! If you need to do it in rounds, that’s fine. I also drew “lined paper” on one shrinky dink page and then had the kids dictate a letter to Kyle that they both signed at the bottom. PUNCH YOUR HOLES BEFORE YOU COOK THE PAPER! Make sure to use the hole punch fairly close to the edge so you can easily fit the keychain device through.
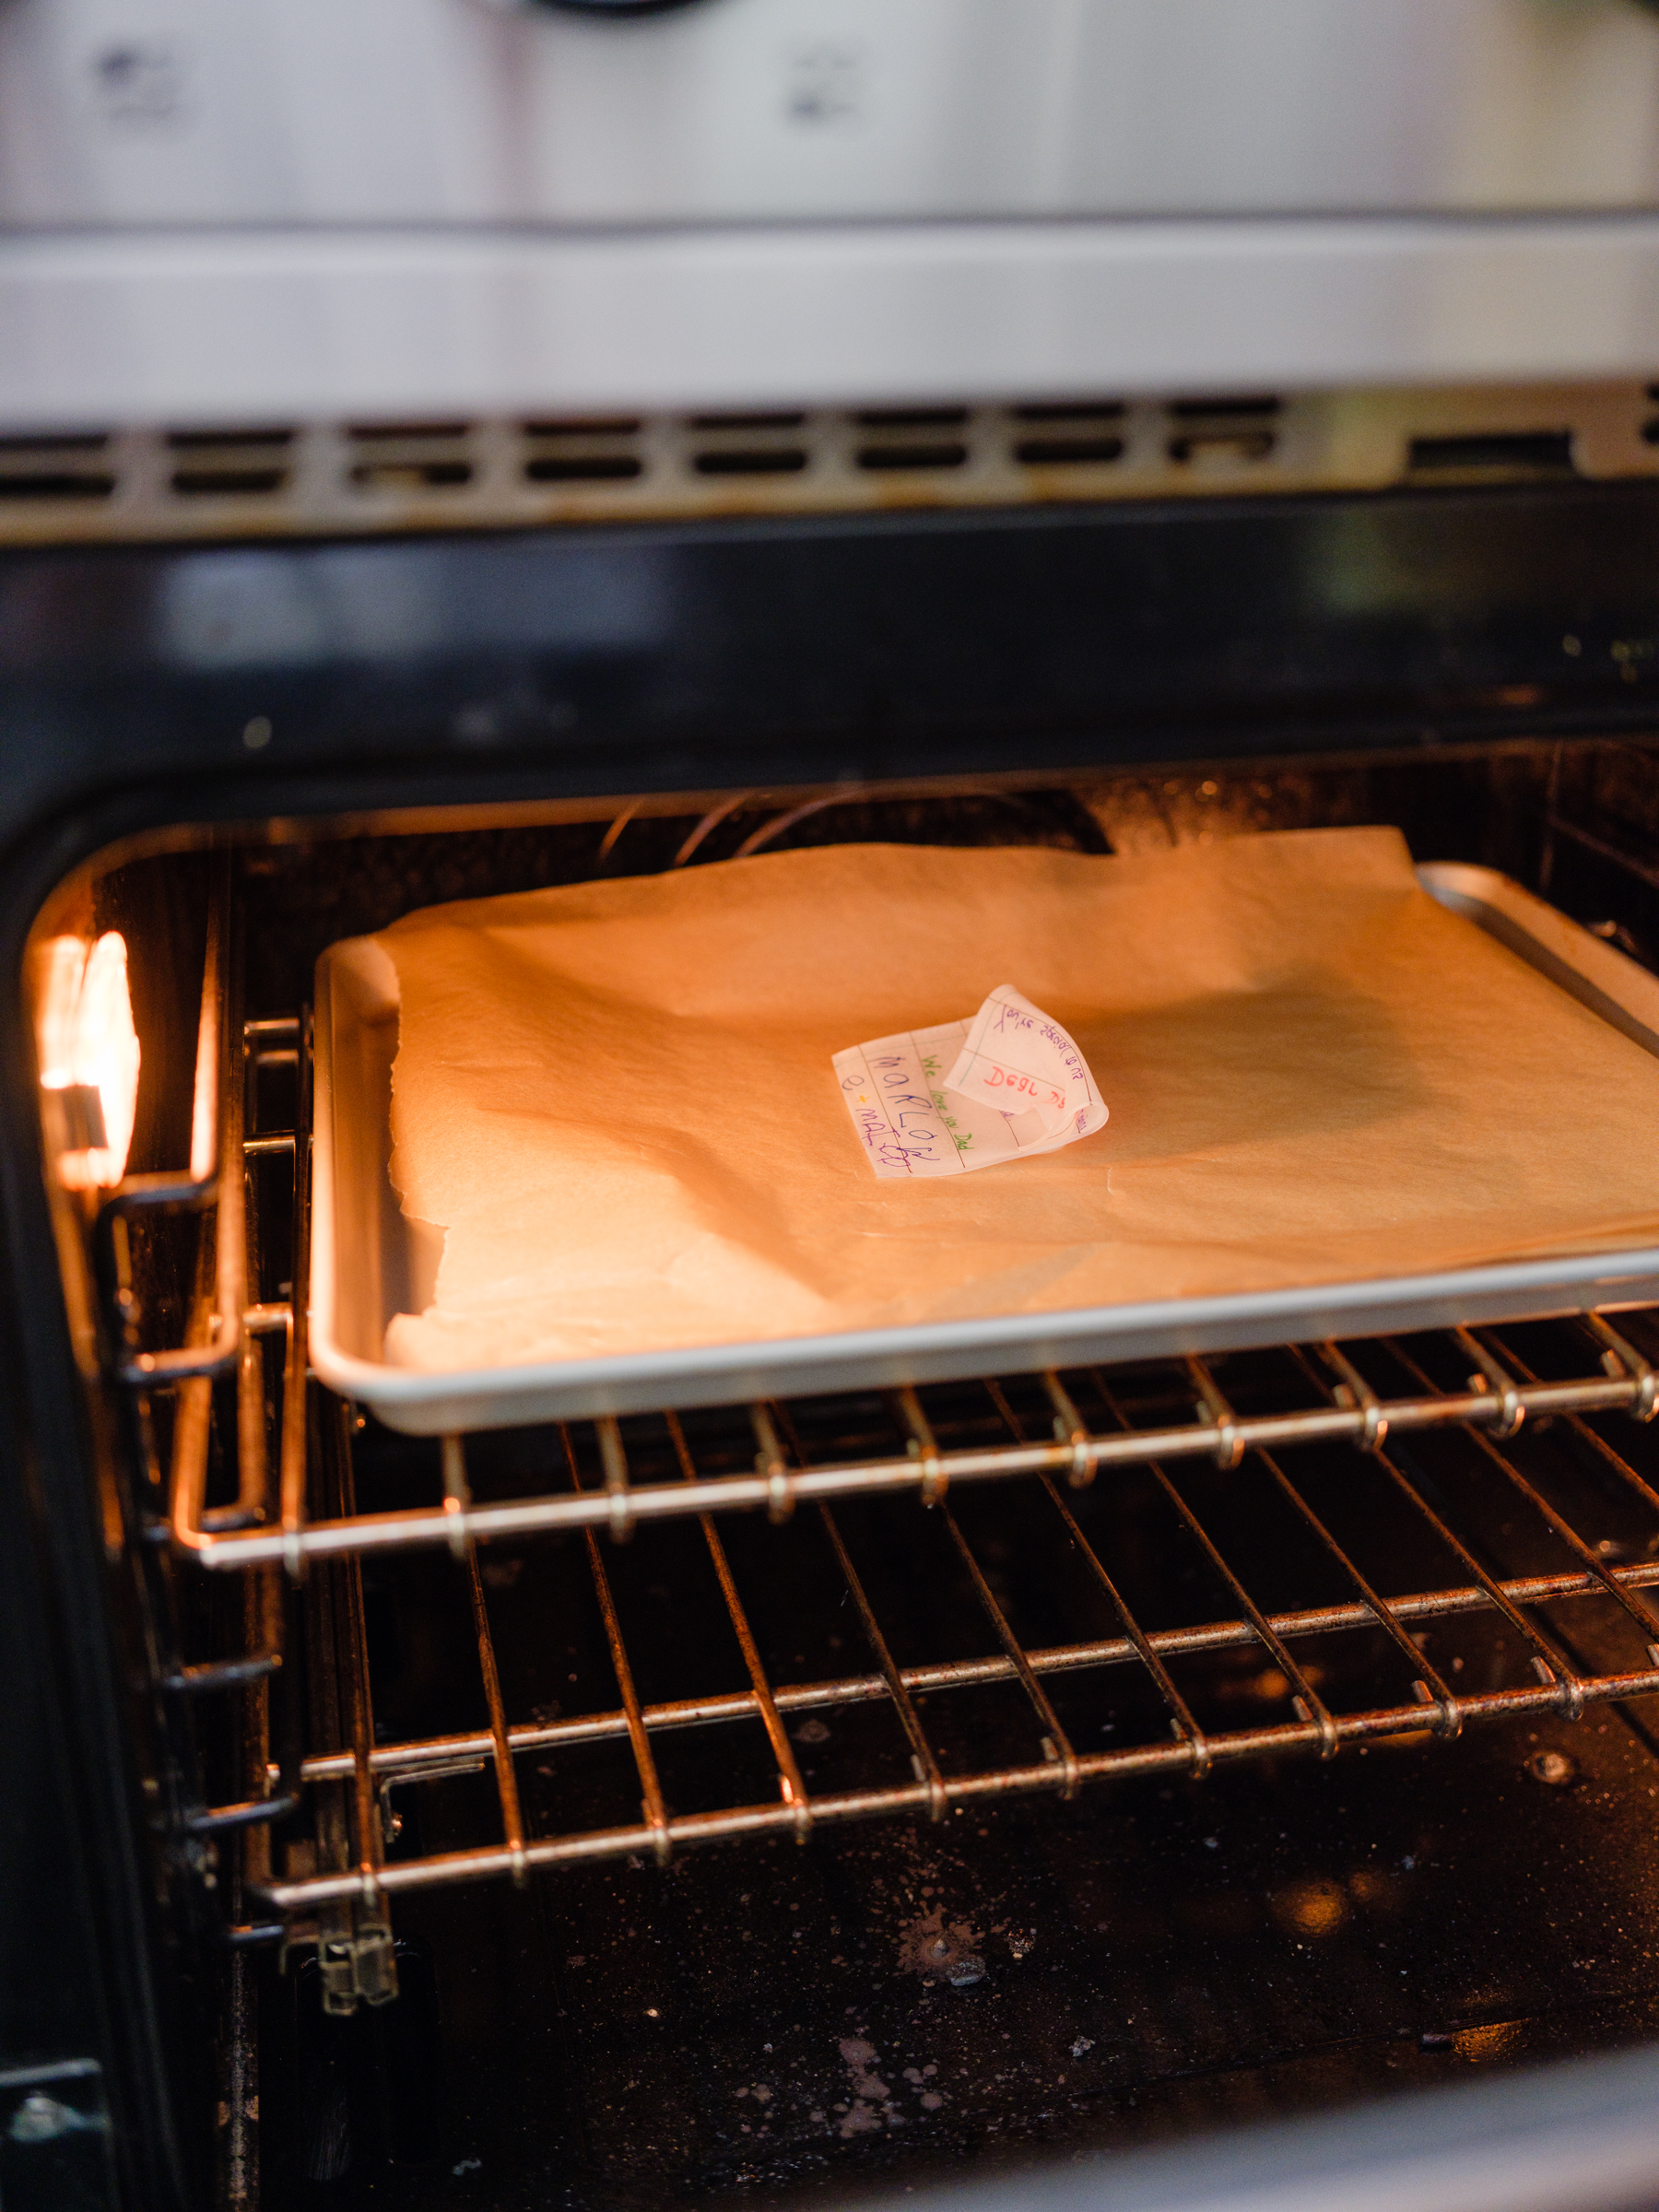
Step 3
Bake!
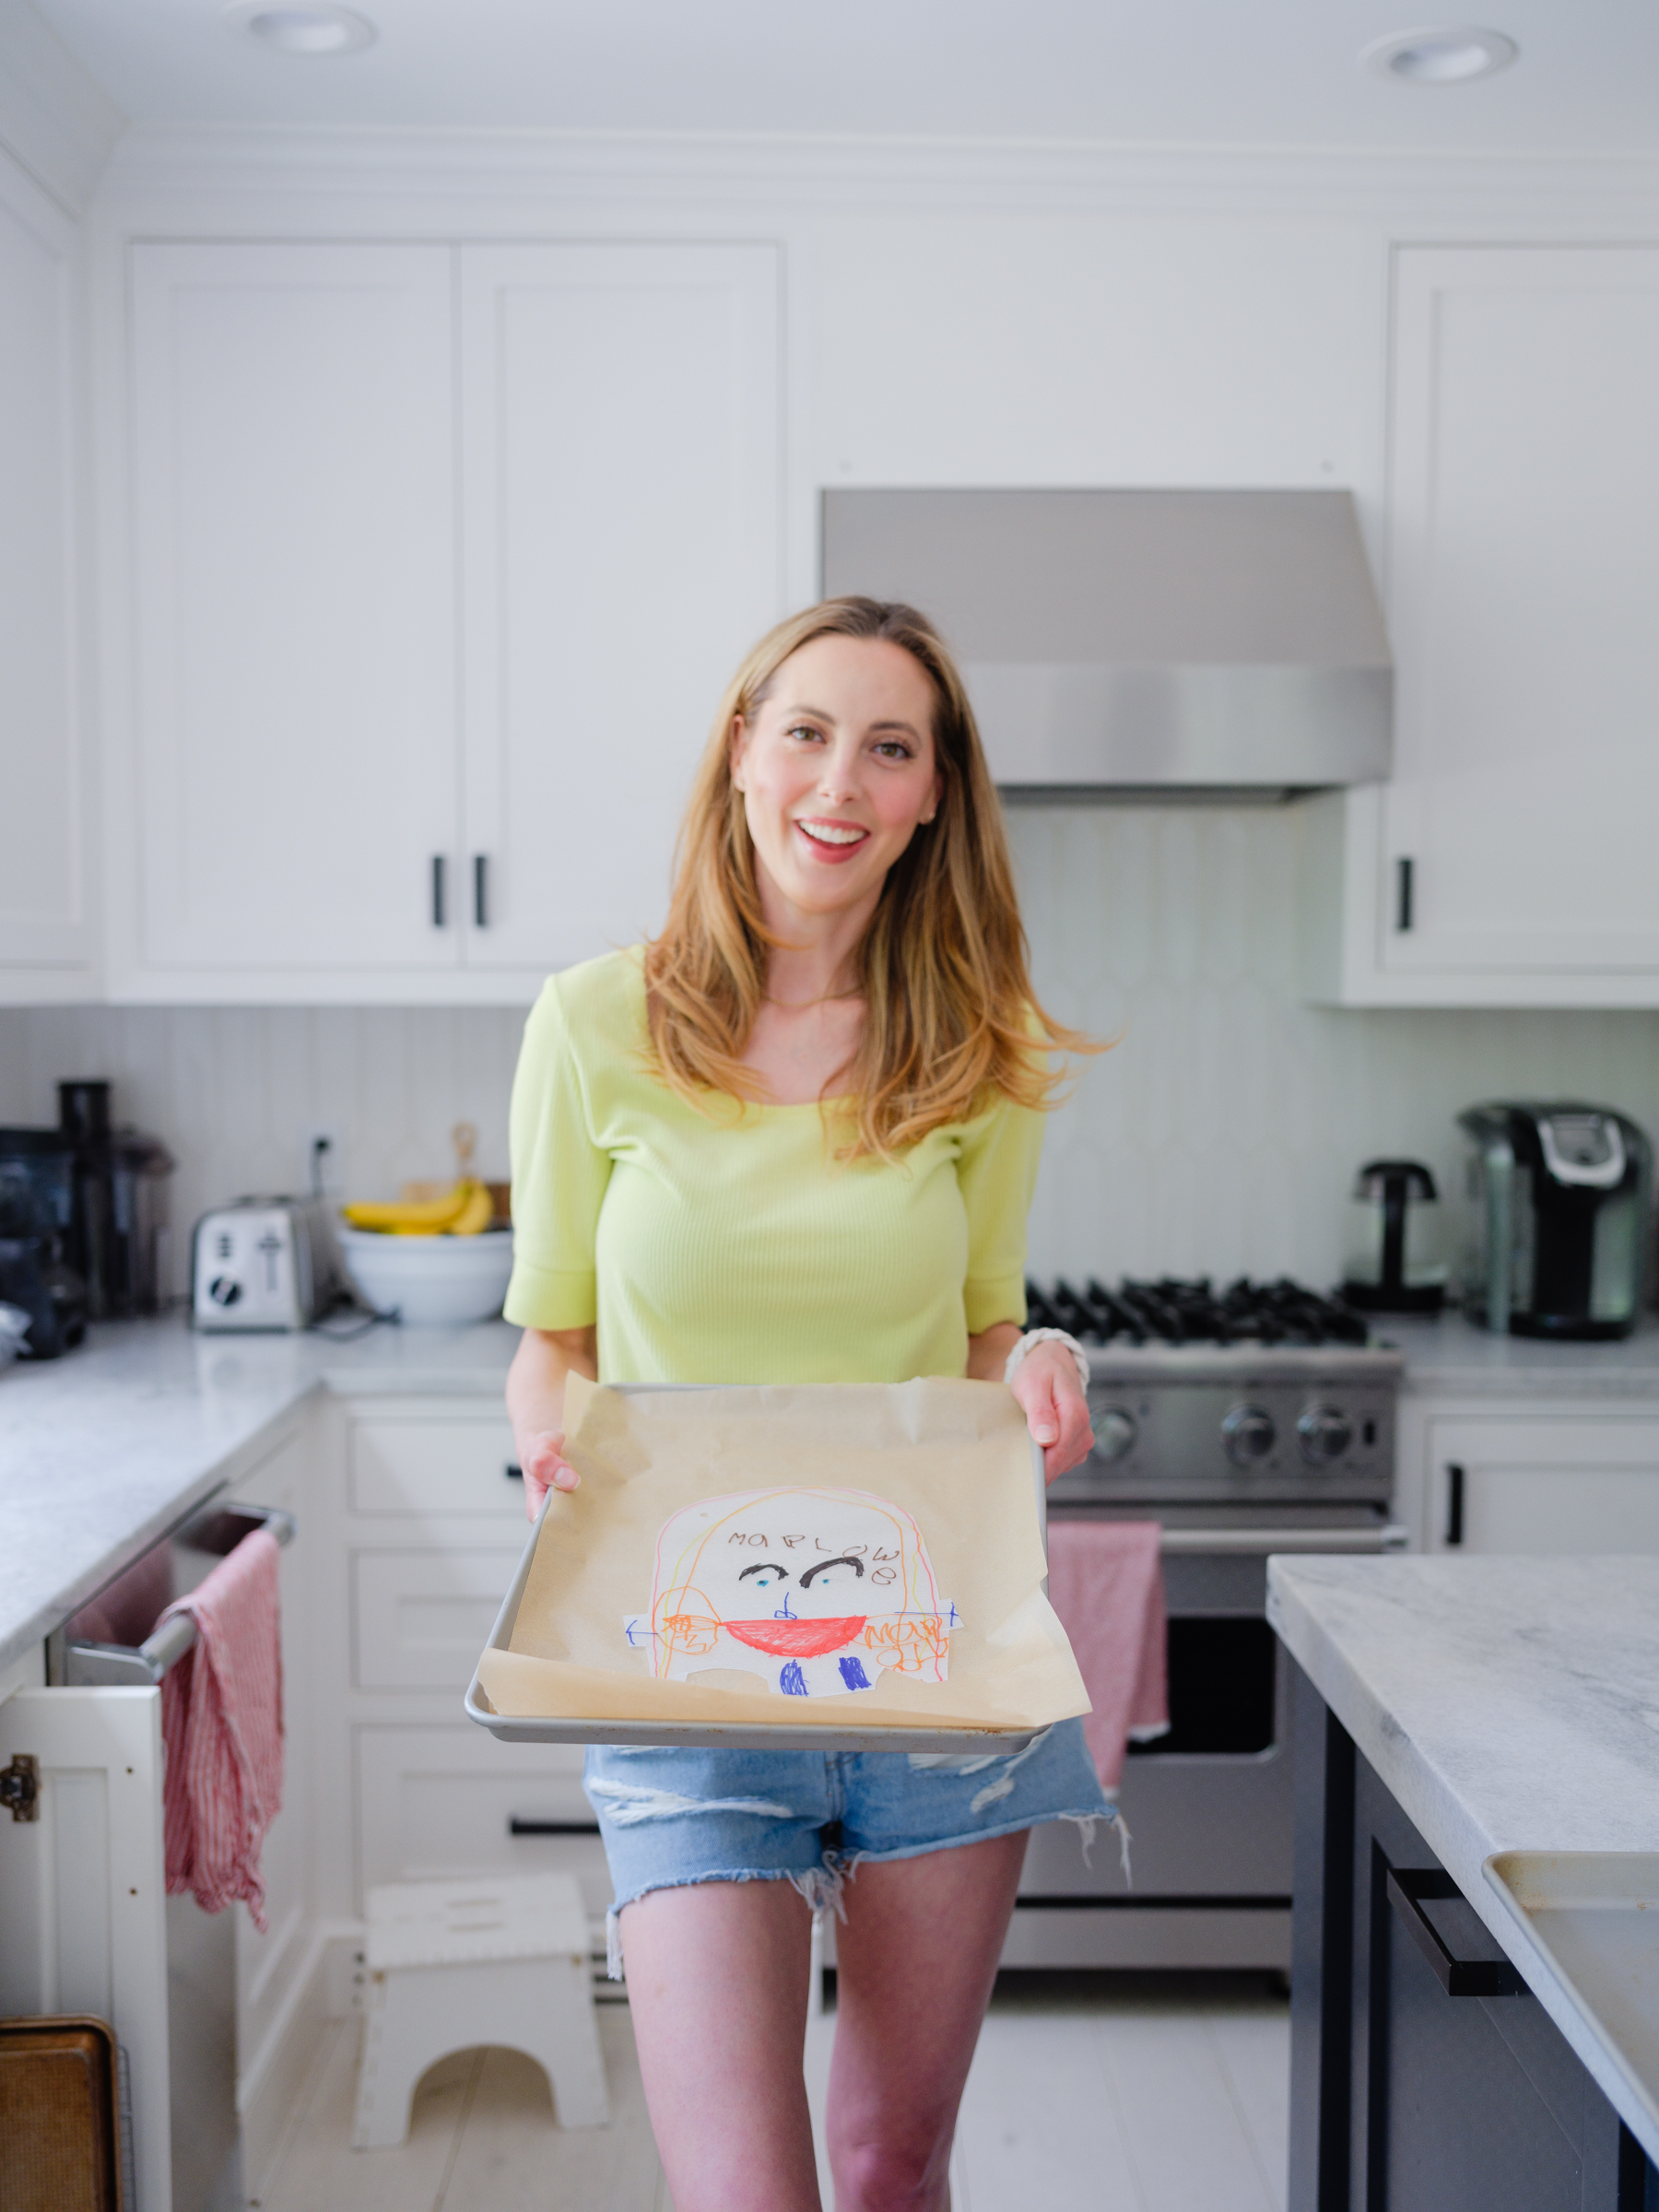
Place the cookie sheet with the portraits in the oven with the frosted side up, and bake for 2-3 minutes. The shrinky dinks will curl up on themselves midway through cooking and then unfurl. This is ok! Don’t panic, and just wait for them to complete cooking. If the are still at all curled after three minutes, remove the cookie sheet from the over and using the tweezers, gently uncurl them and press down on the edges to make them as flat as possible.
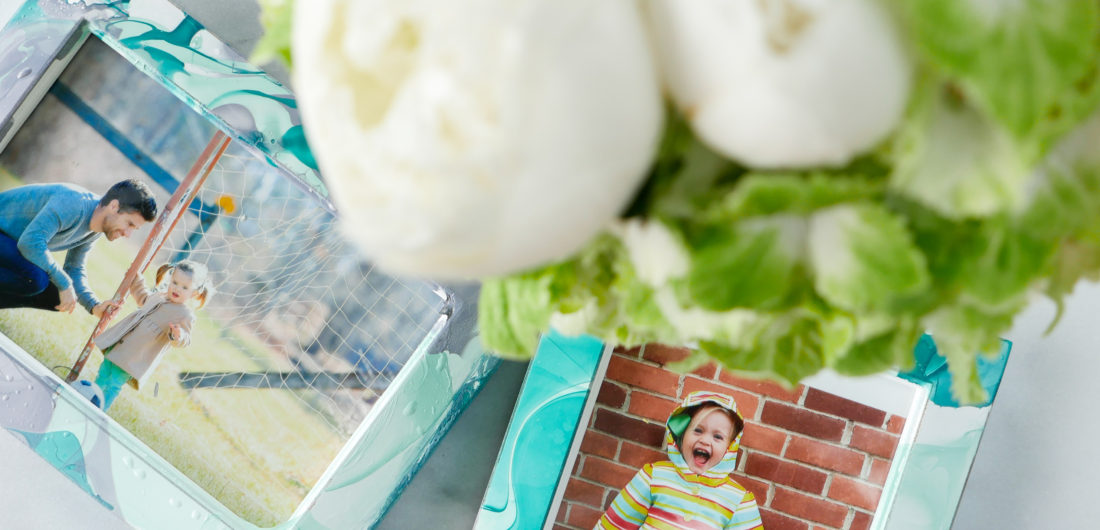
Step 4
Add your keychain!
Allow them to cool completely before adding the keychain parts. Enjoy!
Shrinky dinks were my favorite as a kid! They felt almost like magic. Oh the nostalgia!! This is a great idea 🙂 Homemade gifts are 1000% more meaningful 😉
Haha I know right?! Blast from the past!