The following content may contain affiliate links. When you click and shop the links, we receive a commission.

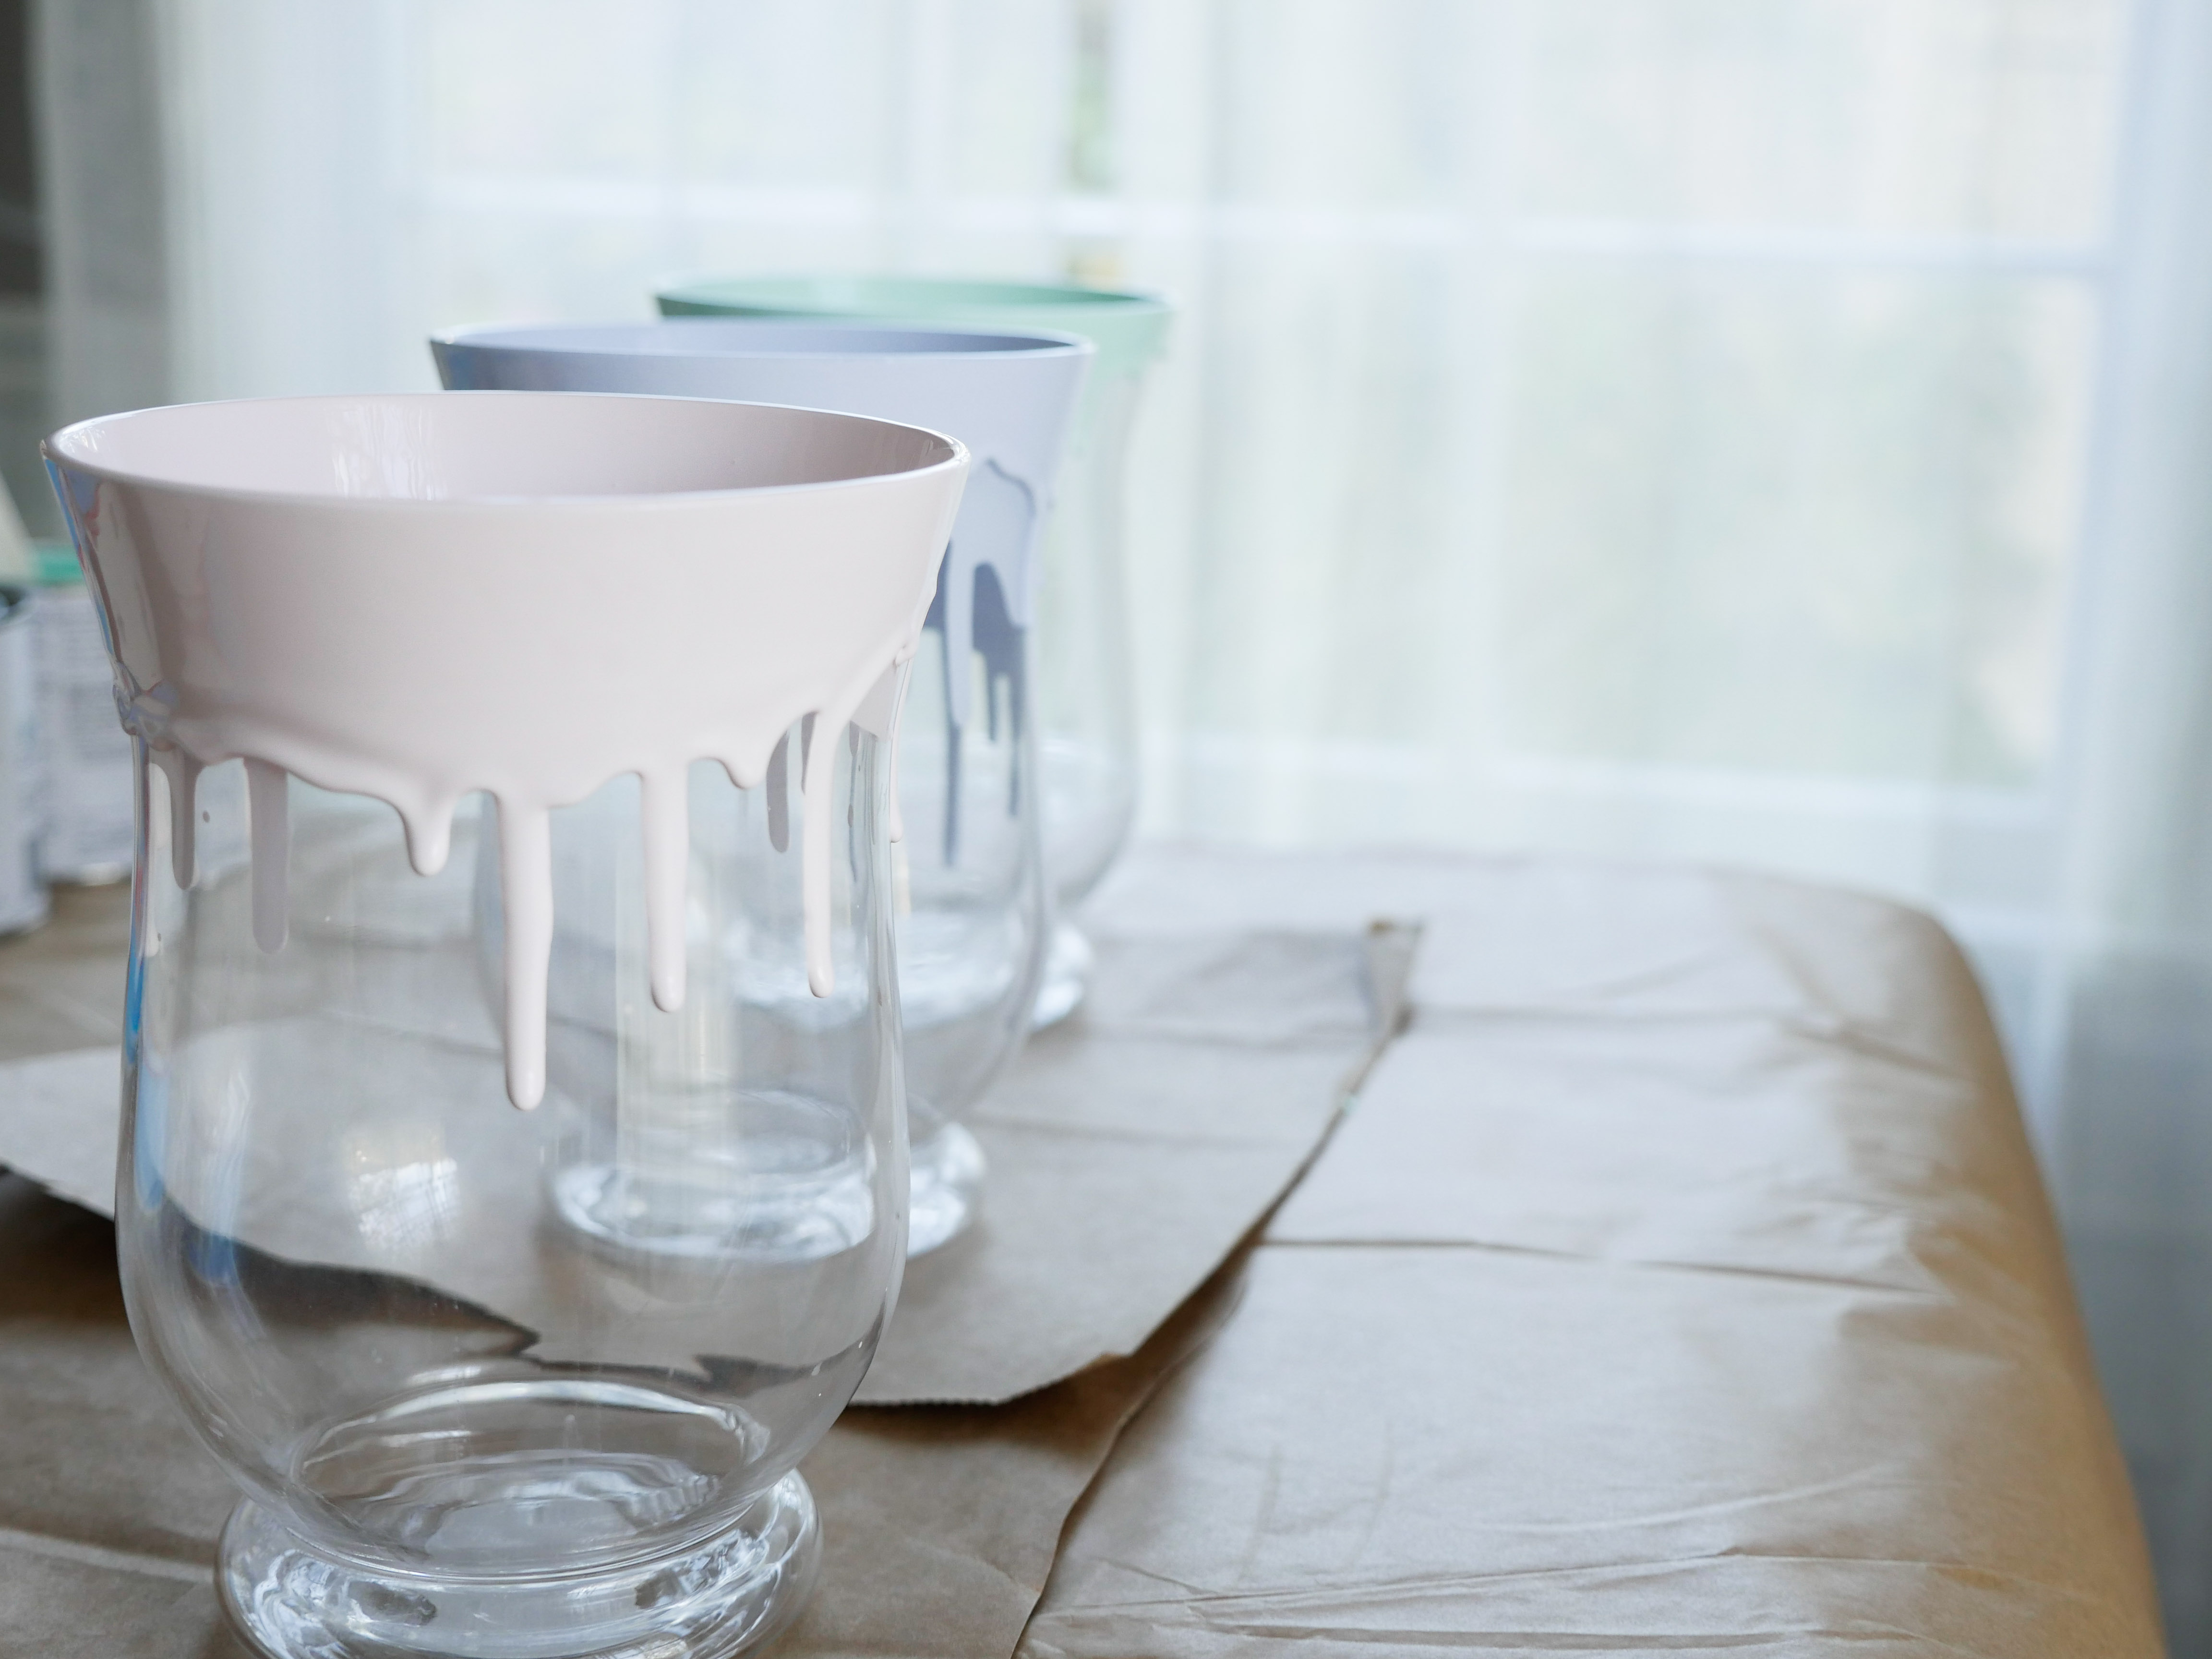
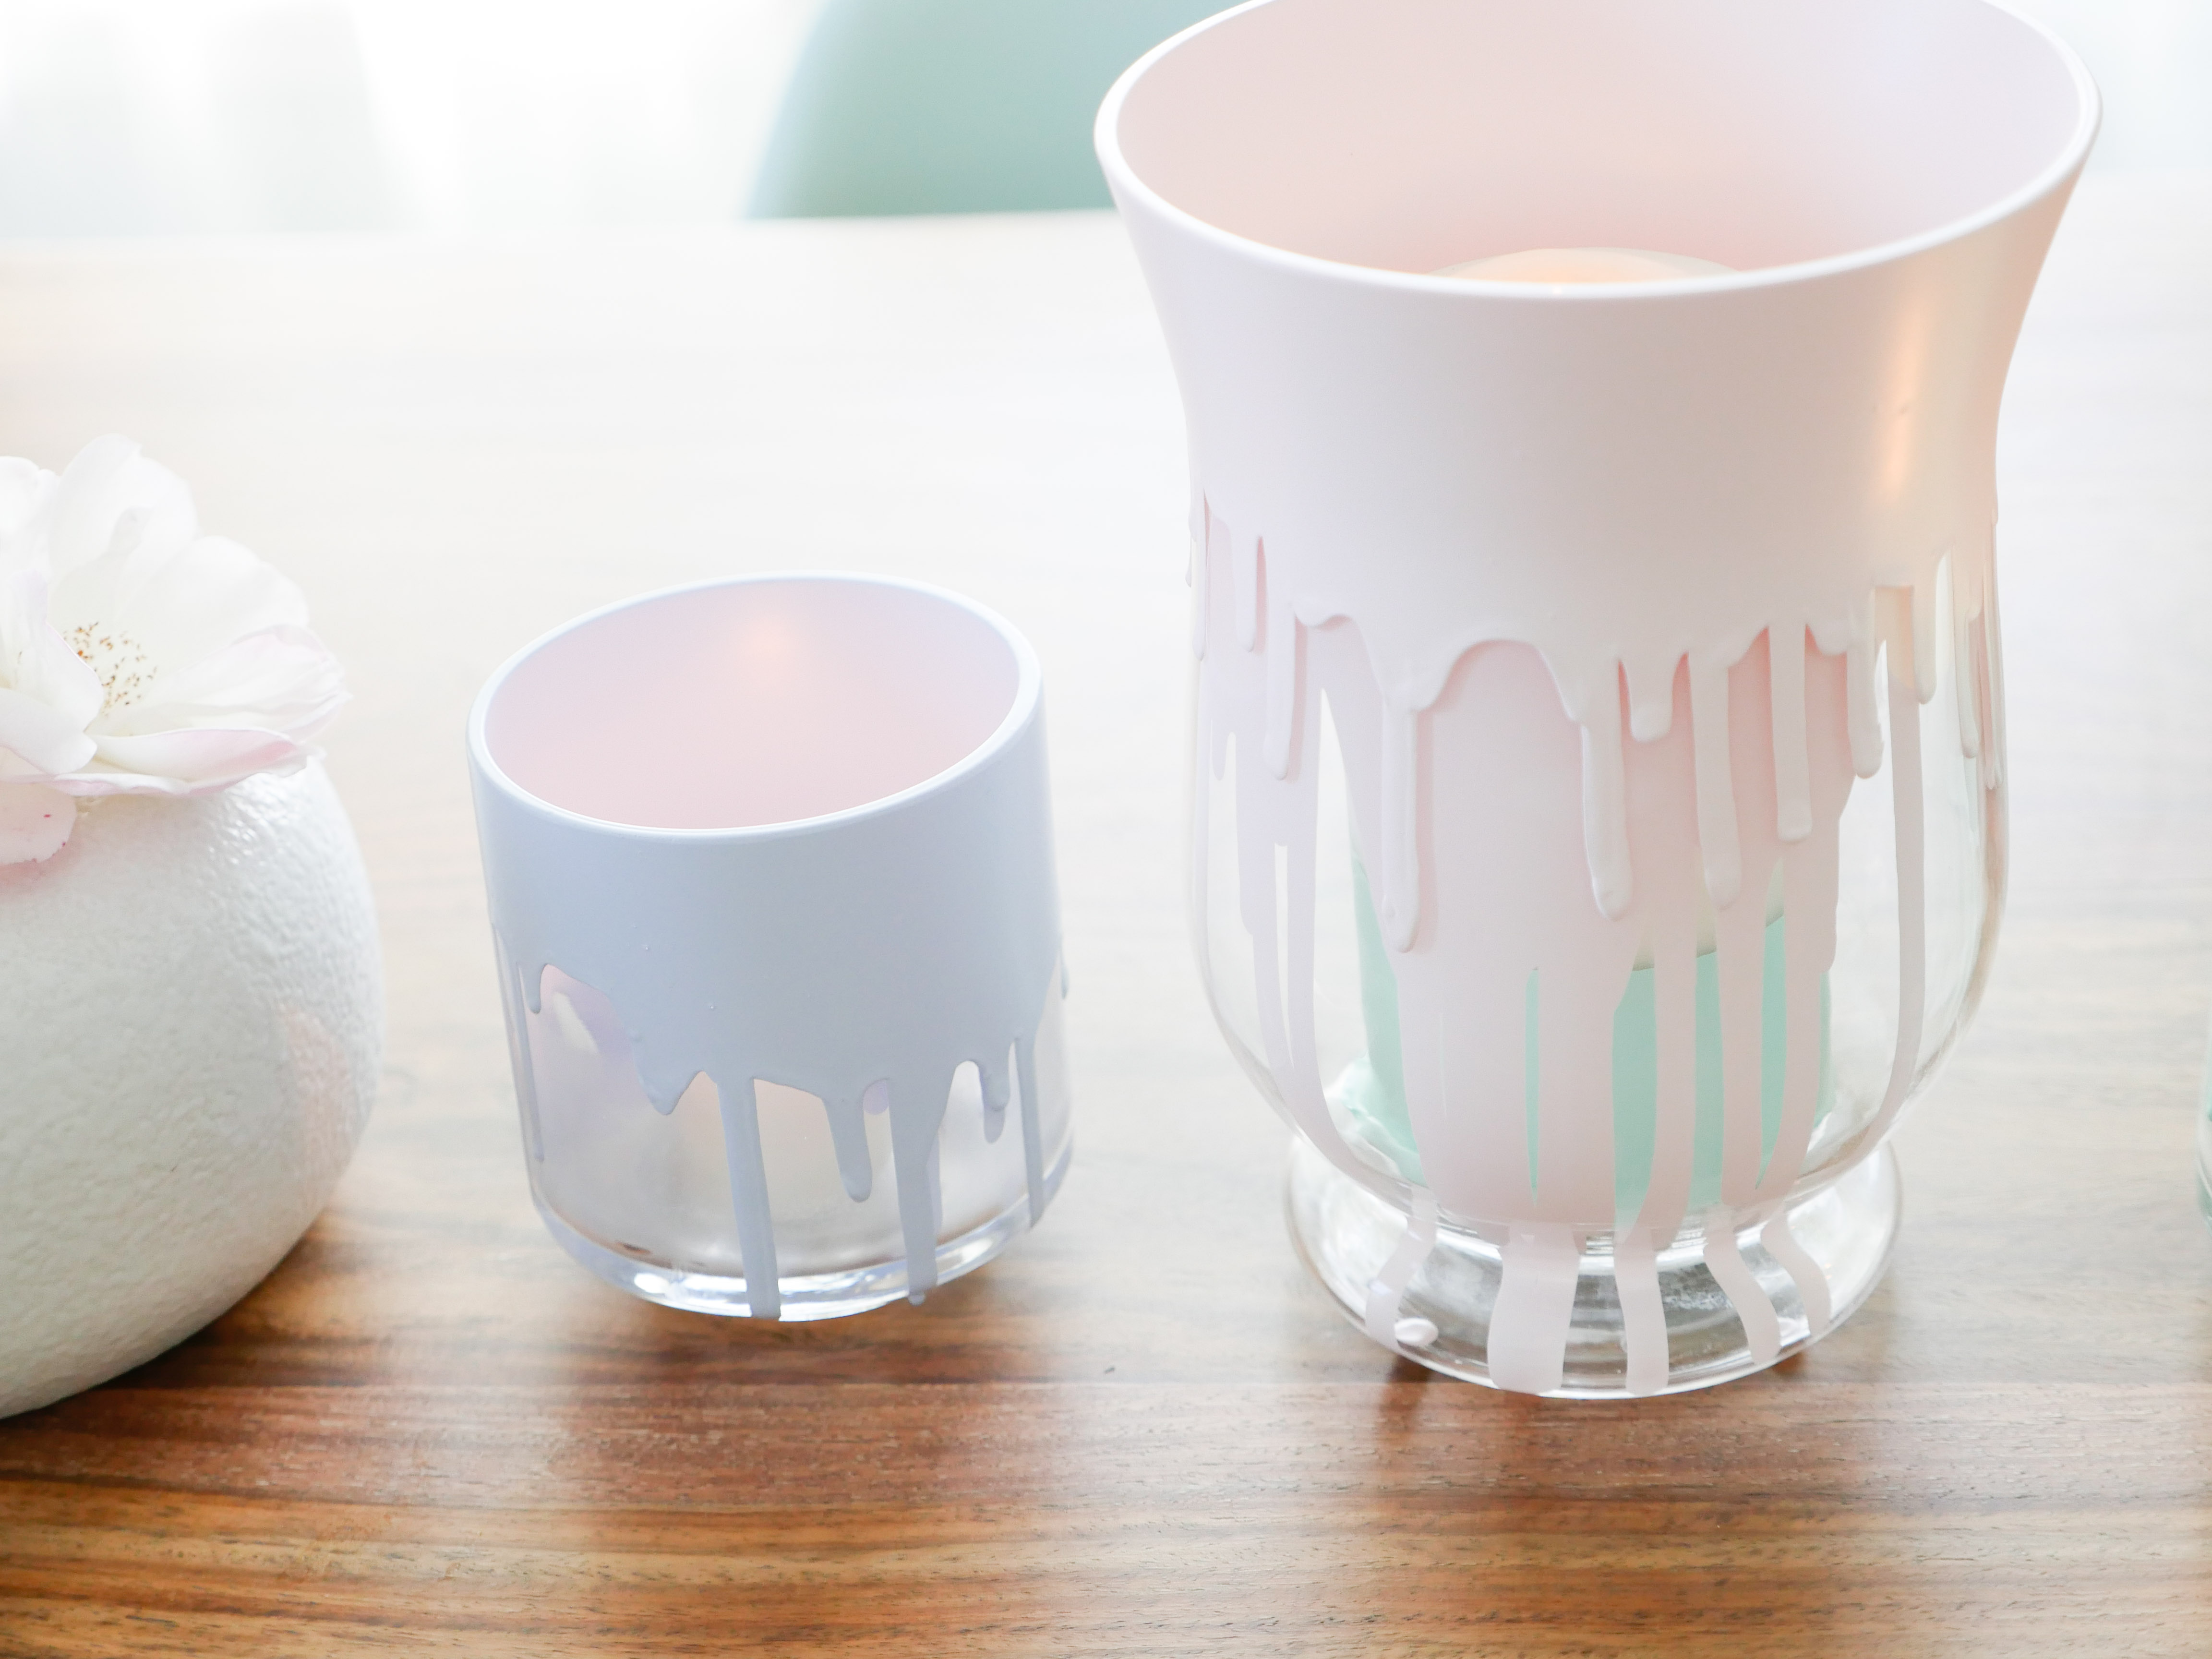
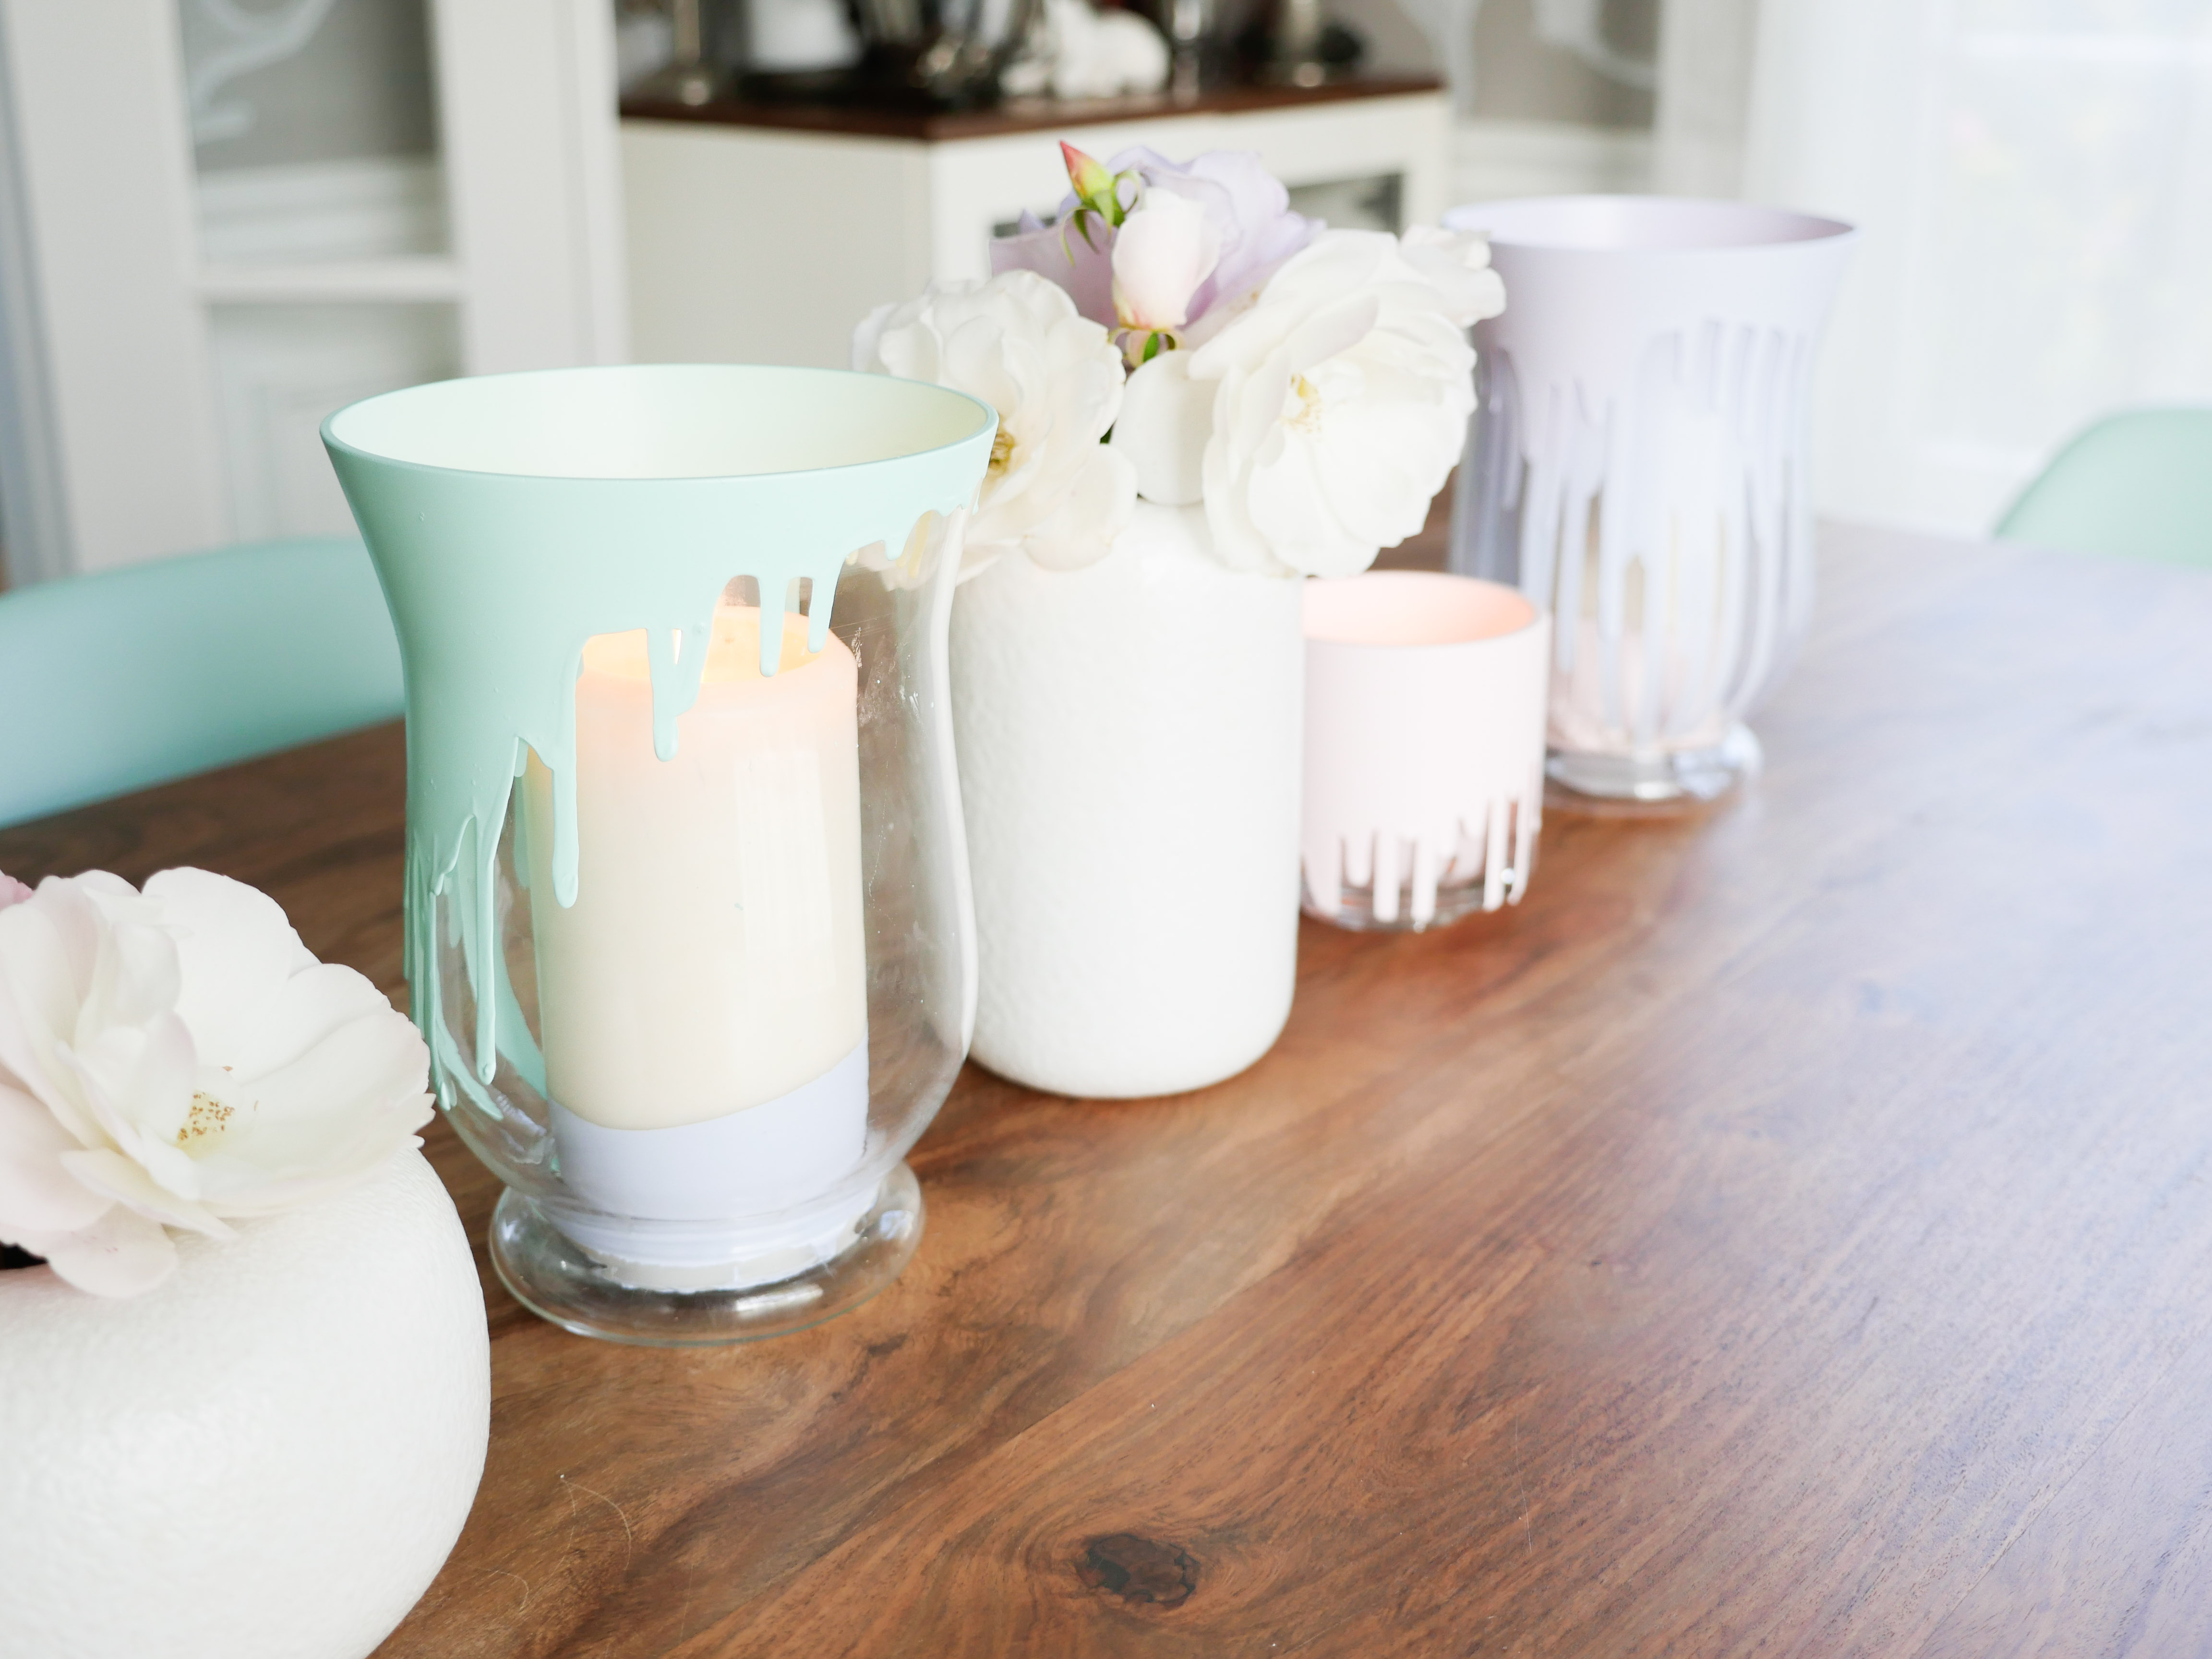
Recently I was cleaning out my garage and came across a huge stash of simple glass hurricanes and votive holders we had used for a party back in 2012. There were about twenty of each, and as I dusted them off I thought what a waste they were going to down there tucked away. I vowed to find an inexpensive way to update them and make them interior decor-worthy in 2016! I came up with this idea while I was combing the aisles of my local hardware store, and I must say that it turned out to be my favorite craft I’ve featured on this site so far! Read more for a DIY tutorial on my pretty pastel dipped votives.
You Will Need:
- Drop Cloth to protect your works pace. ( I used a heavy brown paper one I purchased at the Hardware Store)
- Glass hurricanes or votive holders, wiped clean and completely dry
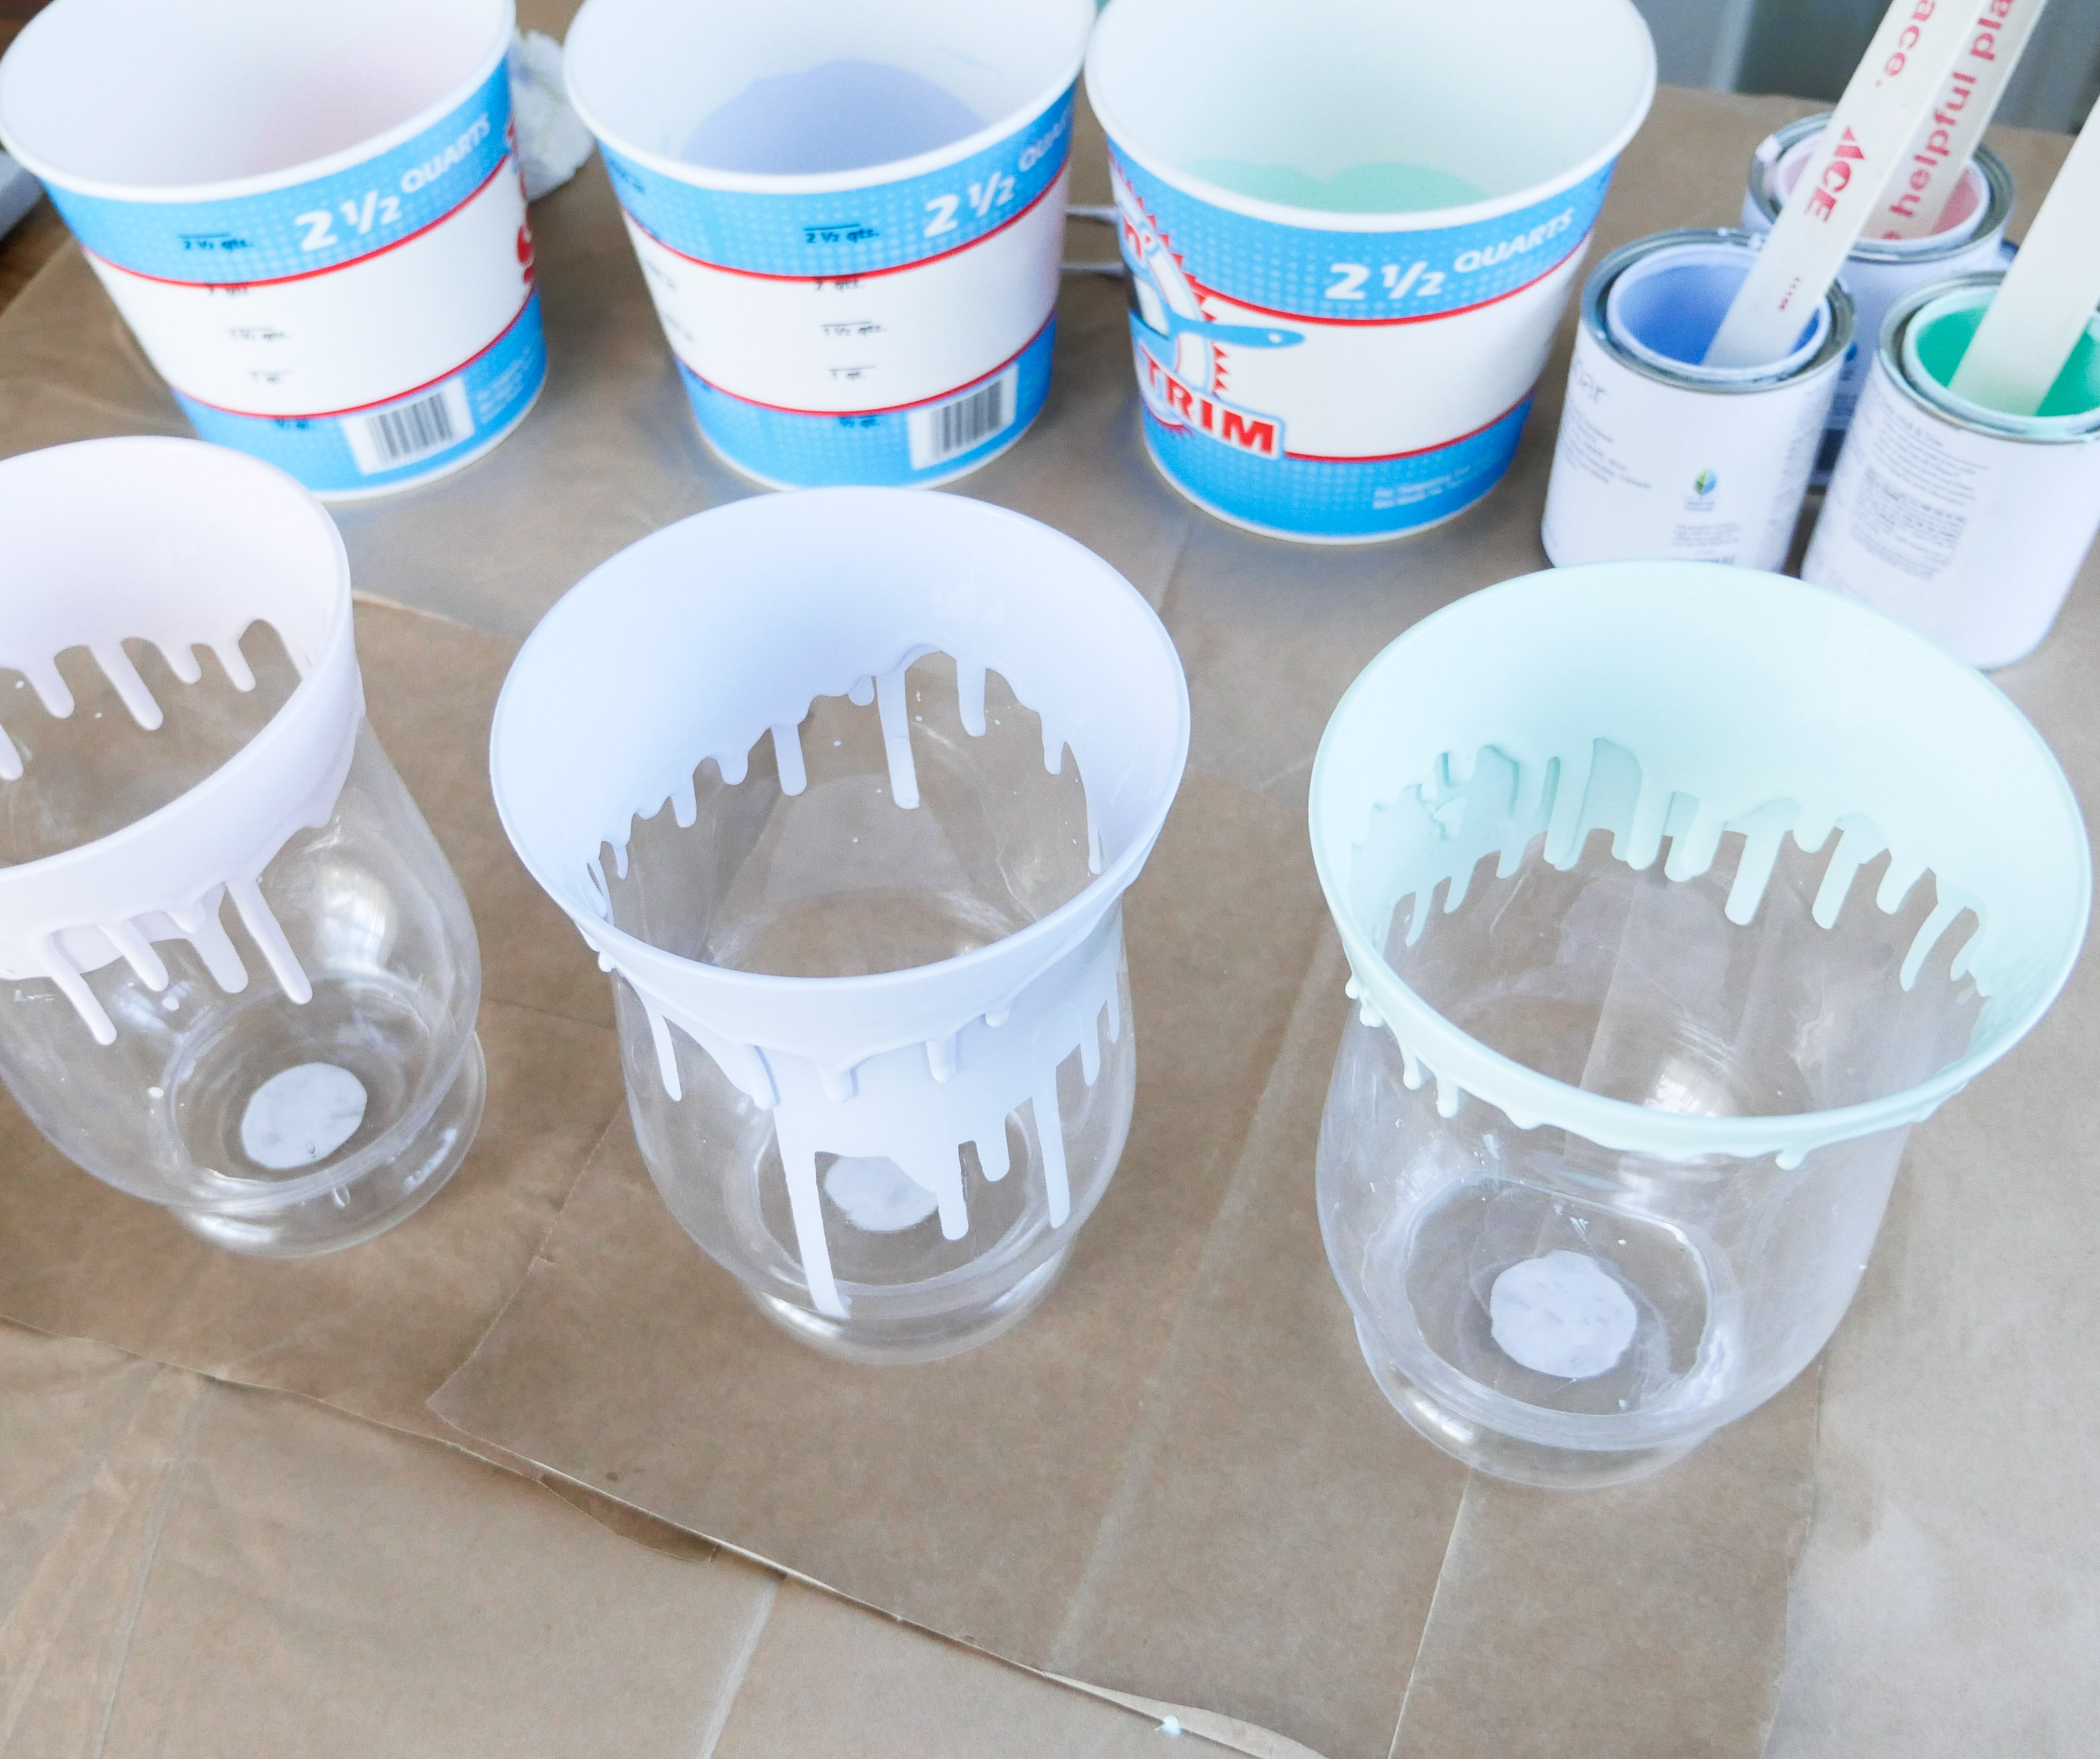
- Paint (You can use one color or vary it as I did here. An 8 oz. Sample Size of house paint is enough for about 3 hurricanes or 5 votives)
- Paint stirring sticks
- Qtips for cleaning up random smudges or splatters
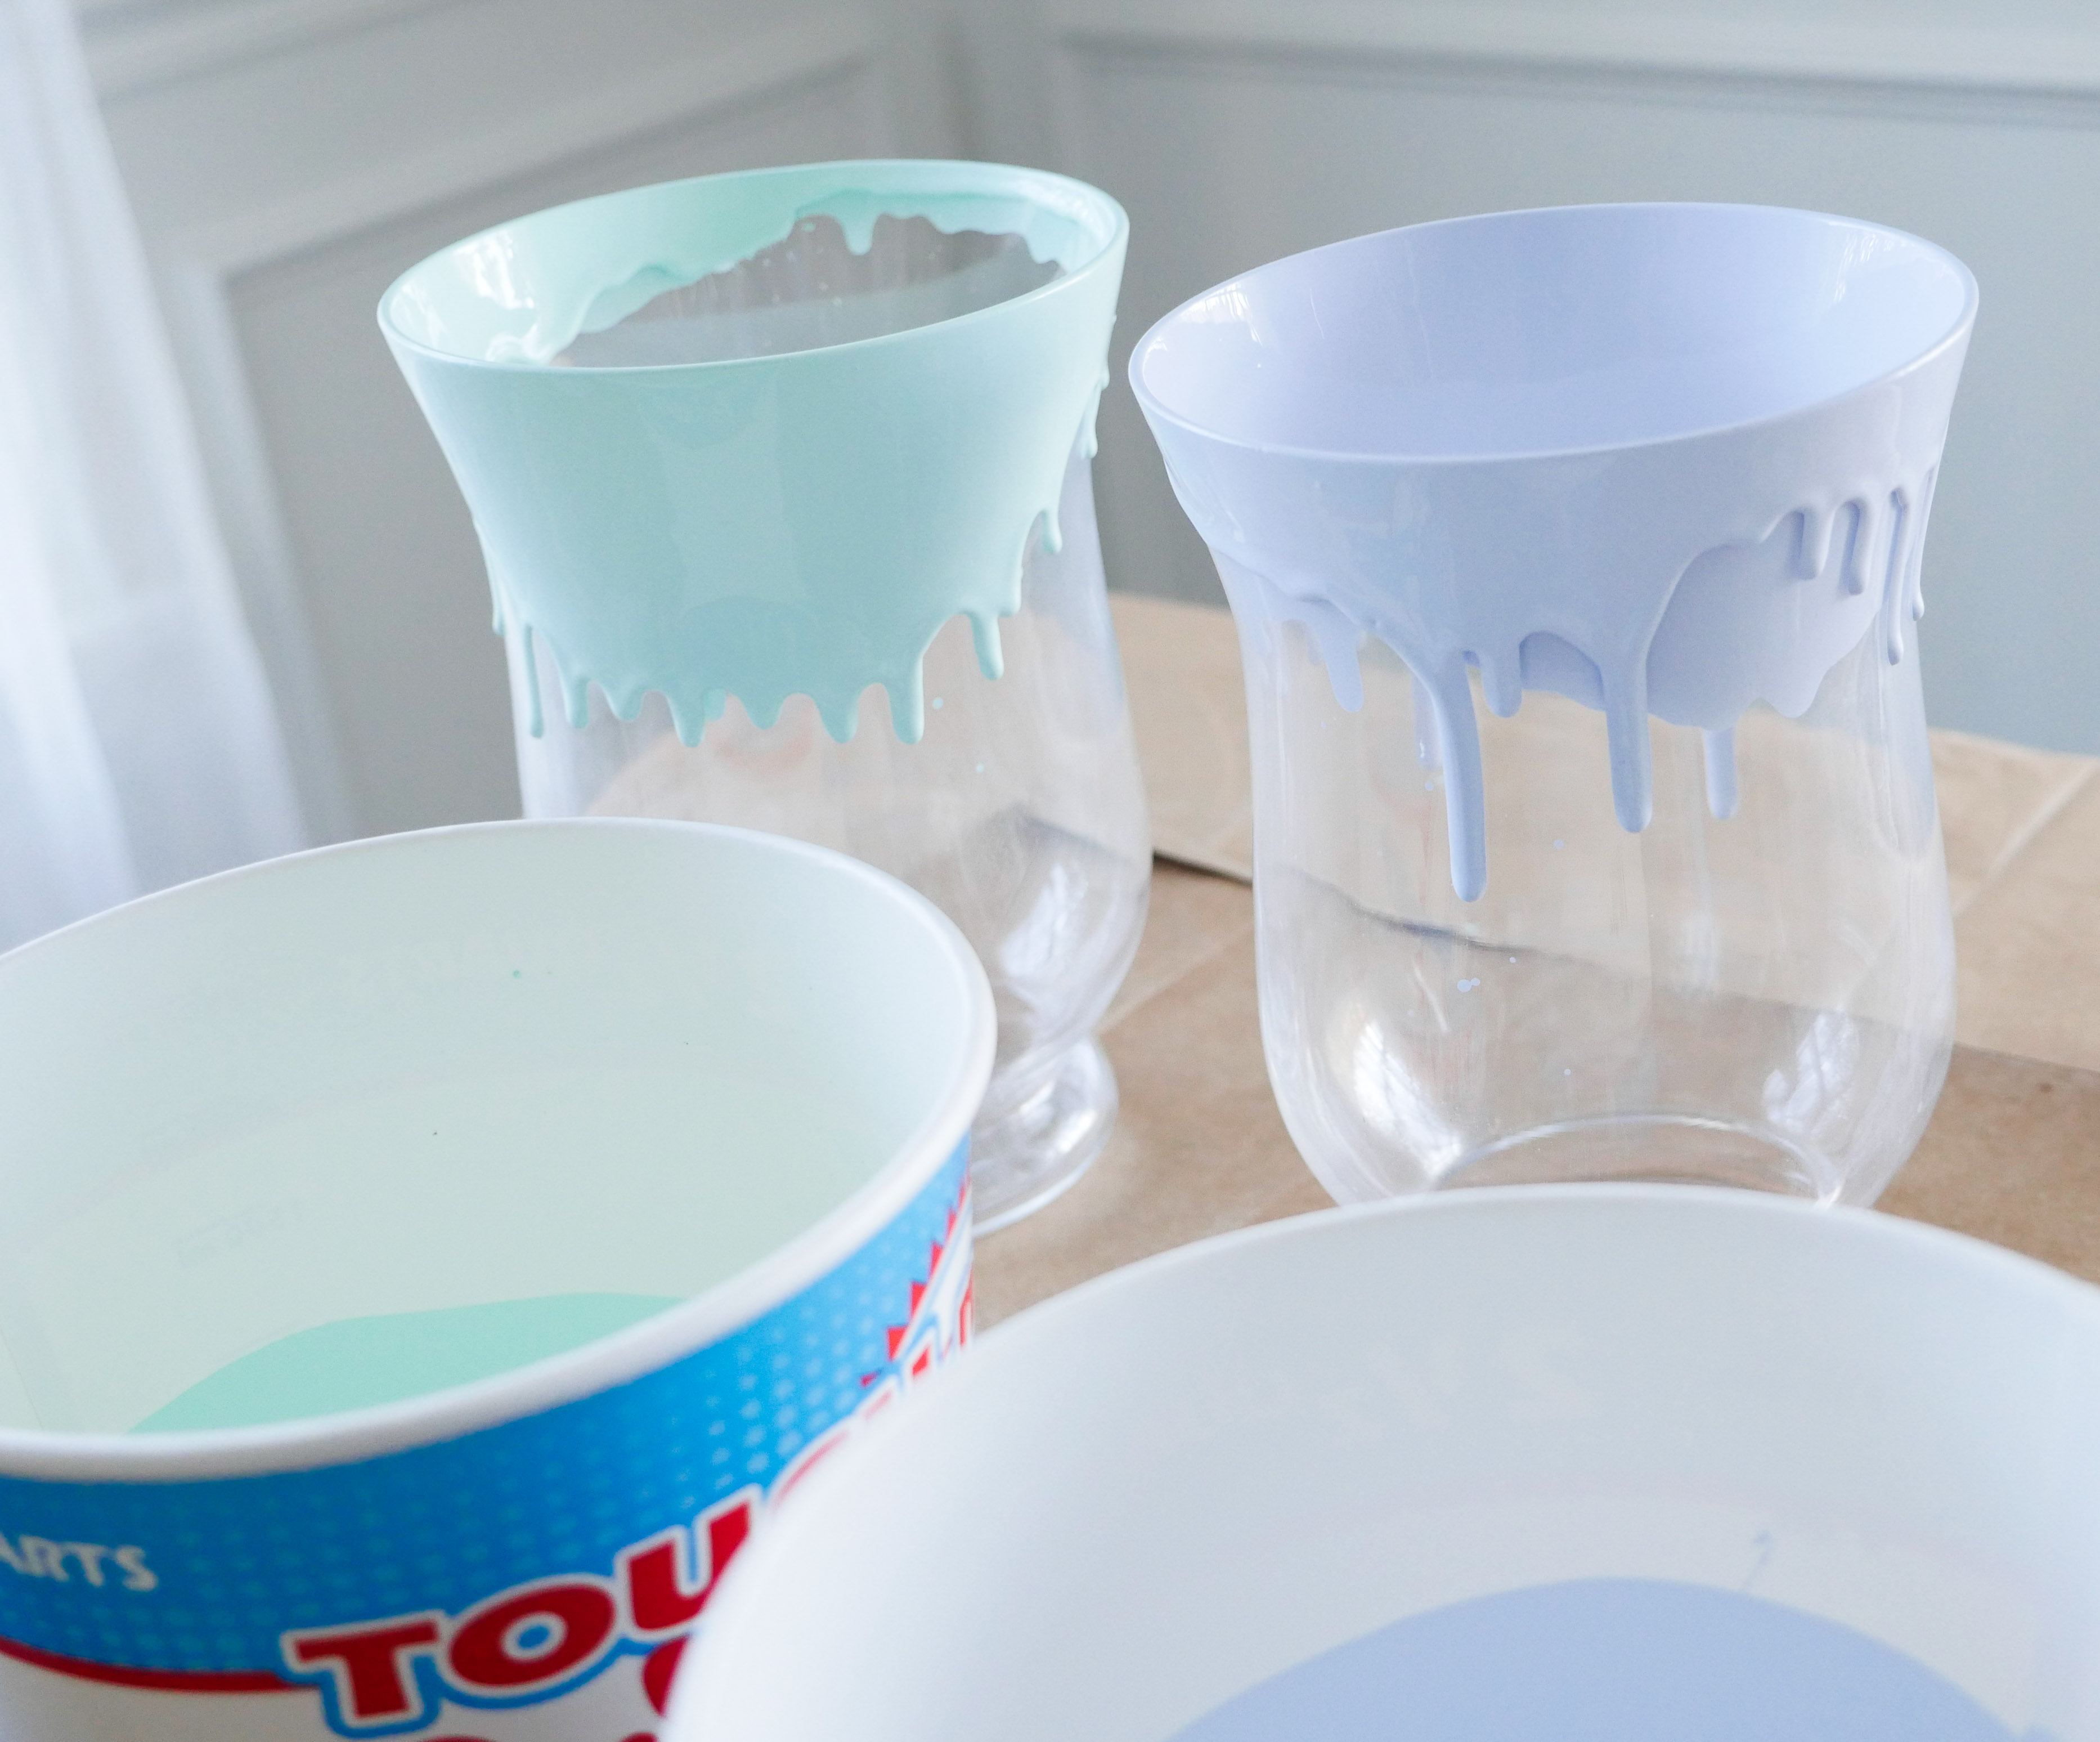
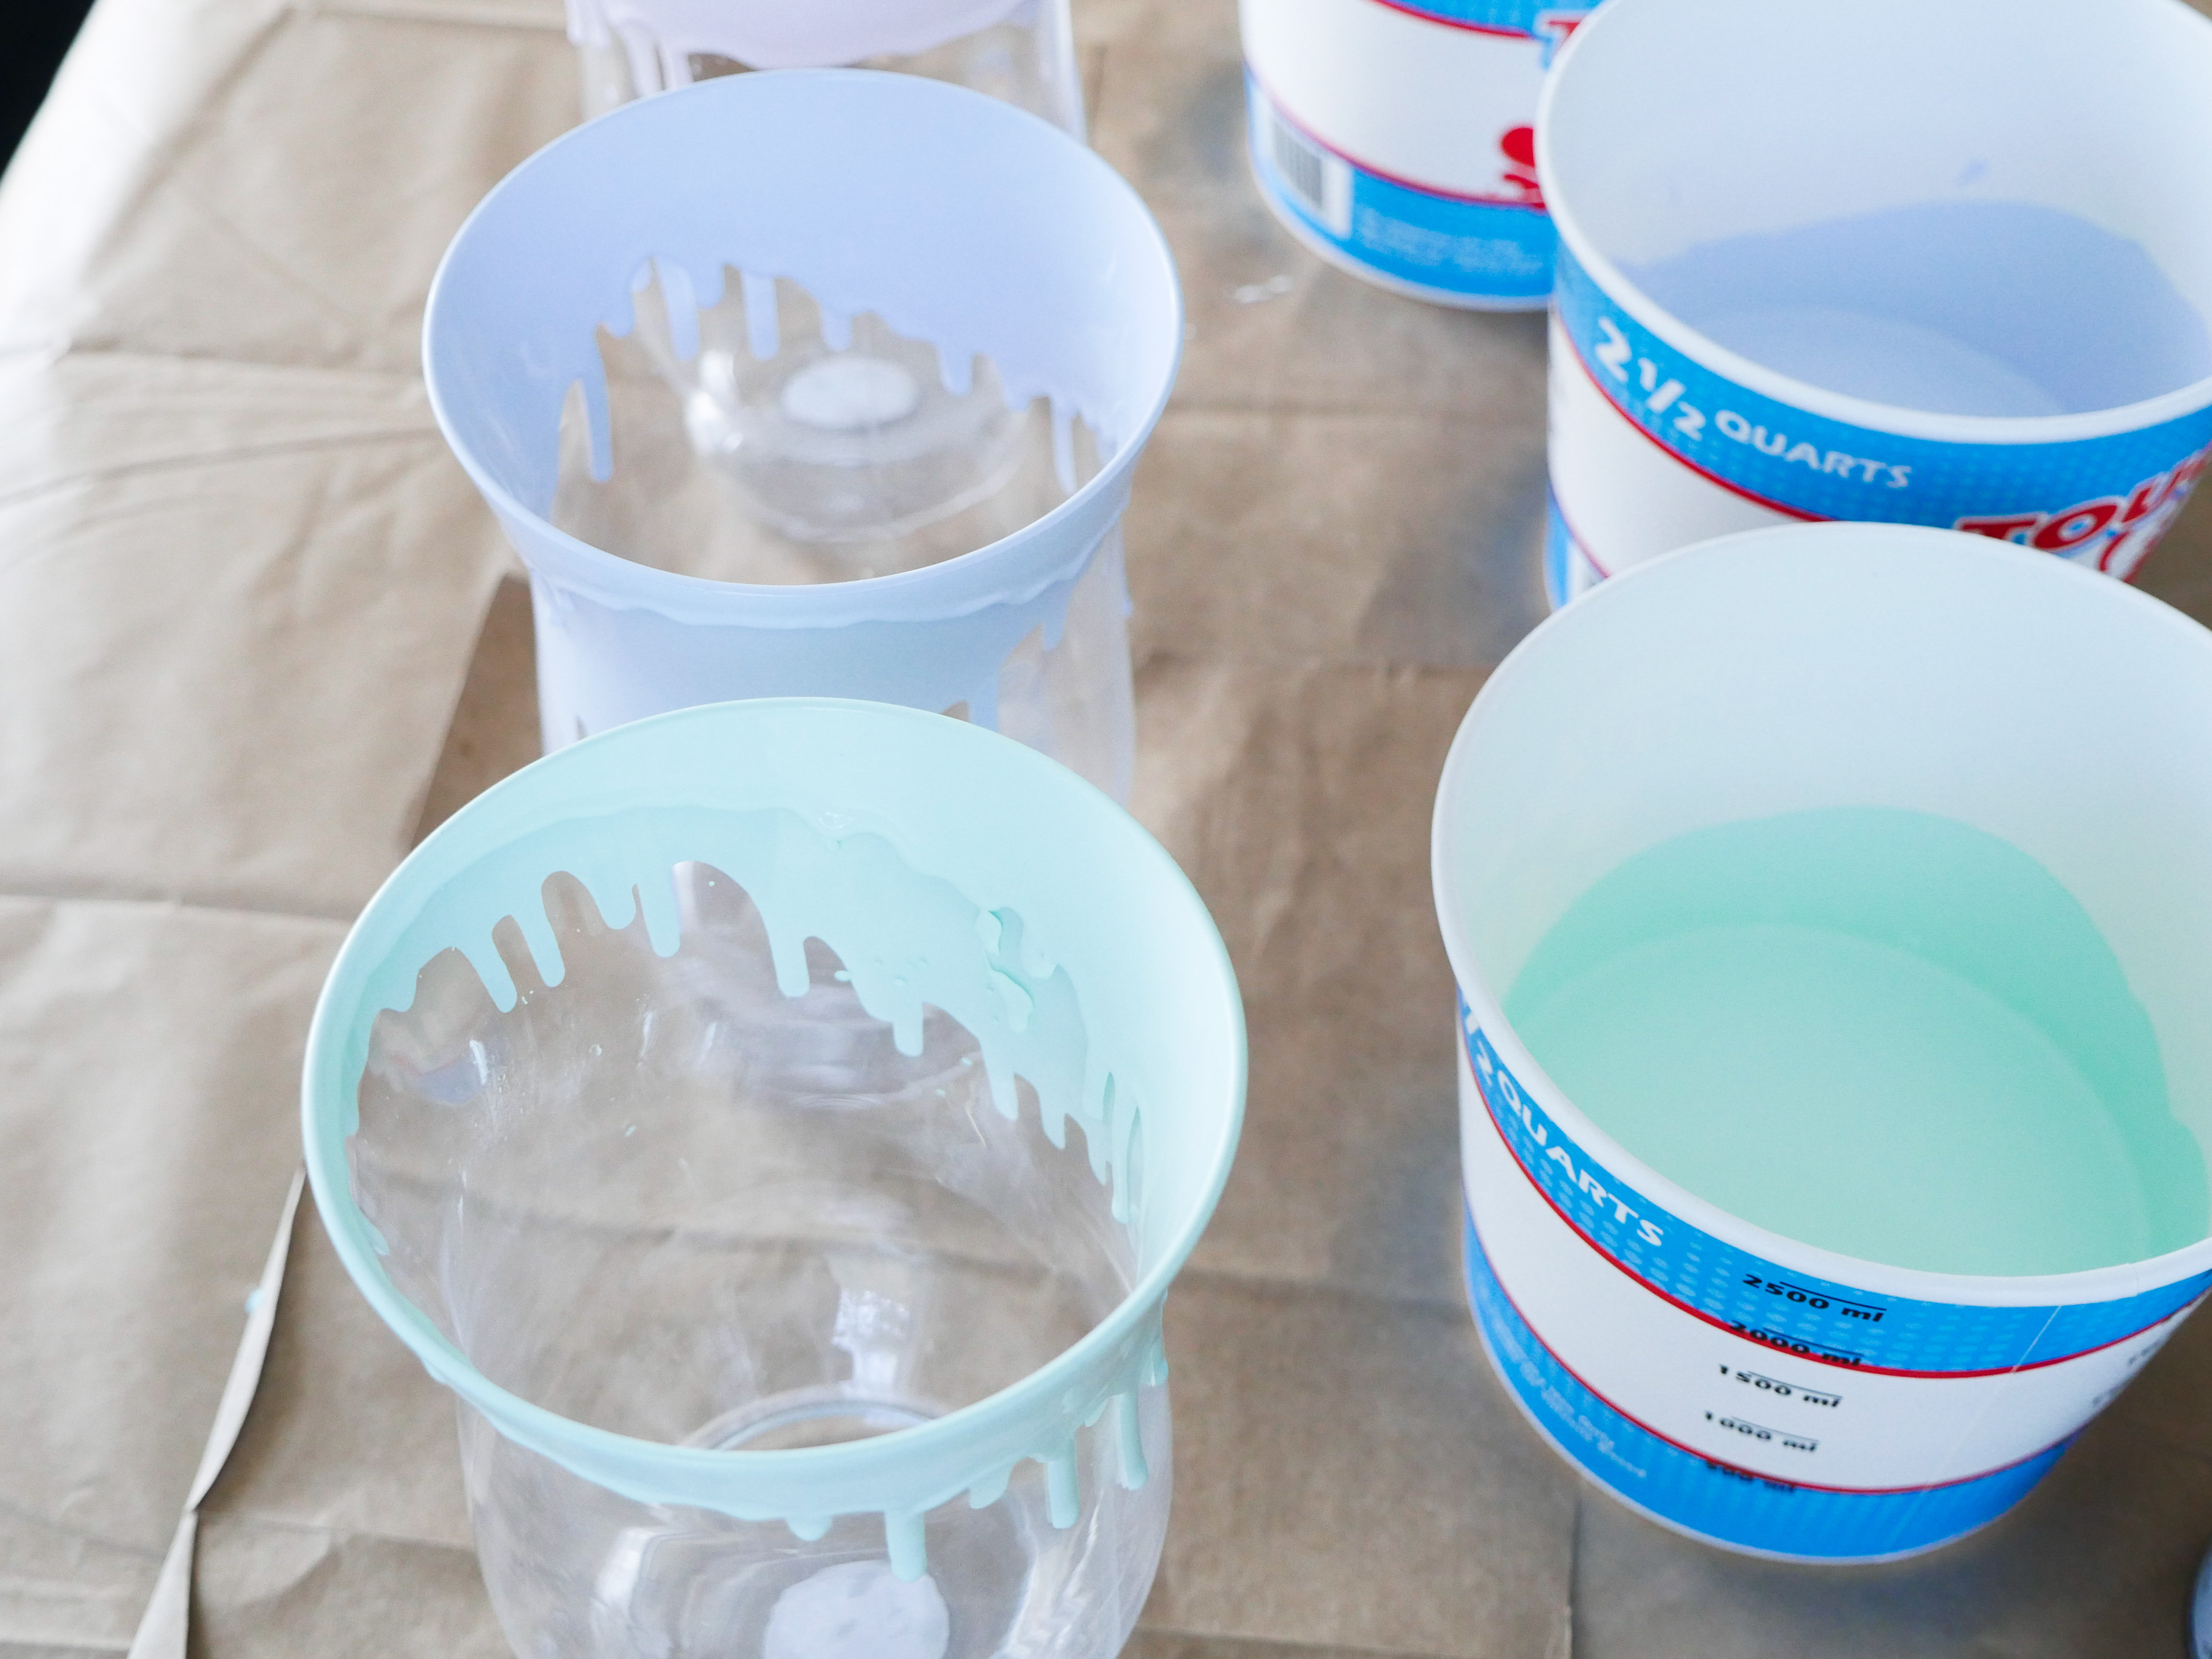
- A deep bucket or container to hold the paint for dipping. Make sure it is wide enough that the top of your votives or hurricanes can fit inside easily)
- Paper plates to dry your dipped votives!

Directions:
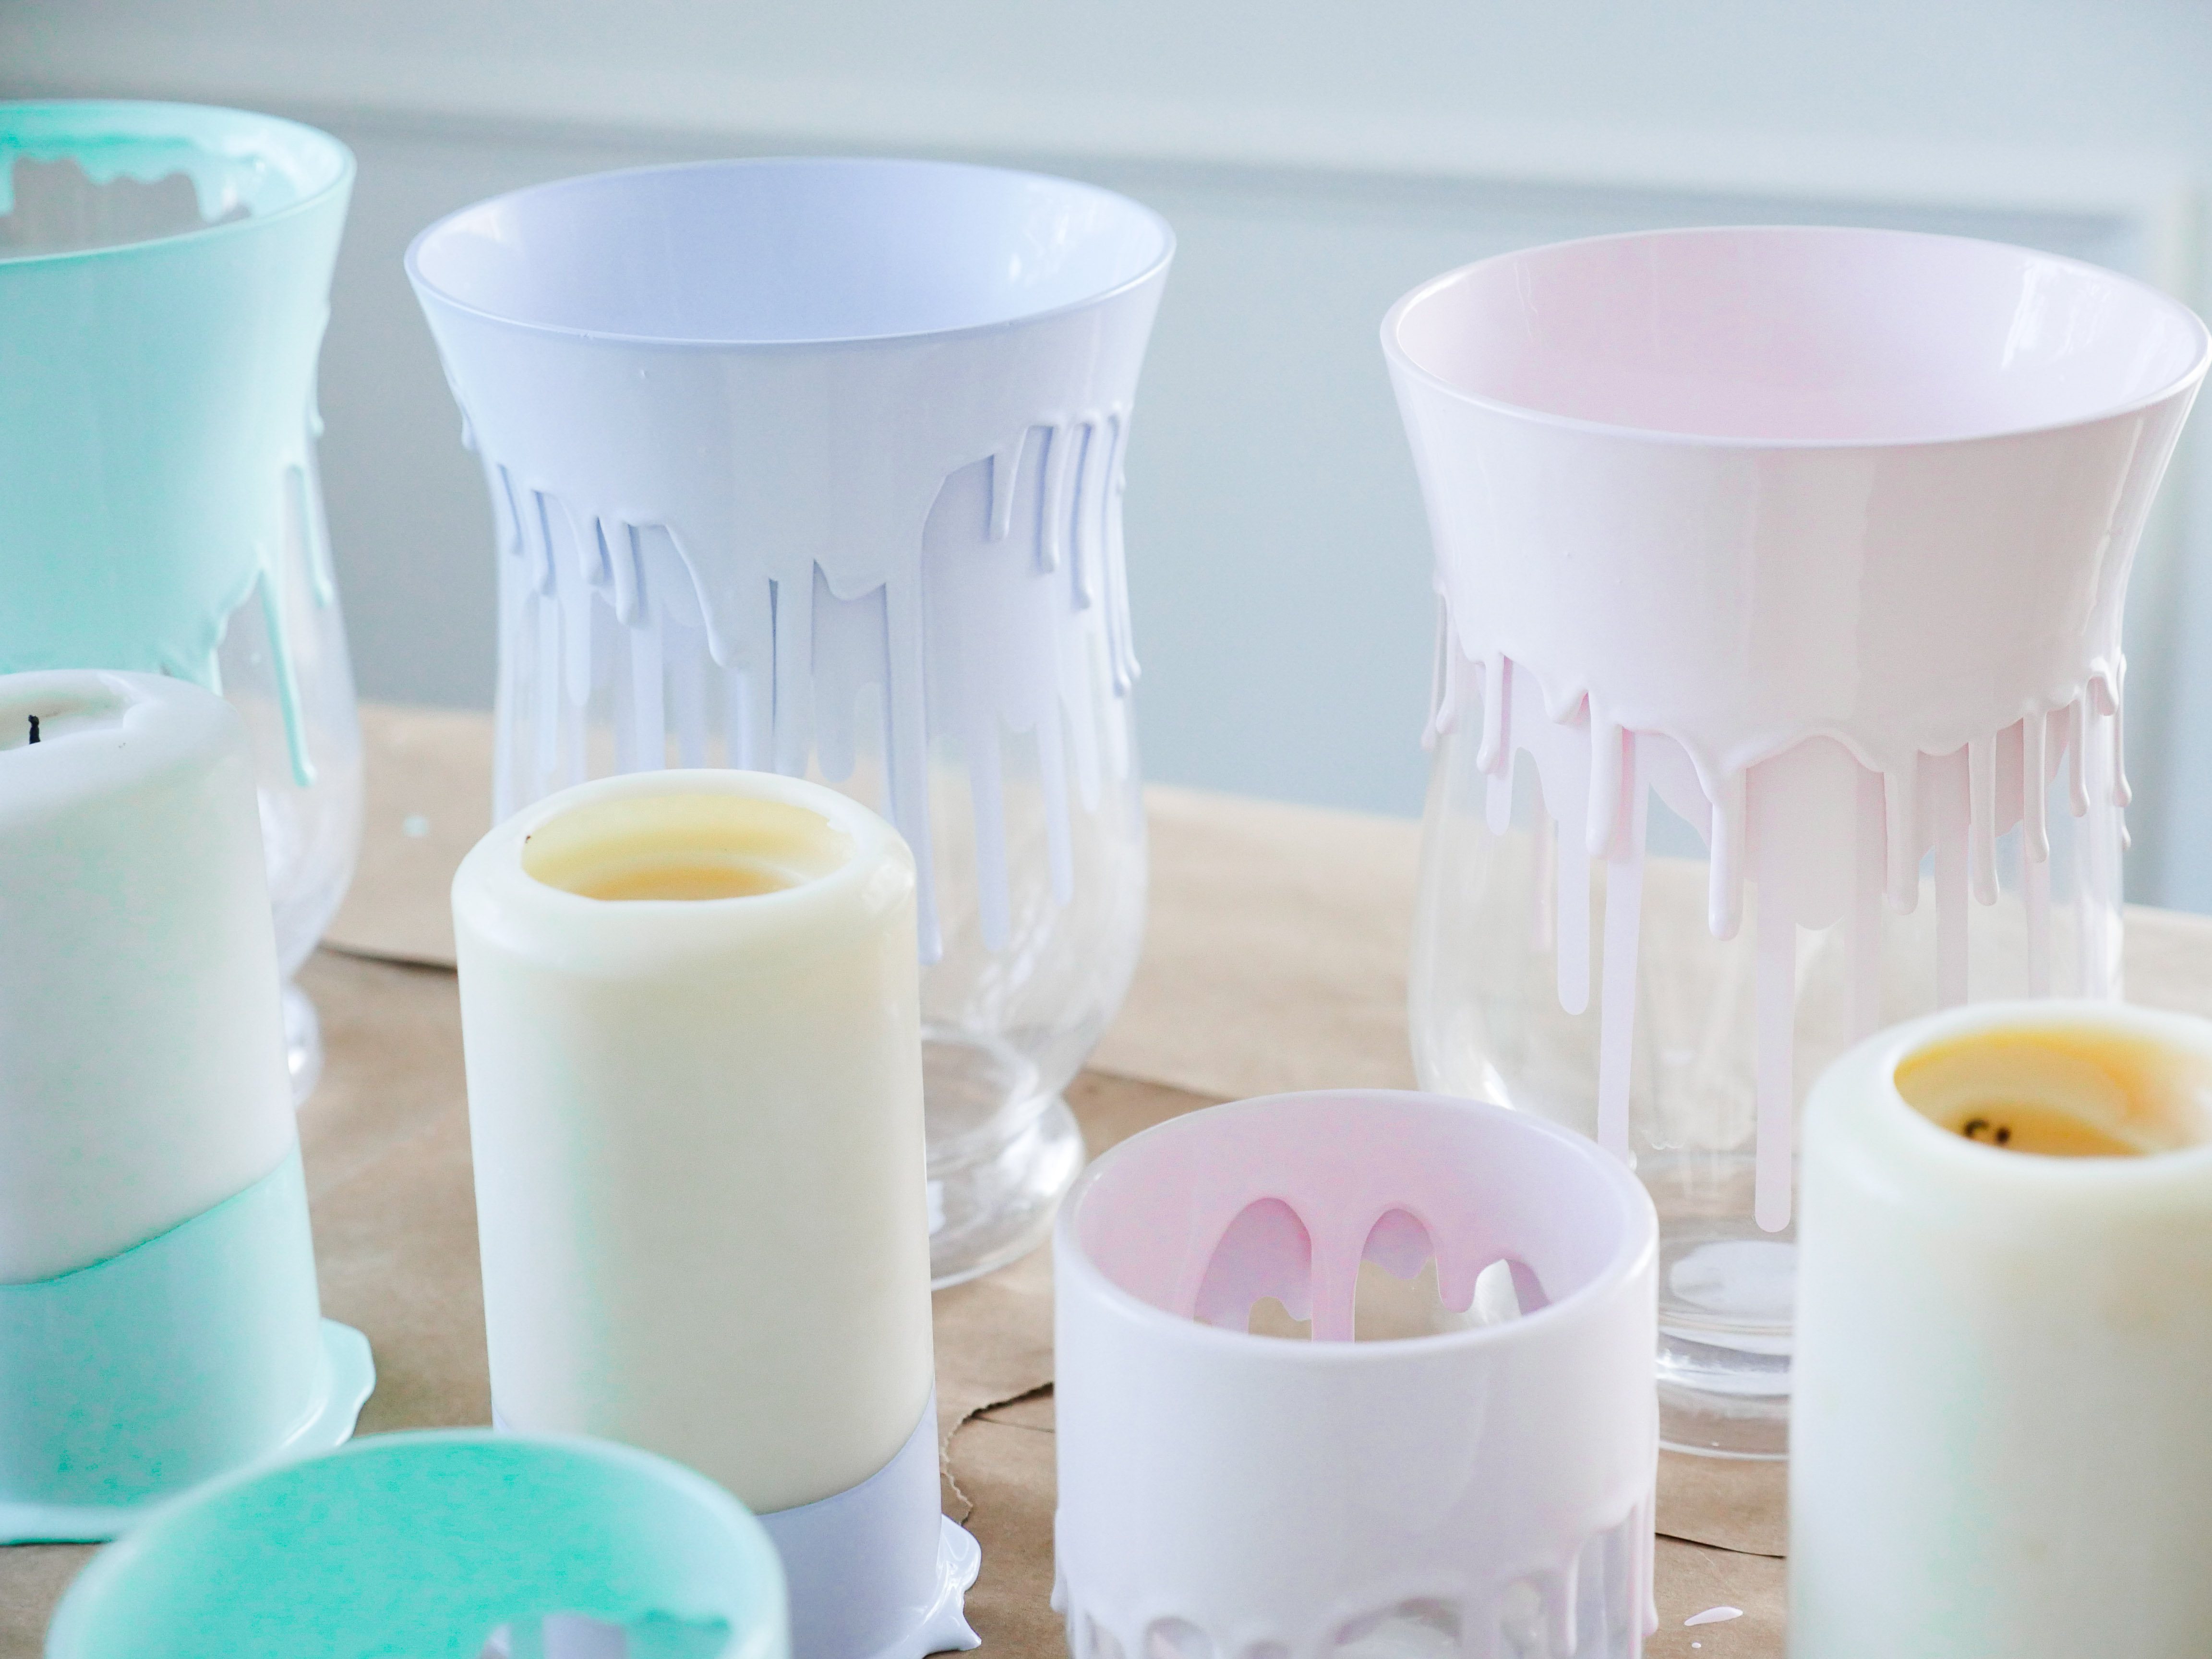
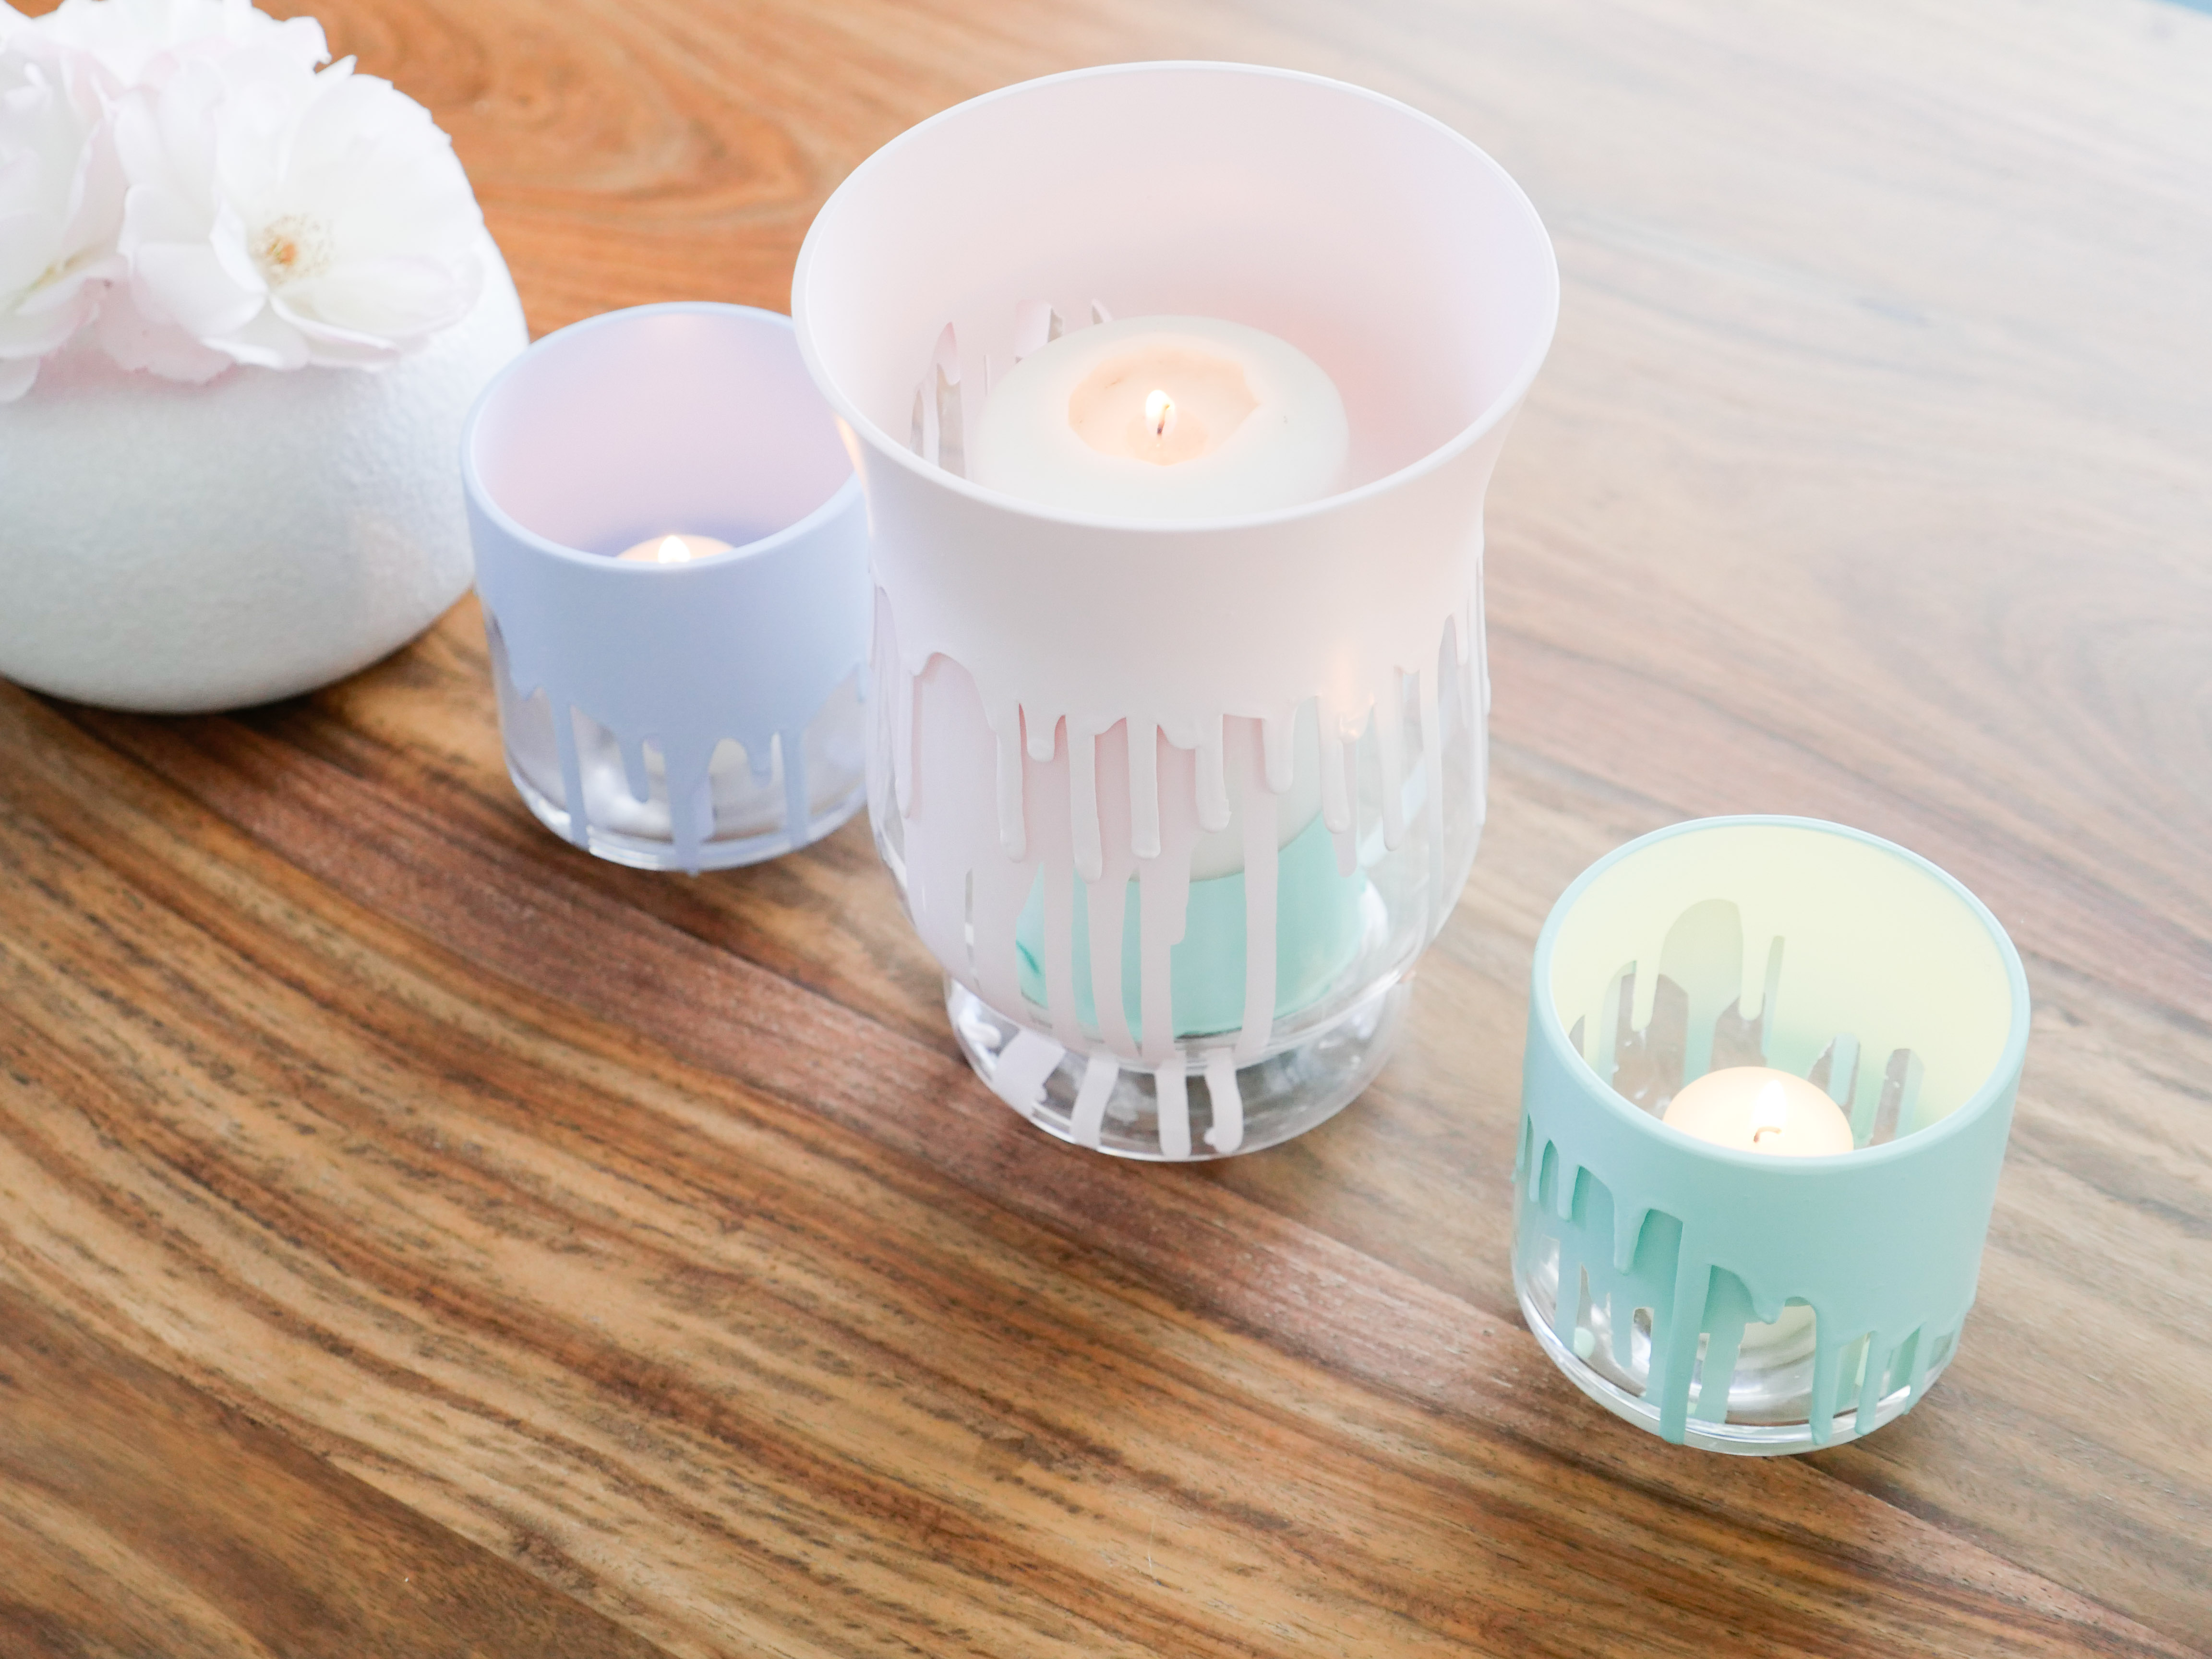
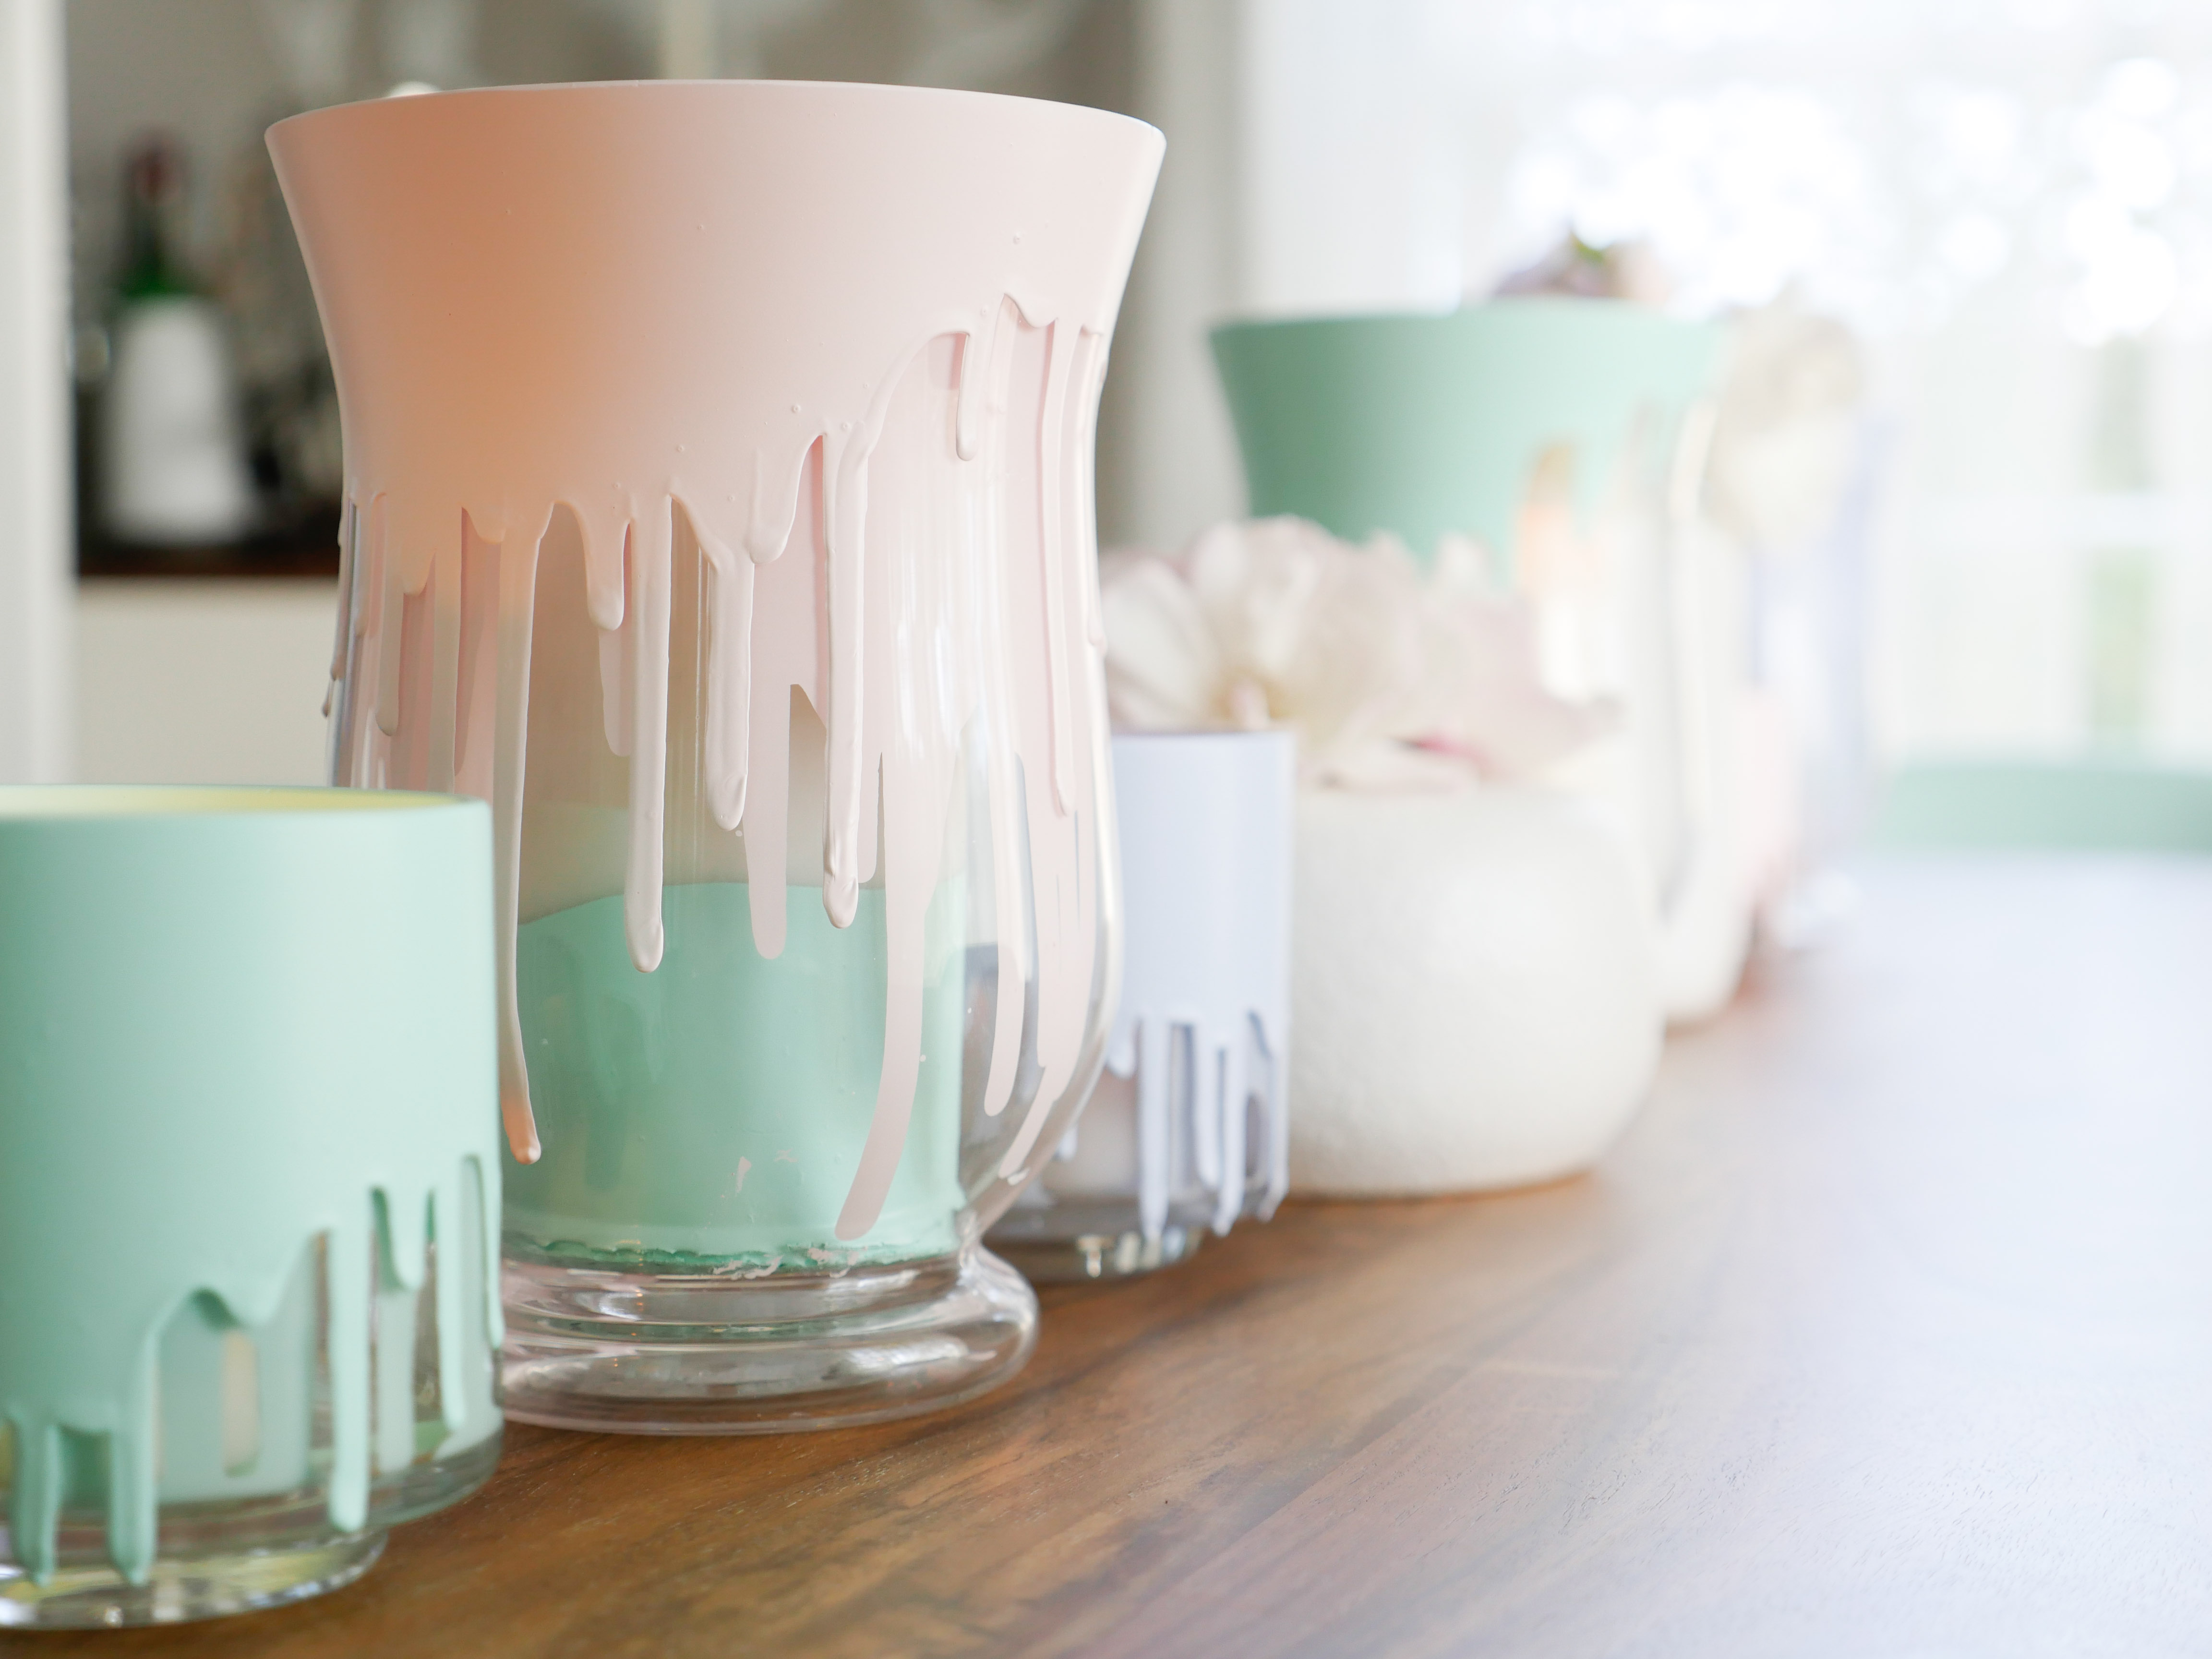
Begin by dumping your paint in to the deep containers. If using different colors, separate them in to different containers, and stir them up to make sure the color is well blended. One by one, take the votives and flip them upside down. Carefully lower the rim of the votive in to the paint, submerging it about an inch in to the paint. You can tilt the paint container a bit to get a varied edge on the dripping paint. Then slowly and steadily lift the votive up out of the paint until it is about three inches above the paint container. Flip the votive to right side up, and set it on a paper plate to drip and dry. Gravity will create your awesome paint design. Repeat with all remaining votives. Clean up random splashes with a Qtip dipped in water. Allow around 24 hours to dry. Do not place these votives to dry anywhere near areas heavily trafficked by kids or pets! As always, burning candles should not be left unattended!


Wow, these are really cool. Not to mention so easily done. Just added to my DIY project list. Thank you, Eva.
is this safe with the candle burning and the paint so close? what about fumes?
Beautiful! Question, where did you get your dinning room table from? Lovely!
Hi Ana!
Thank you! The table is CB2 from about six years ago
xoxo
EAM
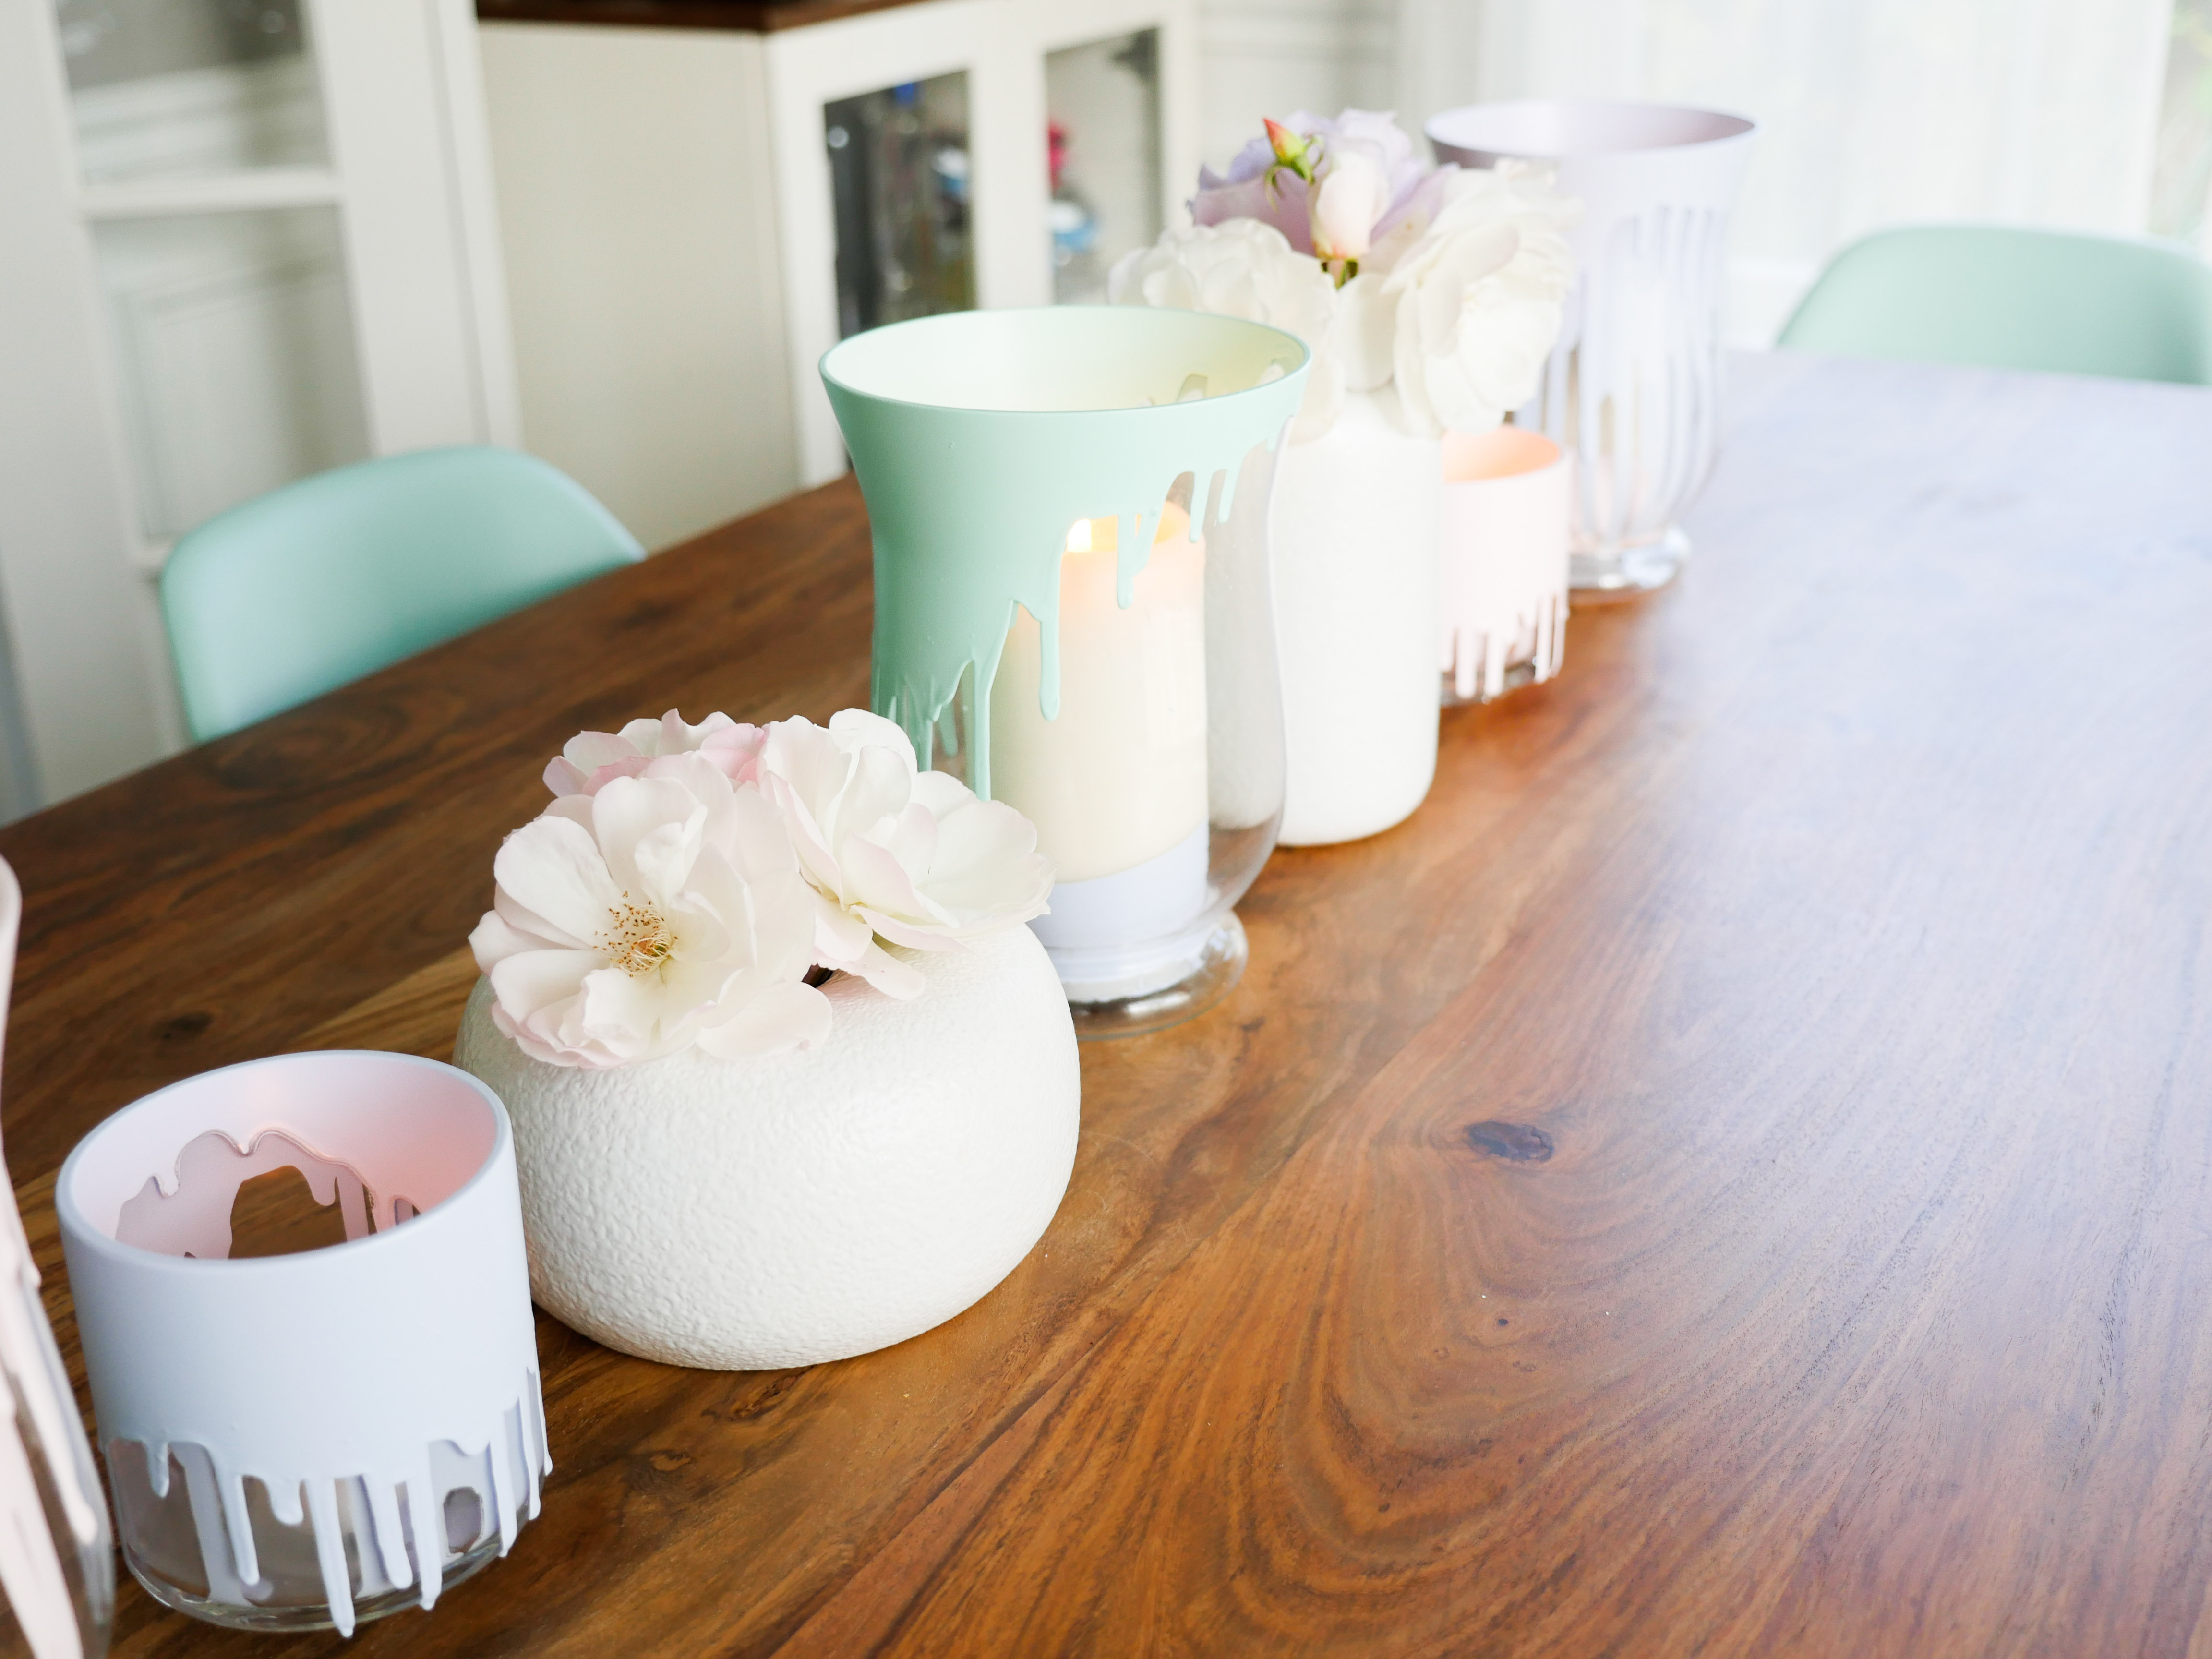
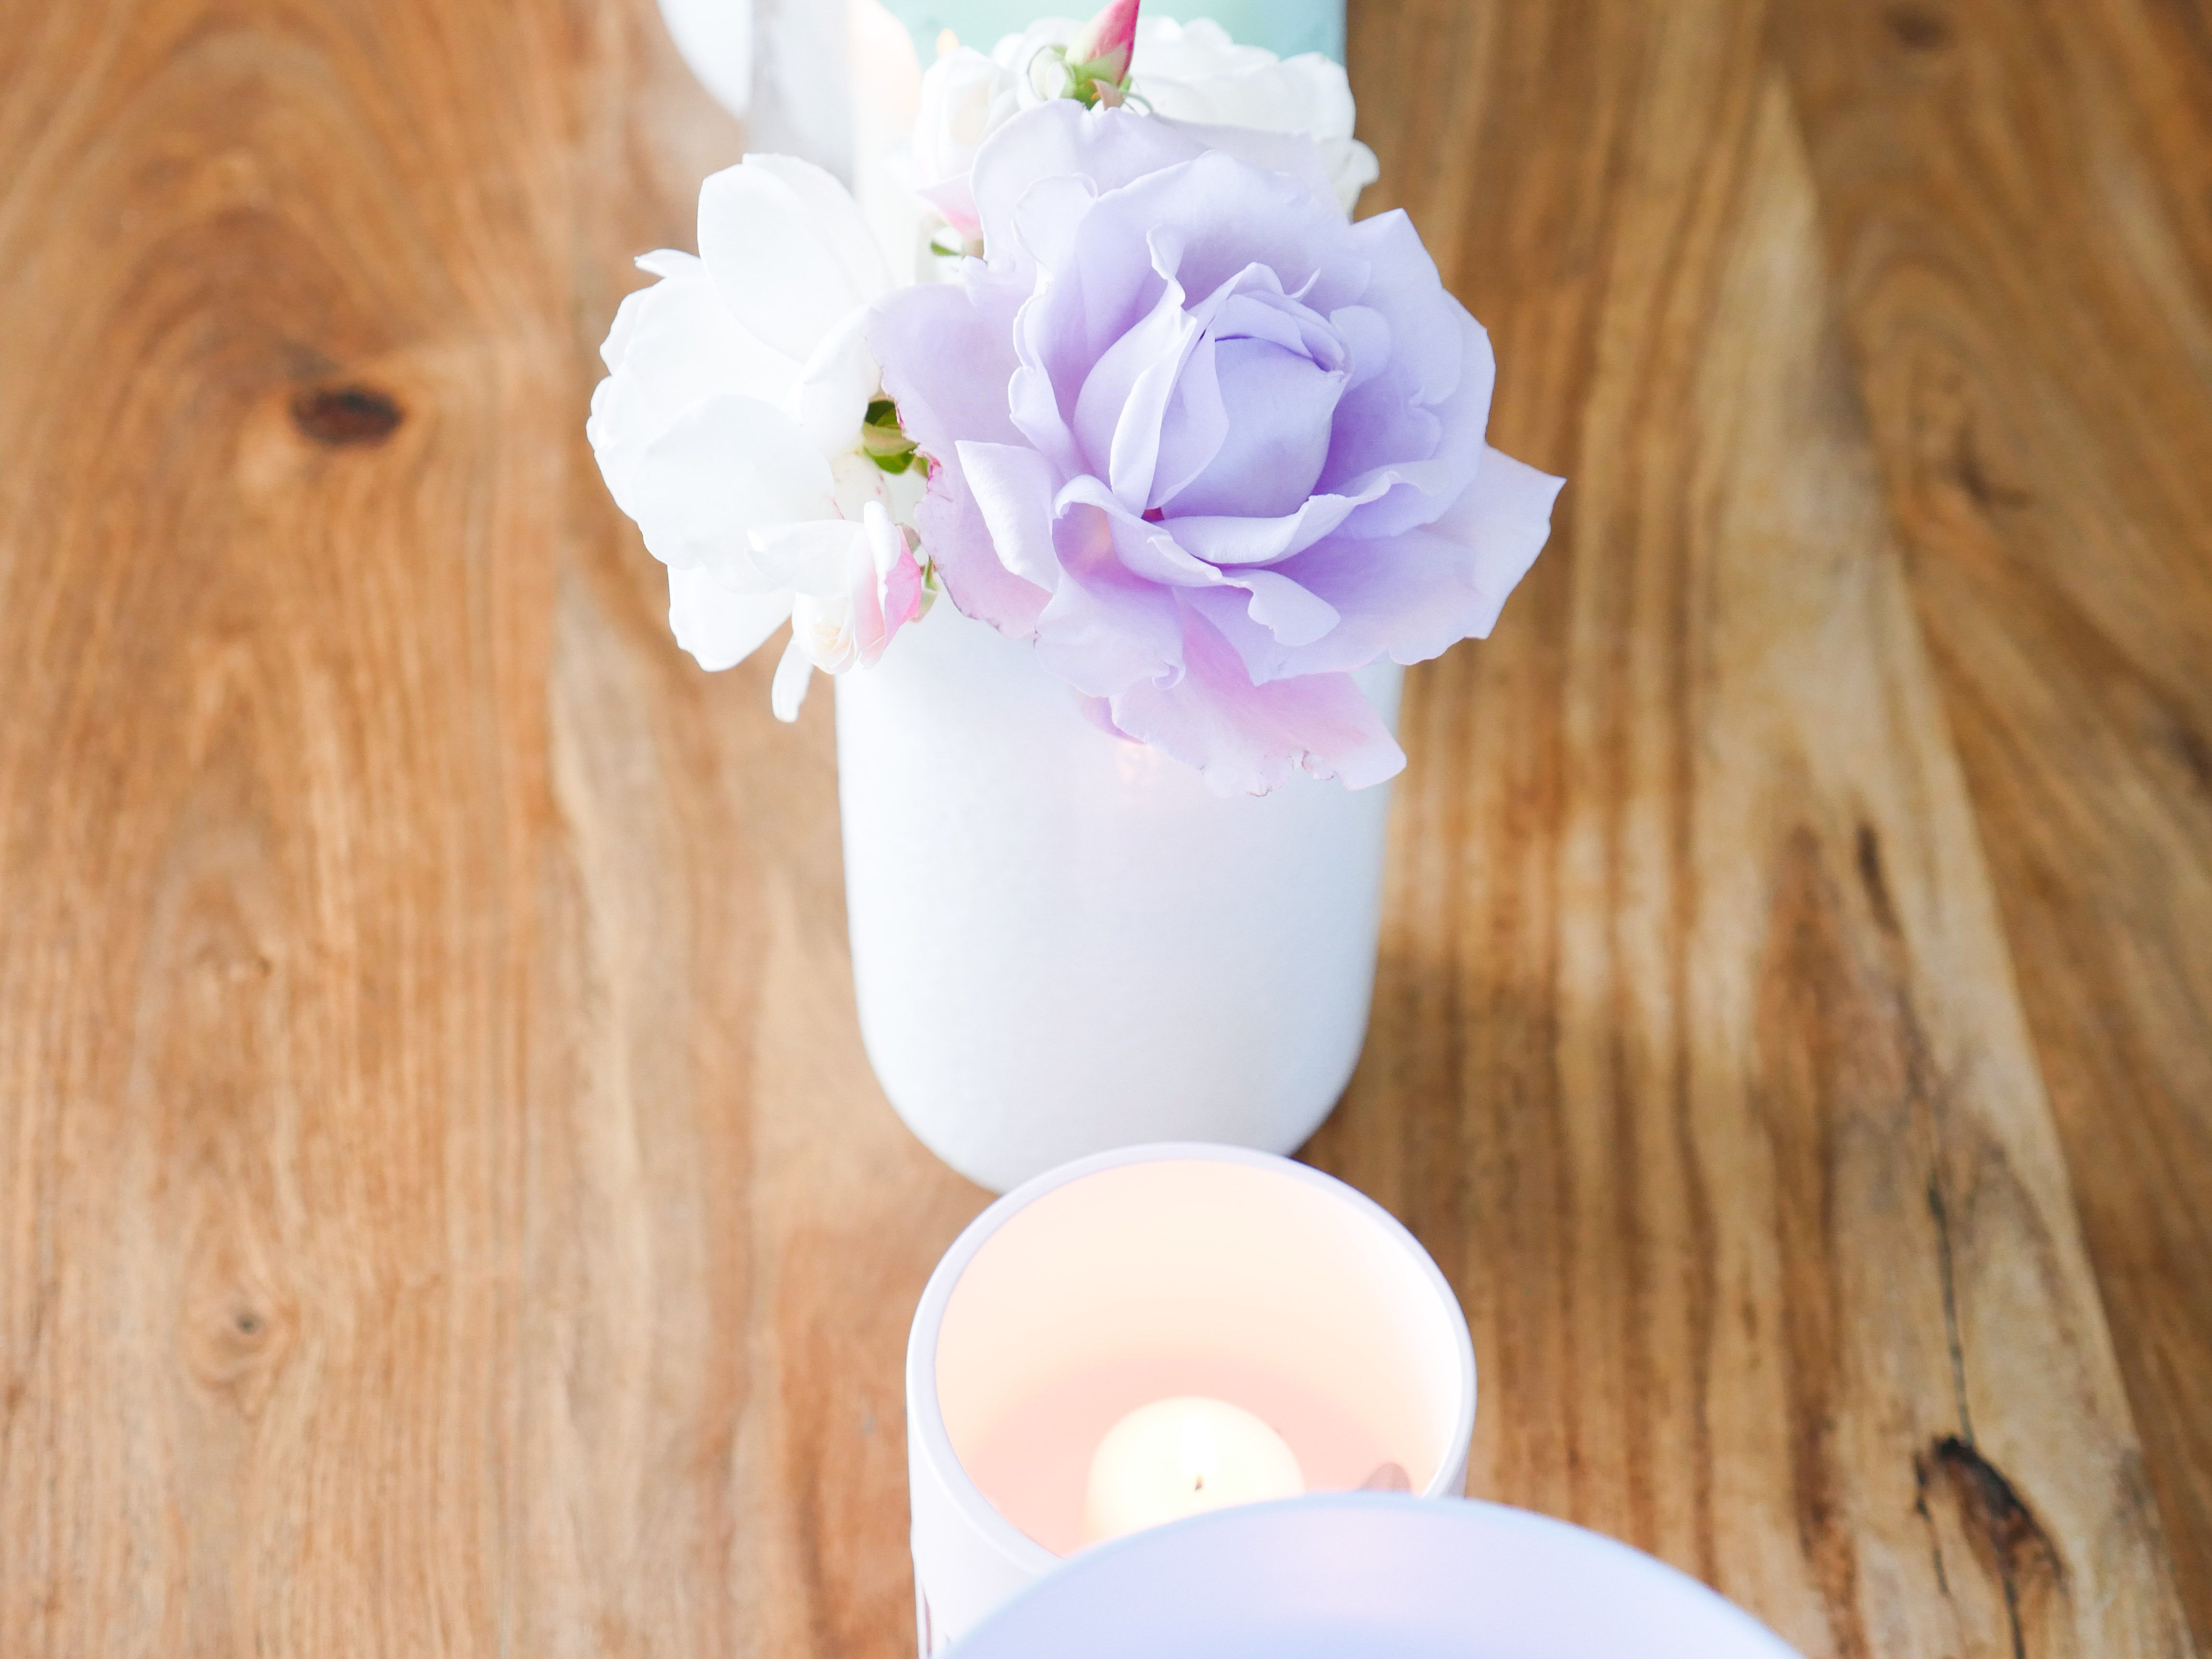
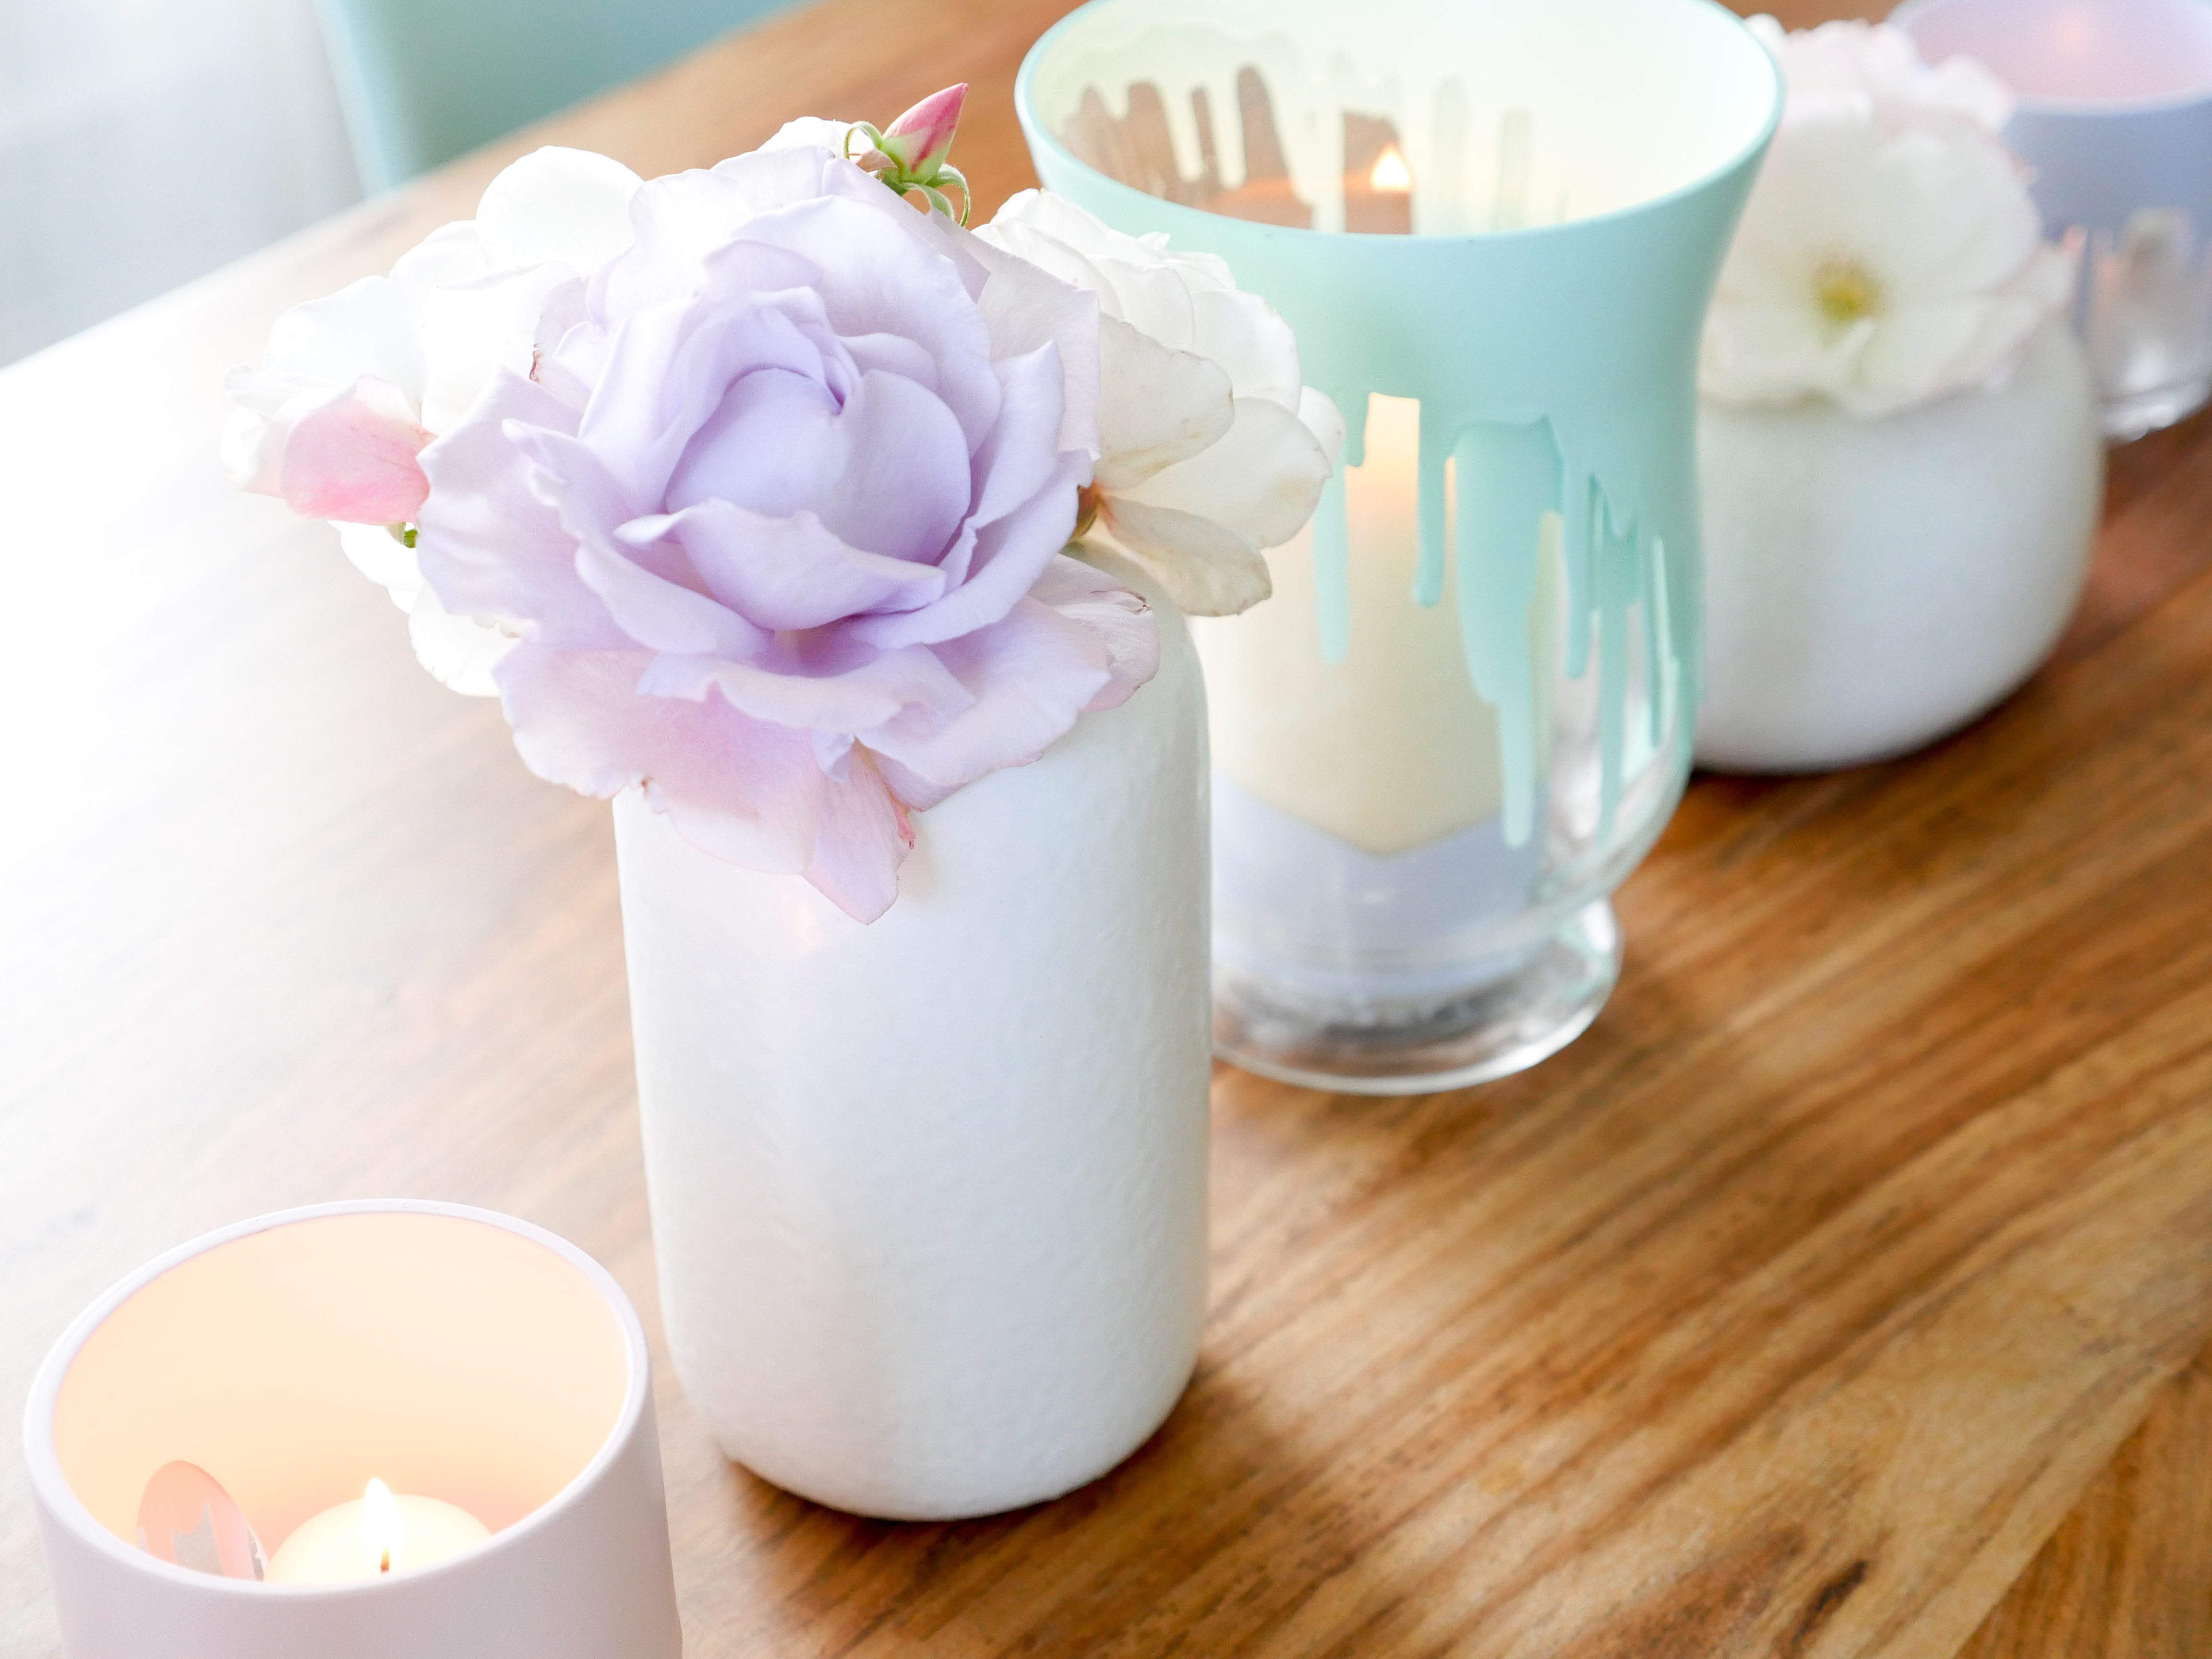
I love love love these! I’m a huge candle lover, real & flawless! They add such warmth to a space. These votive holders are super versatile: candles, flowers, beads, even holding candy! (How cute would these be dipped in pink & red, filled with conversational Valentine candy hearts or Valentine Hershey kisses?!) I love that they’re an easy project. TY for this awesome idea Eva!