The following content may contain affiliate links. When you click and shop the links, we receive a commission.
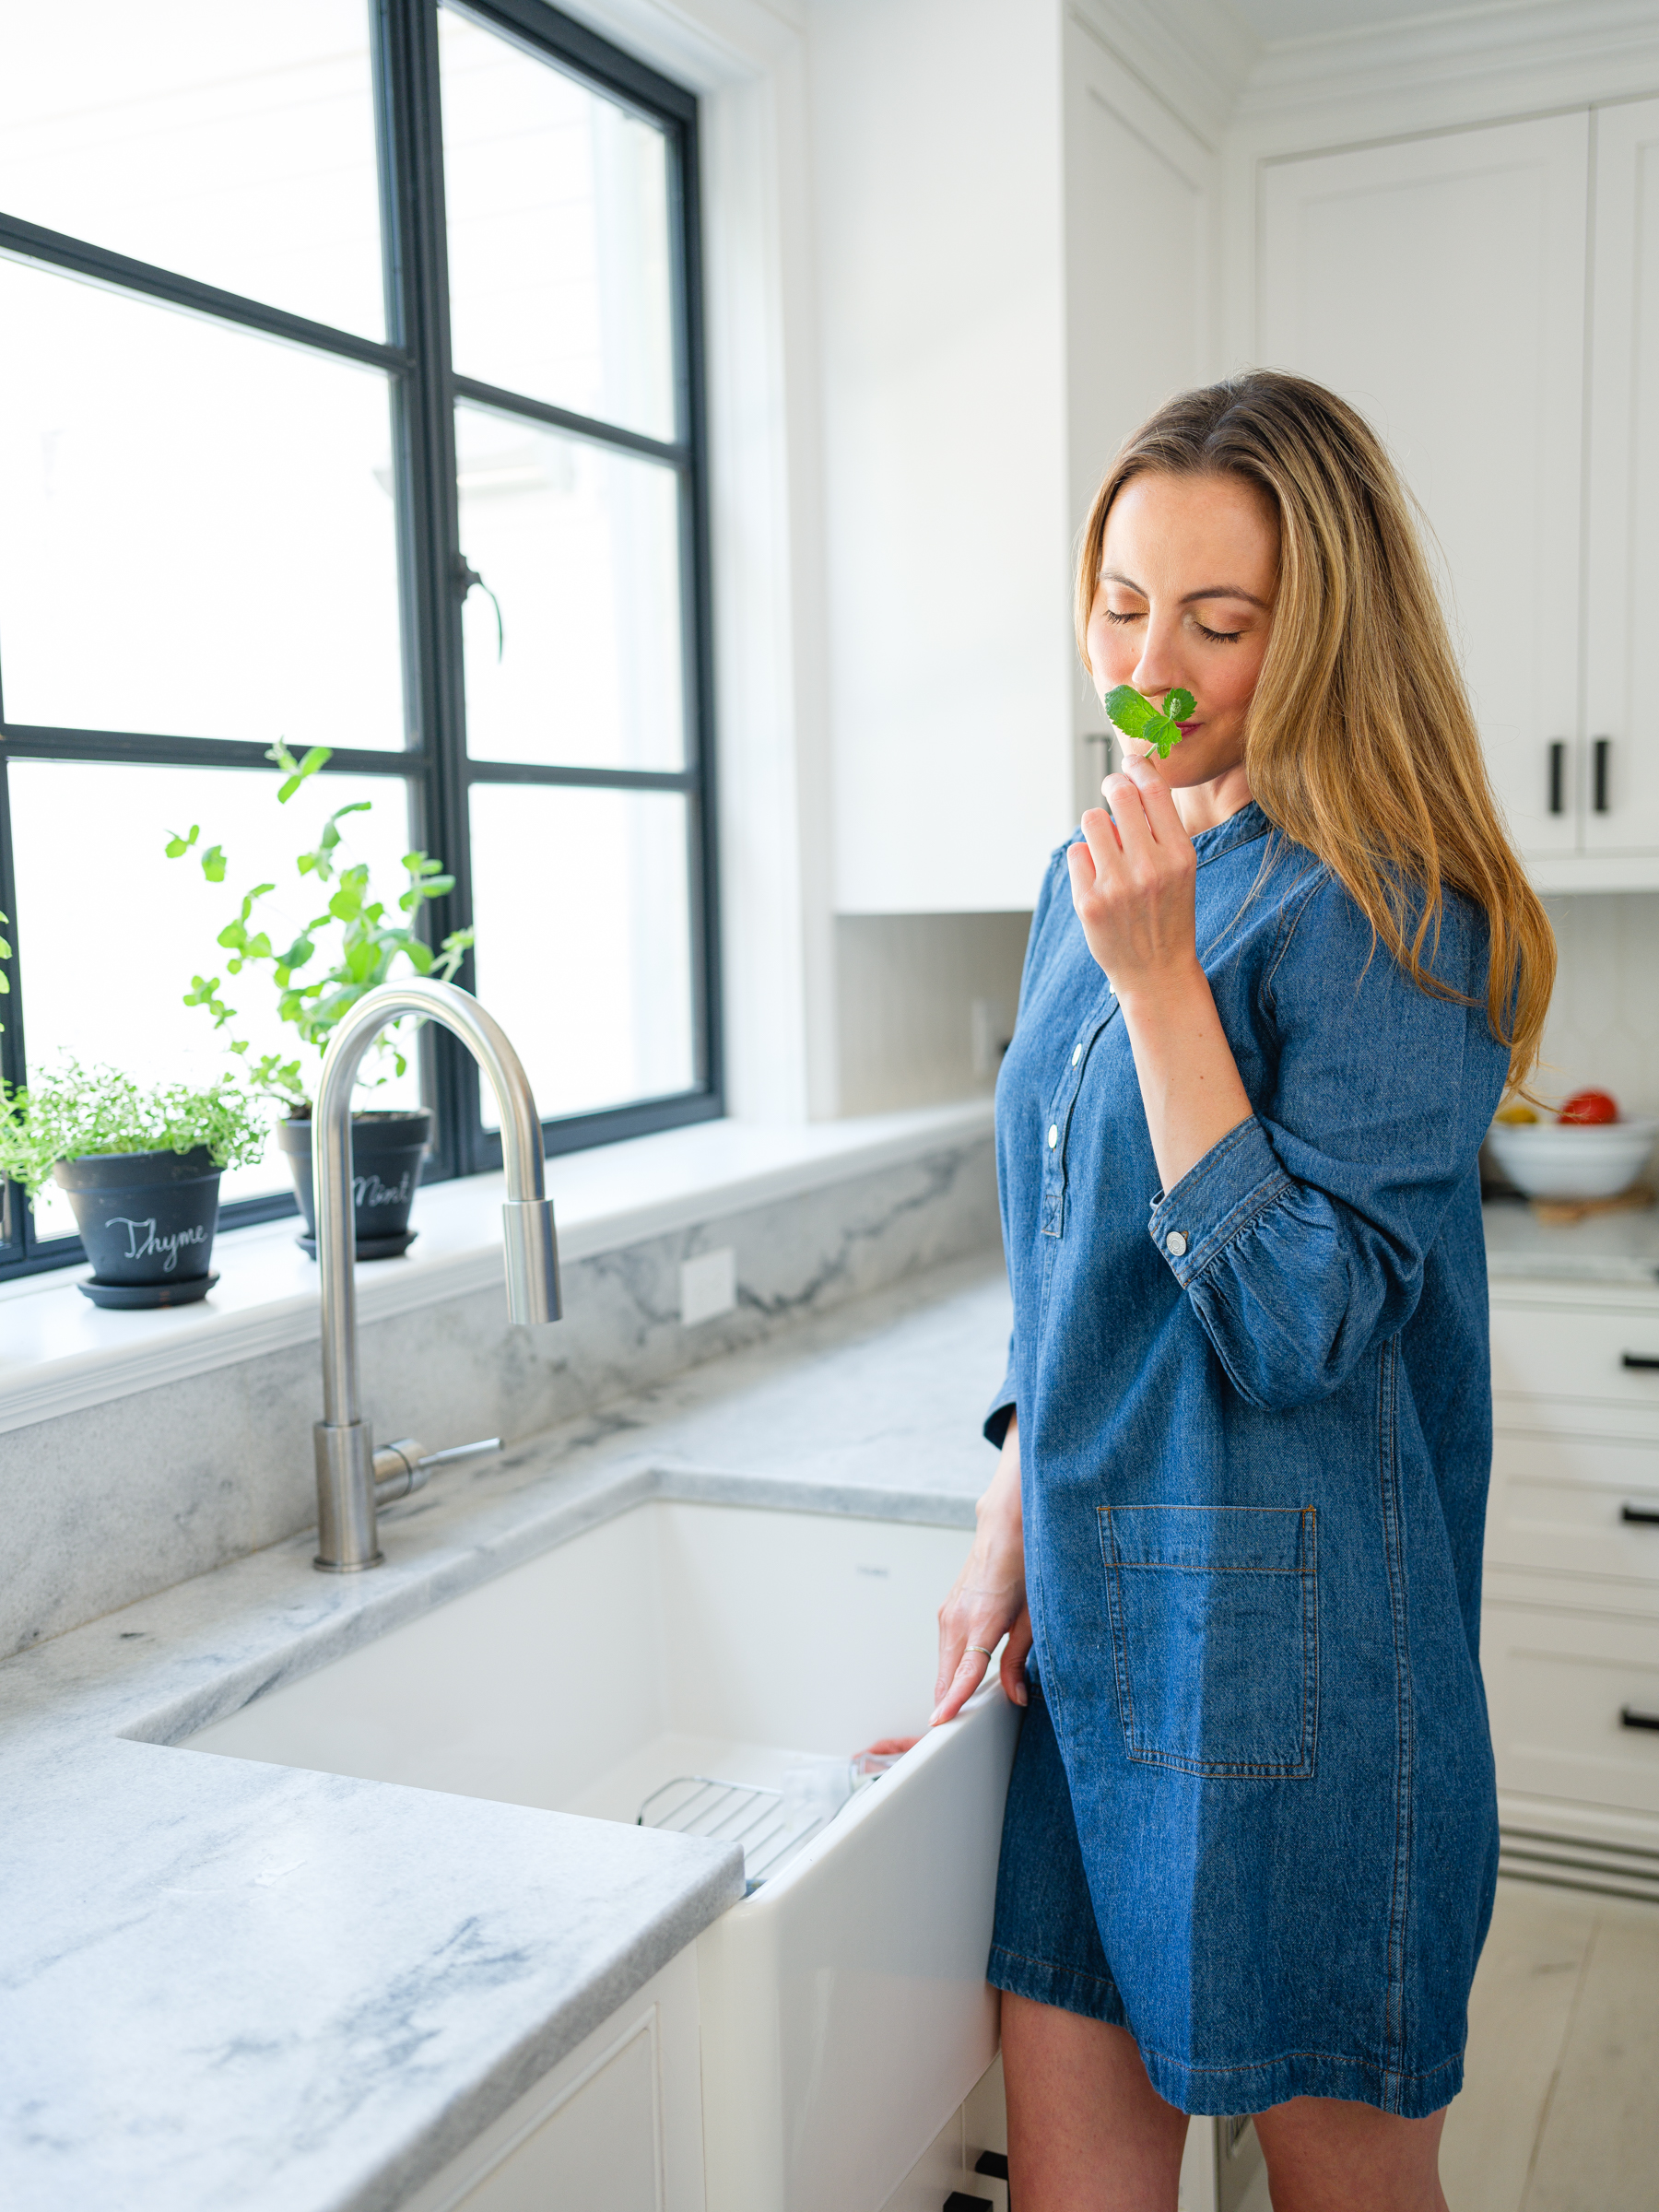
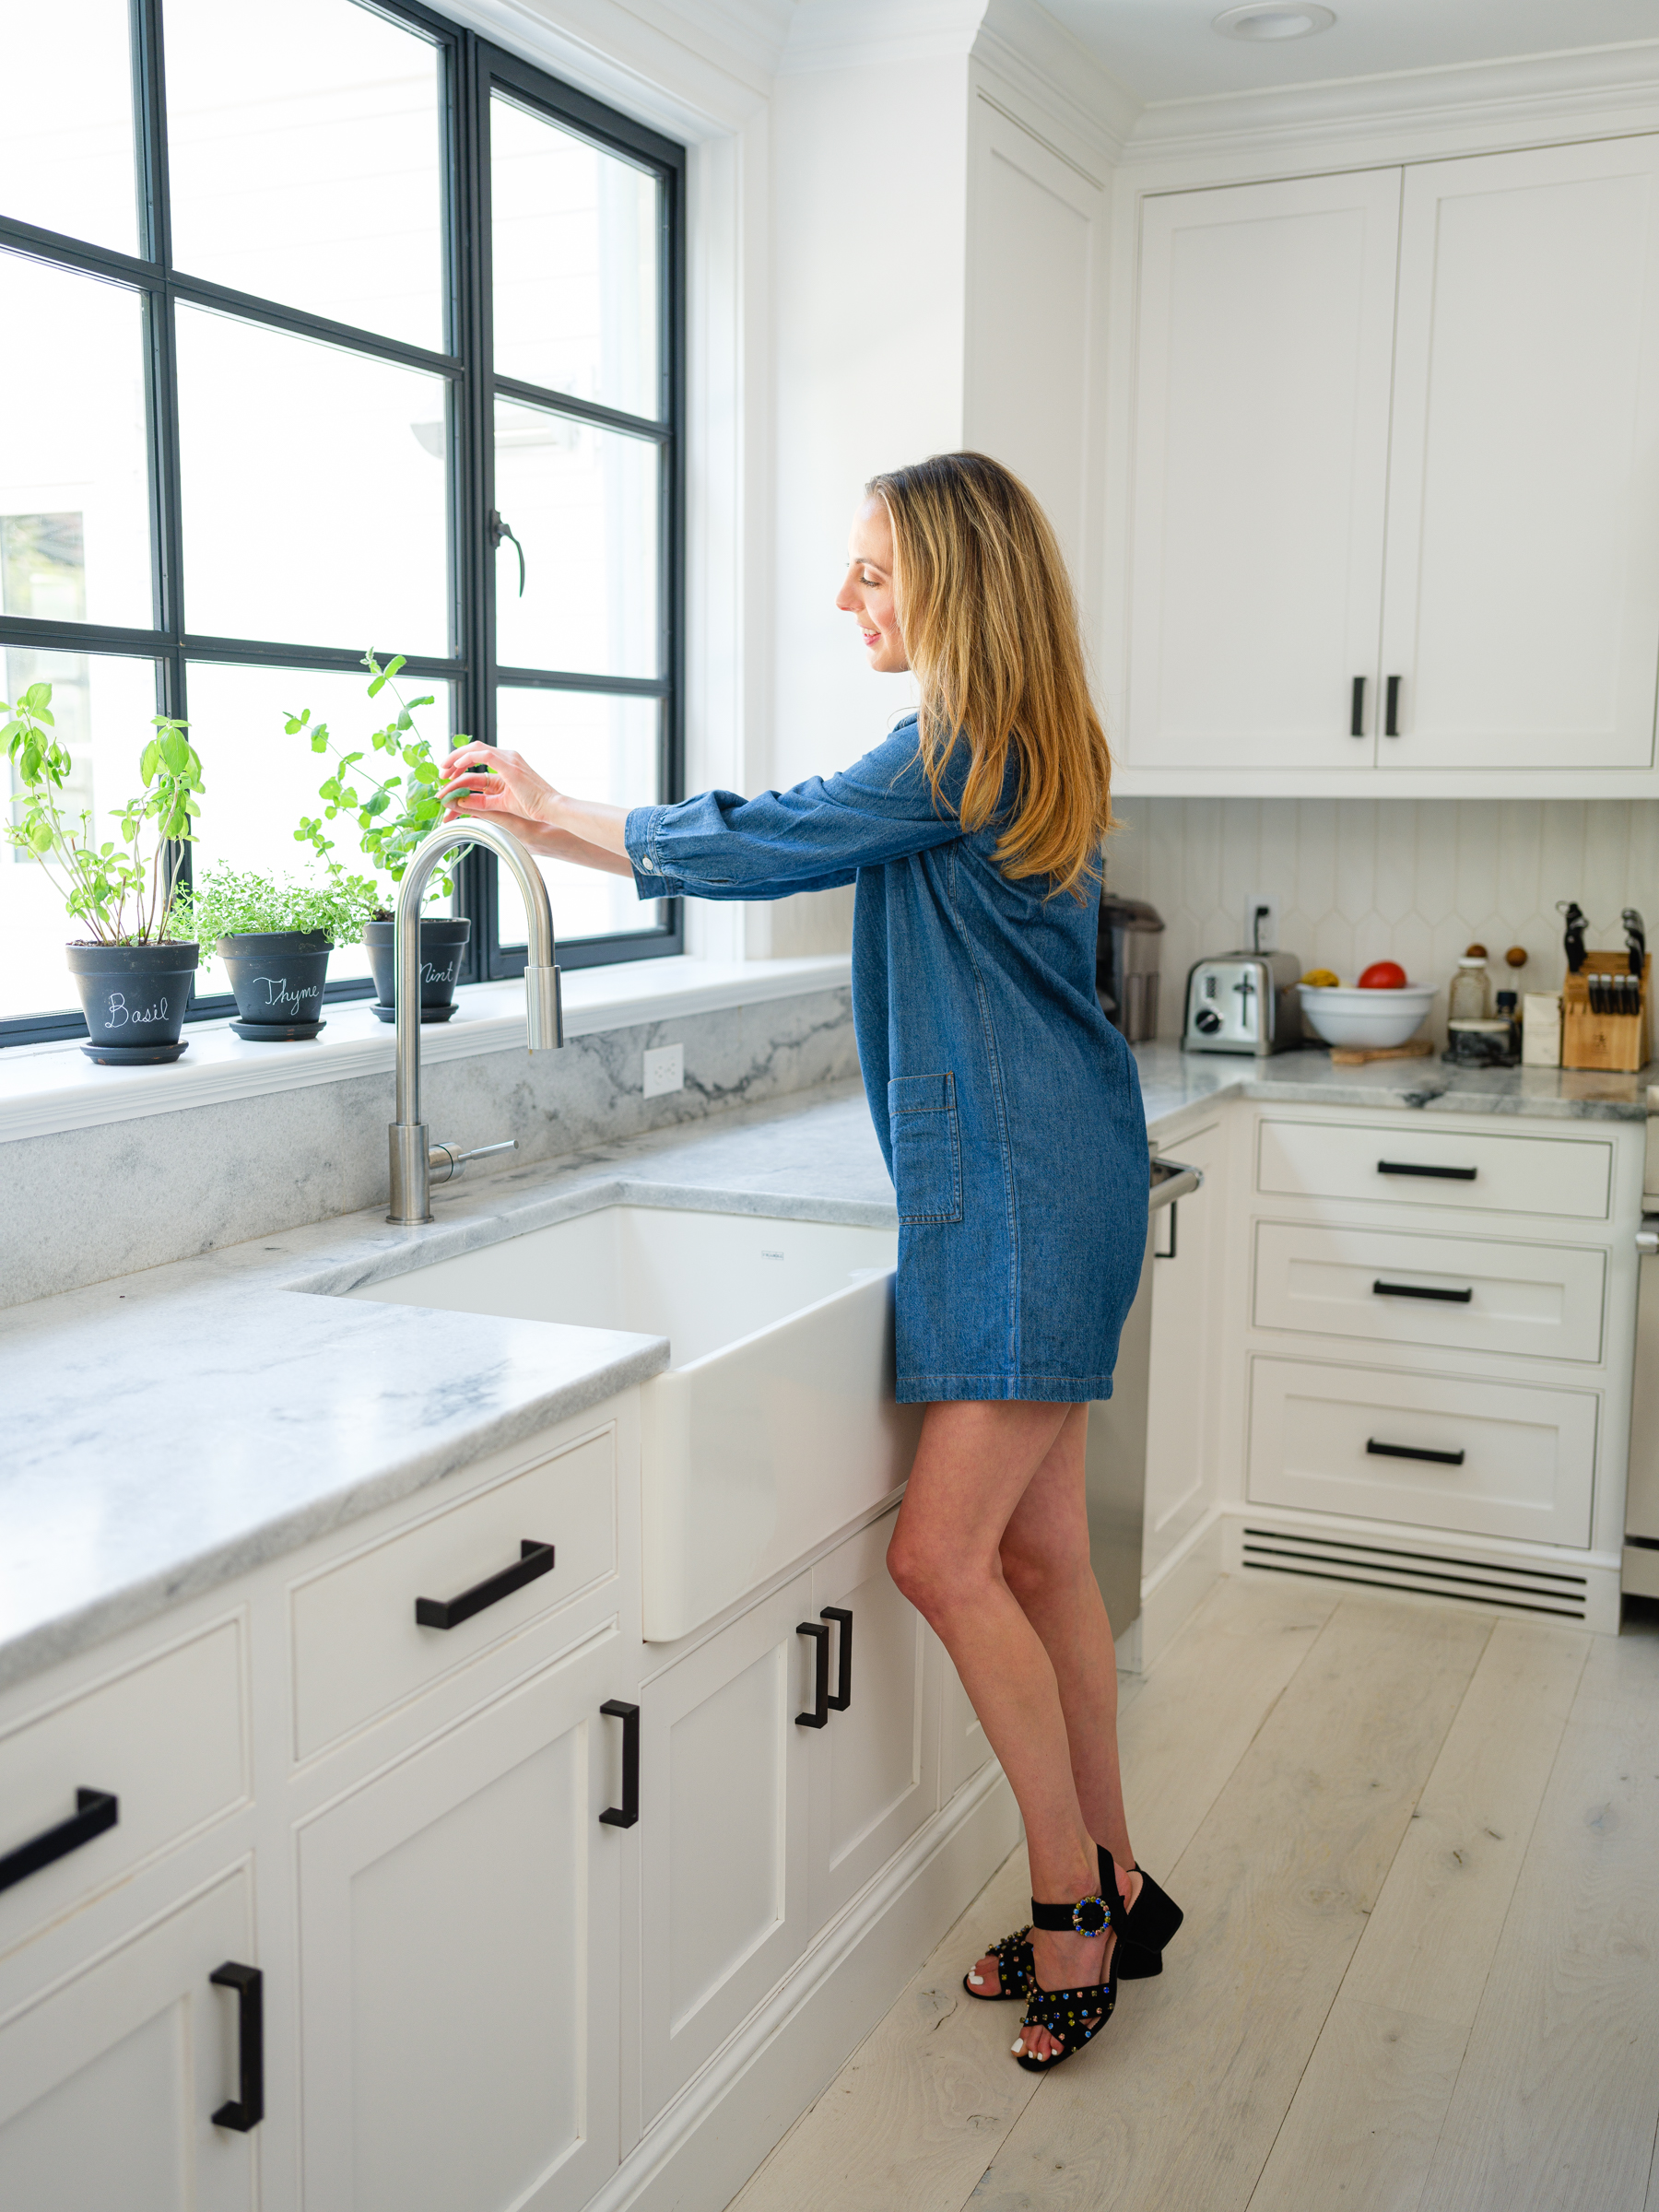
For whatever reason, growing my own herbs at home this summer has been something I’m SUPER into. In fact, I’ve been super into gardening in general, but herbs in particular don’t take up much space, and they’re so sweet to have showcased on a windowsill indoors.
It’s also extra fun to clip your own herbs while you’re cooking — or even for a cocktail! I used my own mint for my Summer Berry Mojito bar a couple weeks back.
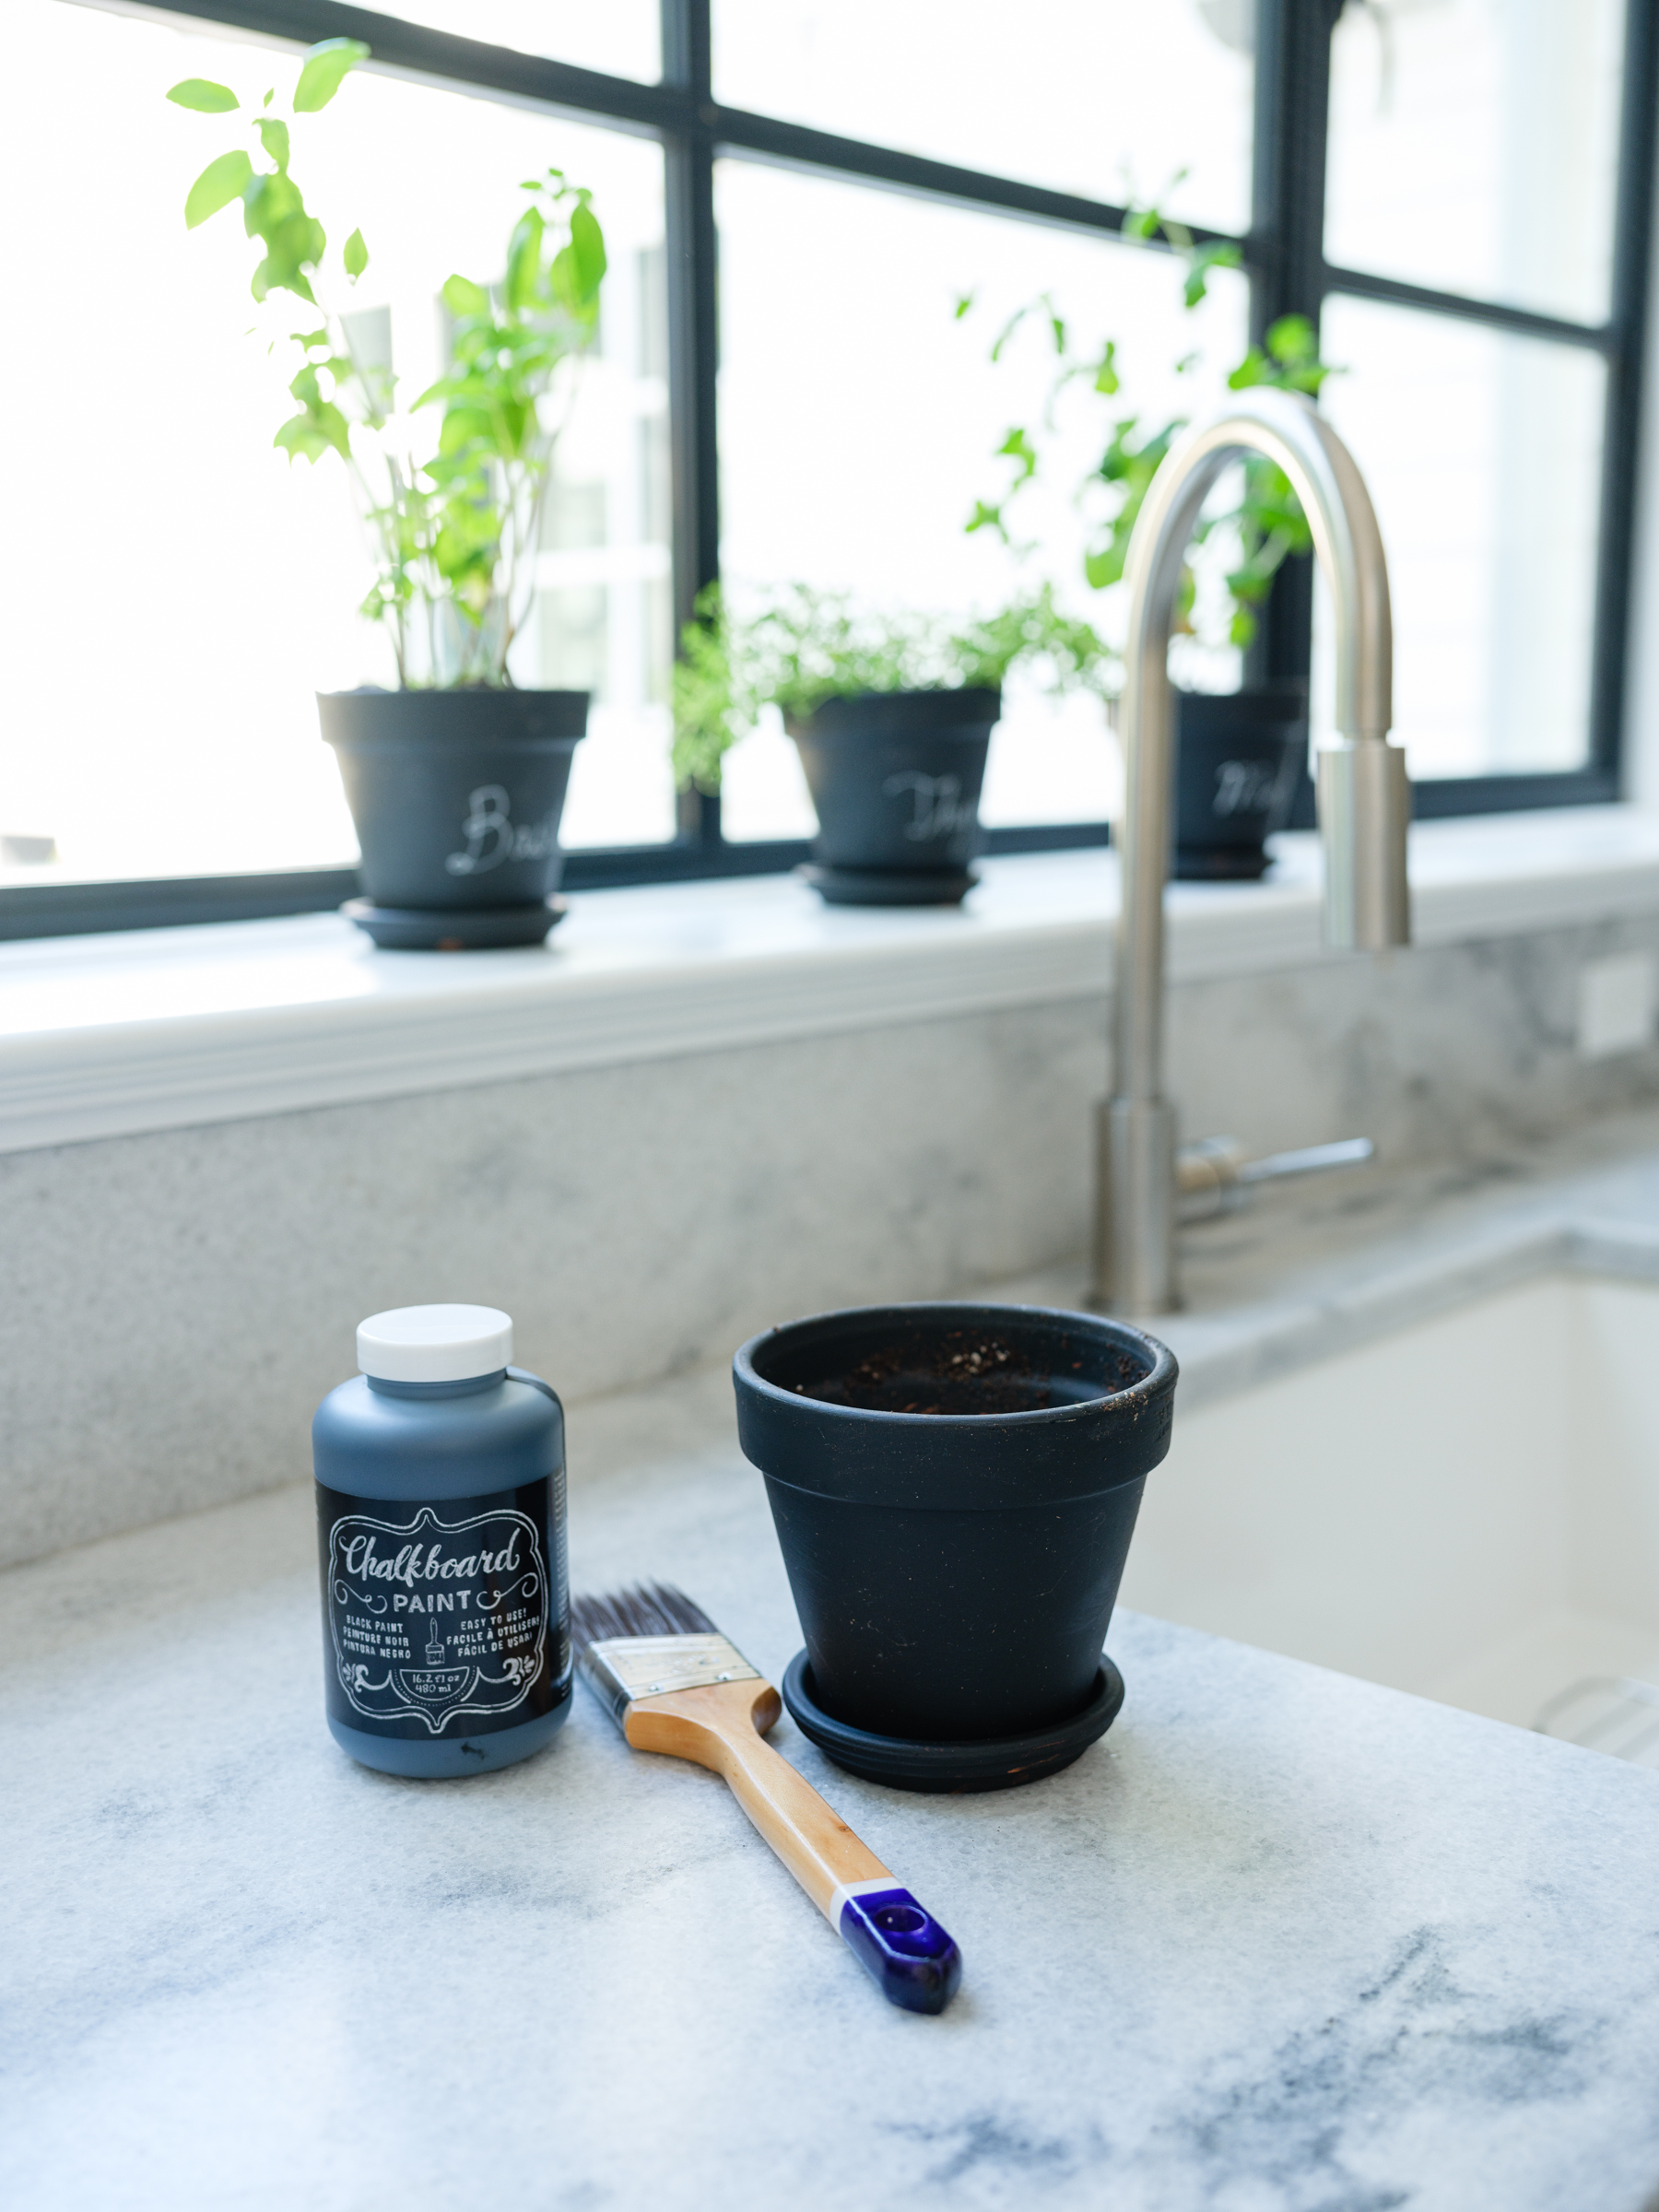
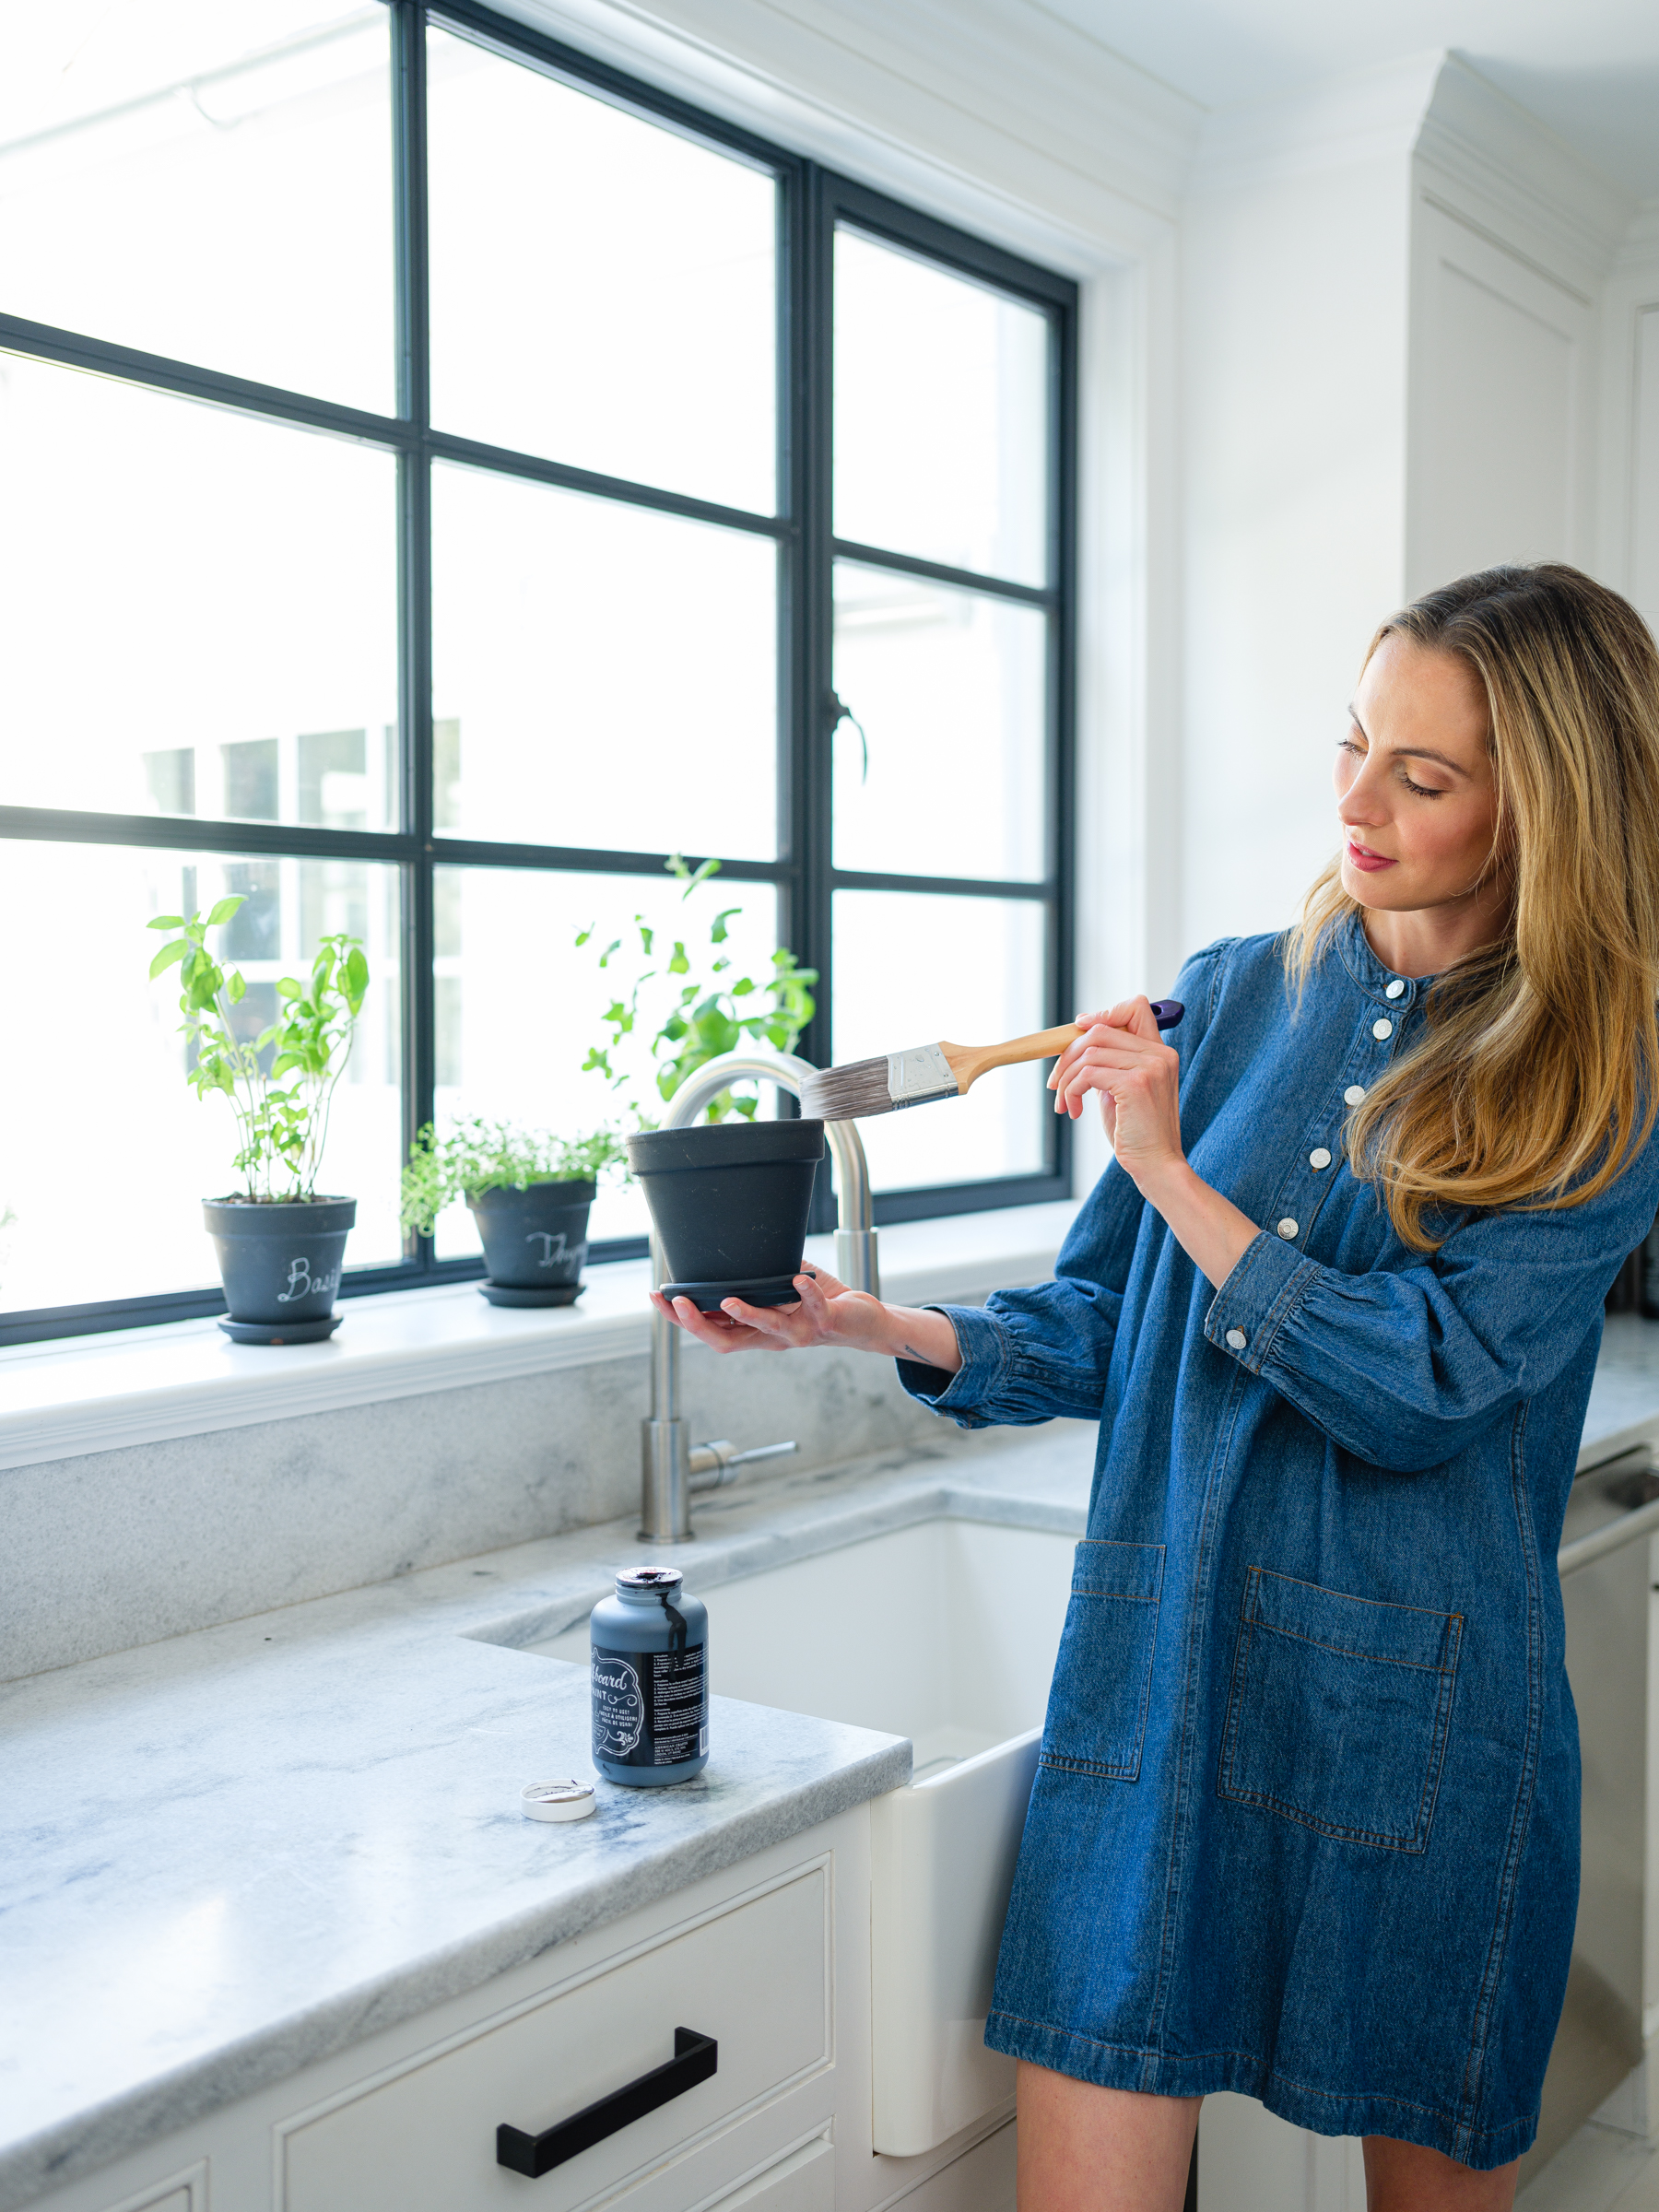
Cheap planters can be a little fugly, in my opinion, so I did this cute DIY Chalkboard Planter project as a way to make the planters feel really cool and special.
I also love how they look in my black and white kitchen!
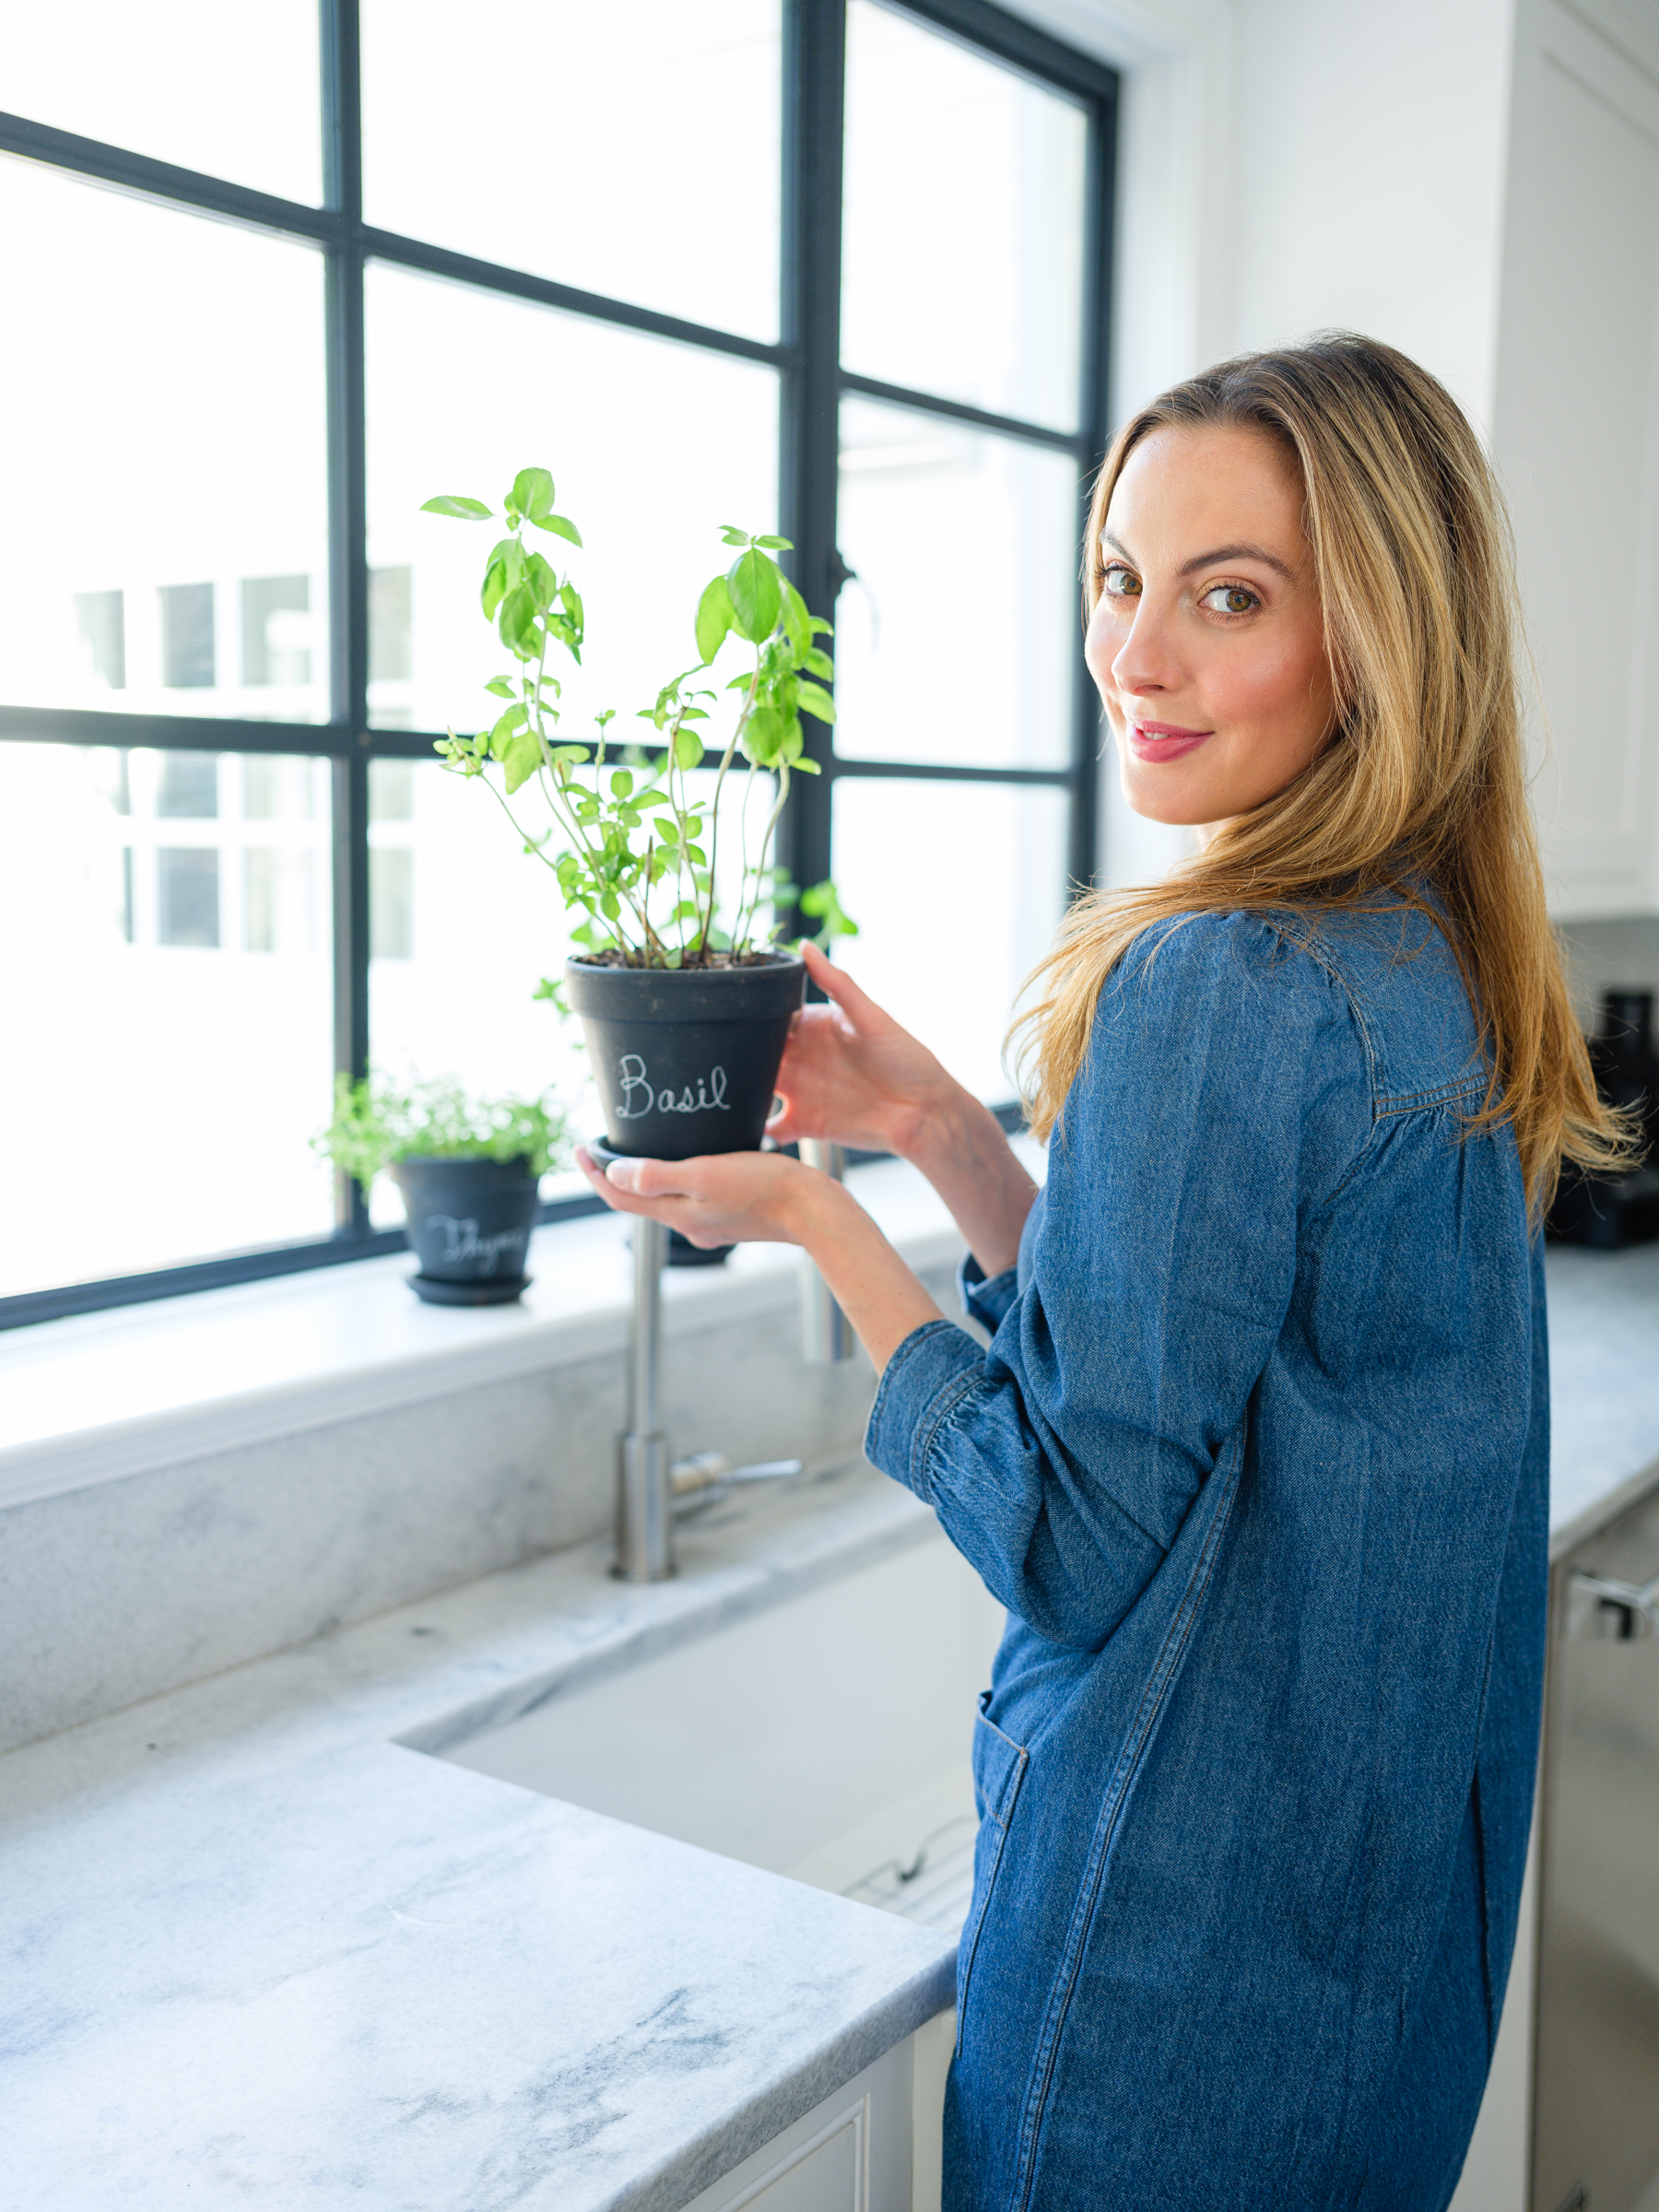
Since the paint is chalkboard paint, you can use chalk to write the herb name on each planter, and reuse them for other planting projects.
I also think this would make a super cute hostess gift! Try writing “Thank you!” or “Welcome To The Neighborhood” instead of the herb name for a quick and inexpensive gift for hostesses or new neighbors!

Materials…
1. Planters of your choice
Terra Cotta Pots with Saucers (6 Pack)
I used these simple terra cotta pots!
2. Chalkboard Paint
Chalkboard Paint by American Crafts
This is the paint I used and it worked great!
3. Chalk Pen
Chisel Tip Bisto Chalk Marker
This is the chalk pen I used and it got the job done!
4. Paint Brush
Pro Grade Paint Brushes (Pack of 5)
You’ll need a good paint brush to ensure there are no streaks!
in this picture
Directions…
Step 1
Paint
Begin by painting your planter and planter base. I used two coats of chalkboard paint, letting each coat dry for six hours.
Step 2
Label
Once your second coat is dry, you can write on your pot! I used the herb names, and wrote in cursive.
Step 3
Transfer
Transfer your herb plant from the plastic pot it comes in, to your planter! Make sure to gently break up the roots before planting, and add some more potting soil to the pot under the herb, and around the base of the plant.
Step 3
Water
Water immediately! Nurture your potted herb on a windowsill, and water whenever the soil seems dry.