The following content may contain affiliate links. When you click and shop the links, we receive a commission.
I’ve been so happy to hear that you guys are liking my Blogger Files series so far! As I said in the first installment, it makes me really happy to have a concrete place on this site where people who are interested in exploring blogging can come and learn from some of my most Frequently Asked Questions. For this installment, I’m focusing on photography! I get a lot of questions on this subject– and it’s one of the factors of a blog (and social media) that I have found to be the most important. I think great photography can really add so much to a blog– and help you grow and work with great brands! Today I’m sharing my personal photography equipment, my photo editing techniques, and some of my tips and tricks for getting great photos.
Great Photography Is Crucial.
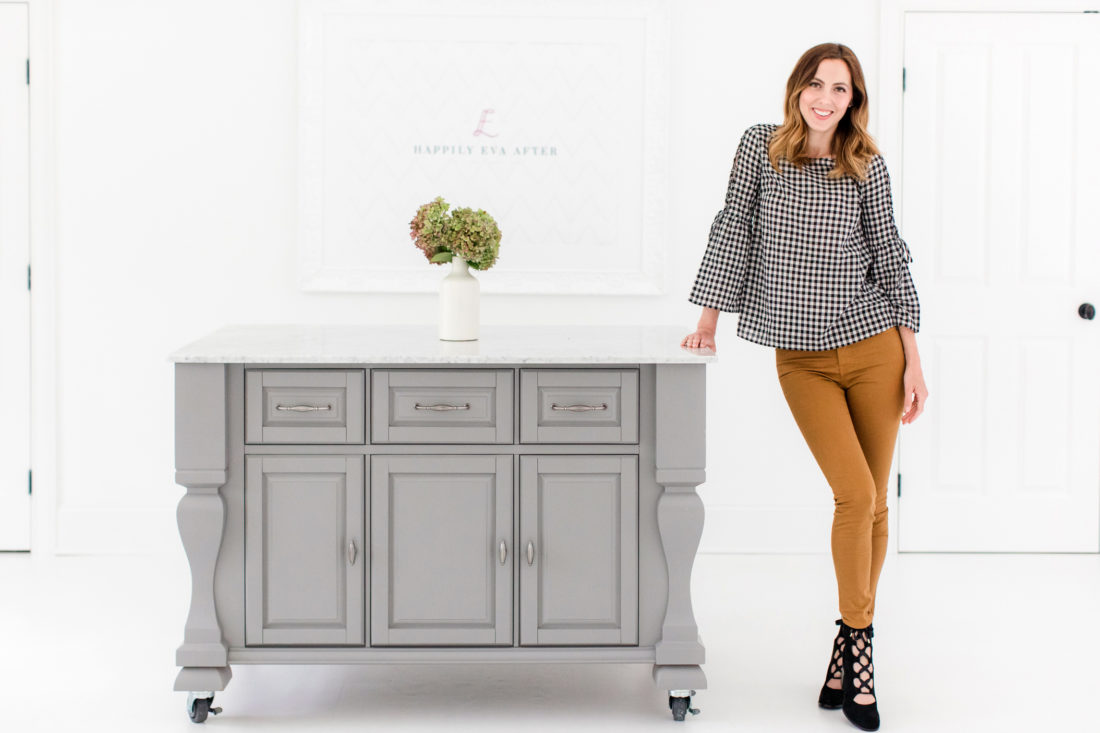
There, I said it. If your images on your blog aren’t great quality and visually compelling, there is a good chance that people won’t stay to browse, and may not even visit in the first place. Also, as you grow your site, it’s important for brands to be able to associate your blog with a certain style of photography and to get excited about reposting the photos on their own site or social channels. This will help you grow! So what makes a great “style”? This is totally up to you! Because you’re sharing your unique voice and aesthetic, it’s important that your blog photography evokes your mood, personality, and vision. I love light and bright photography with lots of color and a vibrant, cheery aesthetic. Of course this isn’t the only style of photography that I like in general, but I feel that it communicates the energy and personality of my brand well– and so I make sure that my own photos (and the photos of any professional photographers I work with) fit with this style. Remember that what people see when they scroll through a blog post is actually one of the determining factors in whether they will stay and read the post! And when it comes to numbers, how long people stay to read through your site DOES matter.
I have been SO lucky to work with some amazing photographers throughout the history of my blog– and the photos you will find here are all a mix of ones I take myself, and photos by professional photographers. Make sure to always credit your photographers if you use photos that you haven’t taken yourself! (Mine are credited at the end of posts when I haven’t taken the photos myself). Fun Fact: Kyle’s hands have a natural shake to them (it’s called Benign Tremors) and so it is actually next to impossible for him to take pictures for me! They always end up blurry. Talk about the opposite of an “Instagram Husband”! LOL. Occasionally, if it is an outright emergency, we will set up a tripod and have him take stationary photos in that way. As you can imagine, this doesn’t really work for photographing squirmy little kids very well!
Get Good Gear.
Have you heard that expression “you get what you pay for”? Well, in my life I’ve found that this rings true for Skincare and (you guessed it) Photography Gear! When I first started my blog, I didn’t have any wiggle room to put additional funds into the backend. I wasn’t sure exactly what I was going to do with the blog, and so I wasn’t ready to fully pull the trigger yet. I thought it was totally cool to use iPhone photos for my blog posts. GAH!!!! Please don’t do this! There are a few early HEA posts that were ruined by bad photography. I like keeping up old posts on the site just as they are, because I think it’s important for me to have an authentic history of how this blog has grown and changed over the years– but boy do I wish I had invested more money in my photography off the bat. Once I finally got my professional photography equipment is when the blog started growing and I finally started monetizing it. Coincidence? I think not!
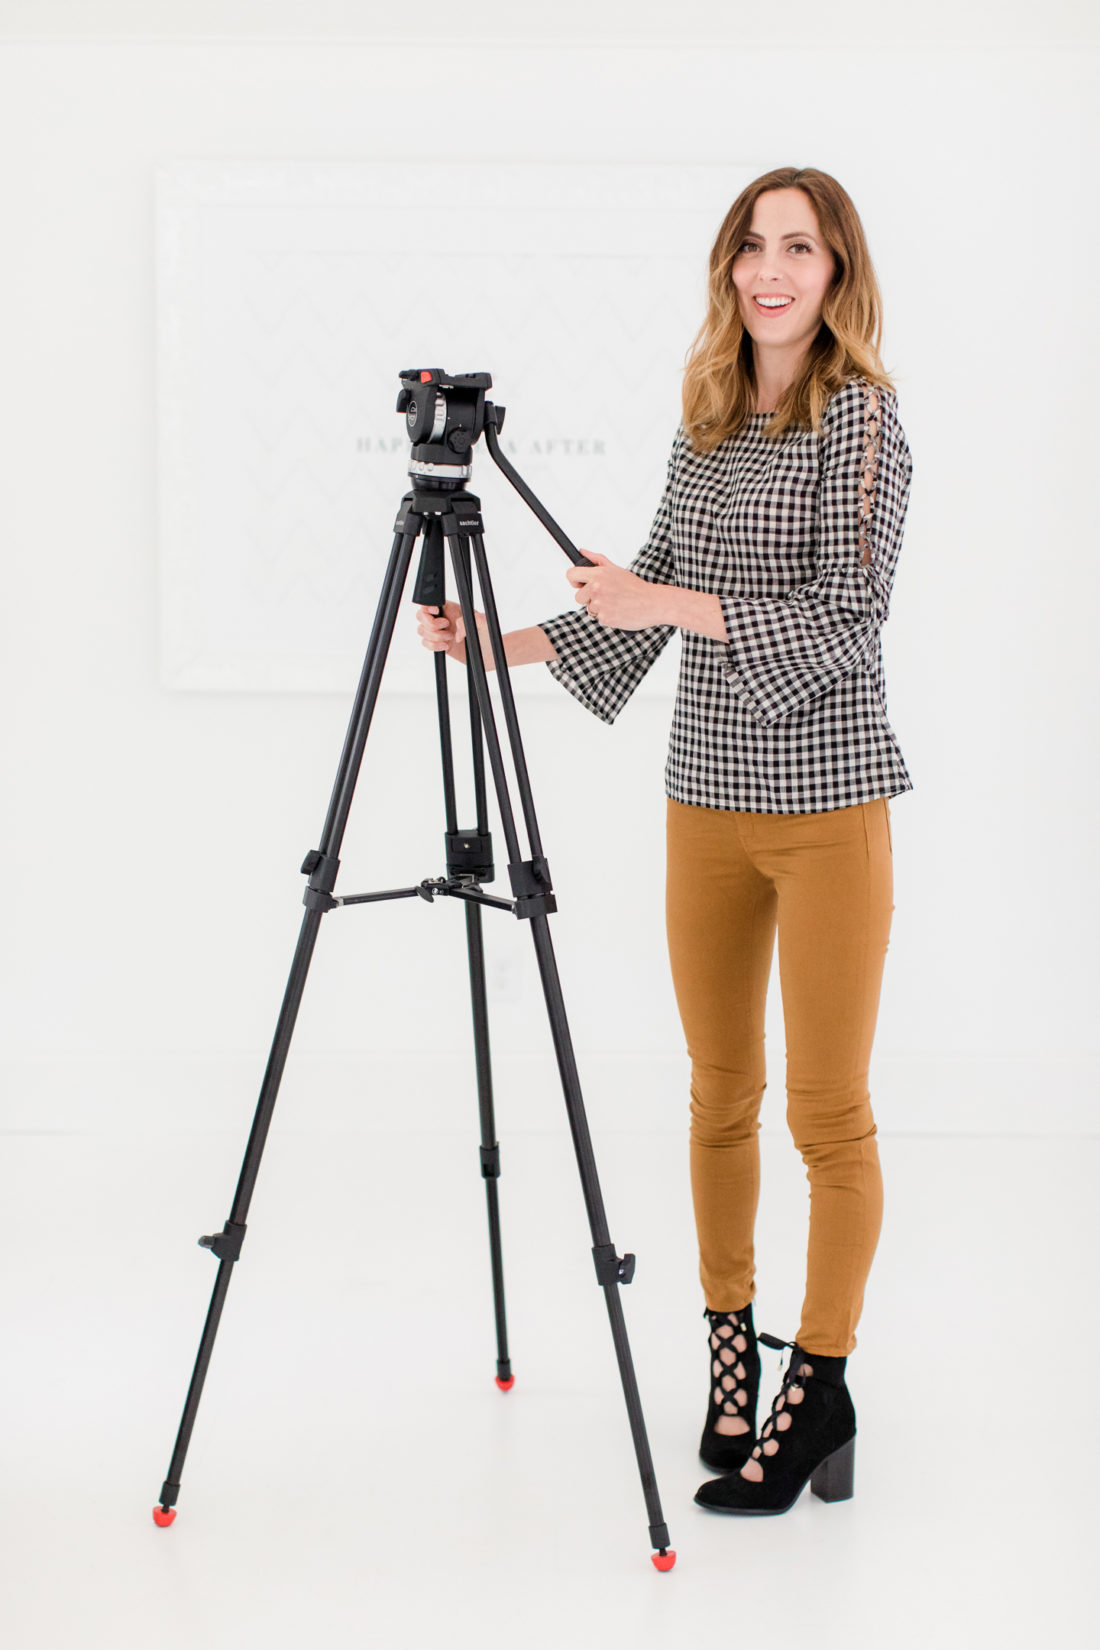
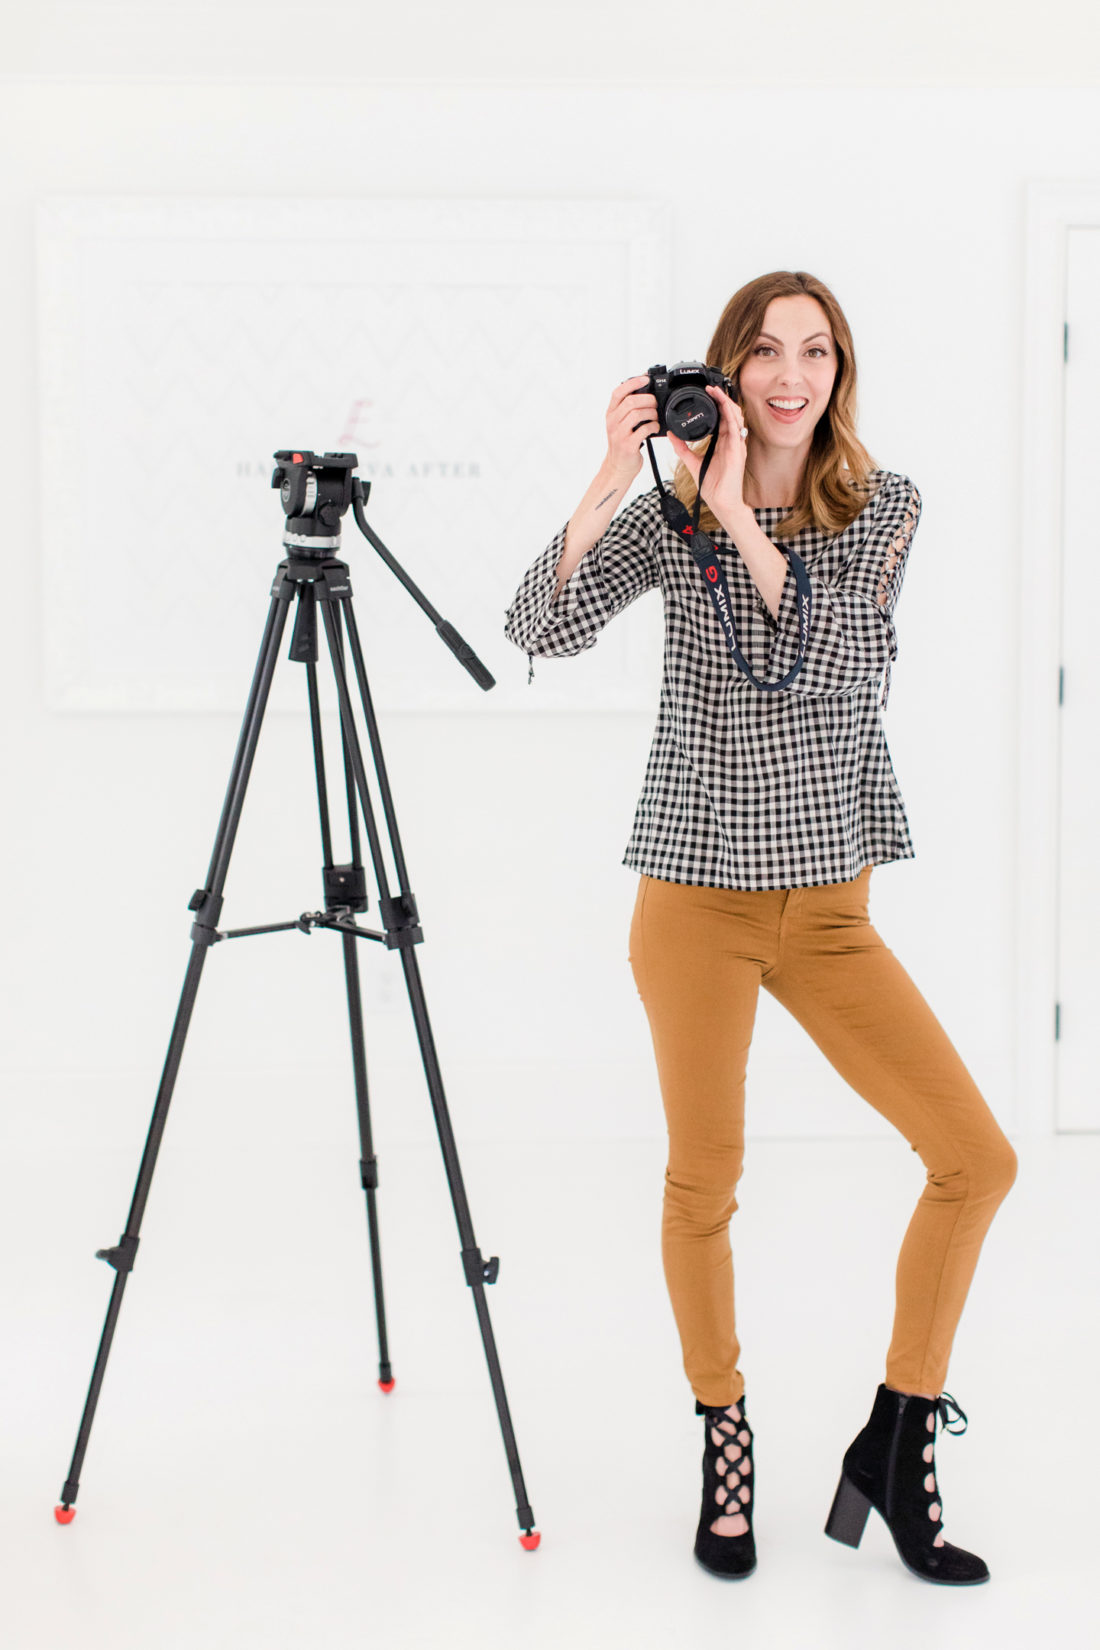
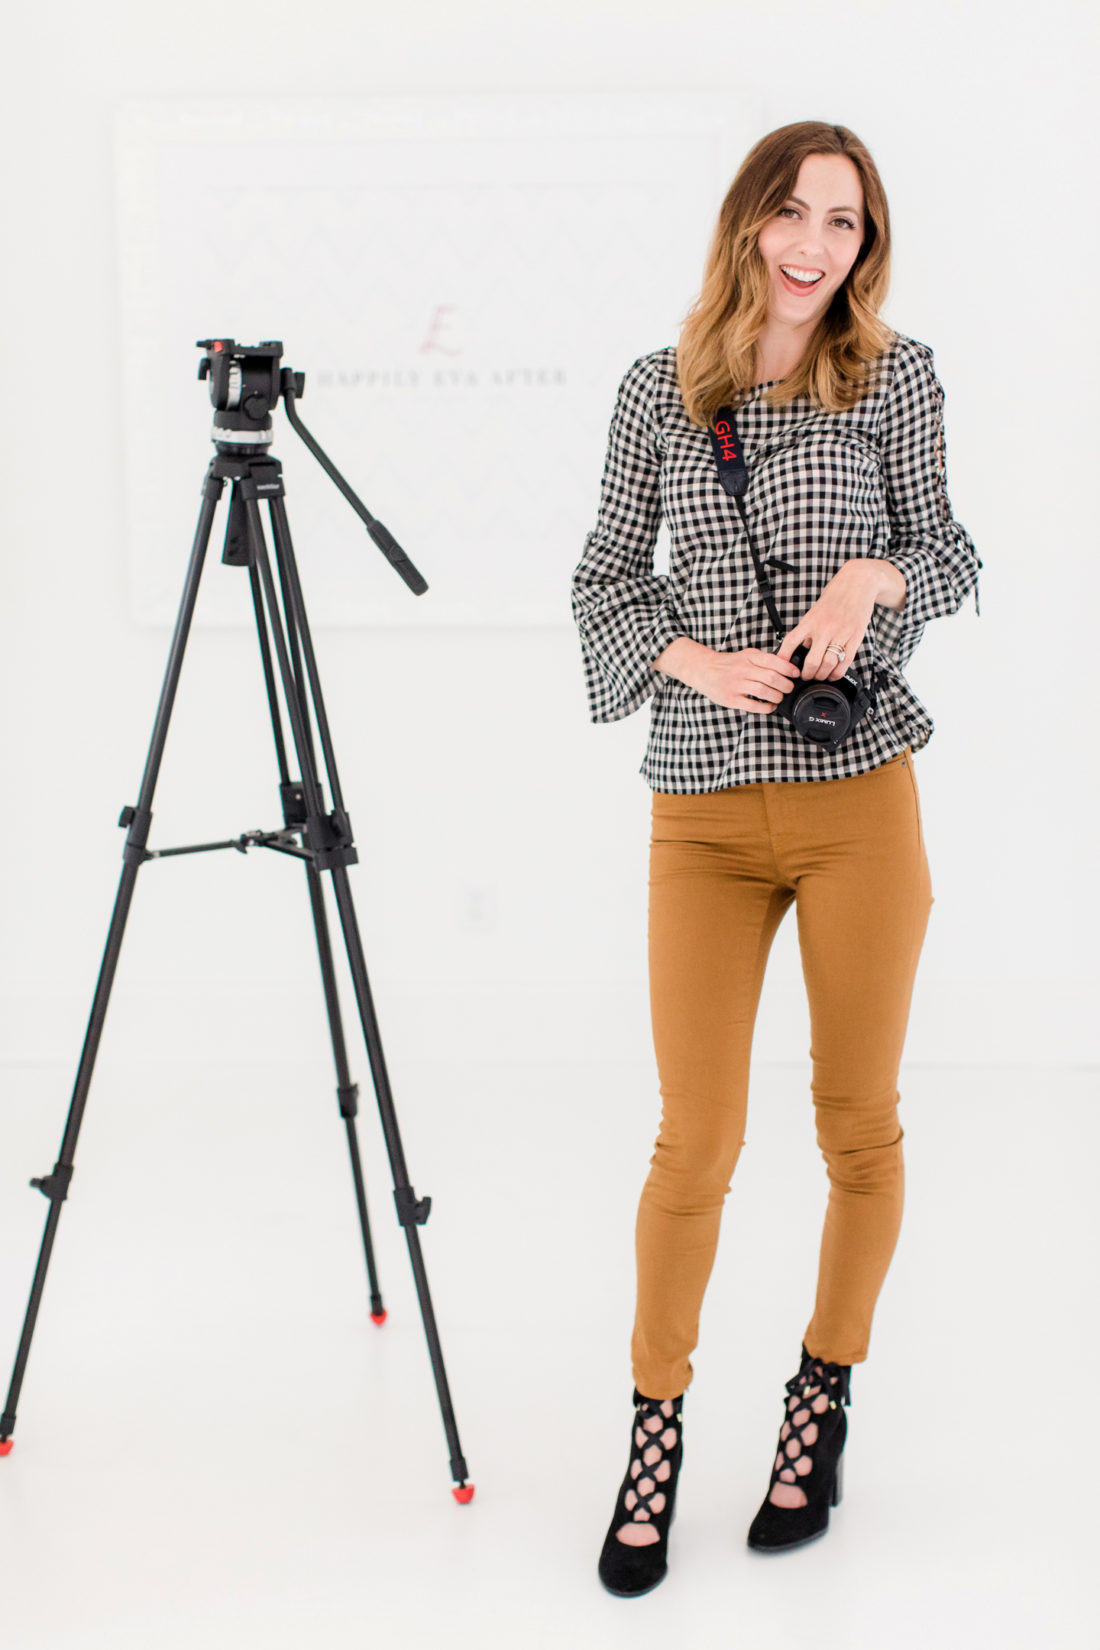
My Camera
To shoot for the blog, I use the Panasonic LUMIX GH4– which I LOVE! I love that it can shoot manual or automatic, that it can shoot (gorgeous) video, and that I can upload photos to other devices via an internal wifi network on my camera! It makes shooting and using gorgeous photos for social media a total breeze.
Lenses
I currently own two LUMIX G lenses for my camera. This one, which I use the most for shots, and this one– which I use mostly for detail photography and things like food shots, DIY, as well as video.
Tripod
I like having a tripod in case I have to photograph myself on a timer, or use it to record video setups. As I mentioned before, it also helps Kyle take photos from time to time! This one is great, and so versatile.
I also have two memory cards for my camera so I have enough memory to store lots of photos! These especially come in handy when I shoot vacation video or photos on vacation when I’m away for a while without being able to download photos to my computer for editing.
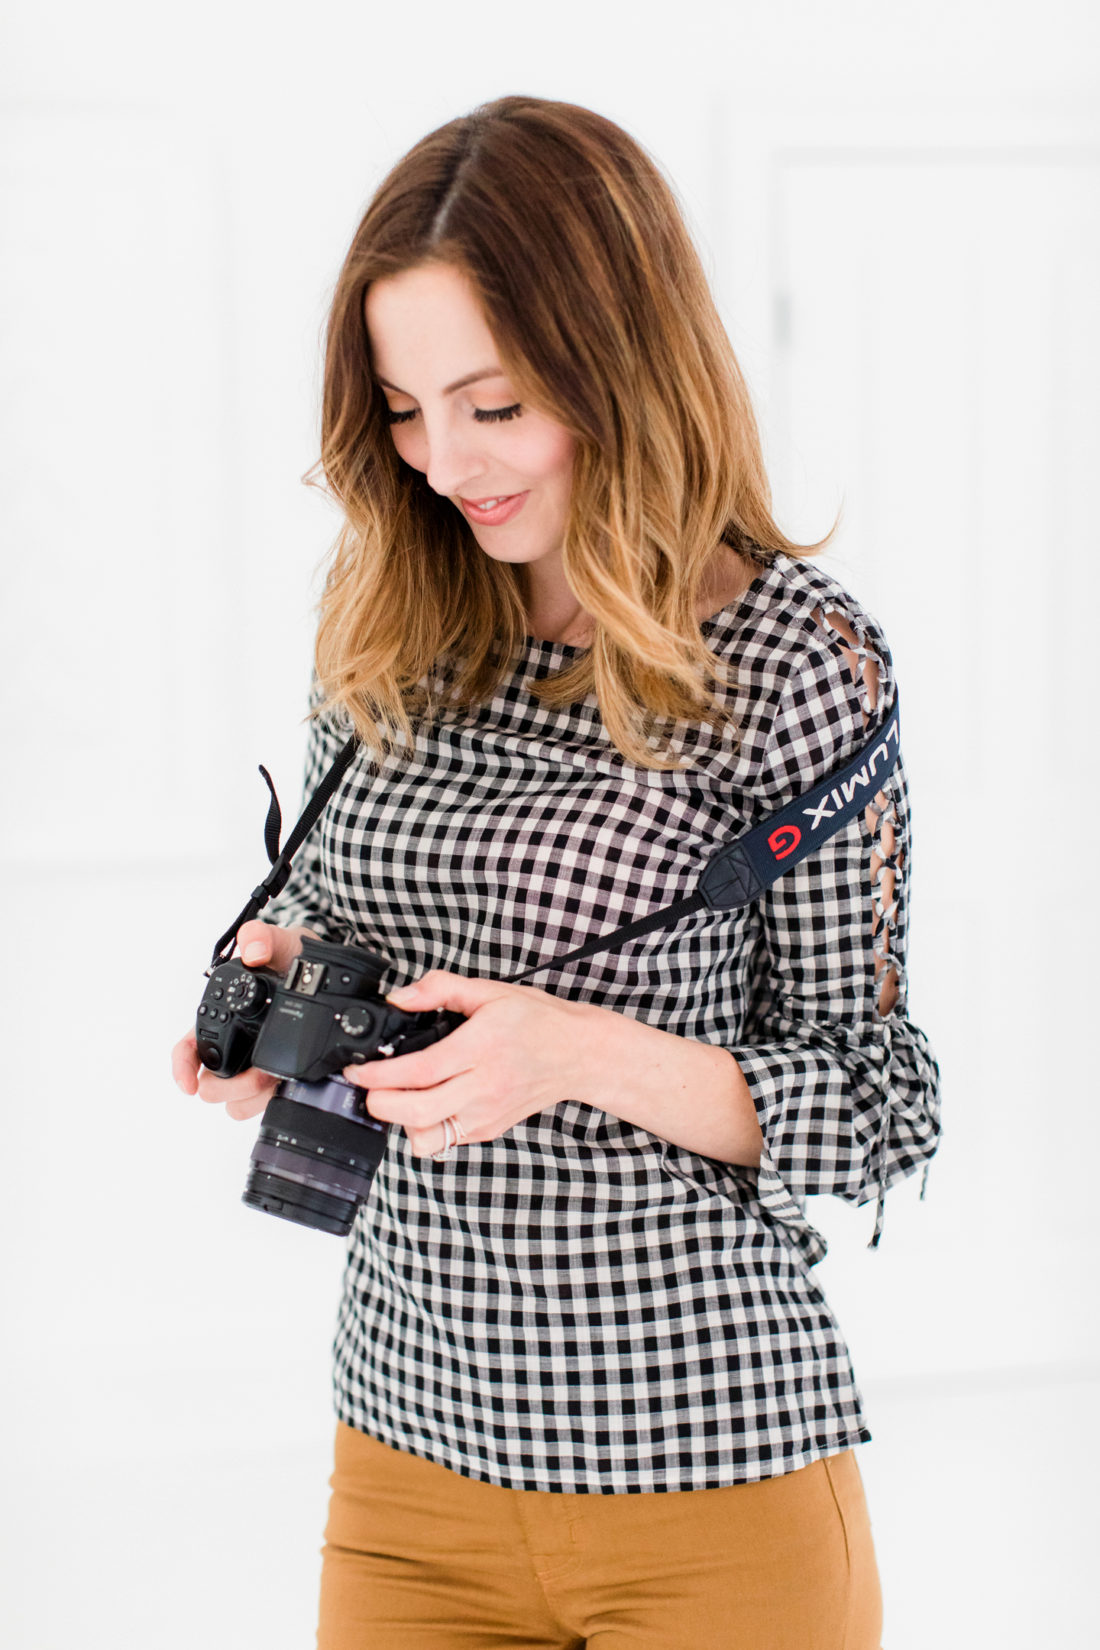
Photo Editing & Composition
Being able to take attractive, engaging photos TAKES PRACTICE! I’m totally self-taught and boy oh boy was the learning curve steep! LOL. It’s so important to play around with your camera and figure out what will look the best for your own shooting style. It’s also important to remember that every Blogger out there edits their photos! I use Adobe Lightroom to edit my photos. After importing pictures for a blog post, my most common actions I take for editing are brightening the photo, increasing the saturation of the predominant colors, lowering the contrast, and increasing the highlight as well as deepening the shadows.
When I’m shooting photos for the blog, I mainly use the automatic function. When I’m shooting the kids I don’t have the time to manually focus! (Check out this blog post for my tips for shooting pictures of small children!) If I’m shooting landscape or food I do like to use manual focus. I also make sure that the whitebalance setting isn’t too light– you can always lighten photos in Lightroom, but it’s much harder to darken if the photos are too washed out!
I really like this e-course by A Beautiful Mess for learning basic photography skills.
Learn Your Angles
A huge part of blogging can mean getting used to being in front of the camera– and it’s important to learn your angles to look and feel your best in photos. I have a VERY asymmetrical face, and there are a lot of camera angles that don’t make me look good at all. For example, have you noticed that you see a lot of the left side of my face and almost no direct camera angles of the right side of my face? That is not an accident! LOL. Thankfully my background in acting has taught me a lot about what works and what doesn’t work for me, but it’s important to realize that a lot of looking good in photos has to do with poses and angles– and that there really isn’t anyone who looks perfect in pictures from any old angle.
Experiment with the camera on your phone to see what works for you. My other body language tips include: adding a bit of a teeny tiny bend in your knee helps your legs look better in photos, and making sure you hold your arms slightly away from your body so that your arms aren’t creating a squished effect that can make them look bigger than they are. I also find that just doing a simple “cheese” smile ends up looking a little flat for me. Instead of just smiling, I actually think of something funny and laugh! I find it adds a bit more animation to my face. Another tip is to look into the lens as if you’re looking at somebody you love, feel the tenderness there and communicate it with your eyes. It’s a bit of an acting exercise (there comes that former career again!) but it really helps my pictures have more feeling in them than just a simple smile or pose.
Thanks for this!!! I’ve been wanting to start a lifestyle blog with insight about living with type 1 diabetes (I feel like I’m called to be a resource to others, esp moms whose children have recently been diagnosed and are terrified!) but I want to do it the RIGHT way. I’m nervous because I’m a chronic blog starter and stopper and never really got consistent, but I so appreciate your practical advice!
Oh wow that sounds like a great idea!
Totally guilty of the iPhone photos. I’m so overwhelmed at the idea of learning to to use my nice camera. Thank you for sharing your tips!
I really love my Canon G7X. It’s still pricey, but a bit cheaper than really fancy cameras. So starting off, I’d recommend it if you want to step away from the phone. I also got an Amazon tripod that was $20. Cheap, but totally reliable and great. Baby steps with your equipment until you can afford the really nice stuff.
Ha! I know the feeling, believe me! Just start and think of it as an experiment. Try out different shots and settings and get the feel for it. I promise that cameras these days are so intuitive you can feel like a real photographer even when you’re not! 🙂
Knowing my angles is something I need to work on. While not a lifestyle blogger on my website, I still want to have an online presence and make my face known to my readers. But I’m so awkward in front of the camera and I’ve even re-filmed YouTube videos because I didn’t do myself justice. It can definitely be overwhelming.
Hi Jordy!
Yes I think a lot of people feel the same way you do! I’ve even seen friends of mine who are just so beautiful, and vibrant in person absolutely freeze up and look so unlike themselves in photos when they’re “posing”.
With this type of stuff, practice makes perfect. Seriously. It may seem stupid to take a bunch of photos of yourself, but looking at them and figuring out the correlation between how you feel your body posing and your face moving and how it looks in the captured image can be really educational.
Also try taking a few deep breaths before you snap pictures of yourself– relax, think of something that makes you feel open, and happy. What we’re thinking can really show up so much in photos!