The following content may contain affiliate links. When you click and shop the links, we receive a commission.
Having a blog is definitely fun, but the one thing I wasn’t quite prepared for was having to be camera-ready 90 percent of the time! A big part of blogging is capturing your day to day life– and I find myself being photographed (or videoing myself) most days. I even have big photo shoots for brand partnerships at least once a week! Since starting my blog two years ago, I’ve finally perfected my makeup look that I like to wear for photo shoots. The goal is to look like myself, but a non-tired, non-stressed, prettiest version of myself. LOL. And that DEFINITELY takes makeup! At least in my world! I get a lot of questions about how I apply my makeup for photo shoots, so today I thought I would share with you a tutorial for my Photo Shoot Makeup look!
I was lucky enough during my 15 years as an Actress that I got to watch people do my makeup A LOT– and some very talented people at that! I paid very close attention, and over the years I’ve developed quite the arsenal of beauty tips and tricks! And this look is one of my faves. I hope by laying it out like this it makes it easy for you to replicate– and inspires a glowing, natural, pretty look of your own. We all deserve to look and feel our best, whether we work in front of a camera or not!

Before I begin, I start with a clean slate. I make sure to complete my entire morning skincare routine first! Then I put some music on, and get started! It helps to be in front of a large mirror instead of a handheld mirror, and I always prefer natural light to artificial so that I don’t accidentally over-apply the colors!
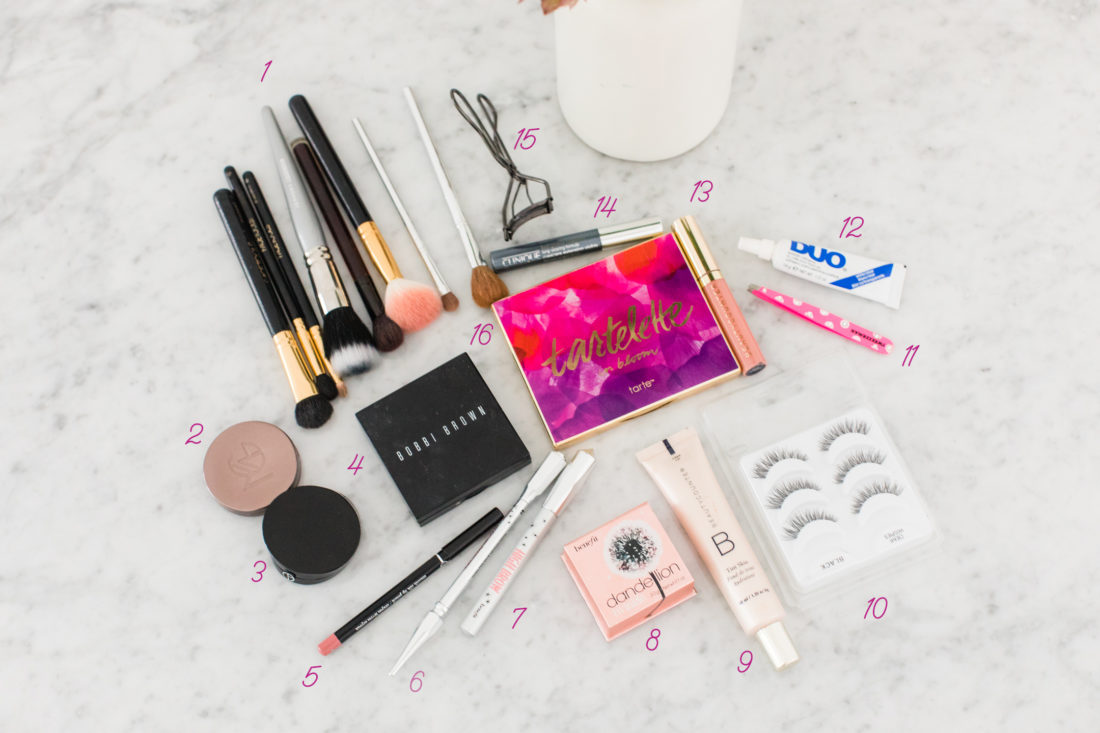
1. Brushes // 2. Blush // 3. Armani Beauty Concealer // 4. Bobbi Brown Translucent Powder // 5. Armani Beauty Lip Pencil // 6. Benefit Brow Pencil // 7. Benefit Highlighter Pencil // 8. Benefit Highlighting Powder // 9. Beauty Counter Skin Tint // 10. False Eyelashes // 11. Tweezerman Tweezers // 12. Duo eyelash glue // 13. Beauty Counter Lip Gloss // 14. Clinique Mascara // 15. Shu Uemura Eyelash Curler
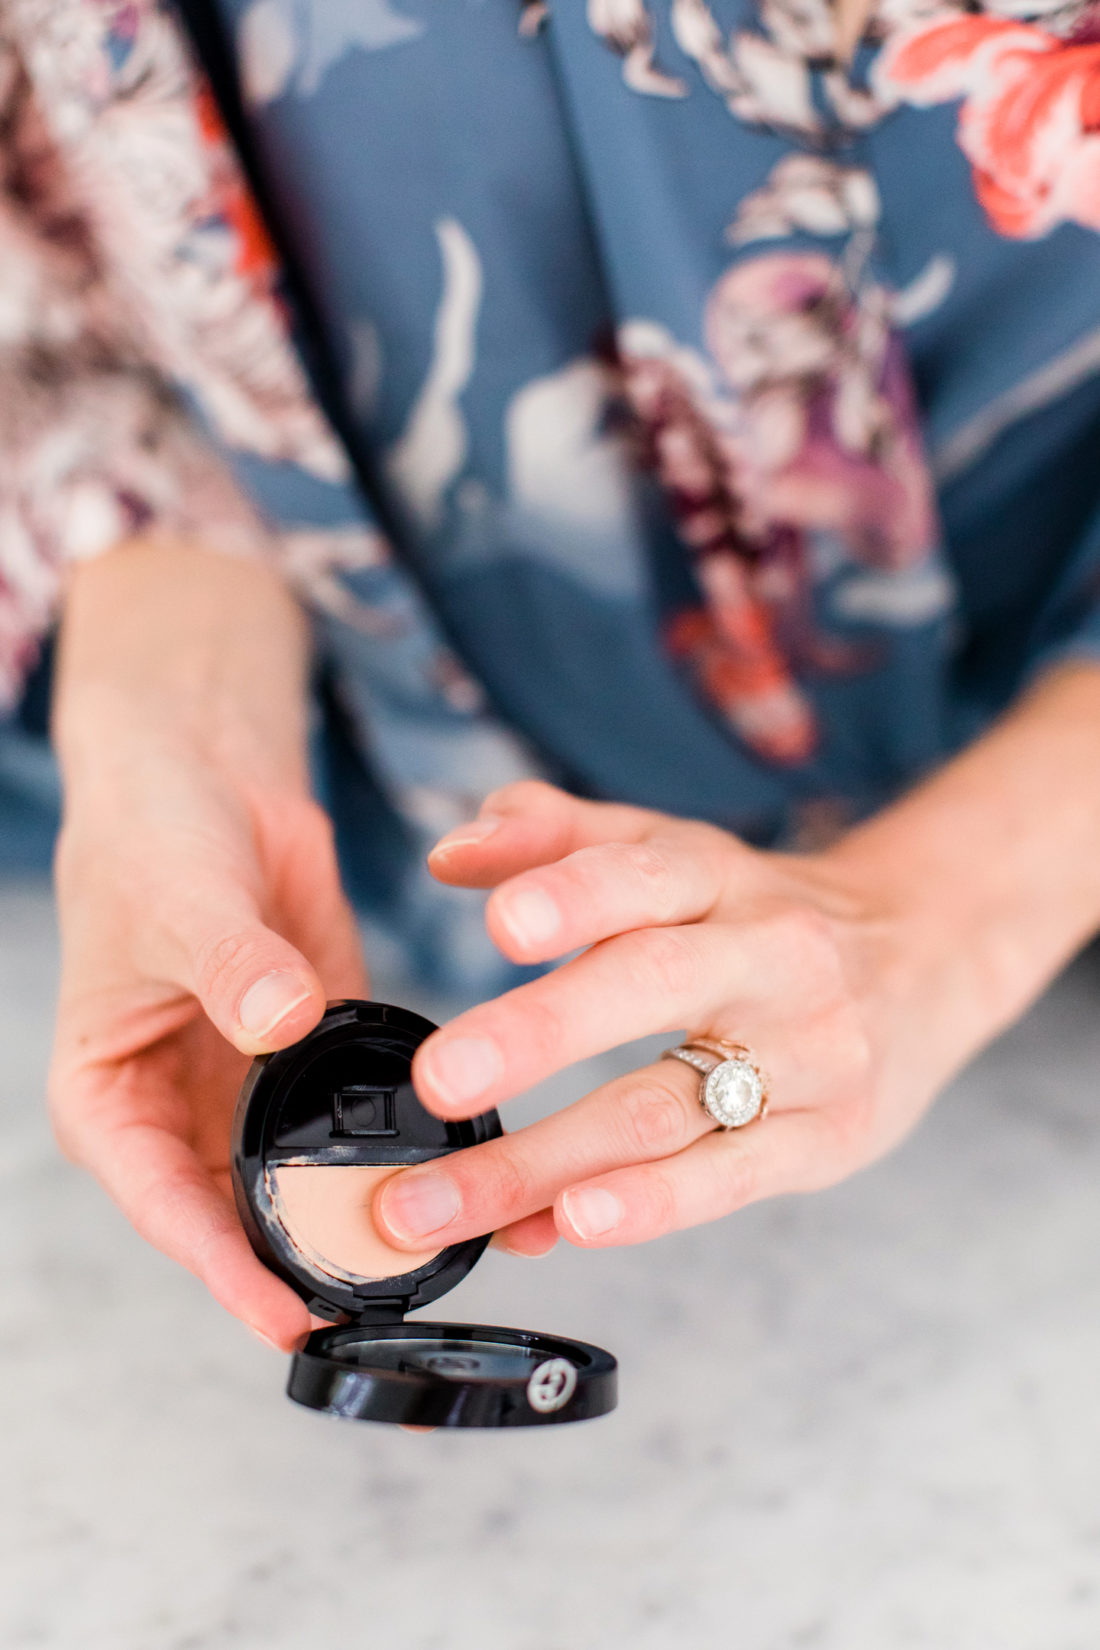
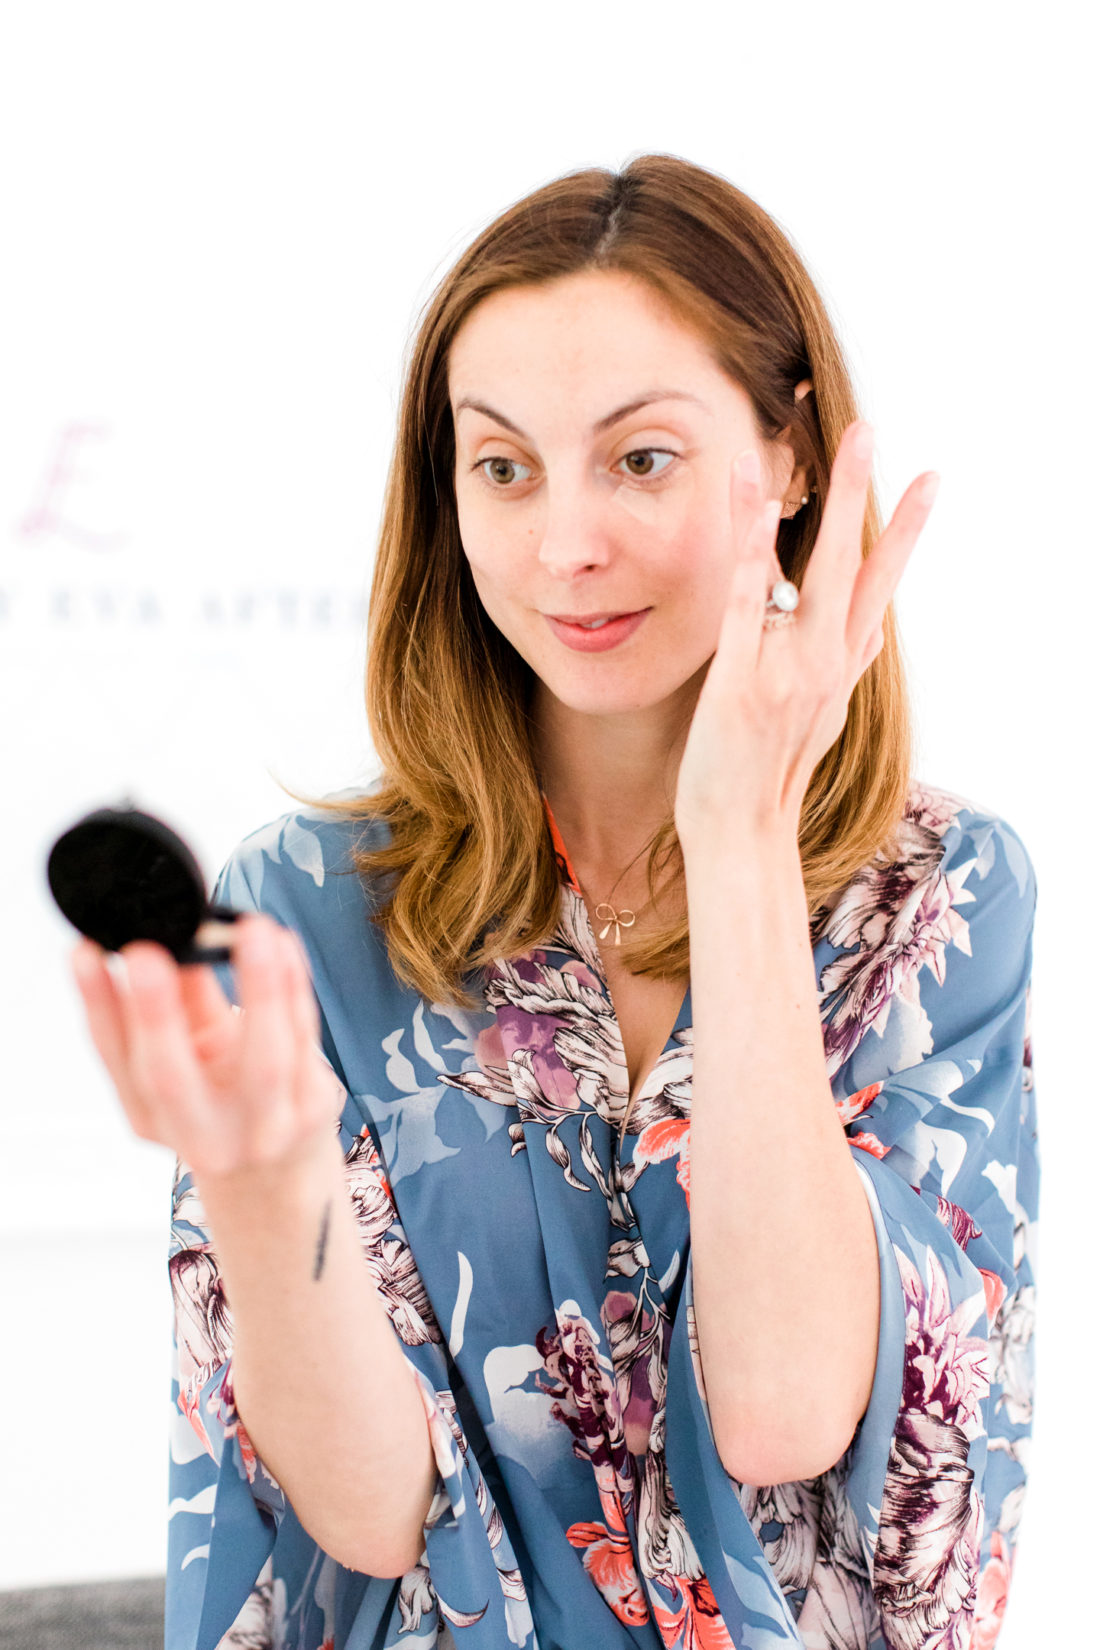
1. Apply Concealer
I like to apply my concealer first, and then blend it along with my foundation (applied after) for a more natural look. I love this concealer because it has a great amount of coverage, and doesn’t slip off during the day. I apply under my eyes, around the nose, chin, forehead, and any spots. I like applying with my finger!
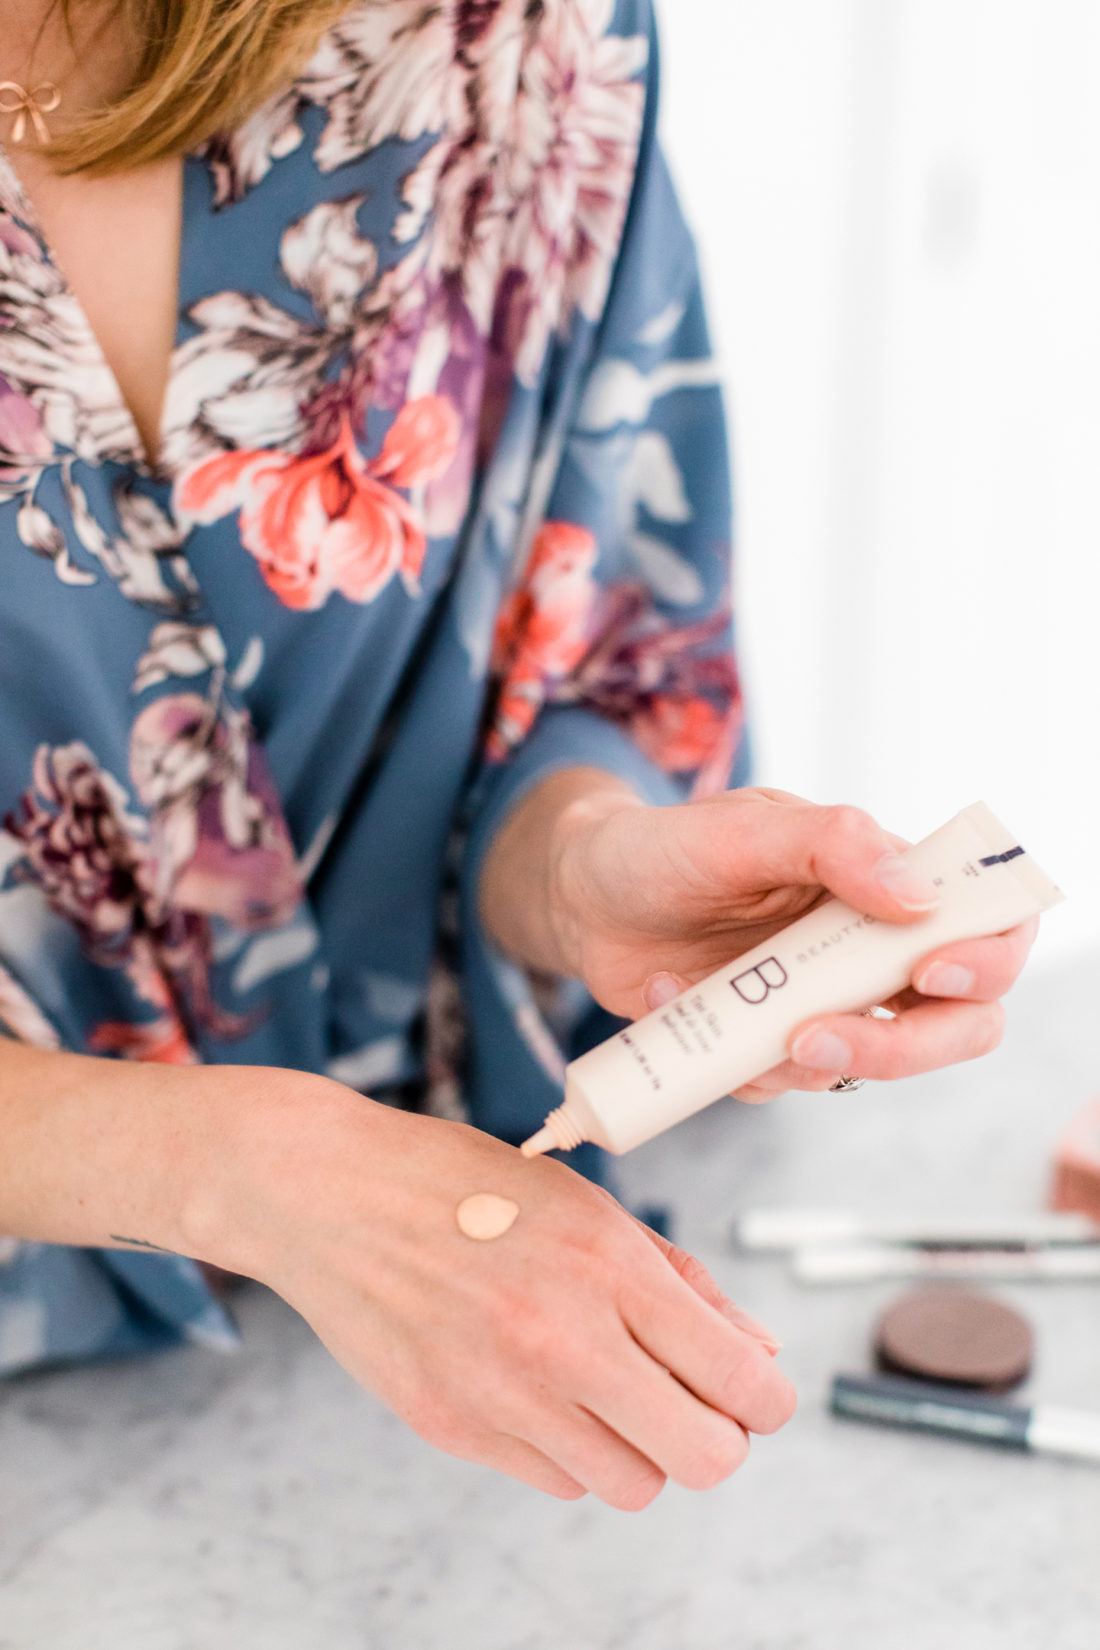
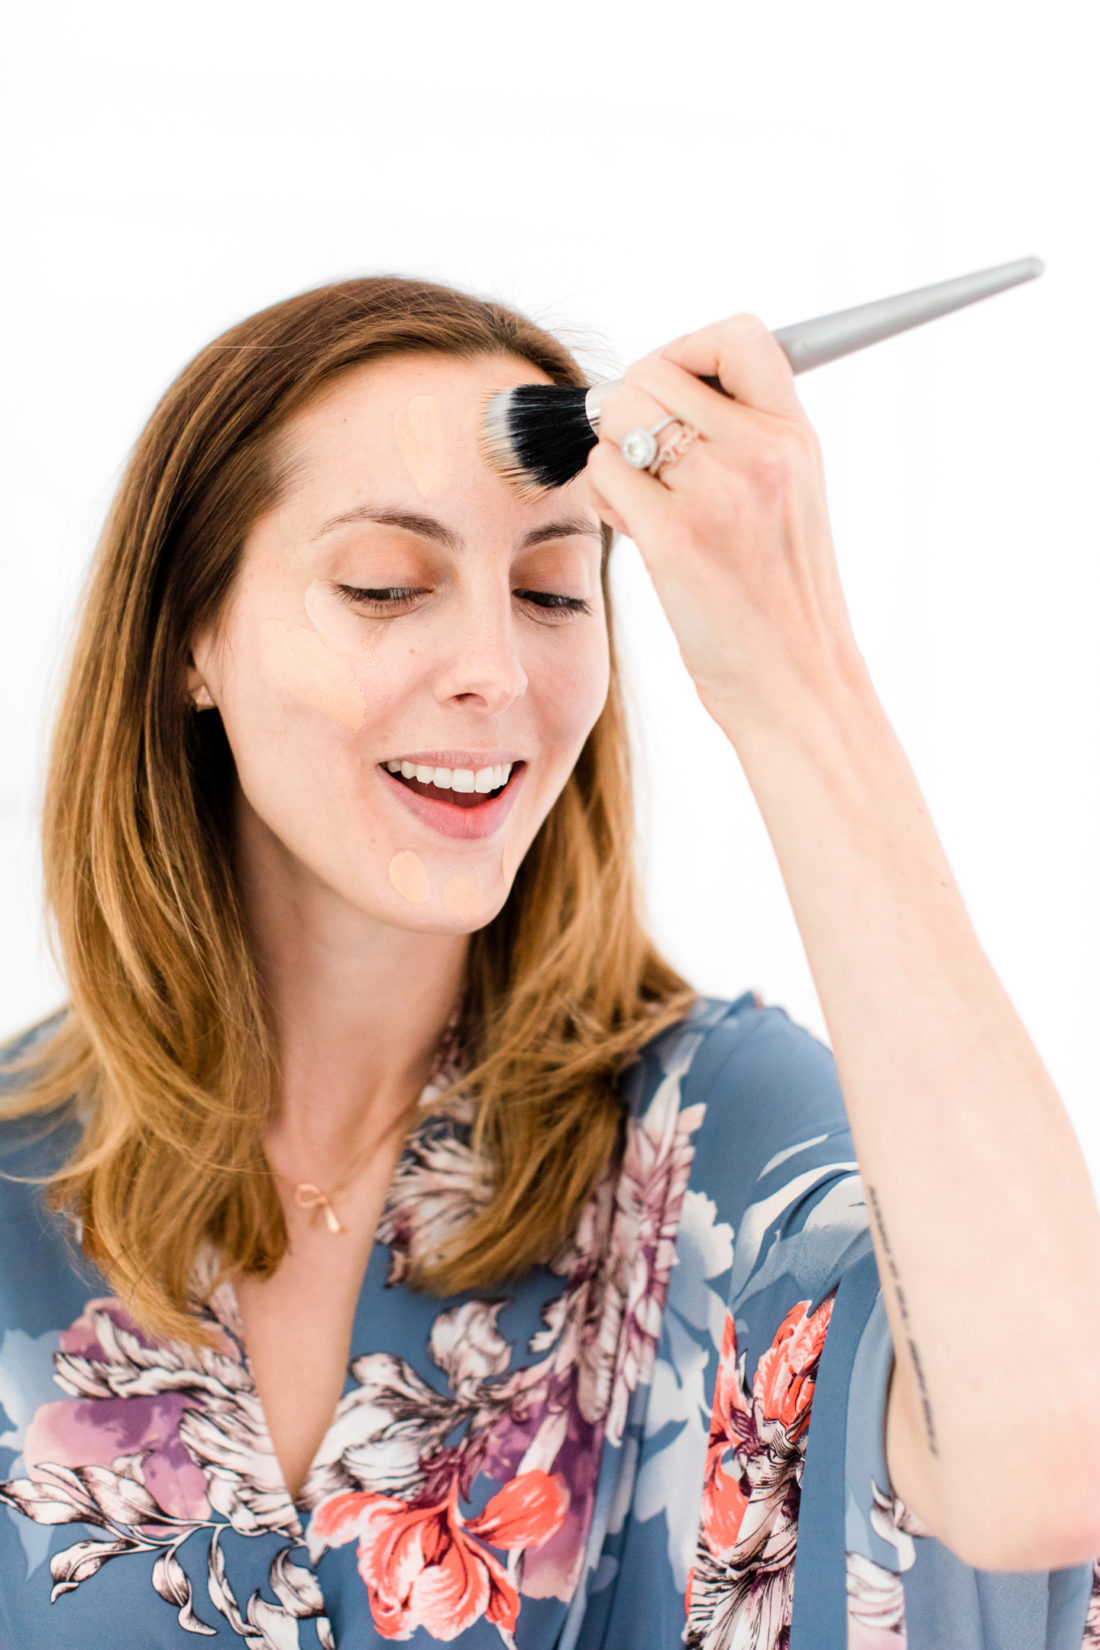
2. Apply Foundation
I like using lightweight foundations when possible, and I really like this Beauty Counter one! I apply all over my face and then use either a foundation brush or a beauty blender to blend everything in. Make sure to blend under your jaw line really well so you don’t look like you’re wearing a mask!
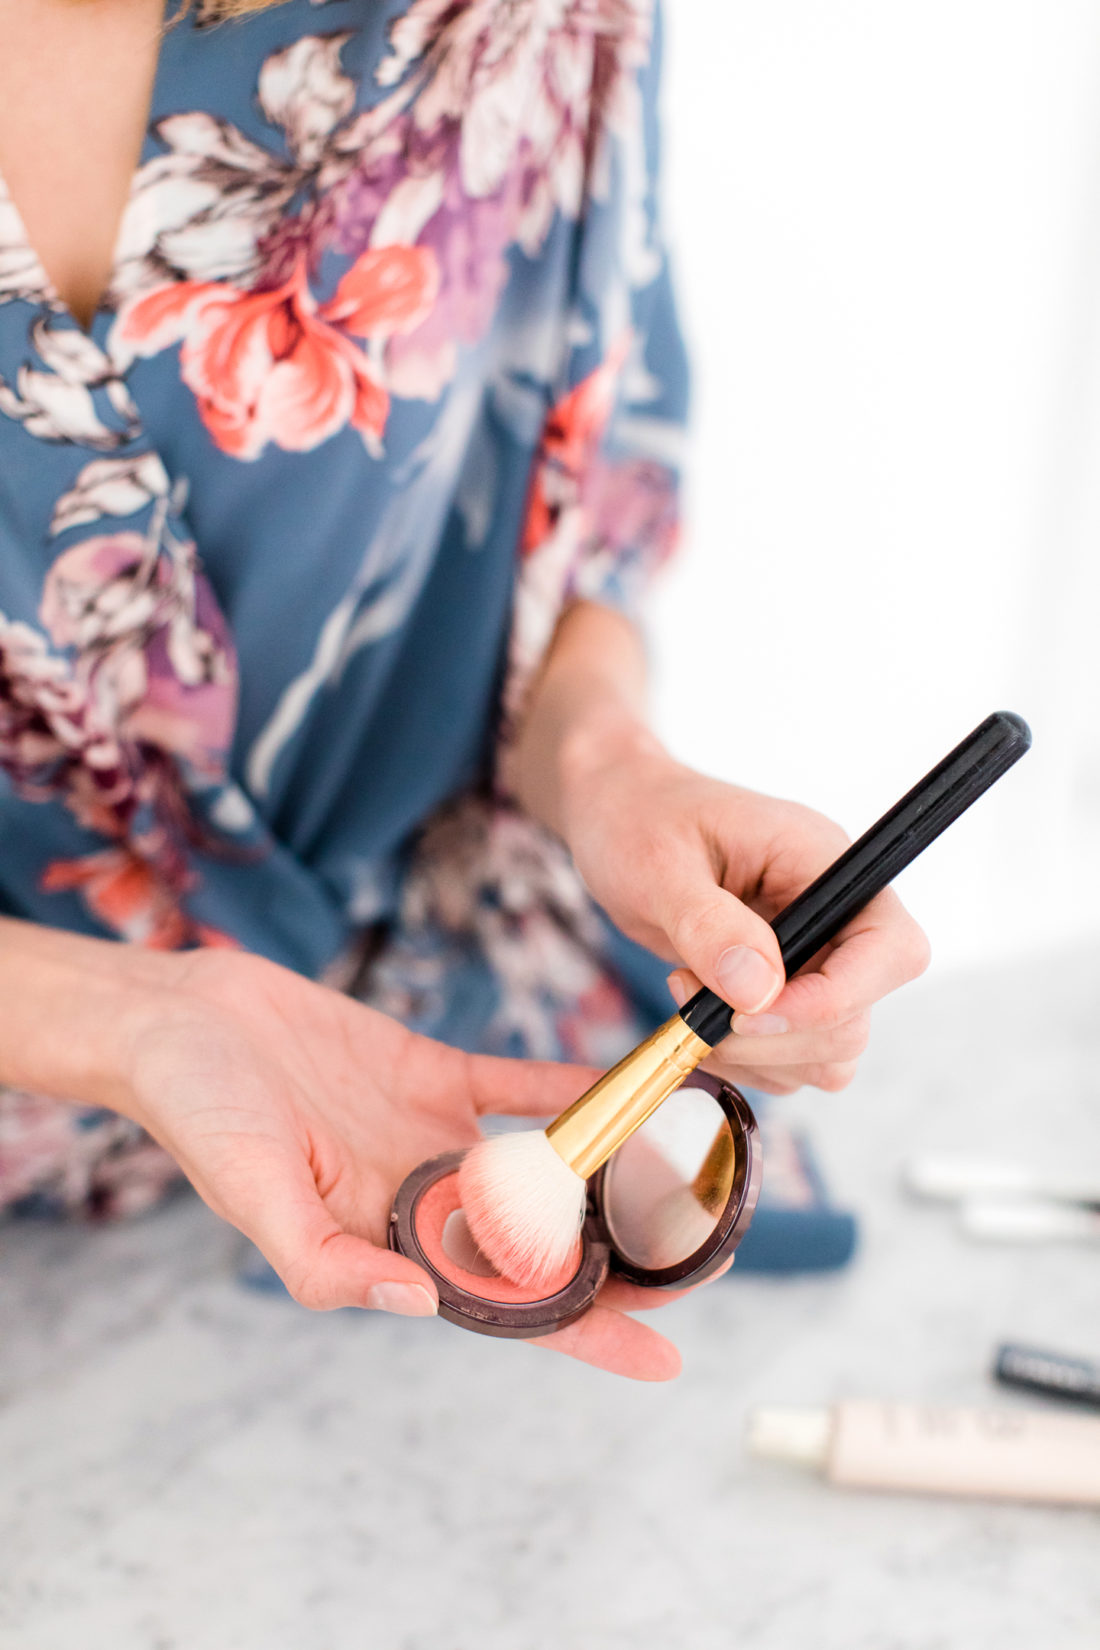
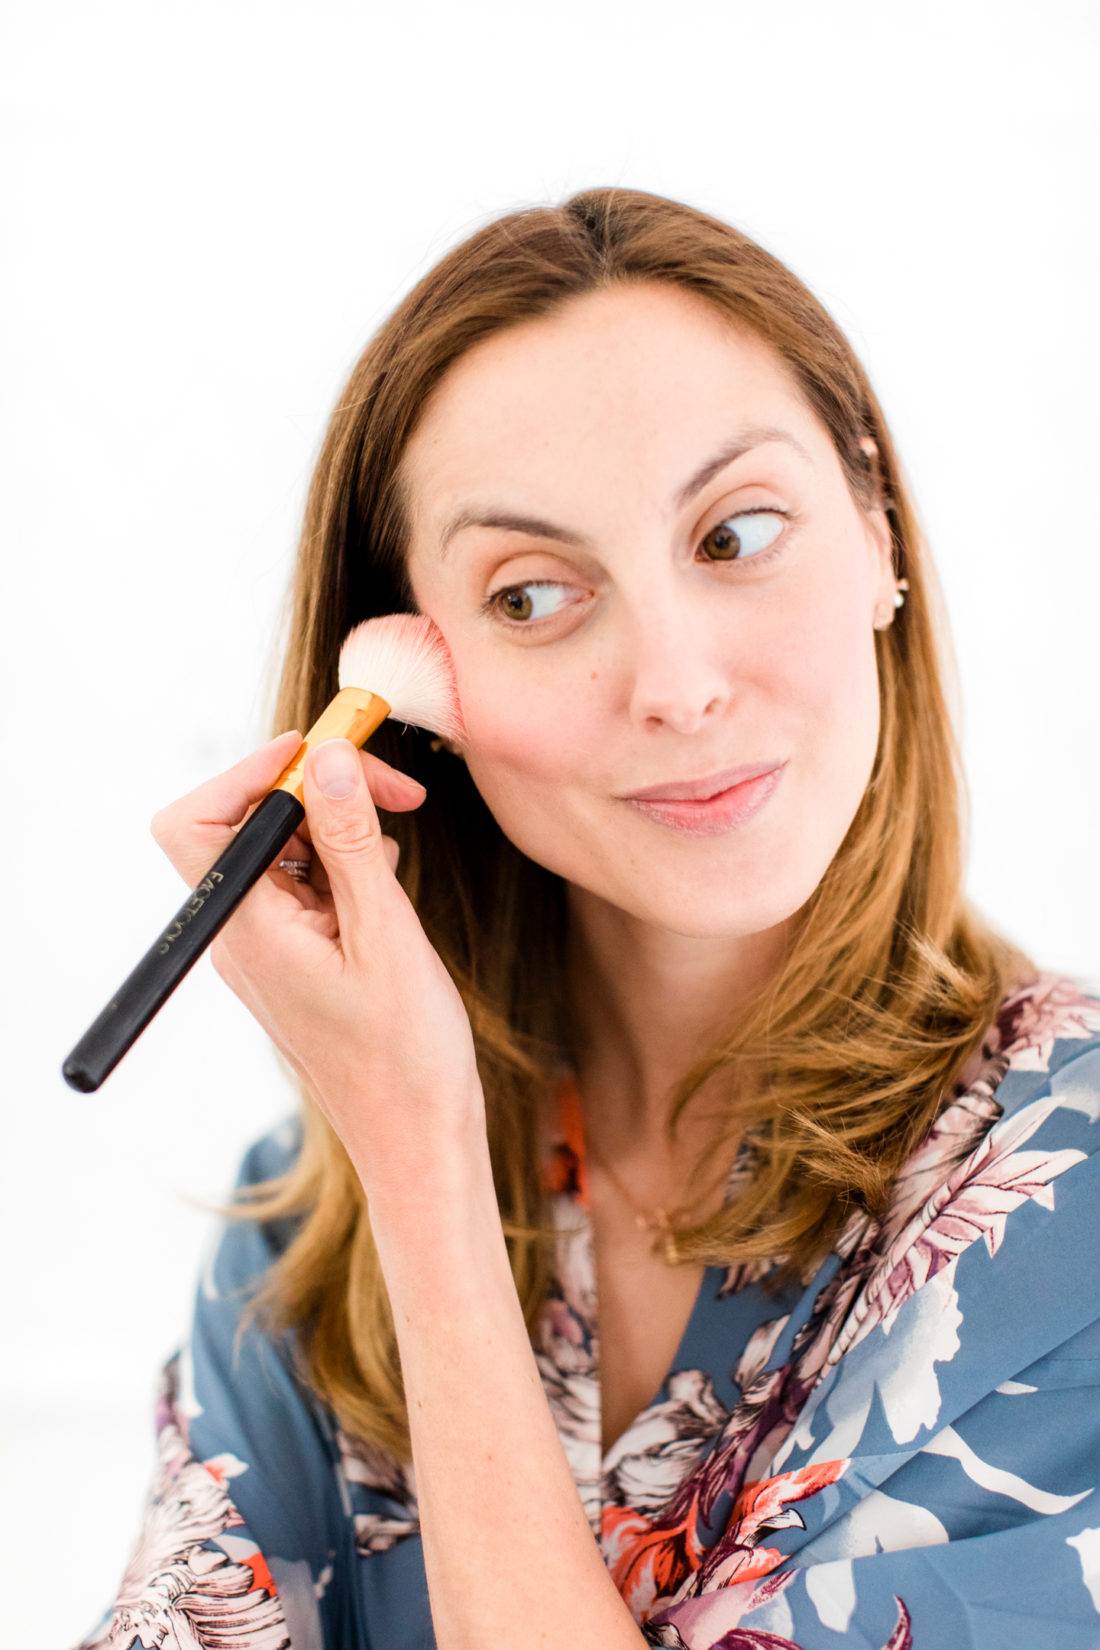
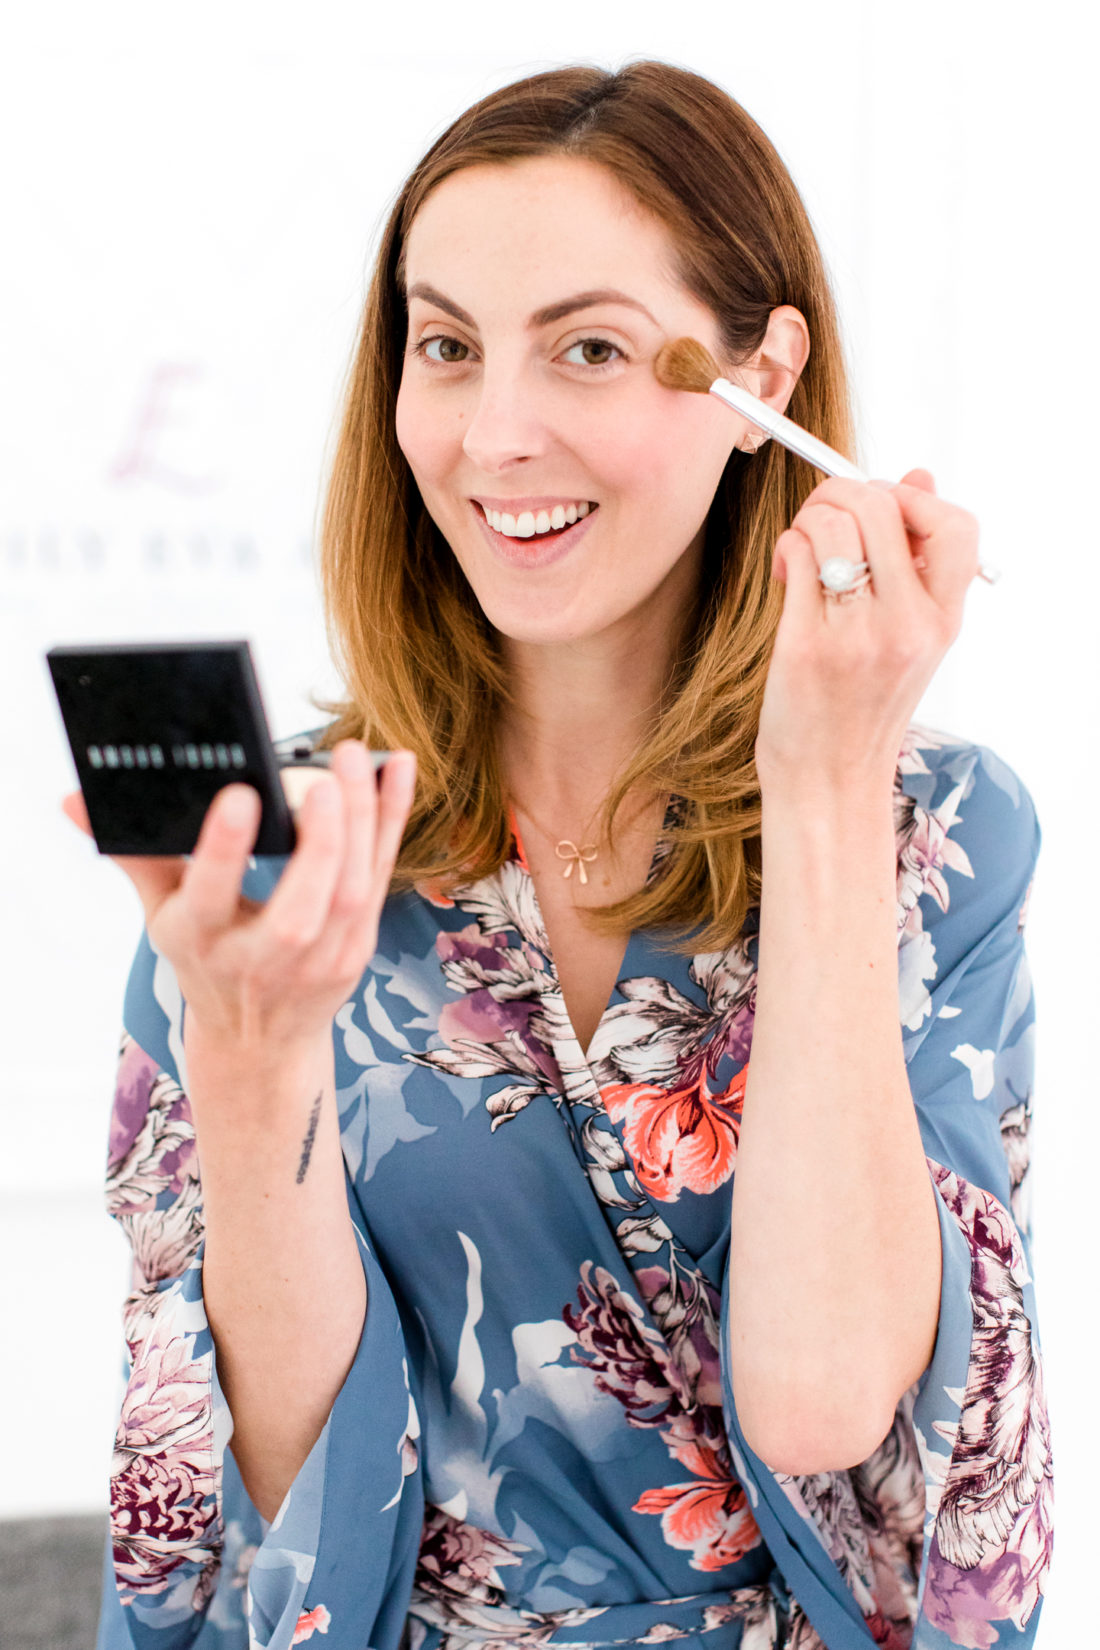
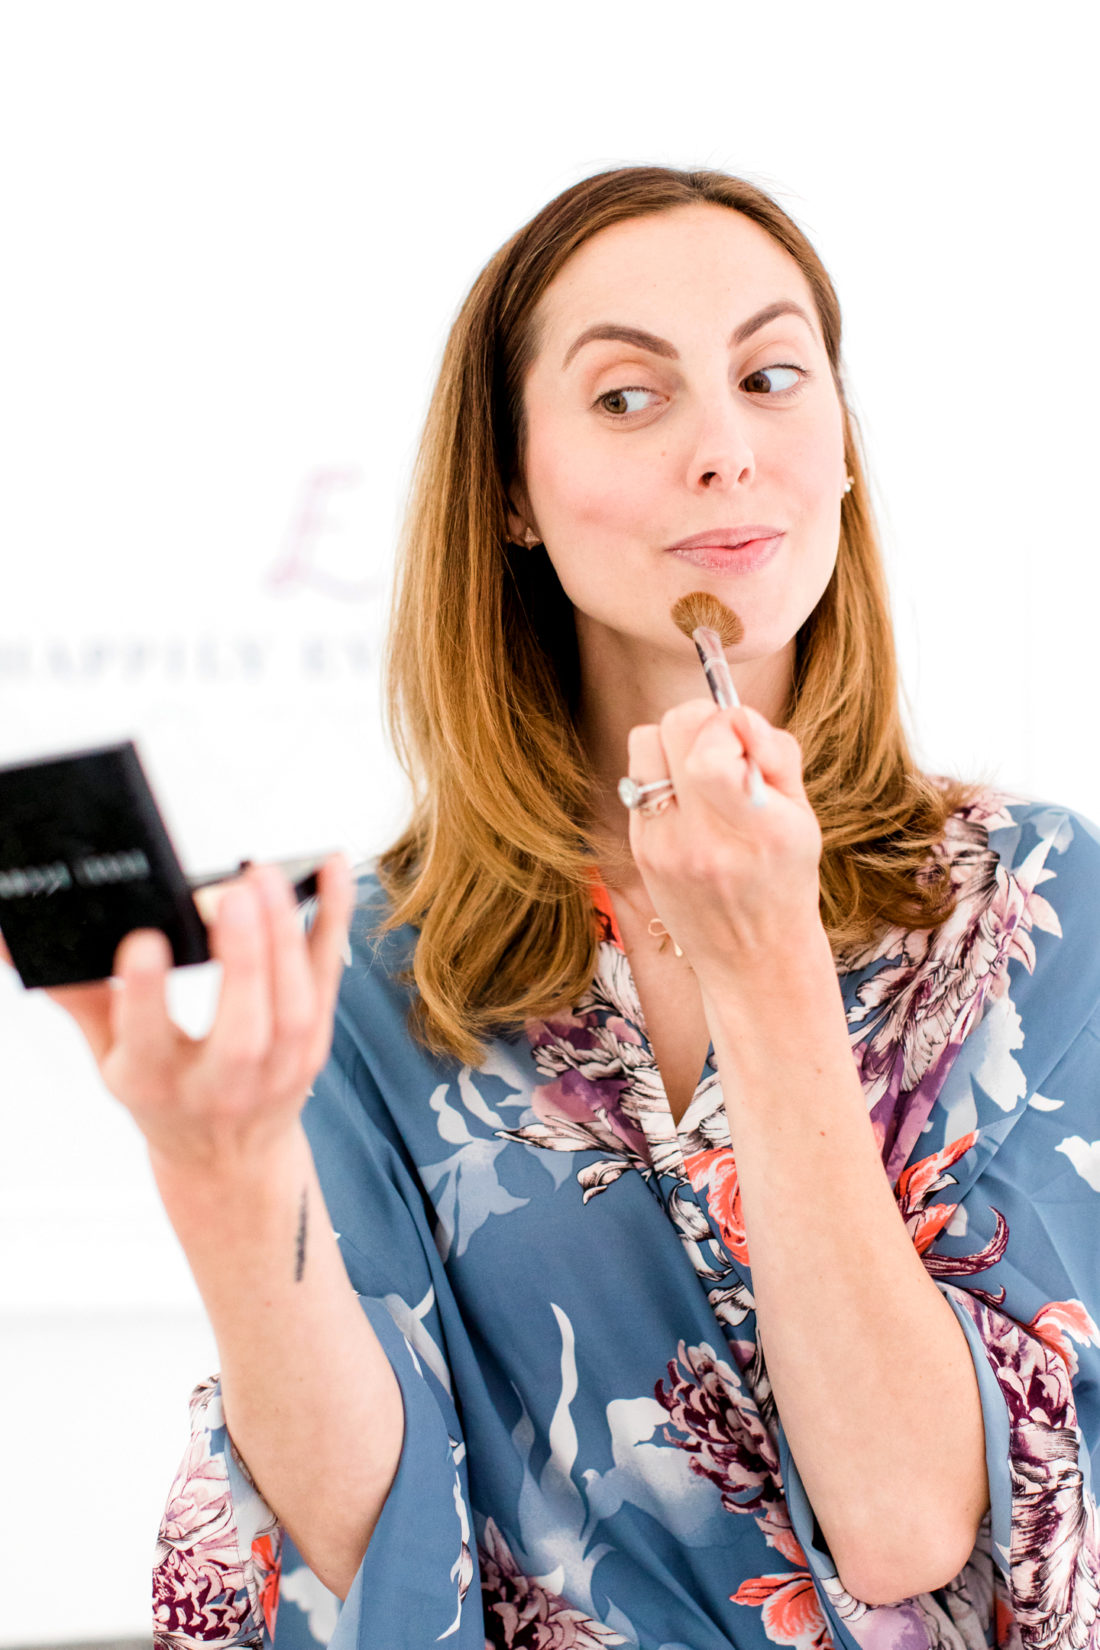
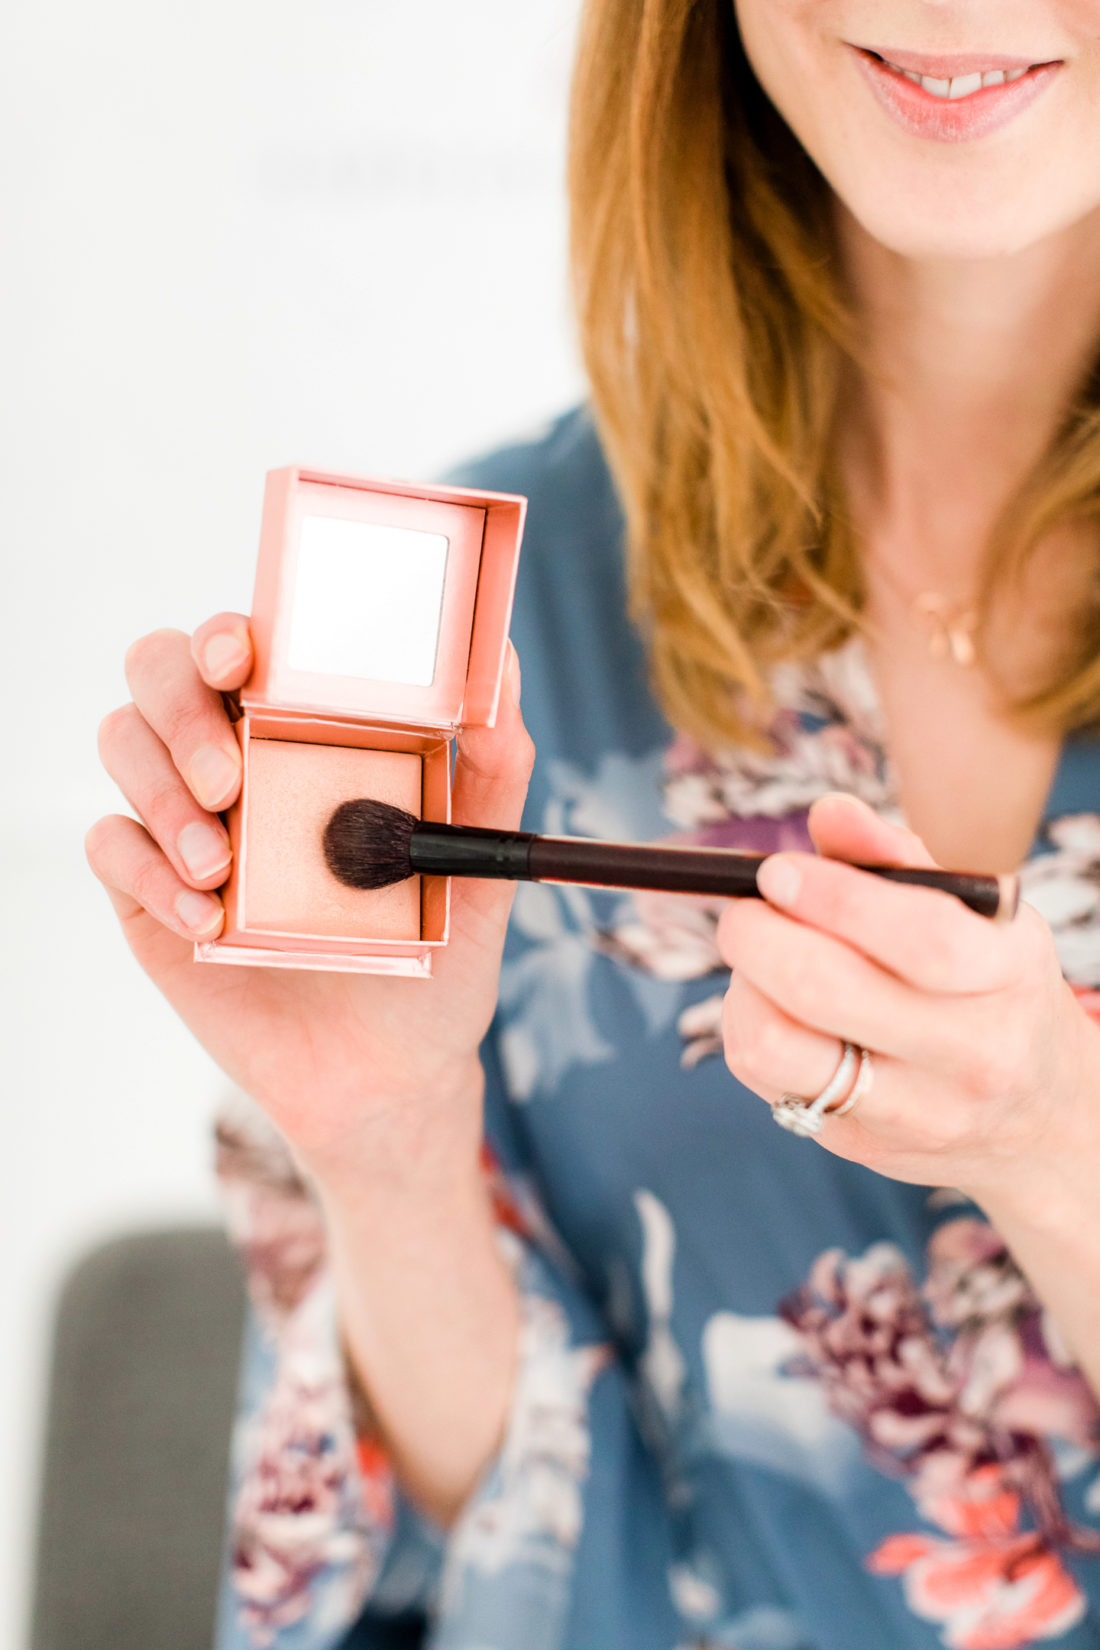
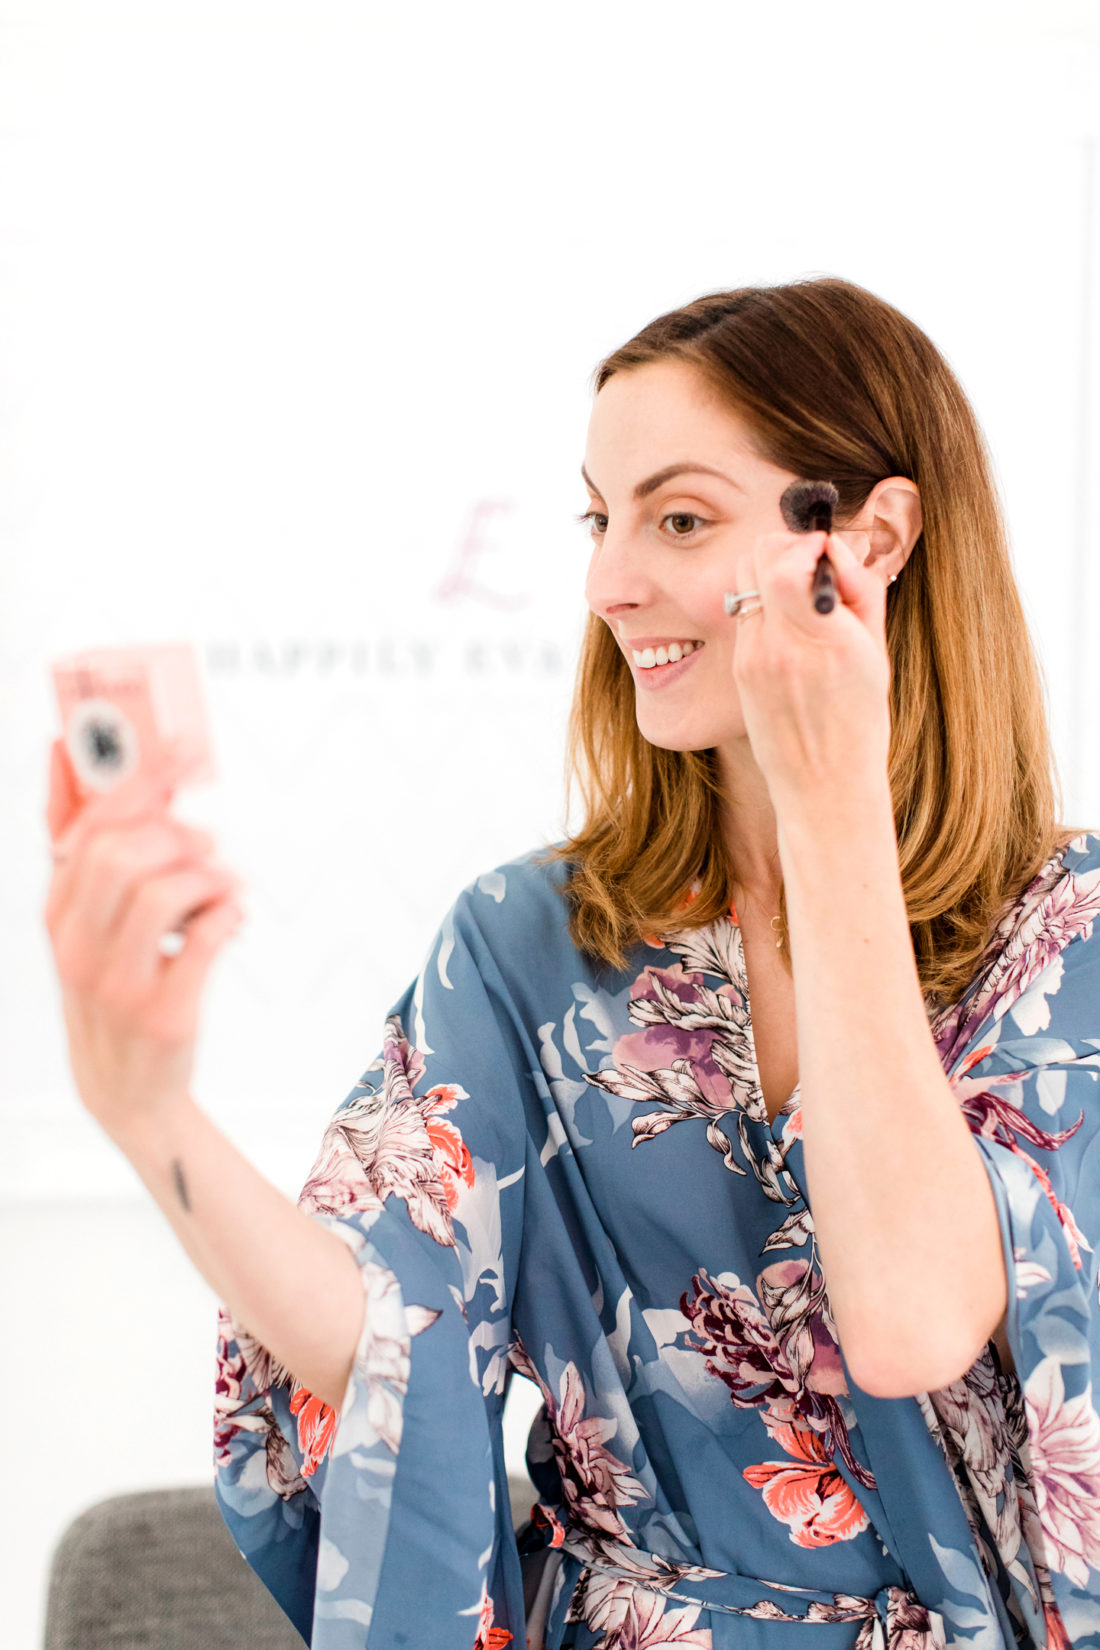
3. Apply Blush
I love this Makeup Geek blush so much. It’s the prettiest rosy color with just the right amount of sparkle. I can’t find it anymore, but it’s almost exactly the same as NARS “orgasm”, which I love just as much! I the blush to the apples of my cheeks and then sweep the color up my cheekbones, ending in my hairline.

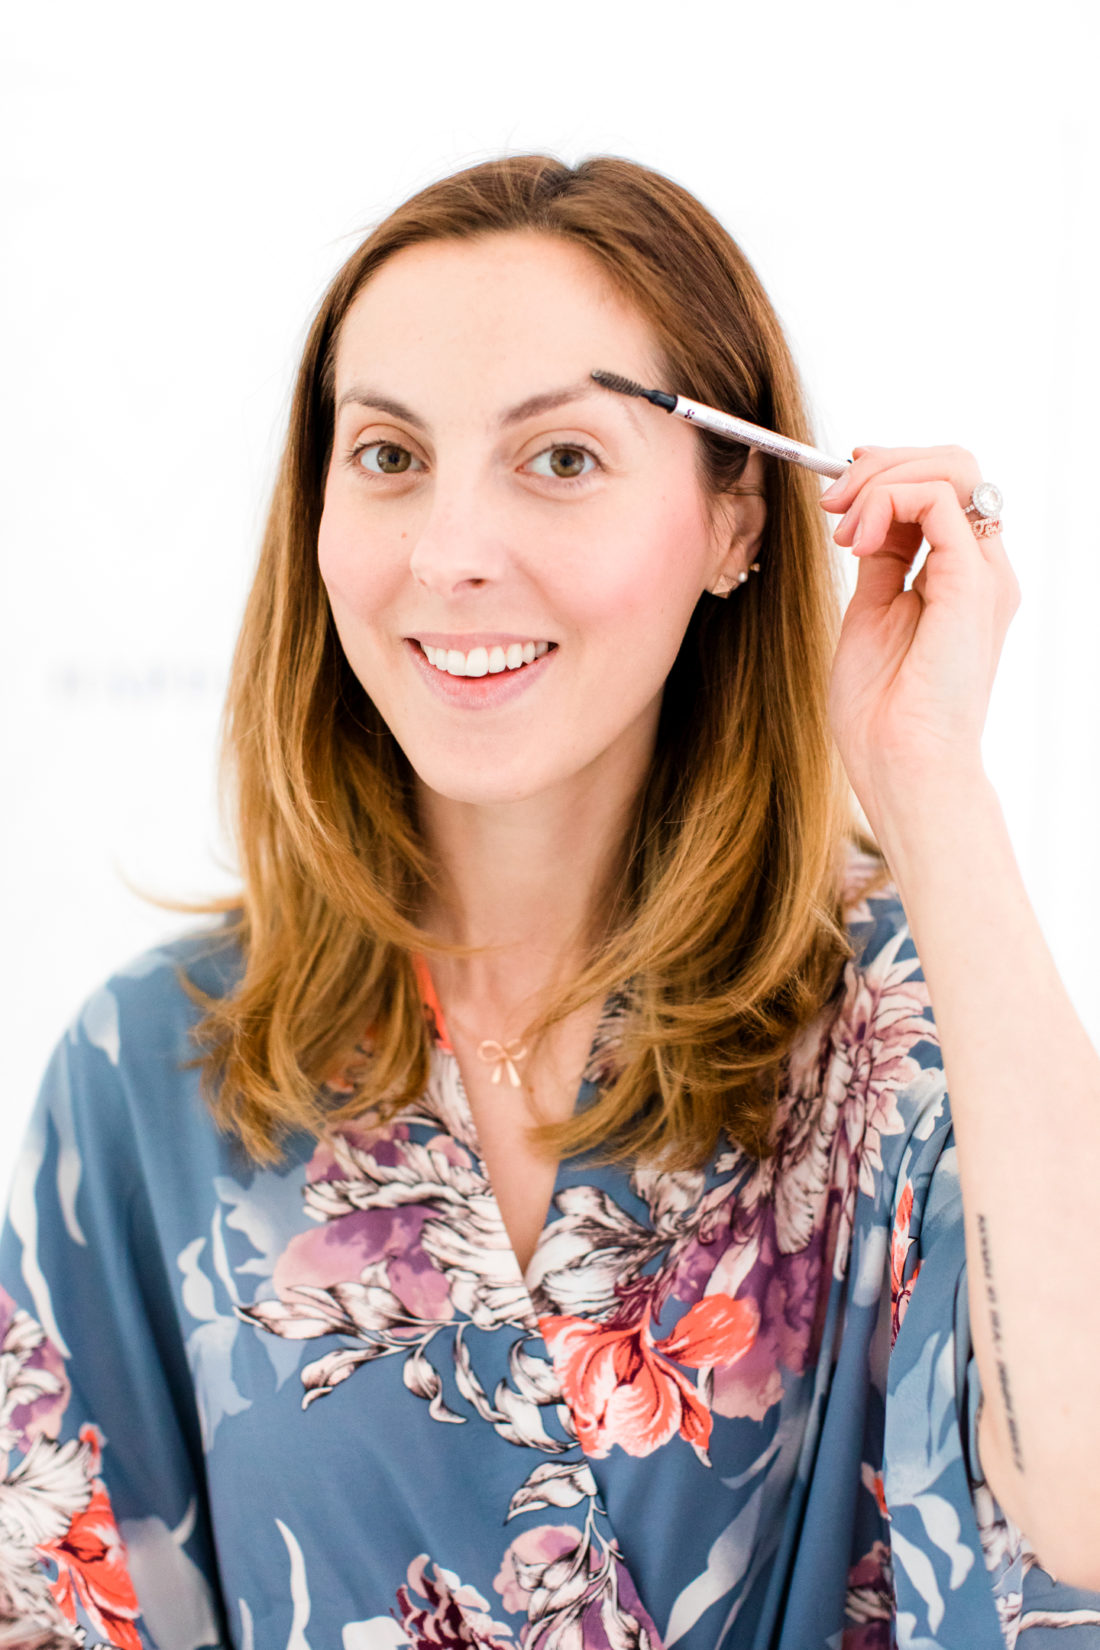
4. Fill In My Brows
This is such an important step for me, and I never miss it! I love this Benefit brow pencil because it’s so precise and you can really draw in each extra hair you may be missing. I use the #3 color, which is a dark brown. I start by brushing my brows up so the hairs are all in the same direction, and then I begin on the insides and work my way out while filling them in with small, short strokes.

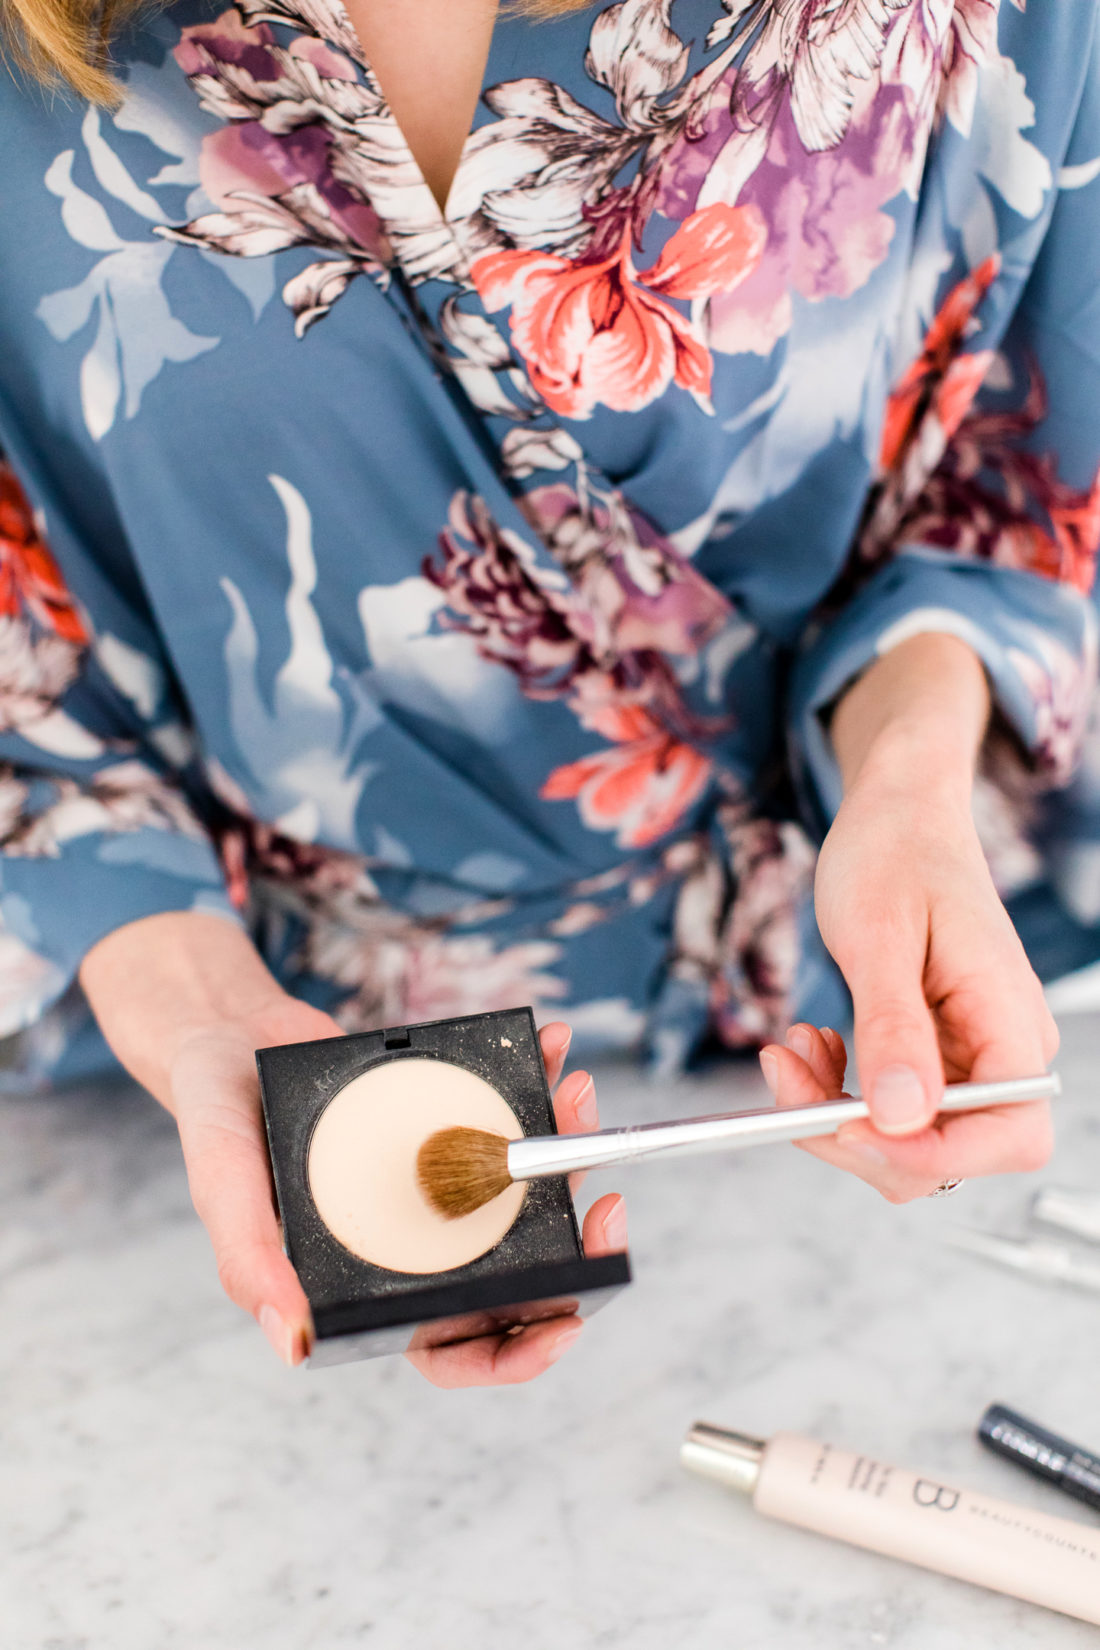
5. Translucent Powder
I love using translucent powder to set my makeup and concealer in easy-to-slip places. It’s also good to make sure you don’t get too shiny when the weather is a bit warmer! I always put a bit of translucent powder under my eyes, down the bridge of my nose, on my chin, and on my forehead.

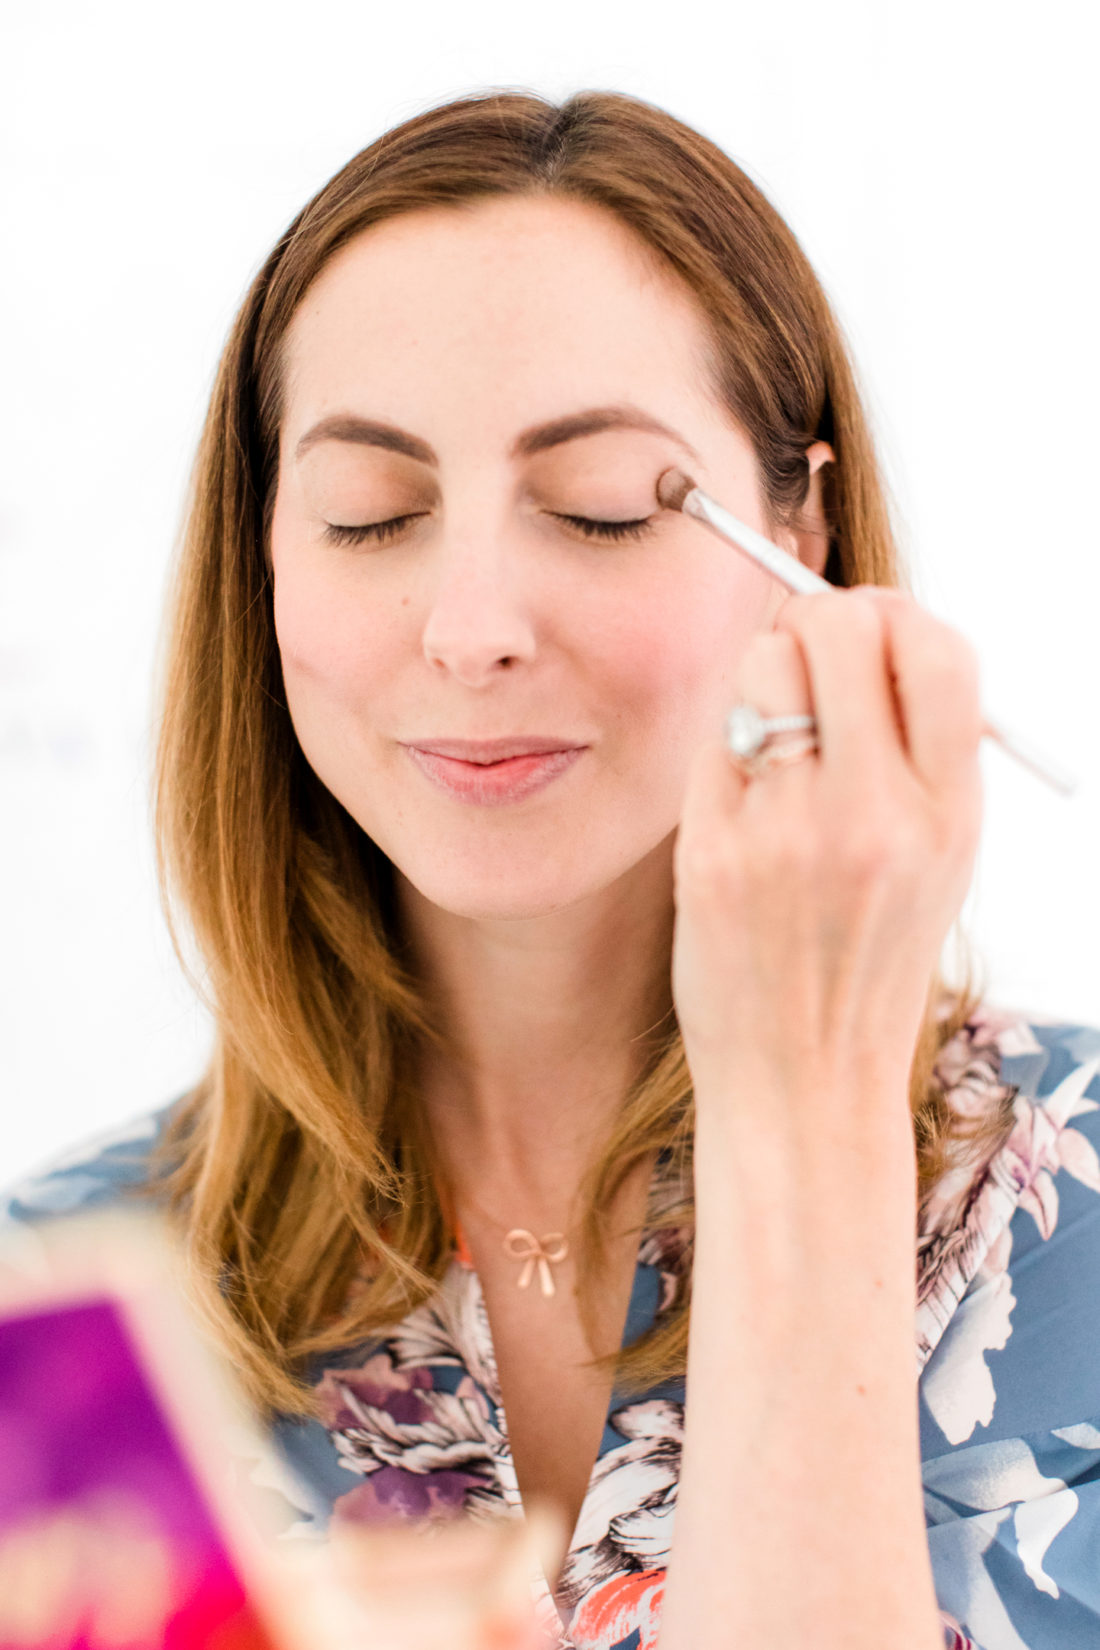
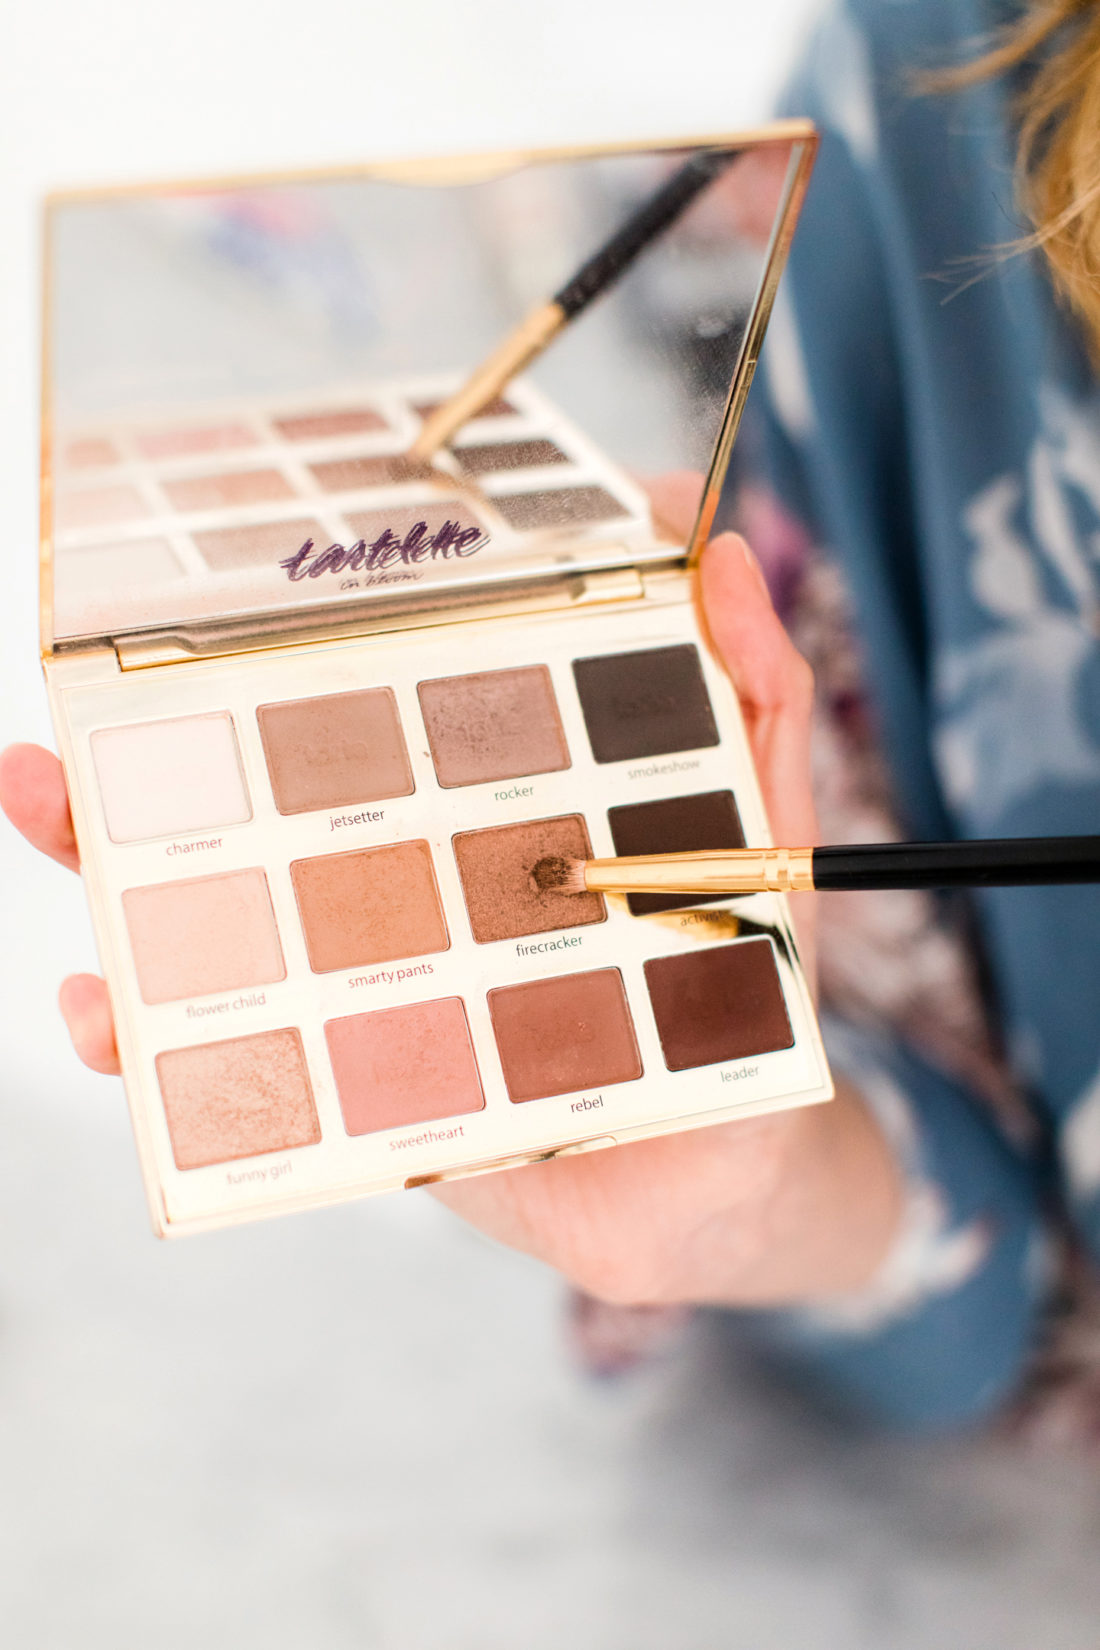
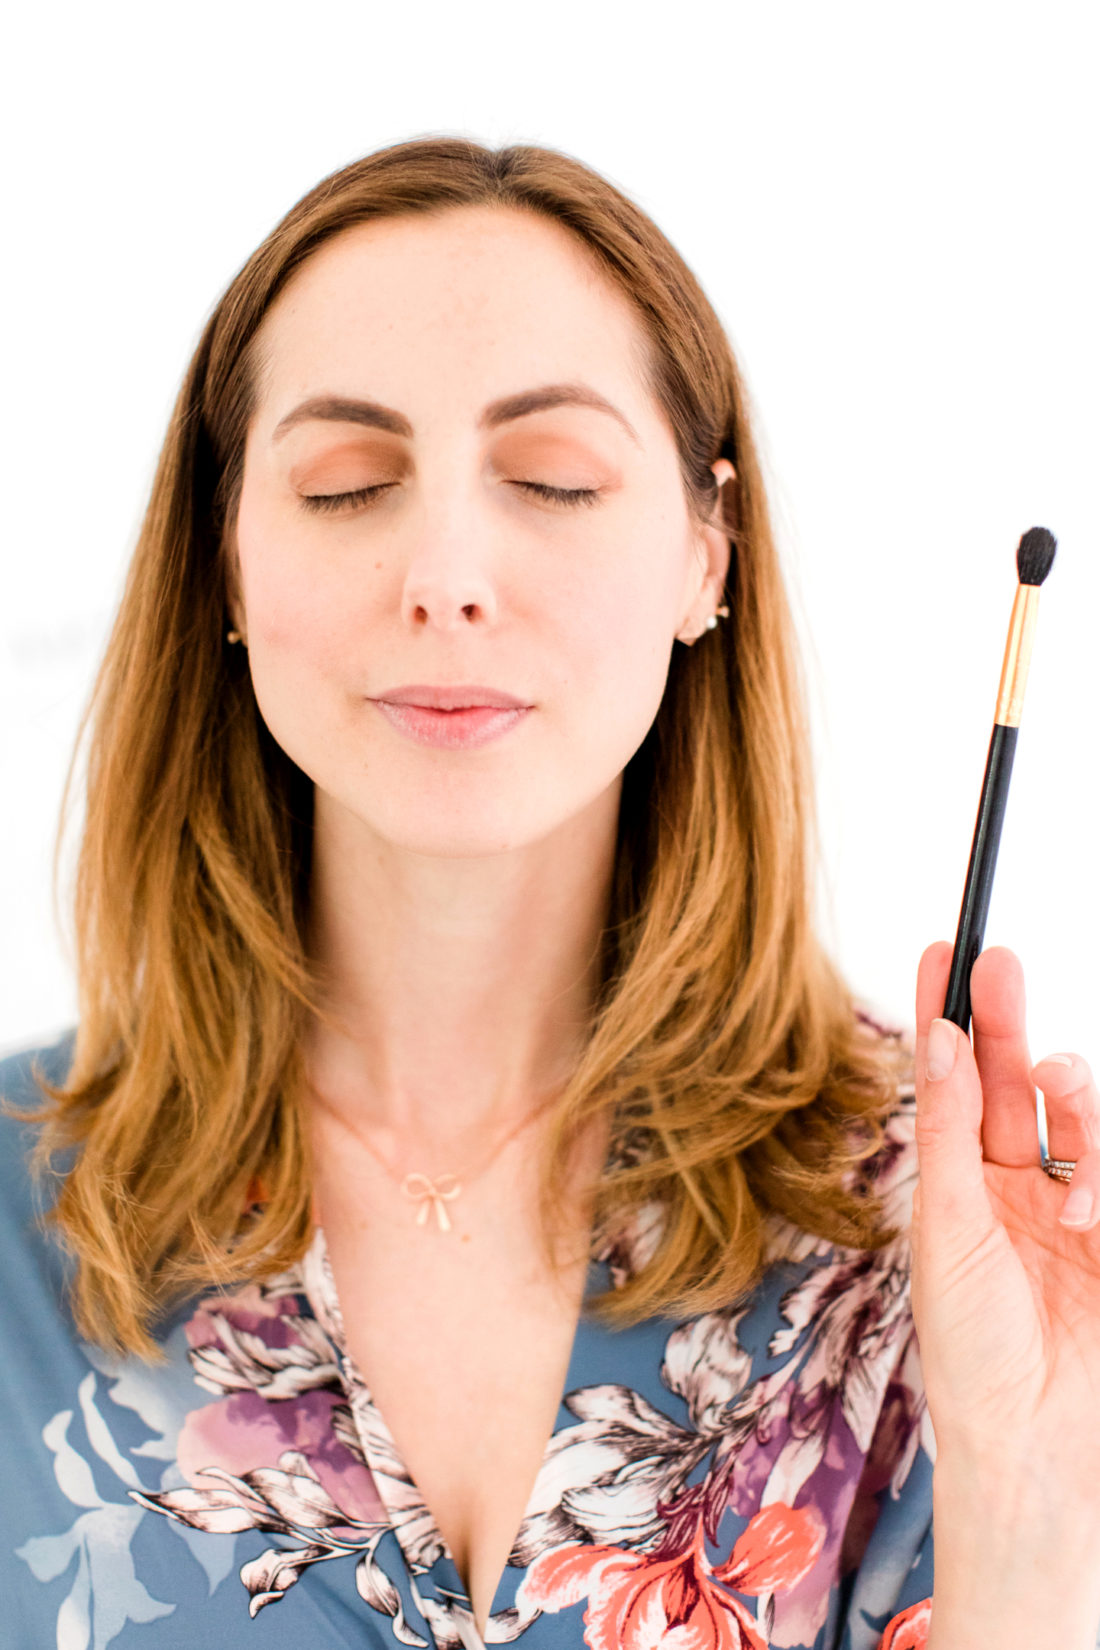
6. Apply Eyeshadow
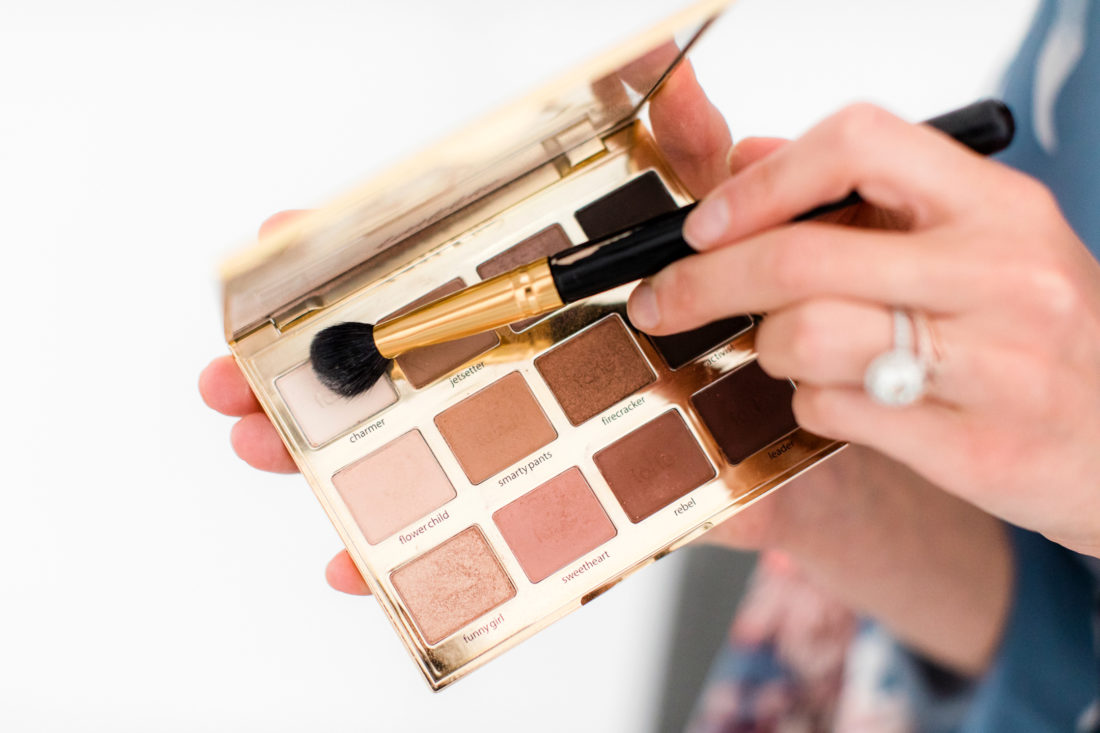
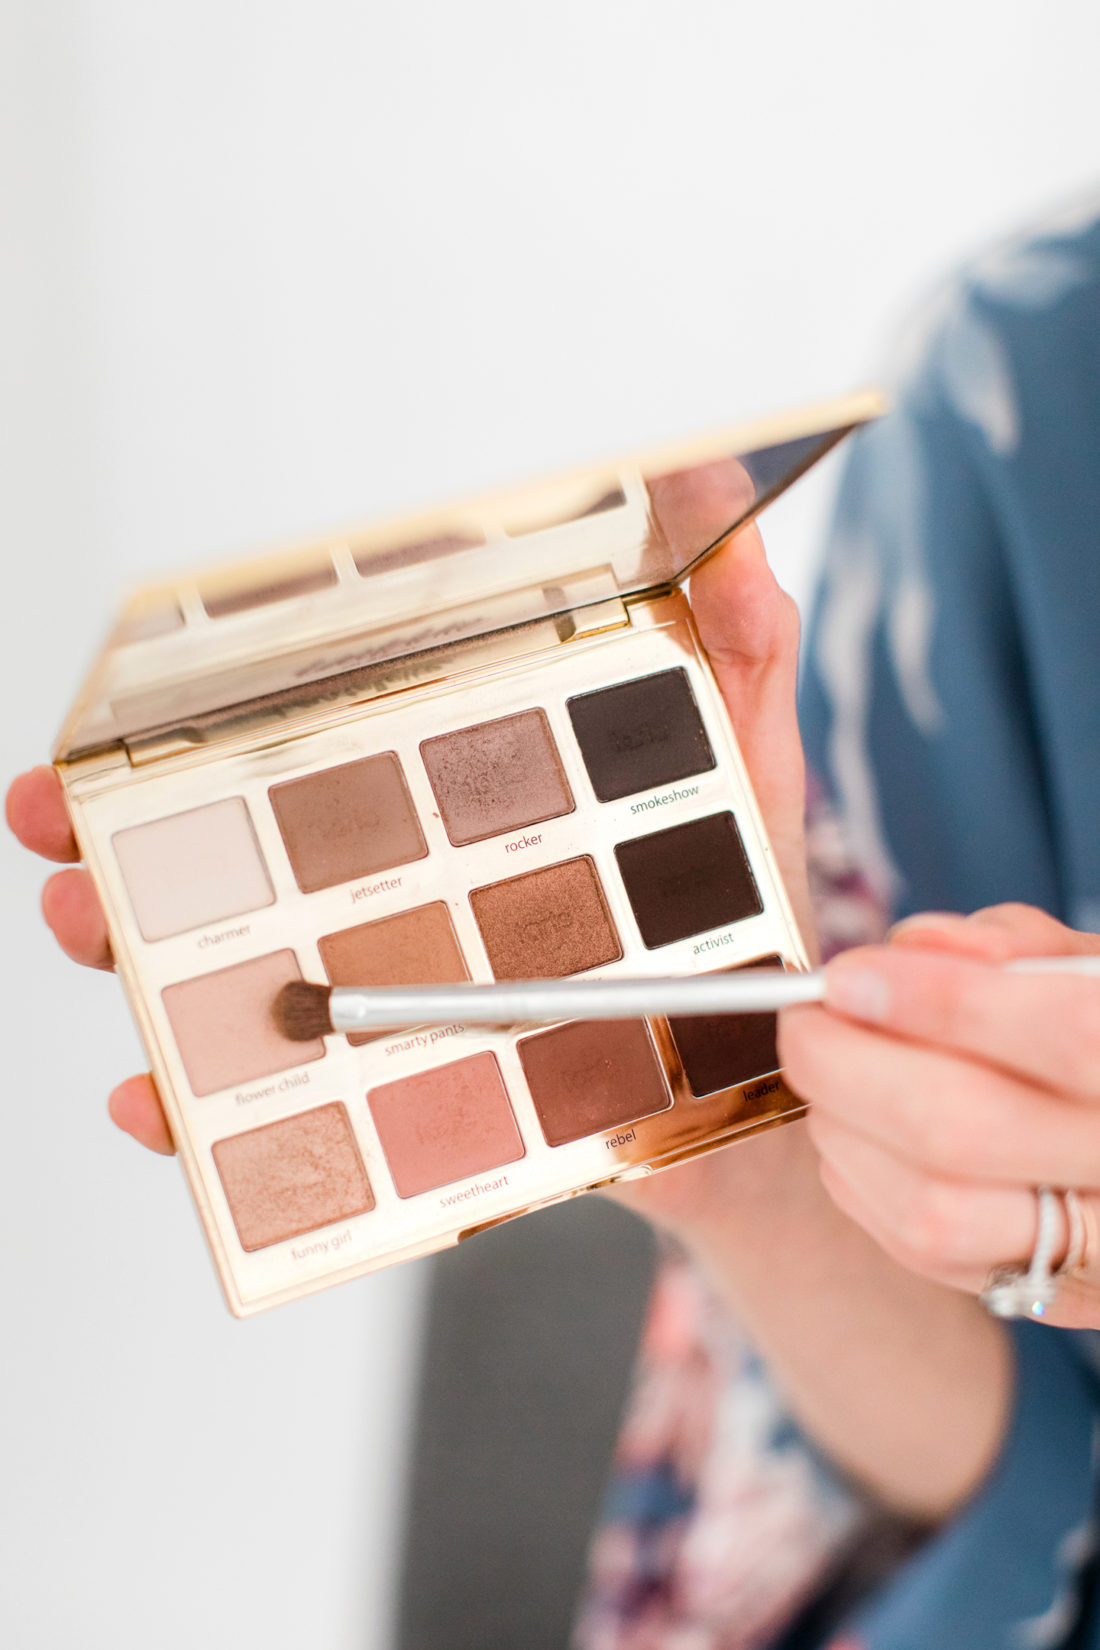
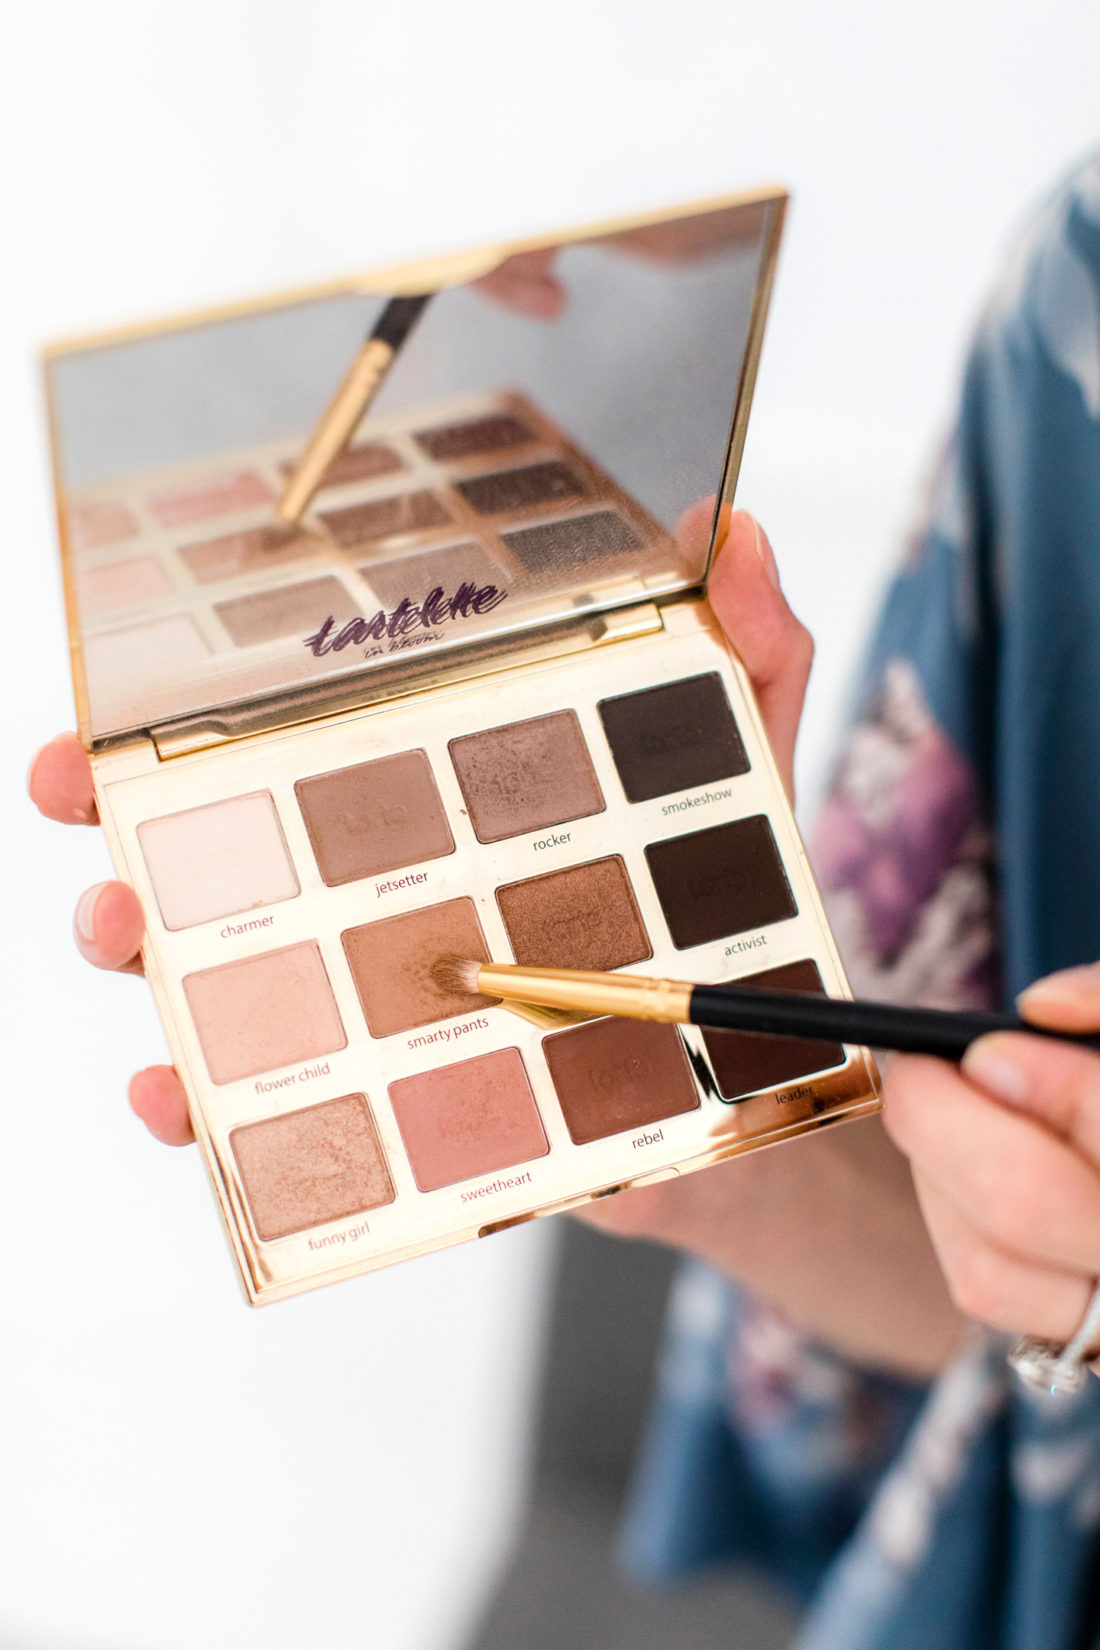
I love this Tarte eyeshadow palette “In Bloom” because the colors are so natural, pretty, and totally wearable. Plus they all blend so beautifully together! If you ever only had ONE eyeshadow palette, I would recommend this one! Here are the steps for each part of my eyeshadow application: 1. Apply “Charmer” on my brow bone 2. Apply “Flower Child” all over the eyelid, blending in to the crease. 3. Apply “Smarty Pants” in the eyelid crease, starting at the outer corner and working your way in. 4. Apply “Firecracker” (the deepest color, with slight shimmer) to the outer corners and outer part of the crease.
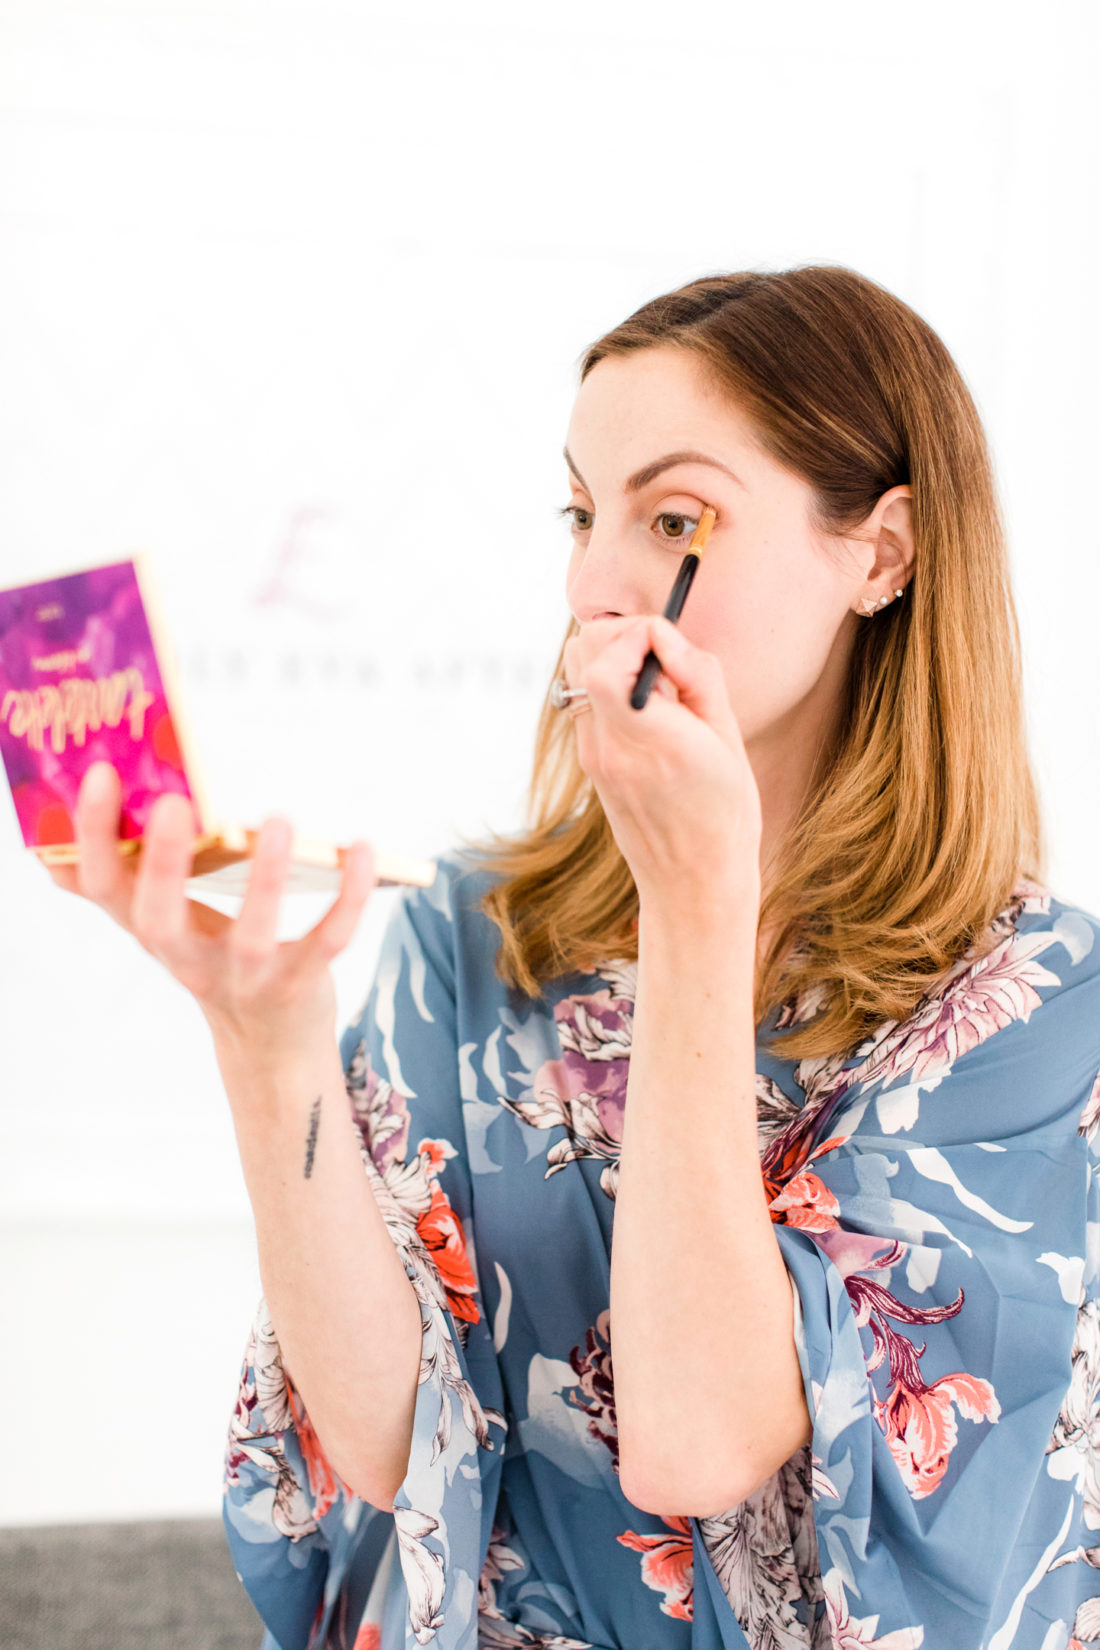
7. Blend the shadow
I like to take a fluffy eyeshadow brush and lightly blend all the different layers of eyeshadow, especially in the crease.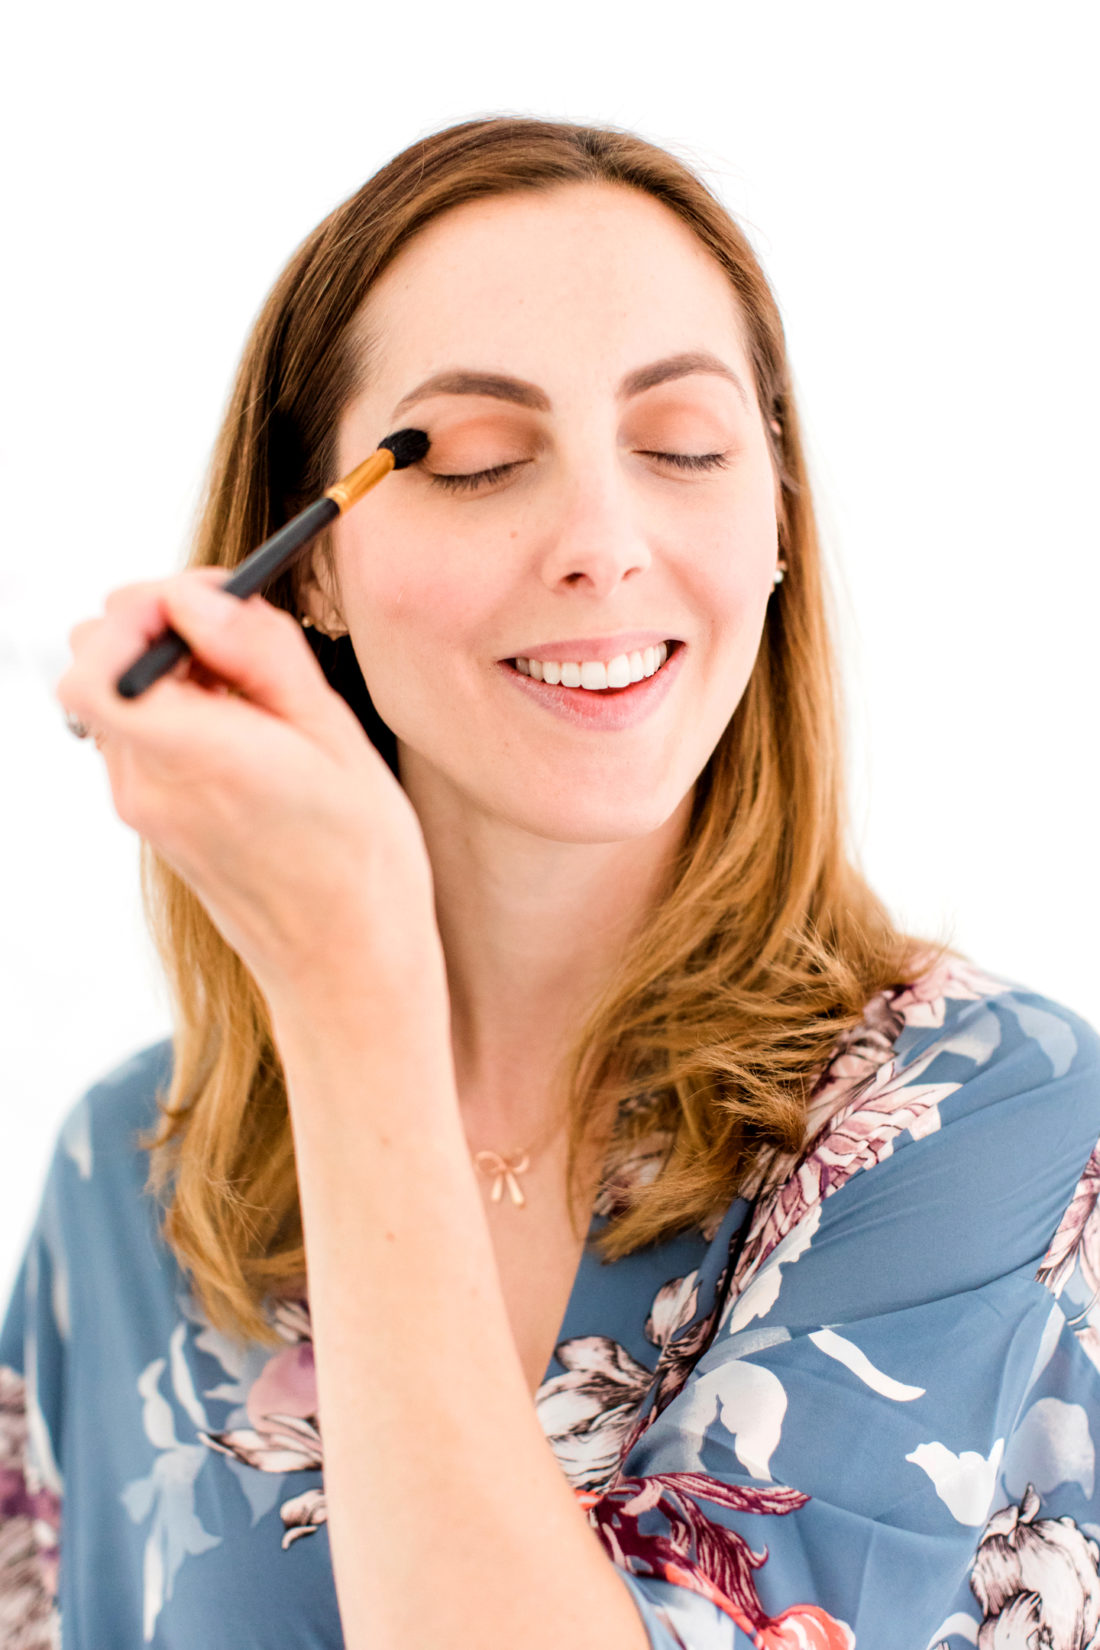
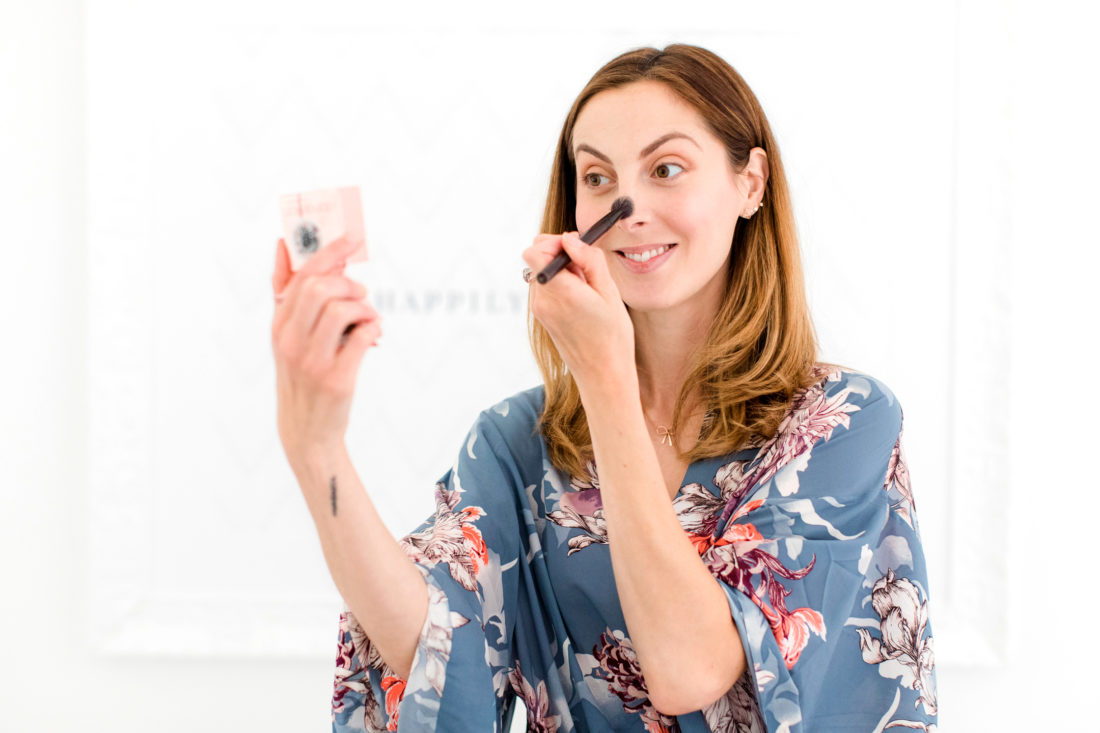
8. Highlighting Powder
I find that a great way to sneakily fake that glow in photos is to apply highlighter with your makeup! It catches the light in such a beautiful way, and just adds that special extra something to your makeup look. This Benefit highlighter is so gorgeous, works with every skin tone, and is so easy to apply. I apply it on my cheekbones, and down the bridge of my nose.
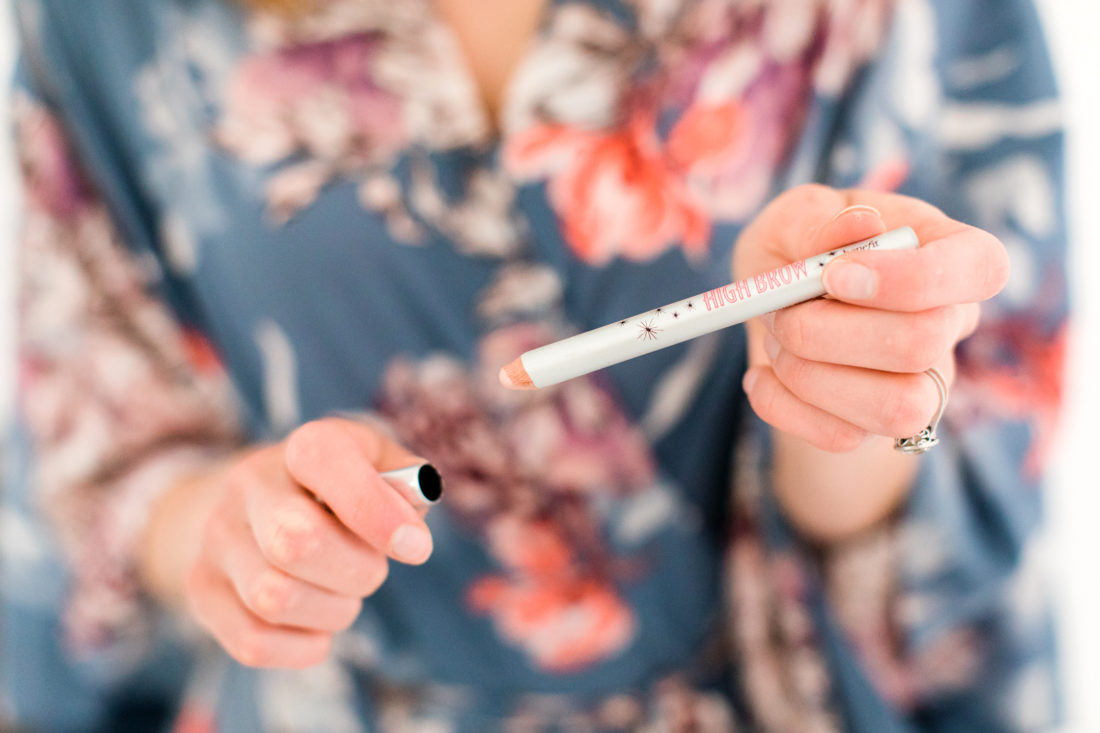
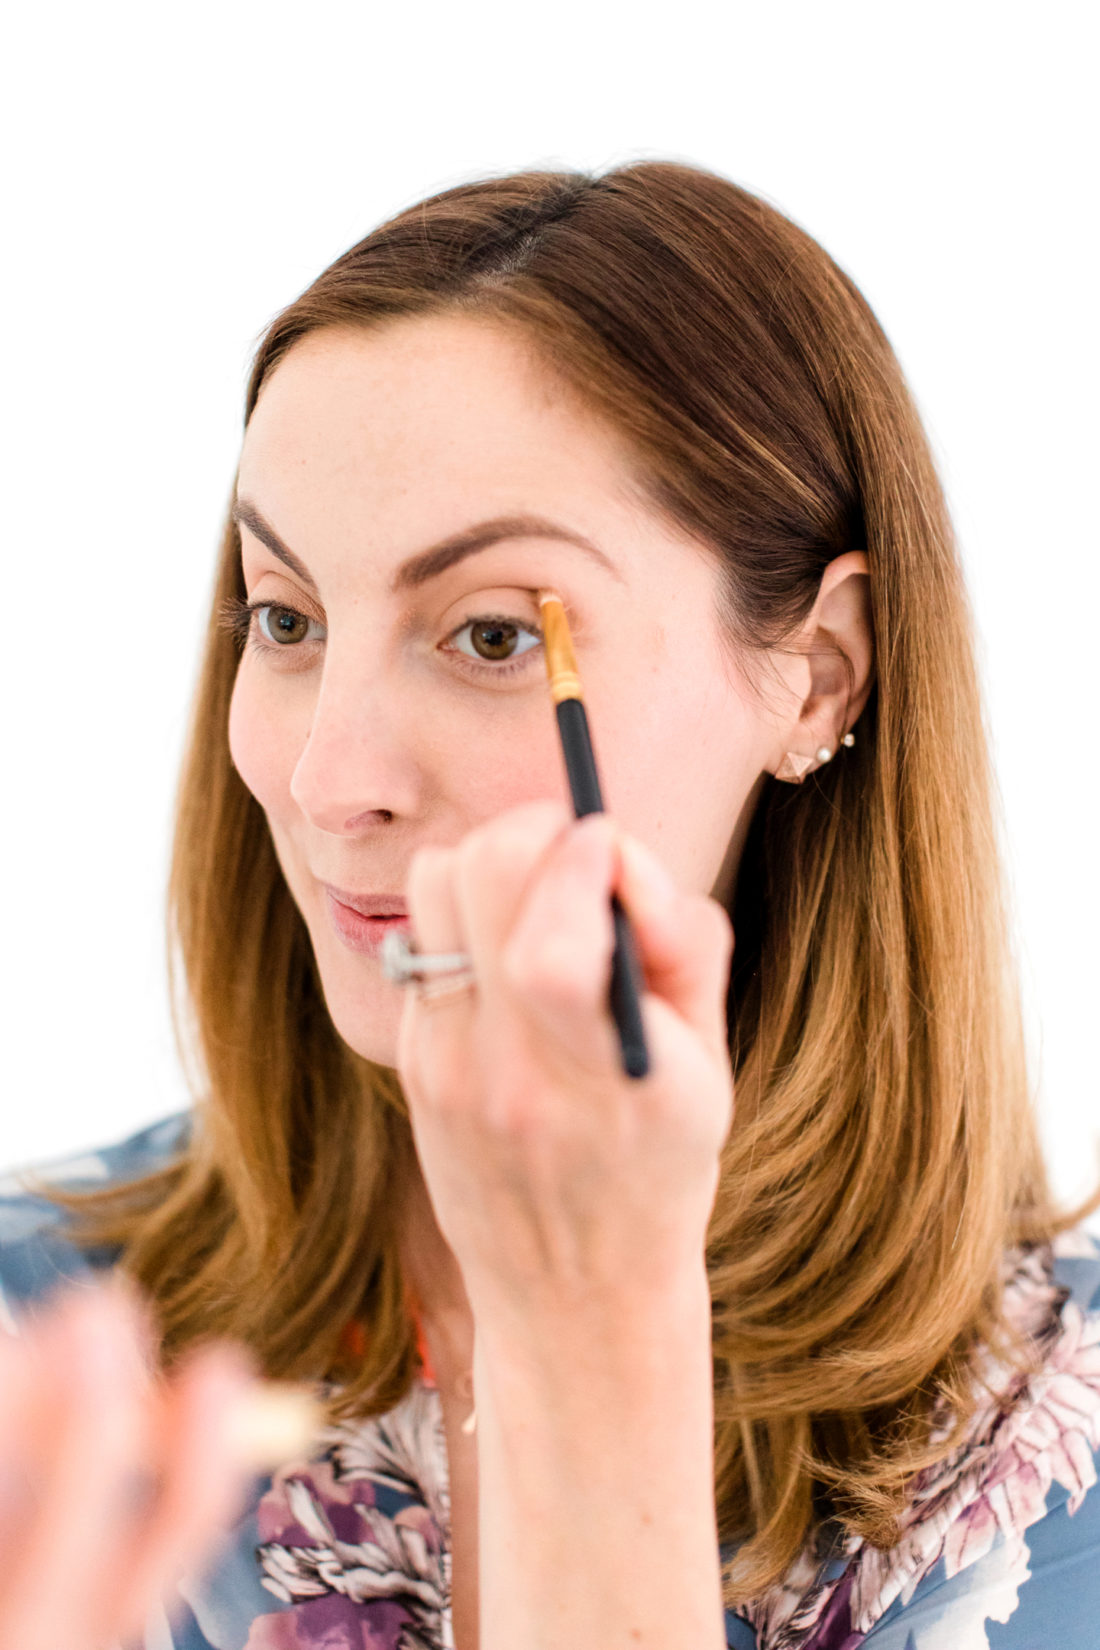
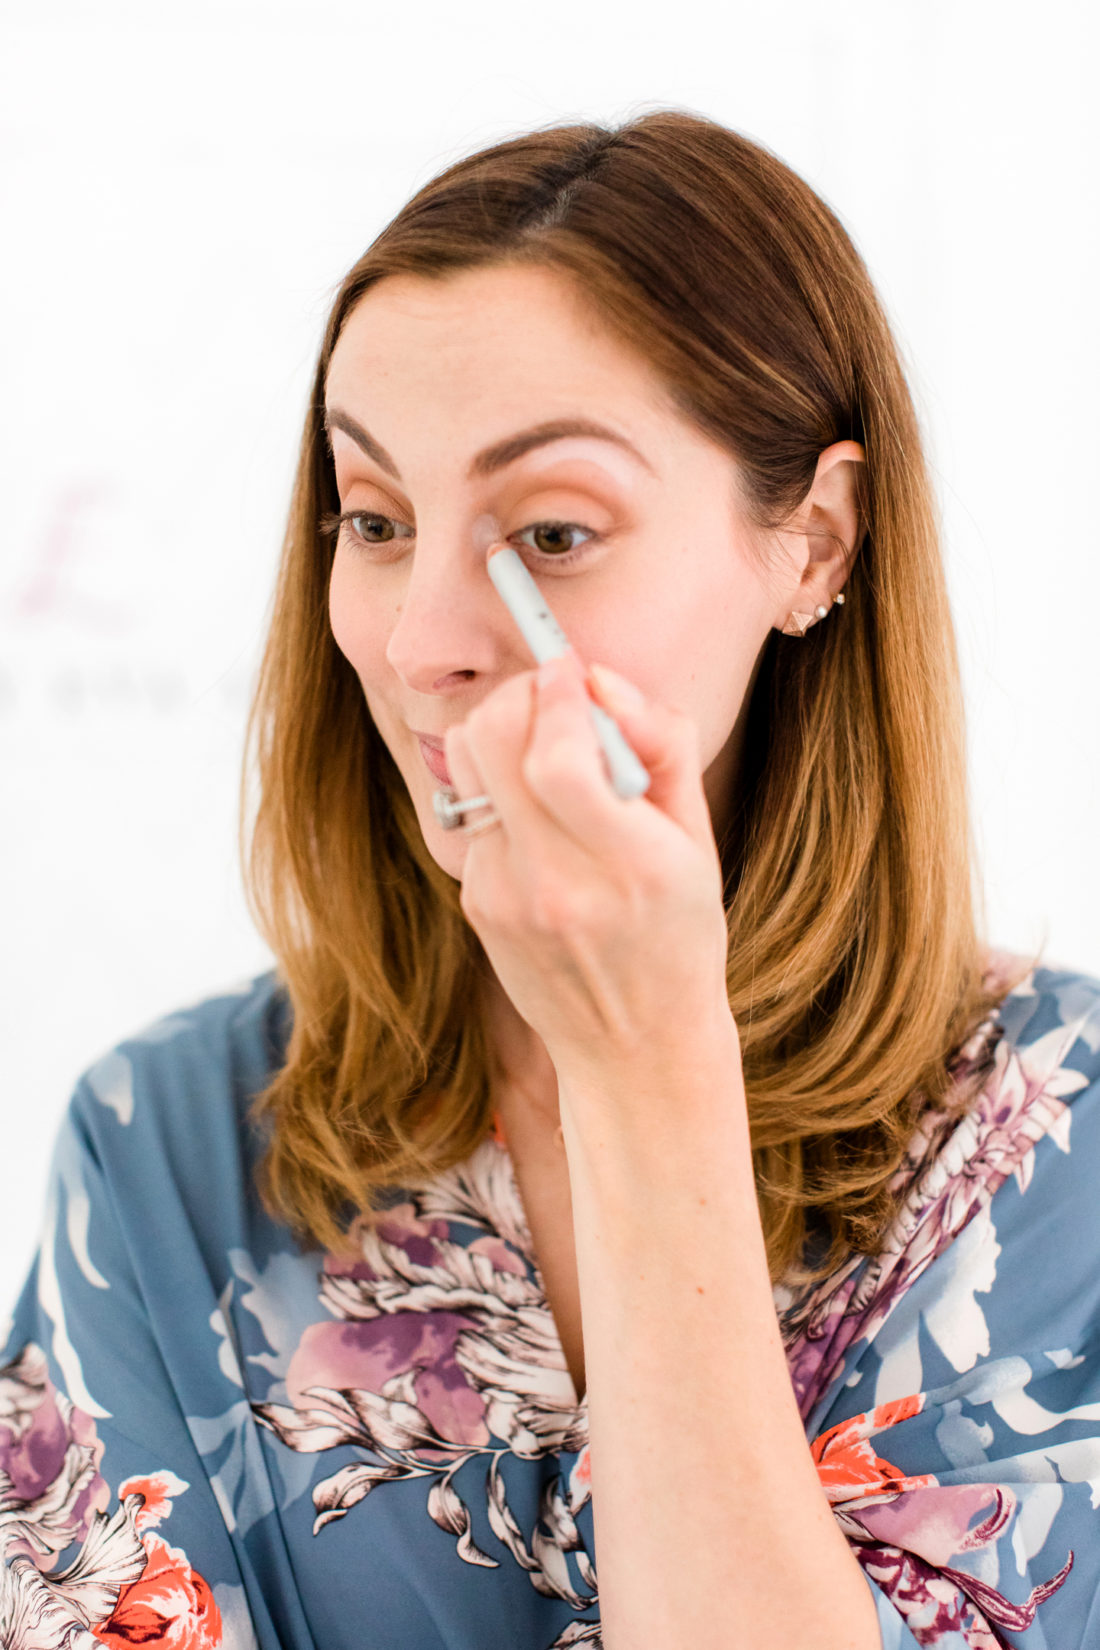
9. Highlight Inner Corners
Another must-have for this look is a bit of highlighter in the inner corners of the eyes. I LOVE this makeup trick– it helps me look awake when I’m feeling anything but– and this Benefit highlighter pencil makes the effect a bit more pronounced than the powder. I just take the pencil and draw it in the inner corners of my eyes, blending with my finger over on to my inner eyelid. I also draw it right underneath my eyebrows, and rub with my pinky finger to blend.
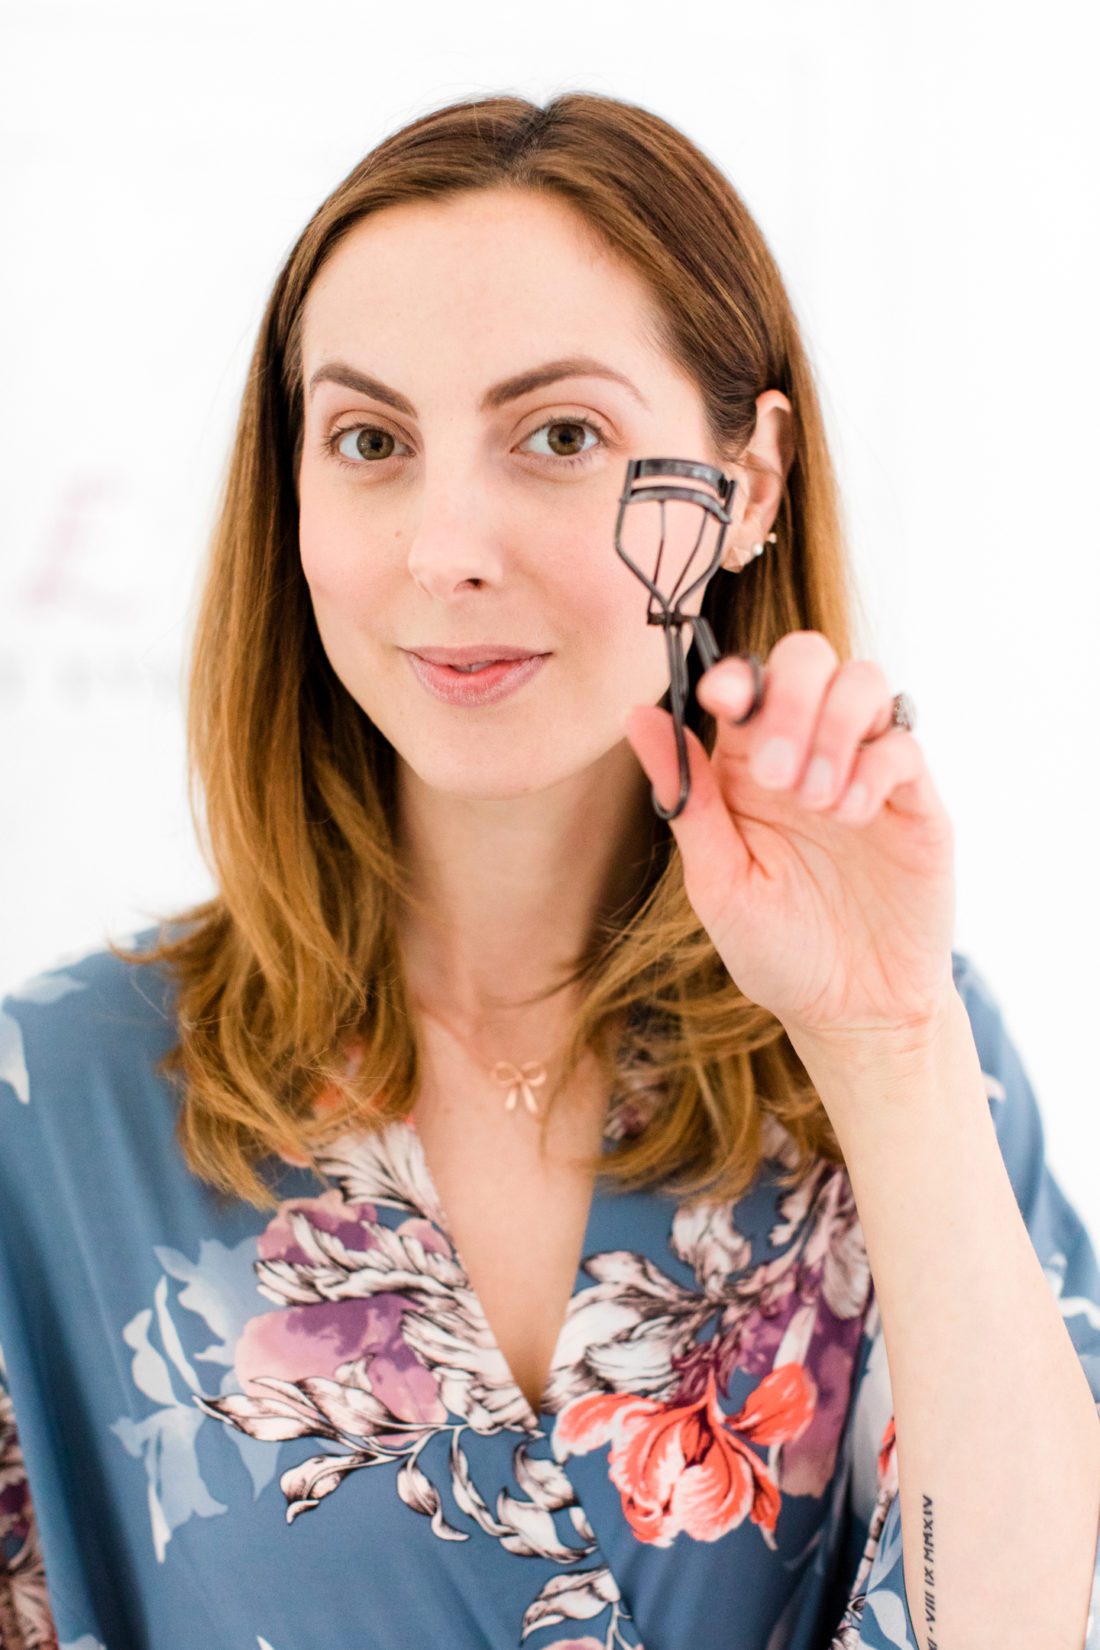
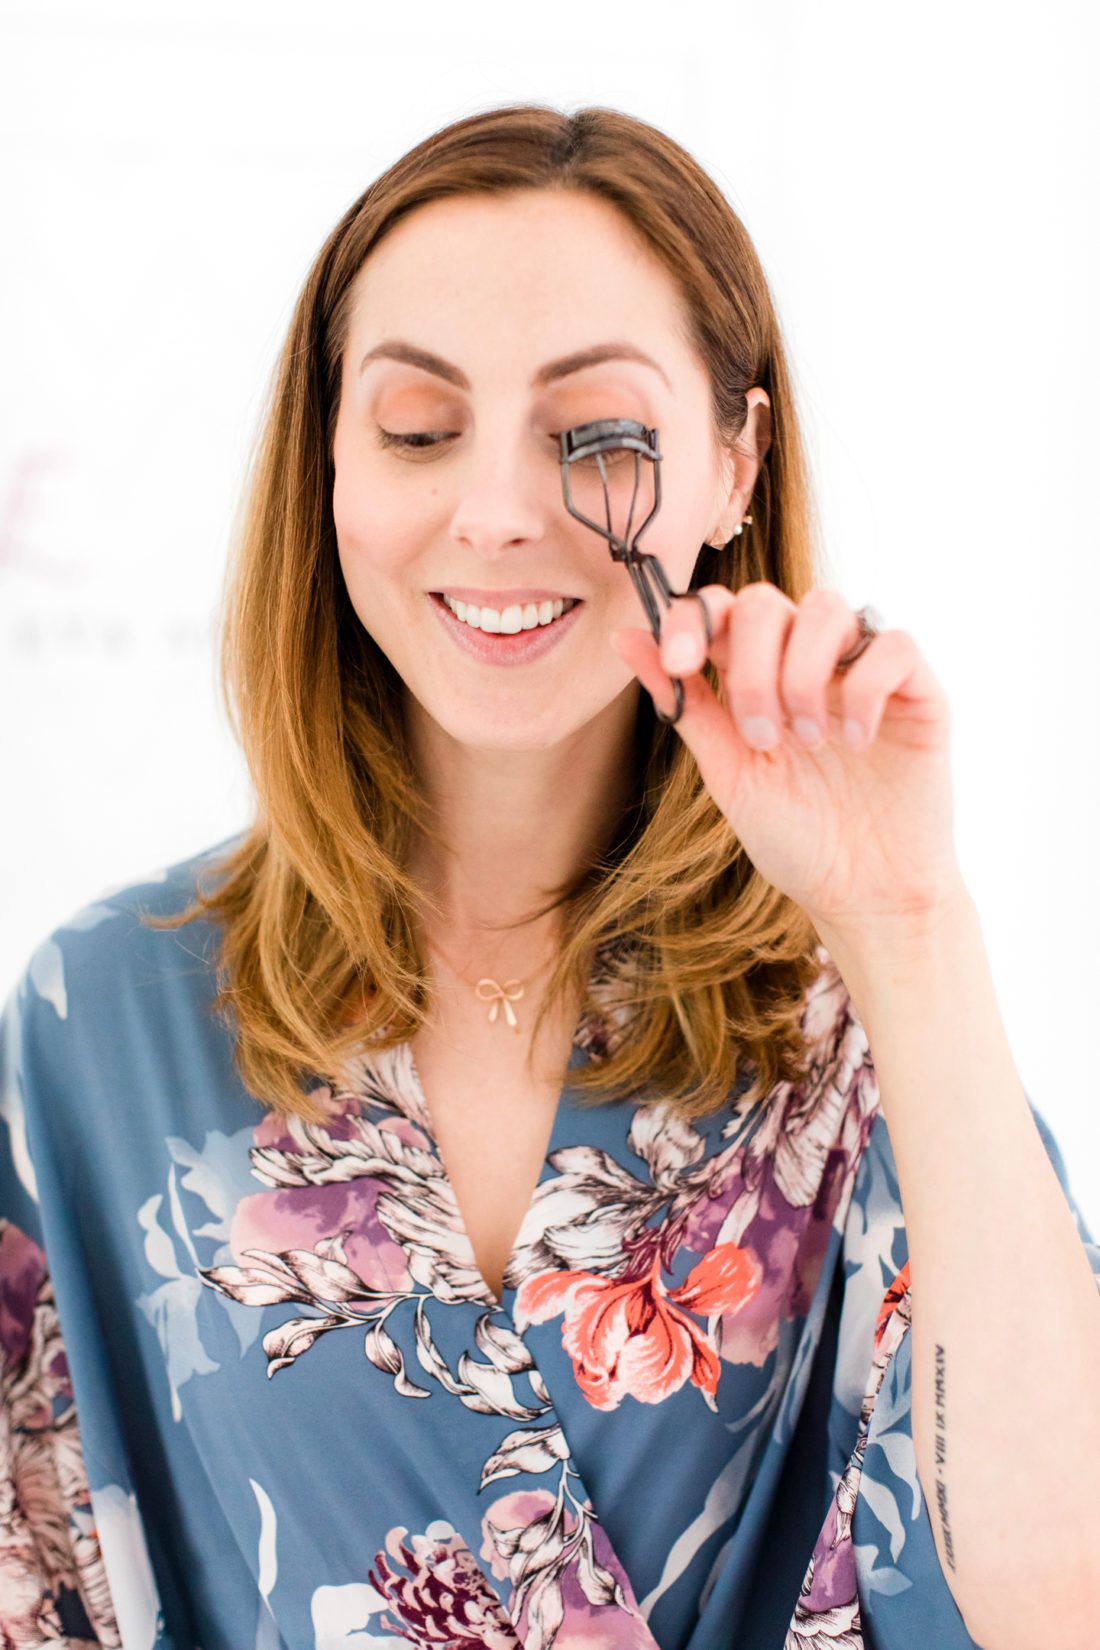
10. Curl Eyelashes
My next step is curling my eyelashes! I love this Shu Uemura eyelash curler, and I hold down for 10 seconds on each eye to make sure the curl lasts.

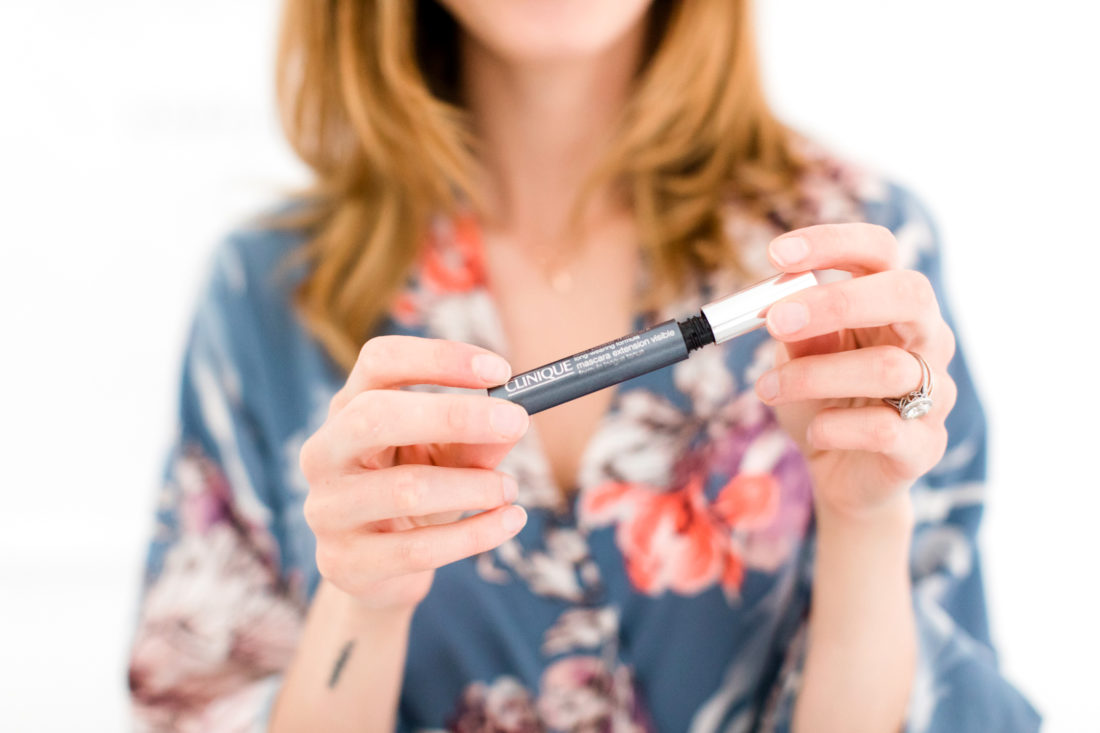
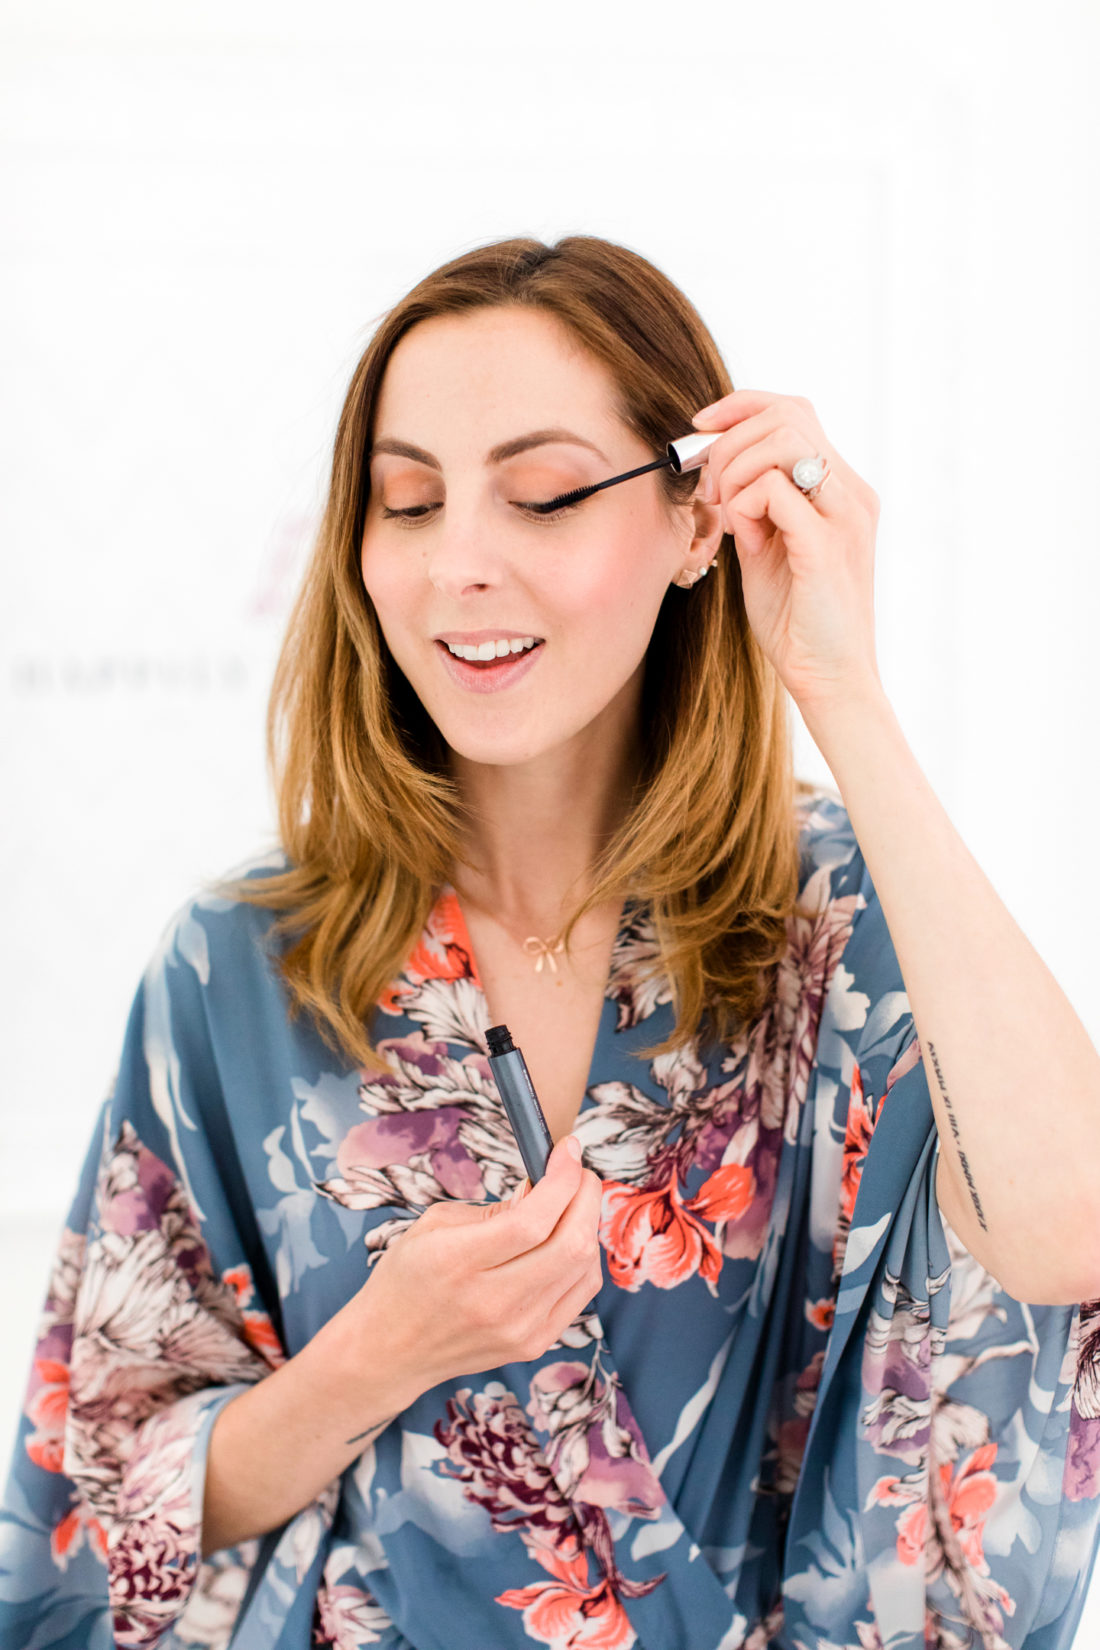
11. Apply Mascara
I’m always partial to mascara wands with a long thin wand. I think the long thing wand really helps me get all the length possible out of my eyelashes, and it doesn’t get as messy as a thicker wand sometimes can on your eyelids. This Clinique Mascara is one of my all time faves! I love the wand, and the formula is so cool because it basically coats your own lashes with fibers that come off easily with just warm water. So simple to take off! I make sure to take my time with my mascara, coating each lash, and wiggling to the wand from the base to the roots of my lashes.
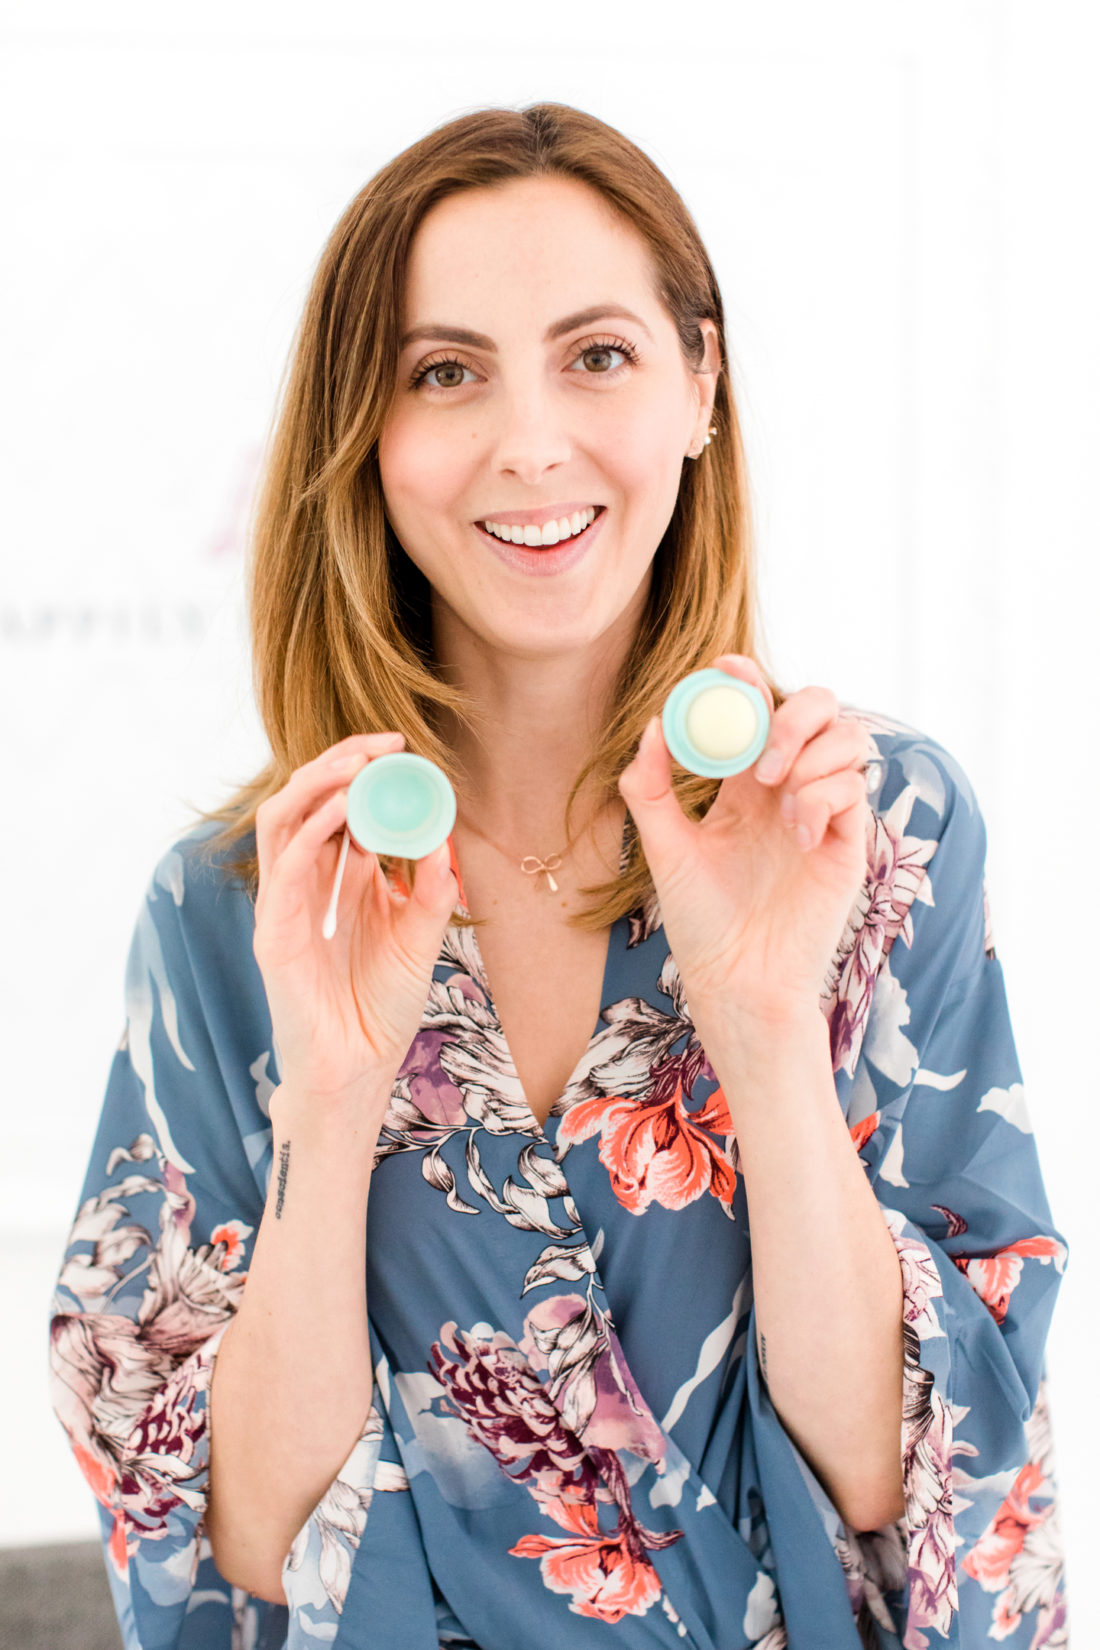
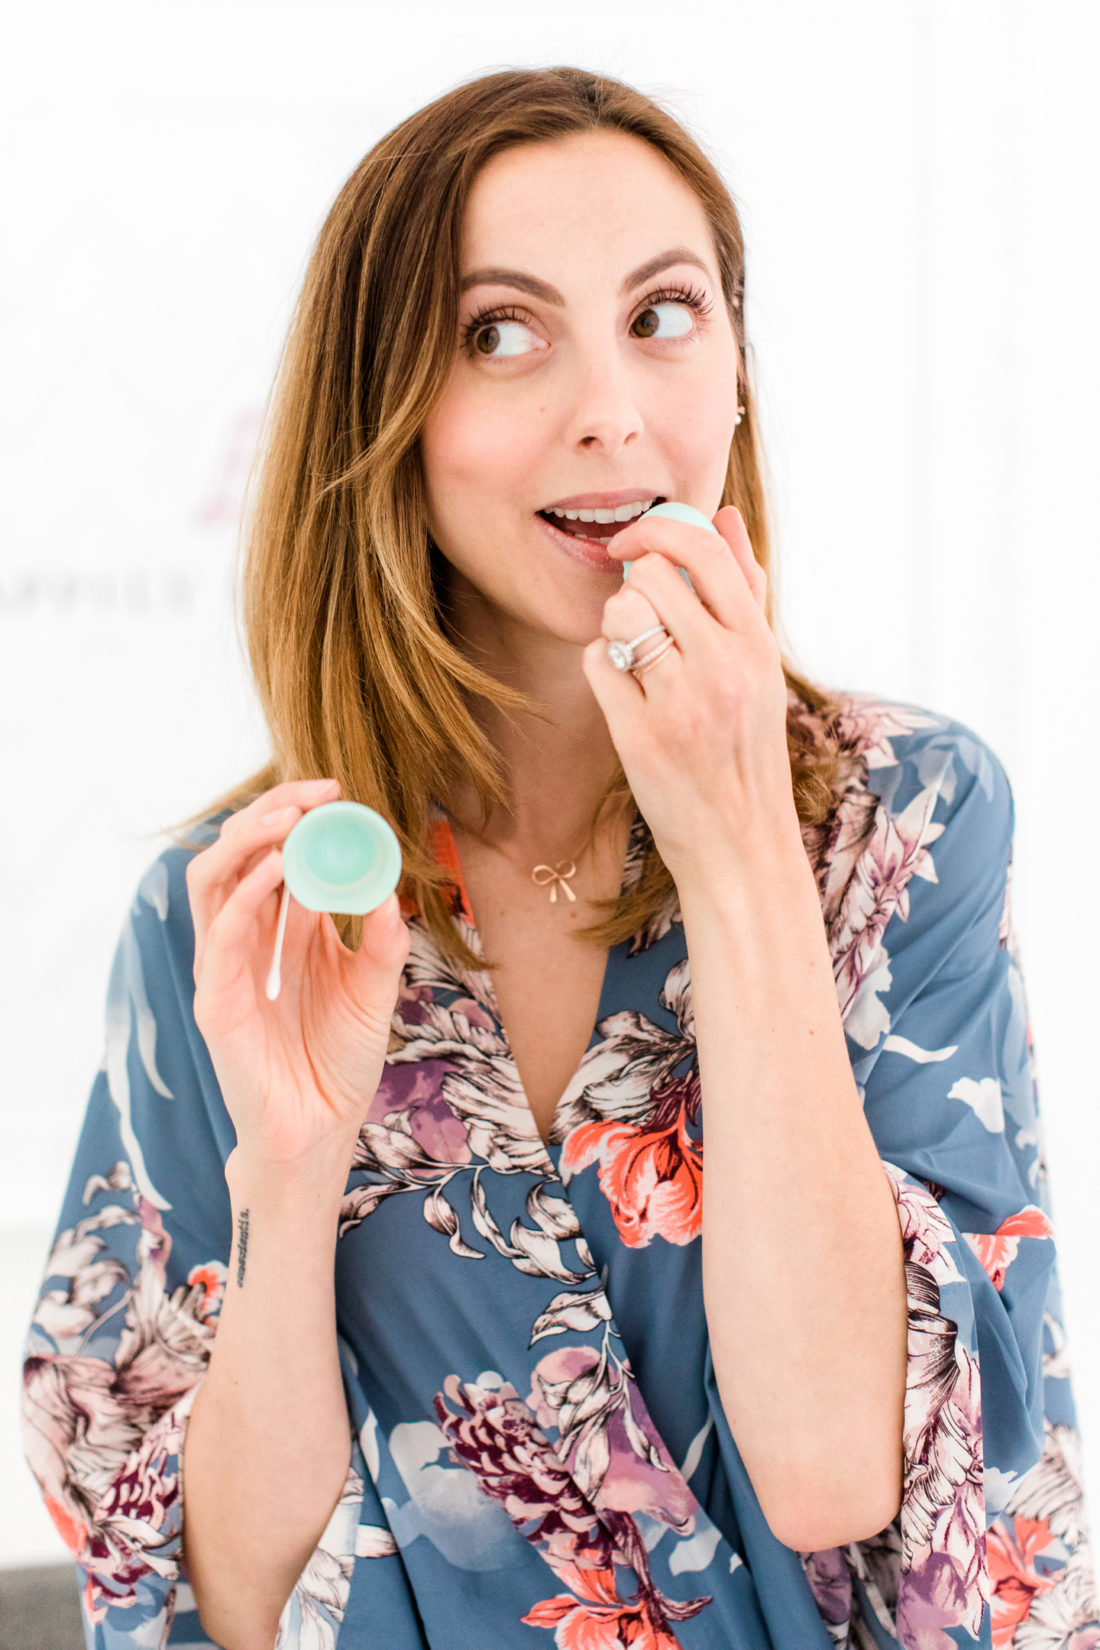
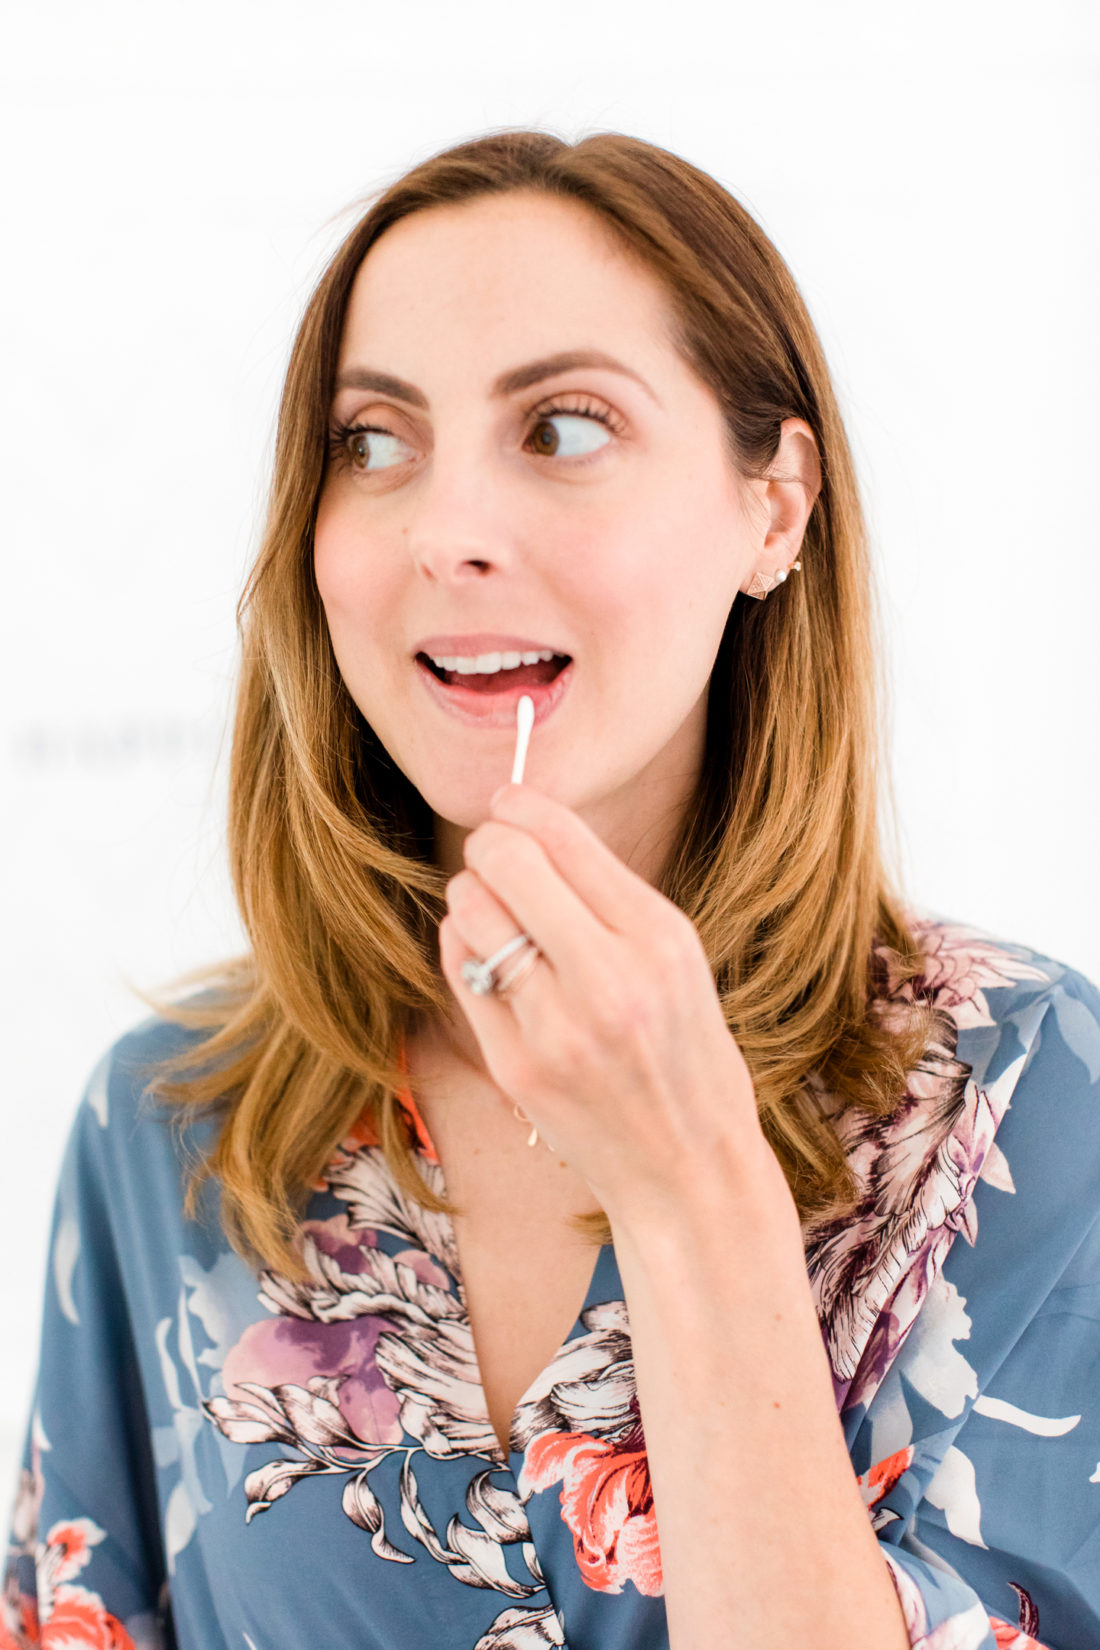
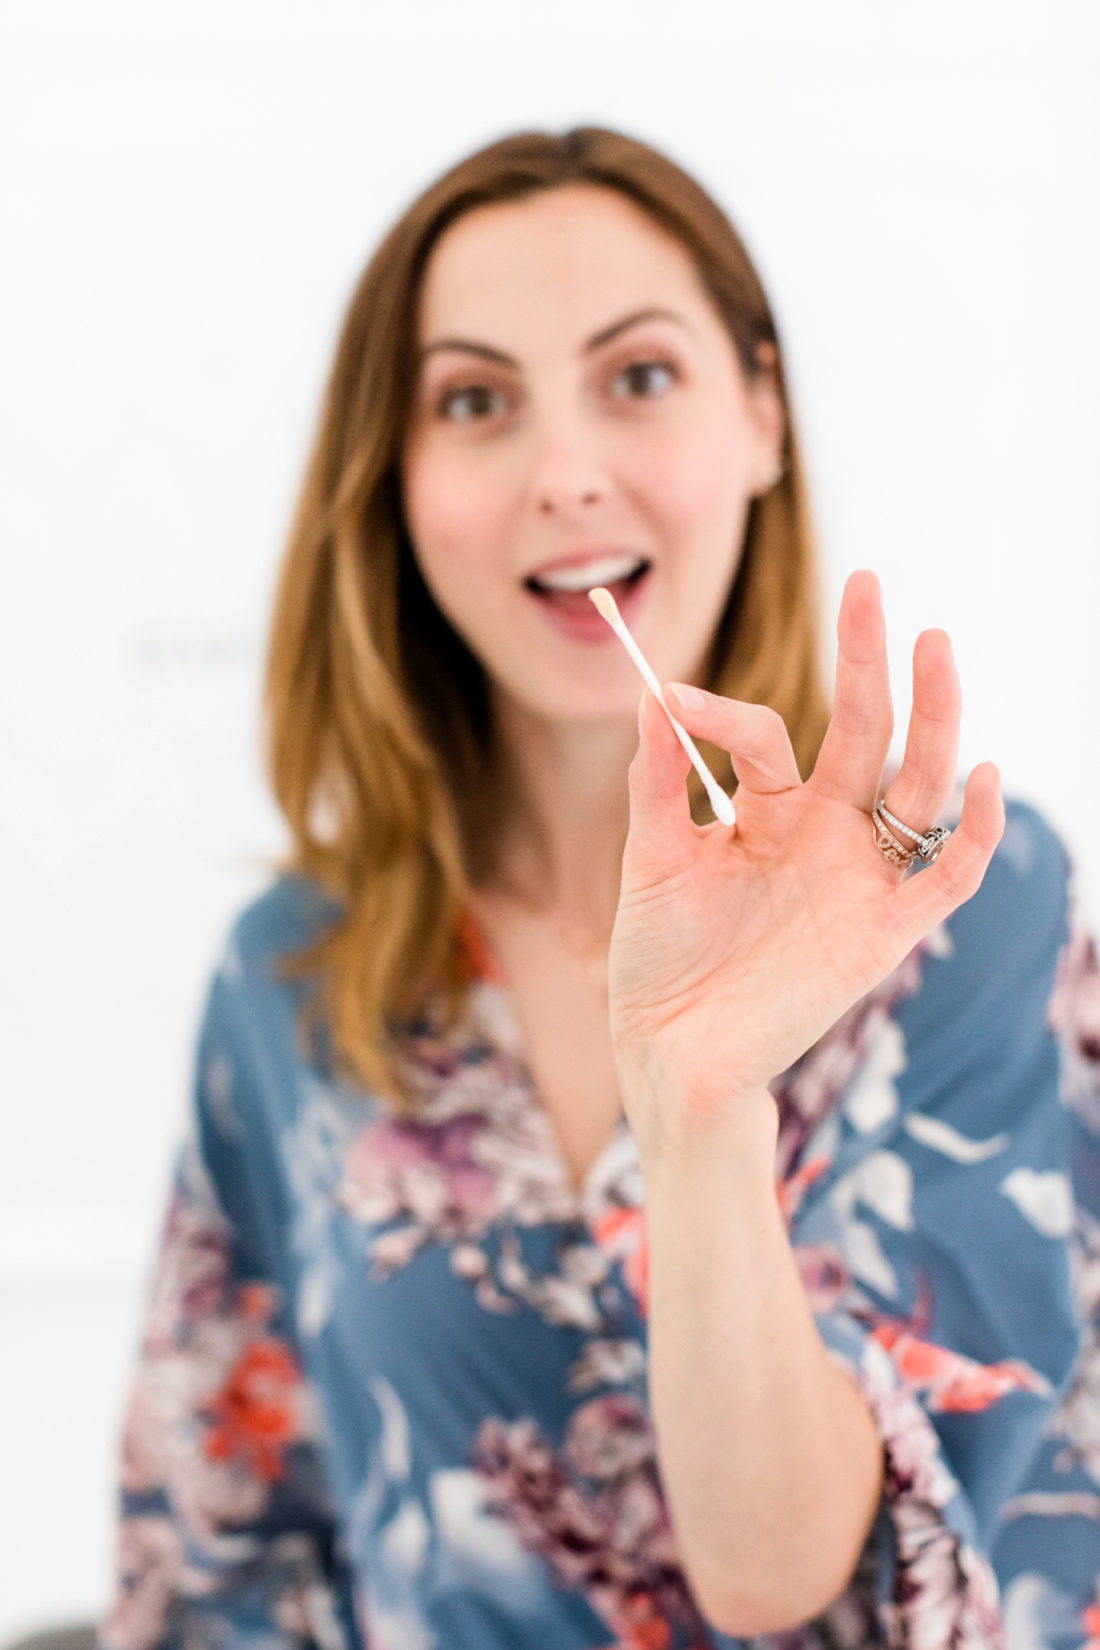
12. Clean Your Lips
Whenever I do my makeup, I find that a lot of the foundation and powders get deposited on my lips. I make sure to clean them with a Q-tip before I proceed with my lipstick! It’s amazing how much makeup comes off on the Q-tip whenever I do this. I just apply a really moisturizing lip balm, like this one by Eos, and then wipe off my lips with the Q-tip.
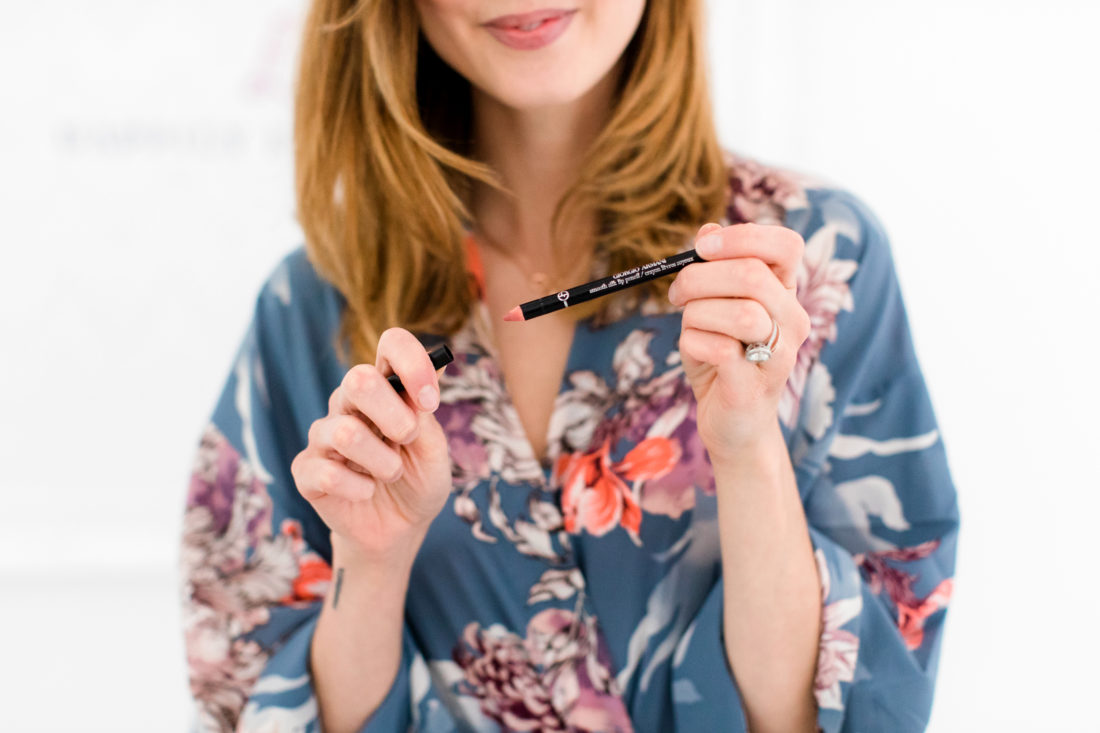
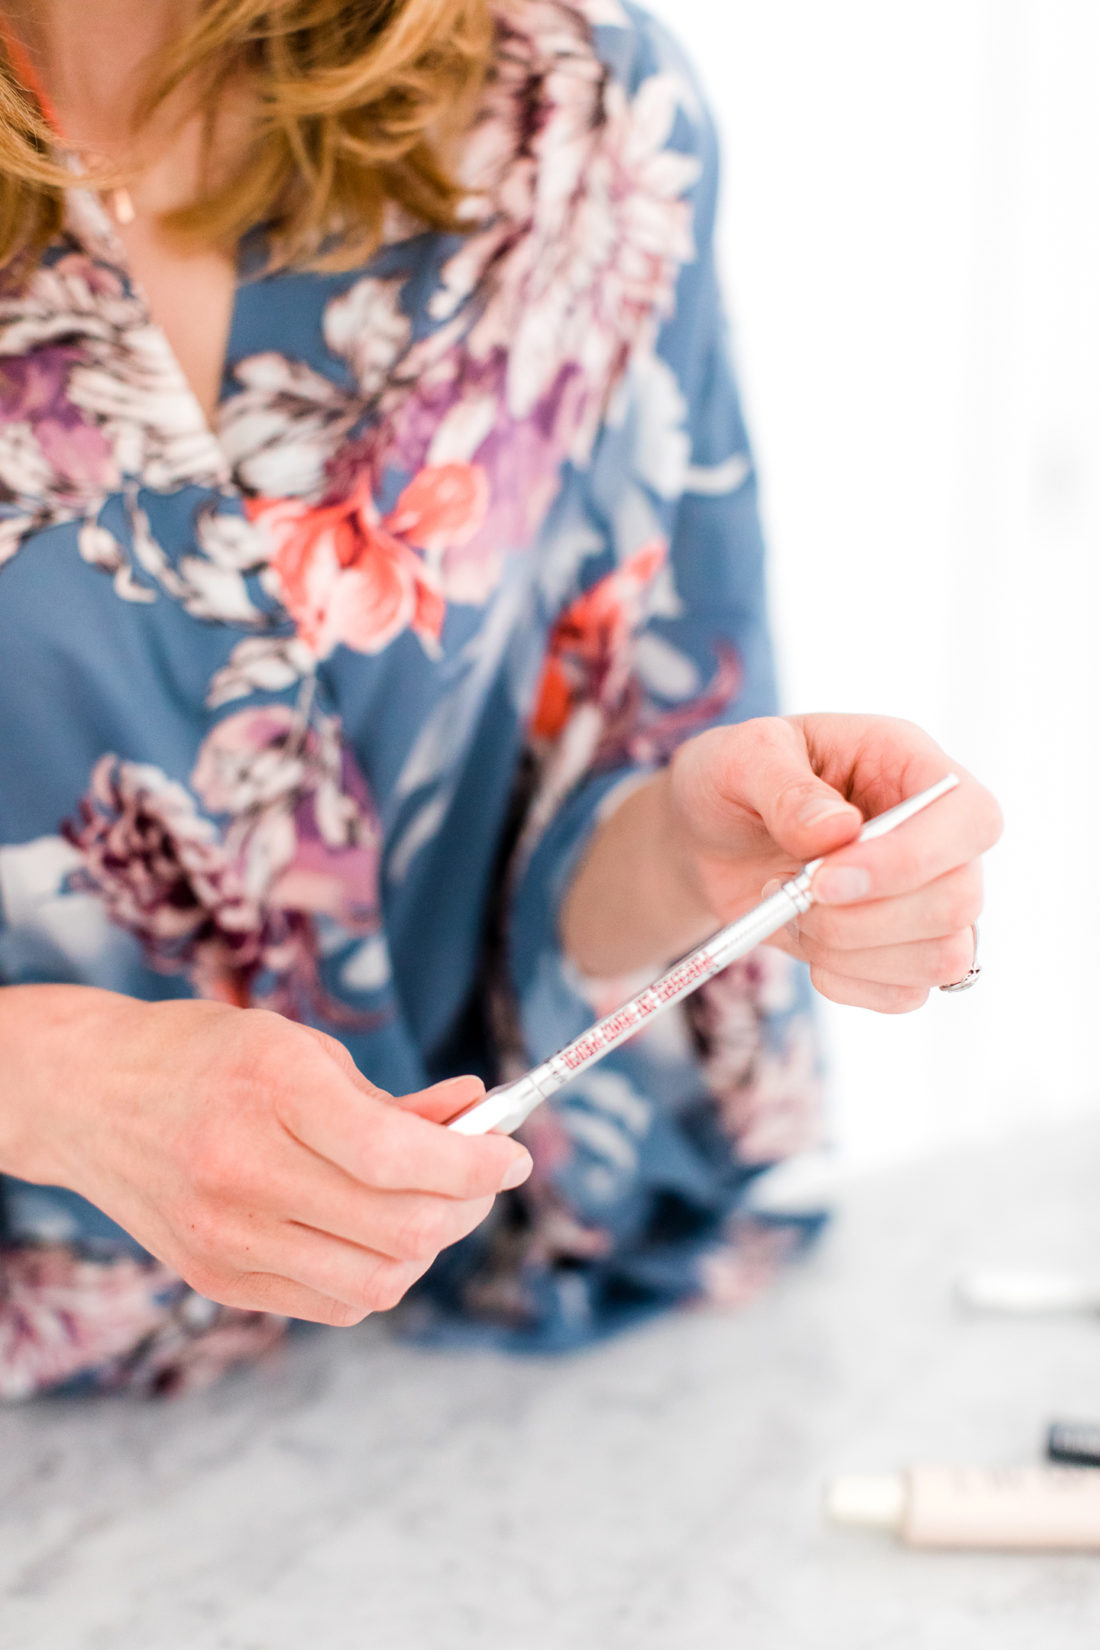
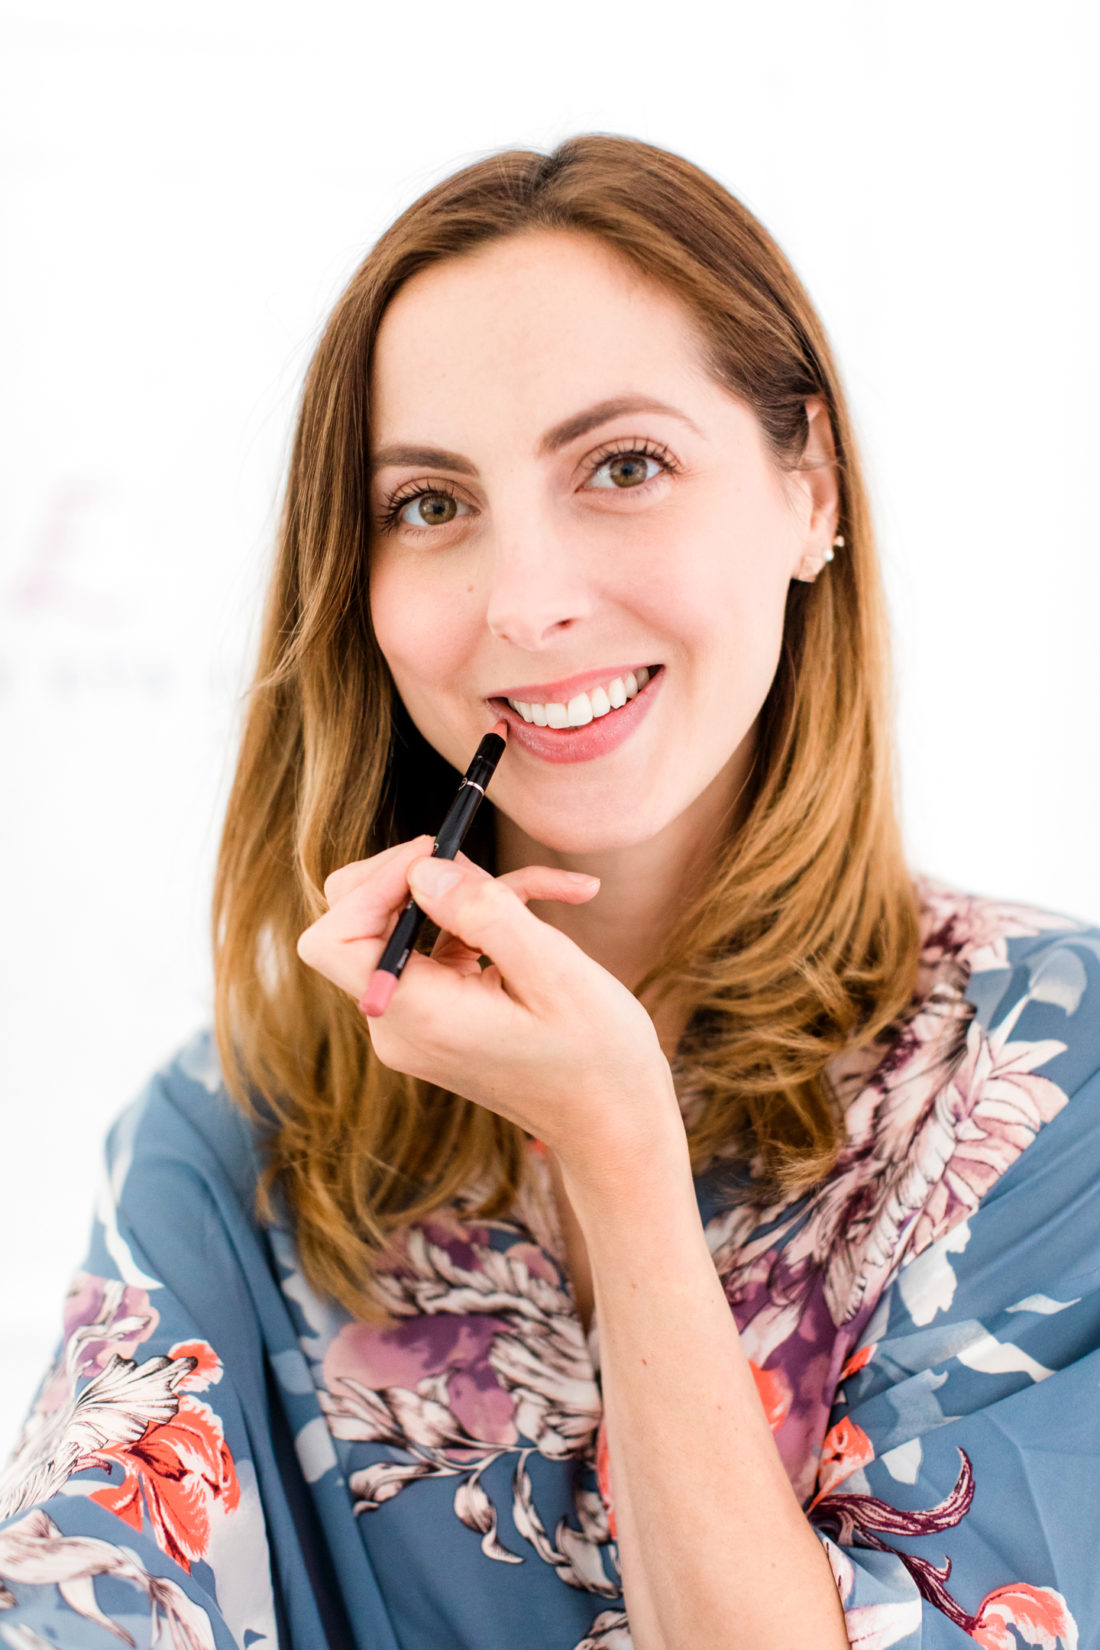
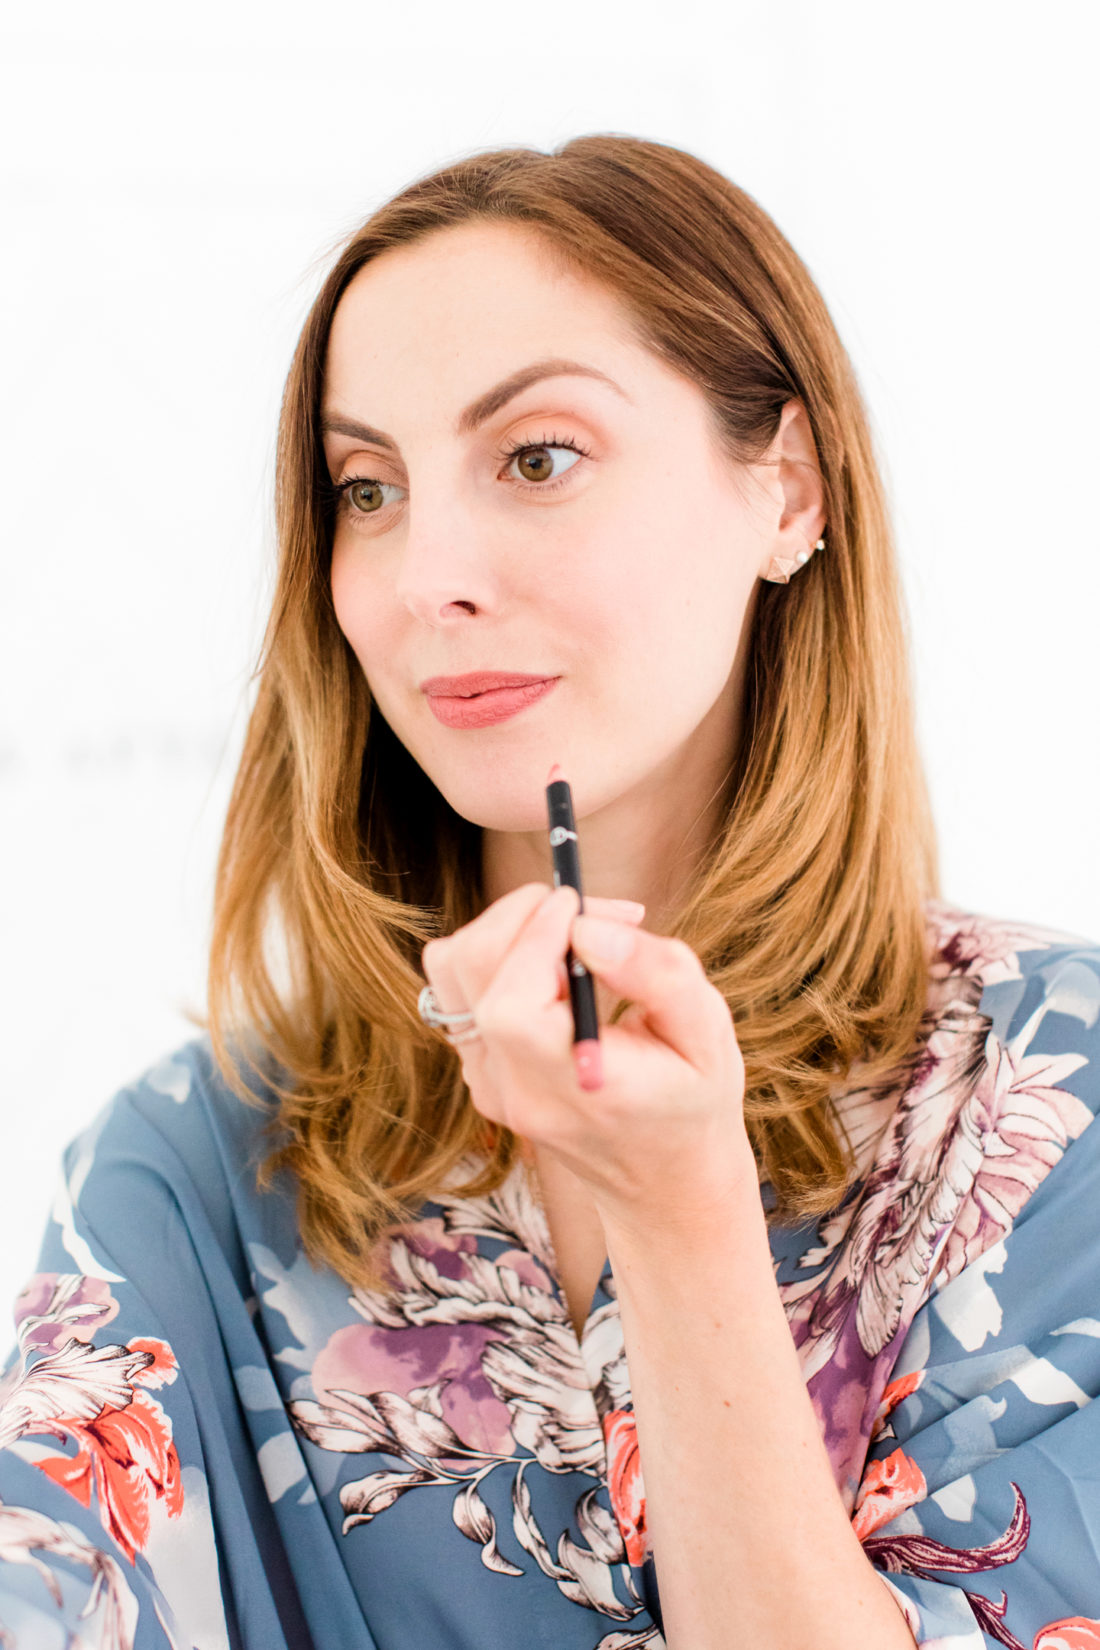
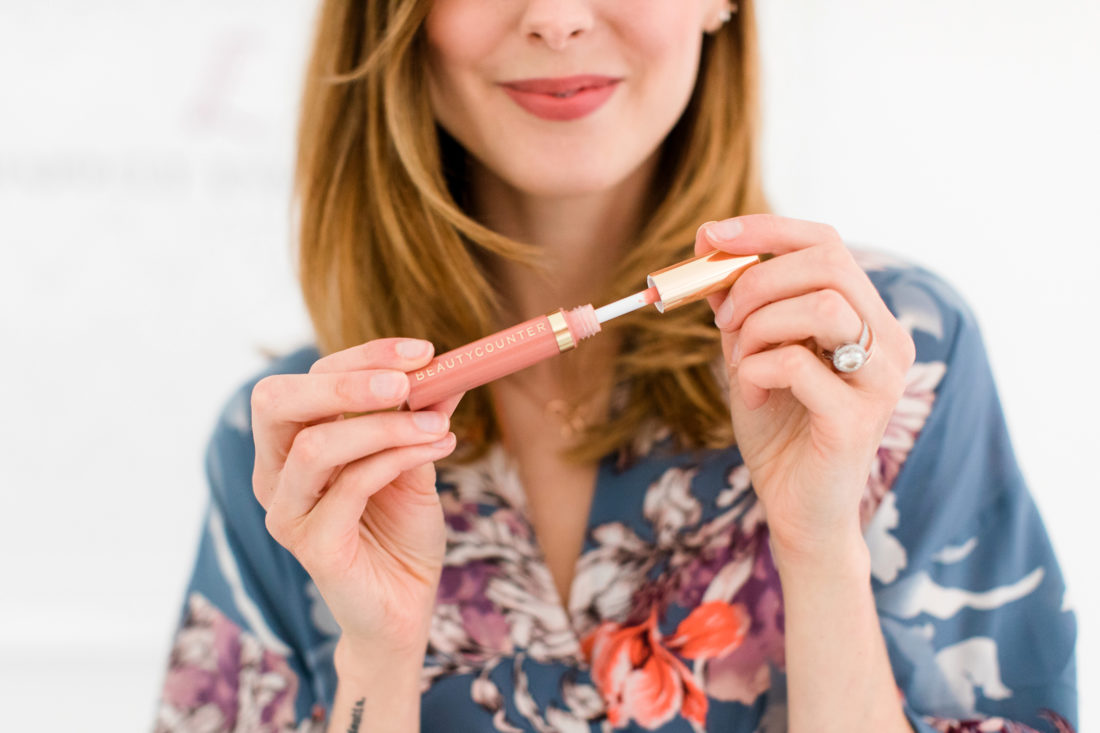
13. Lip Pencil & Lip Gloss
I’ve always found that applying lip pencil before a lipstick or gloss helps to define the lips and make them look full and lush. This Armani Beauty Smooth Silk lip pencil in #4 is such a flattering neutral rose tone and really stays put! I sharpen the pencil and then draw carefully around the outer edges of my pout. Then I fill in my lips with the pencil! Lastly, I sweep some light Beauty Counter gloss in “Bare Shimmer” over my lips to add shine.
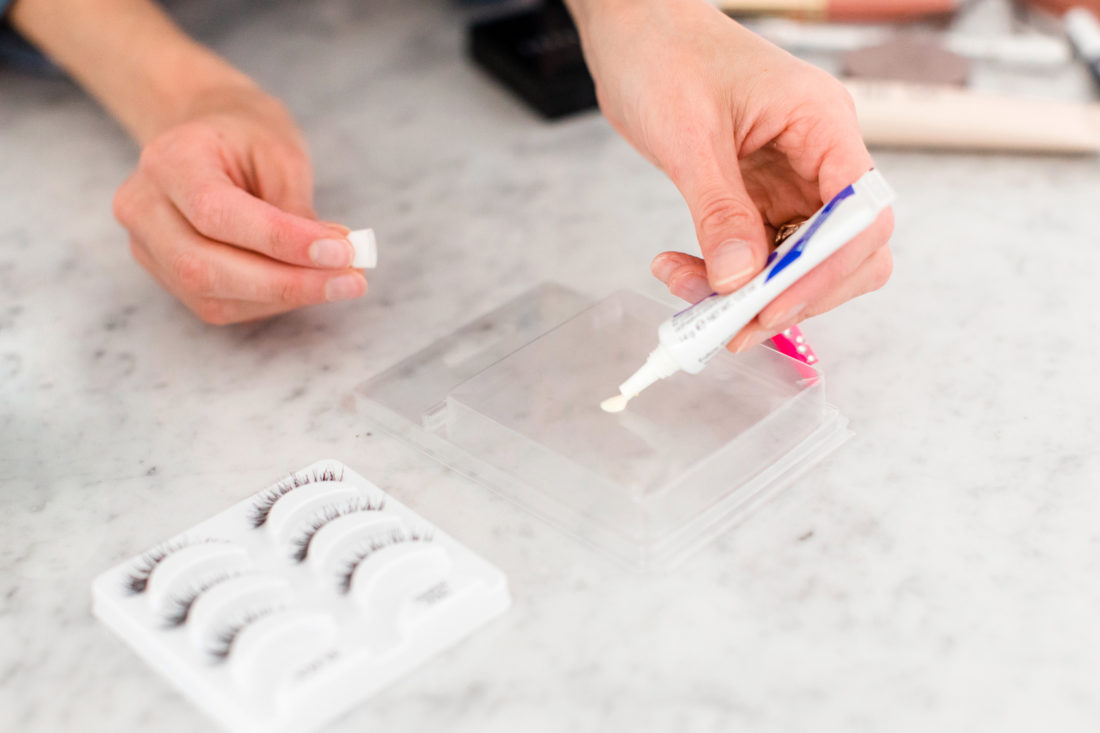
14. False Eyelashes
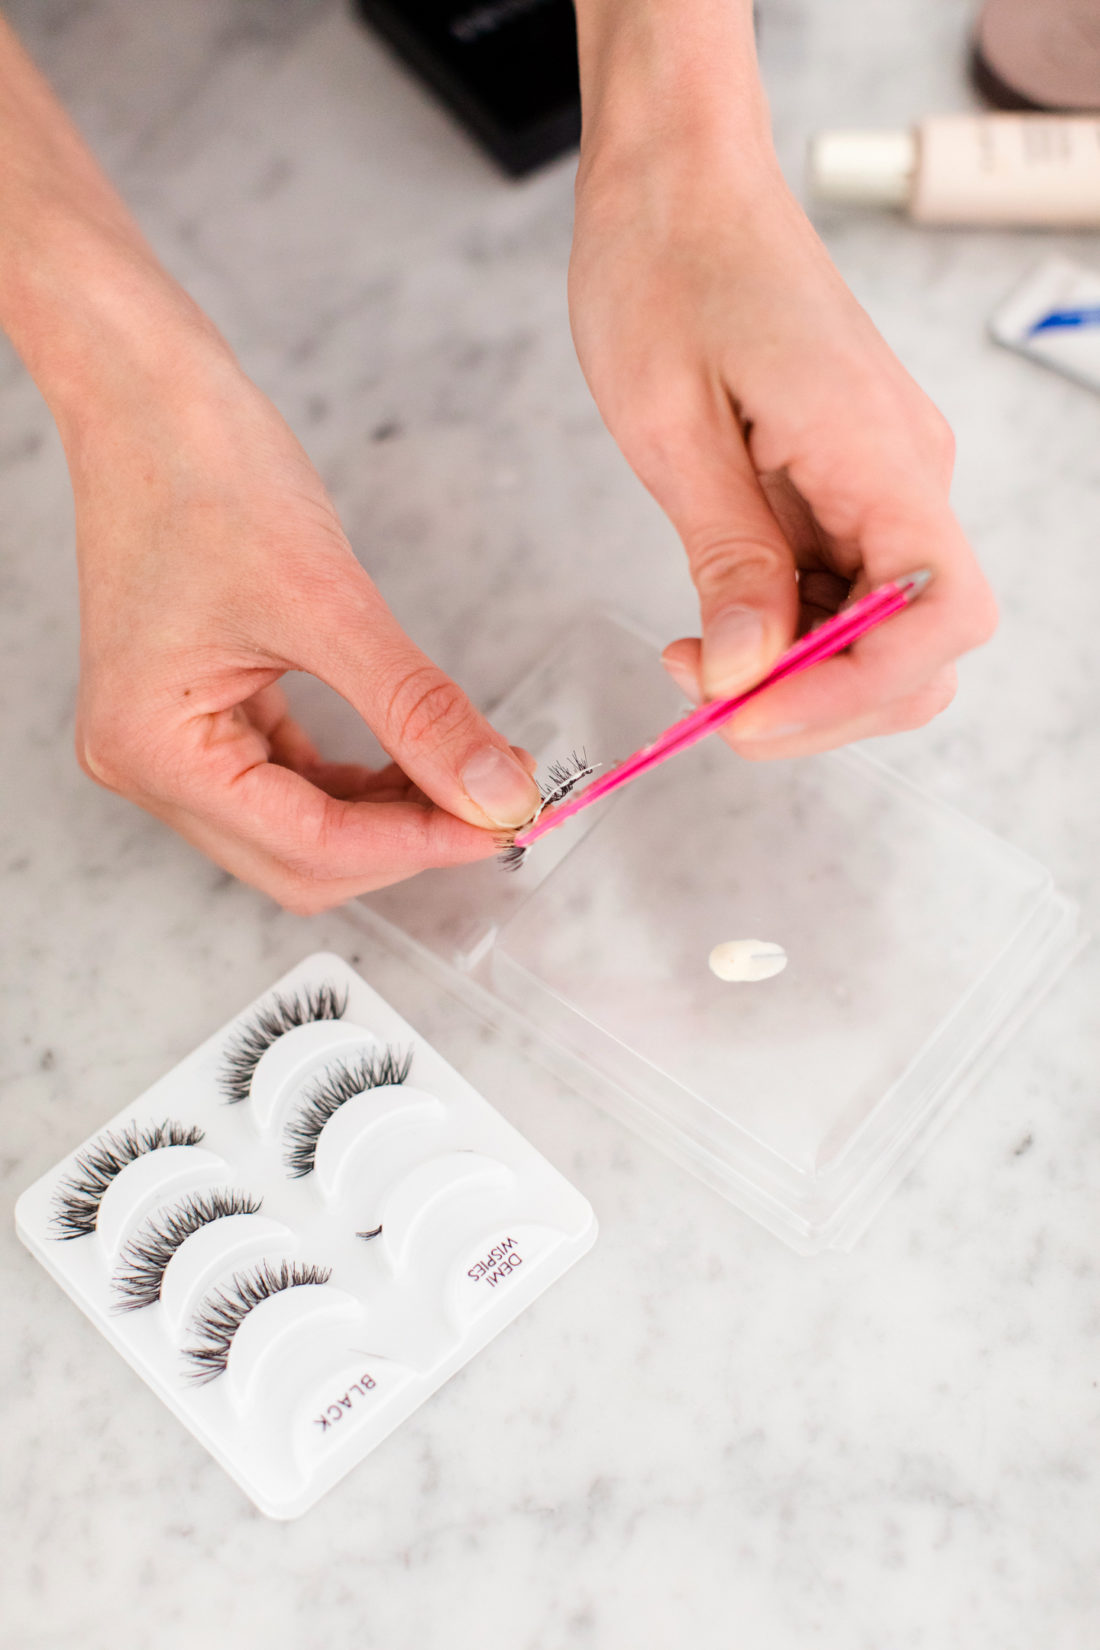
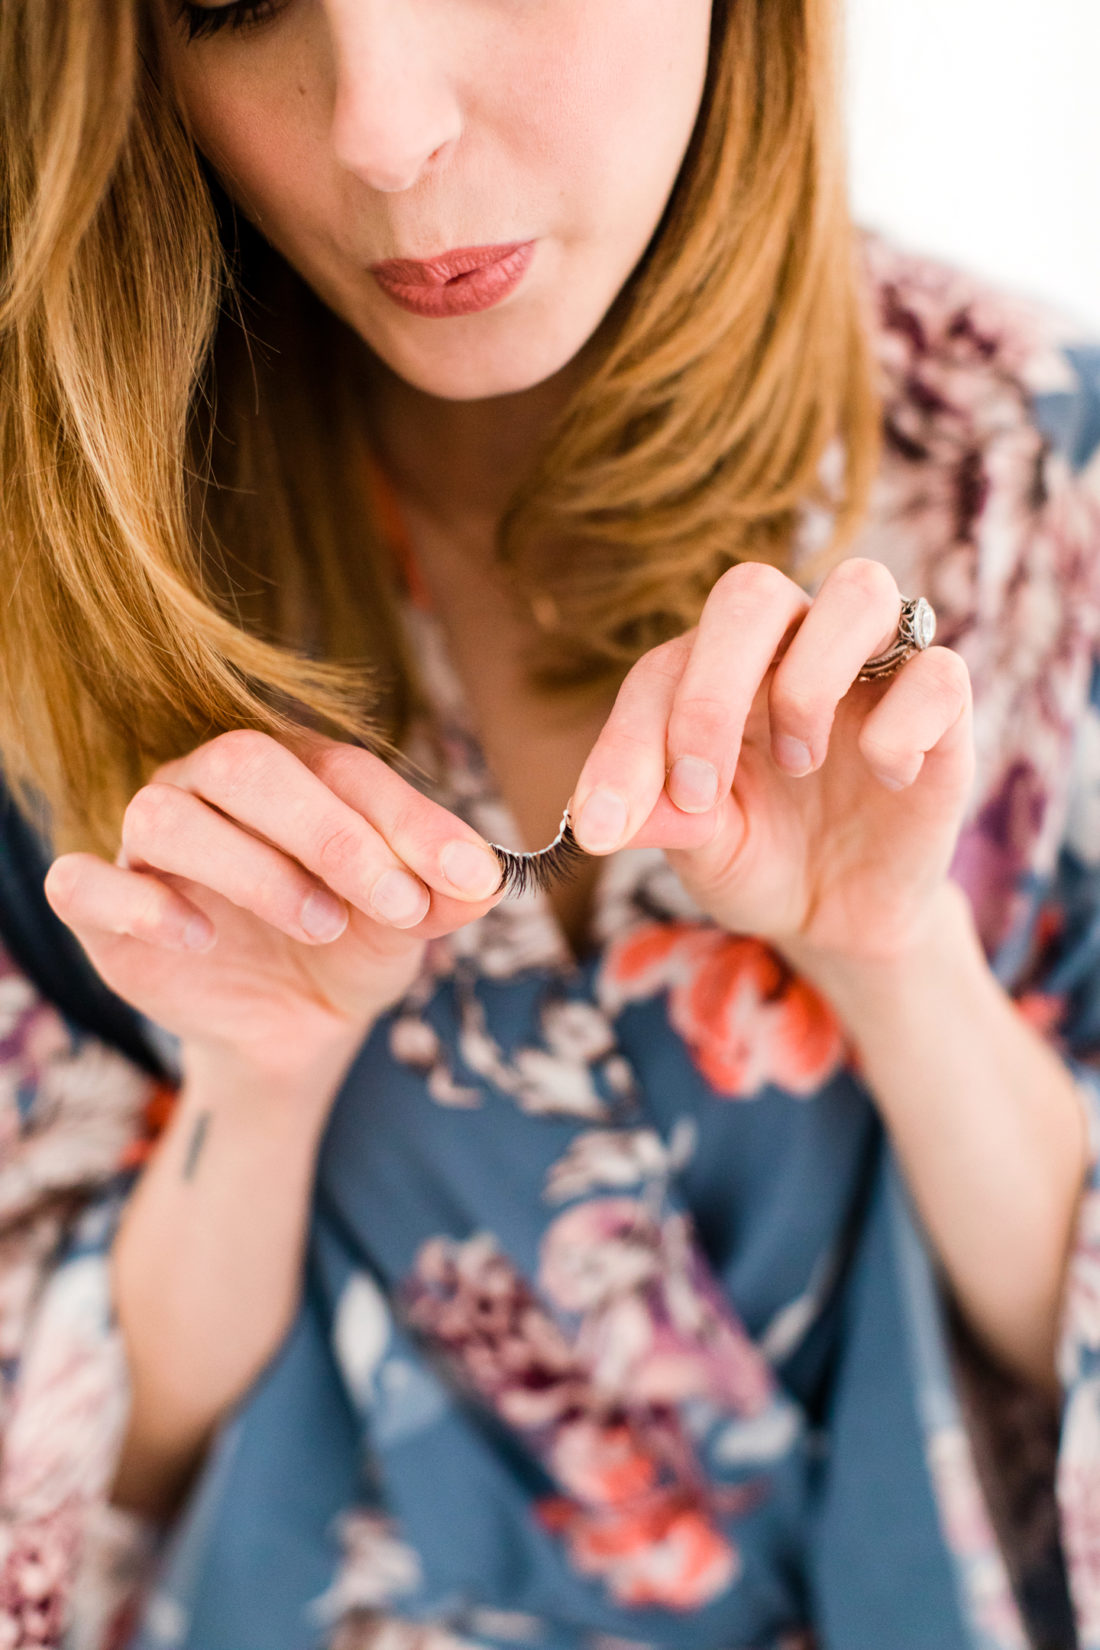
False eyelashes for photo shoots are a must! But I really think they’re great for any big event– they make SUCH an incredible difference. I like using Demi Wispies by Ardell because they look totally natural and they’re affordable! I buy them in multipacks and use each set about 2-3 times before I toss them. After wearing the eyelashes, I peel them off and put them back in the case if I plan to reuse them– this helps them keep their shape!
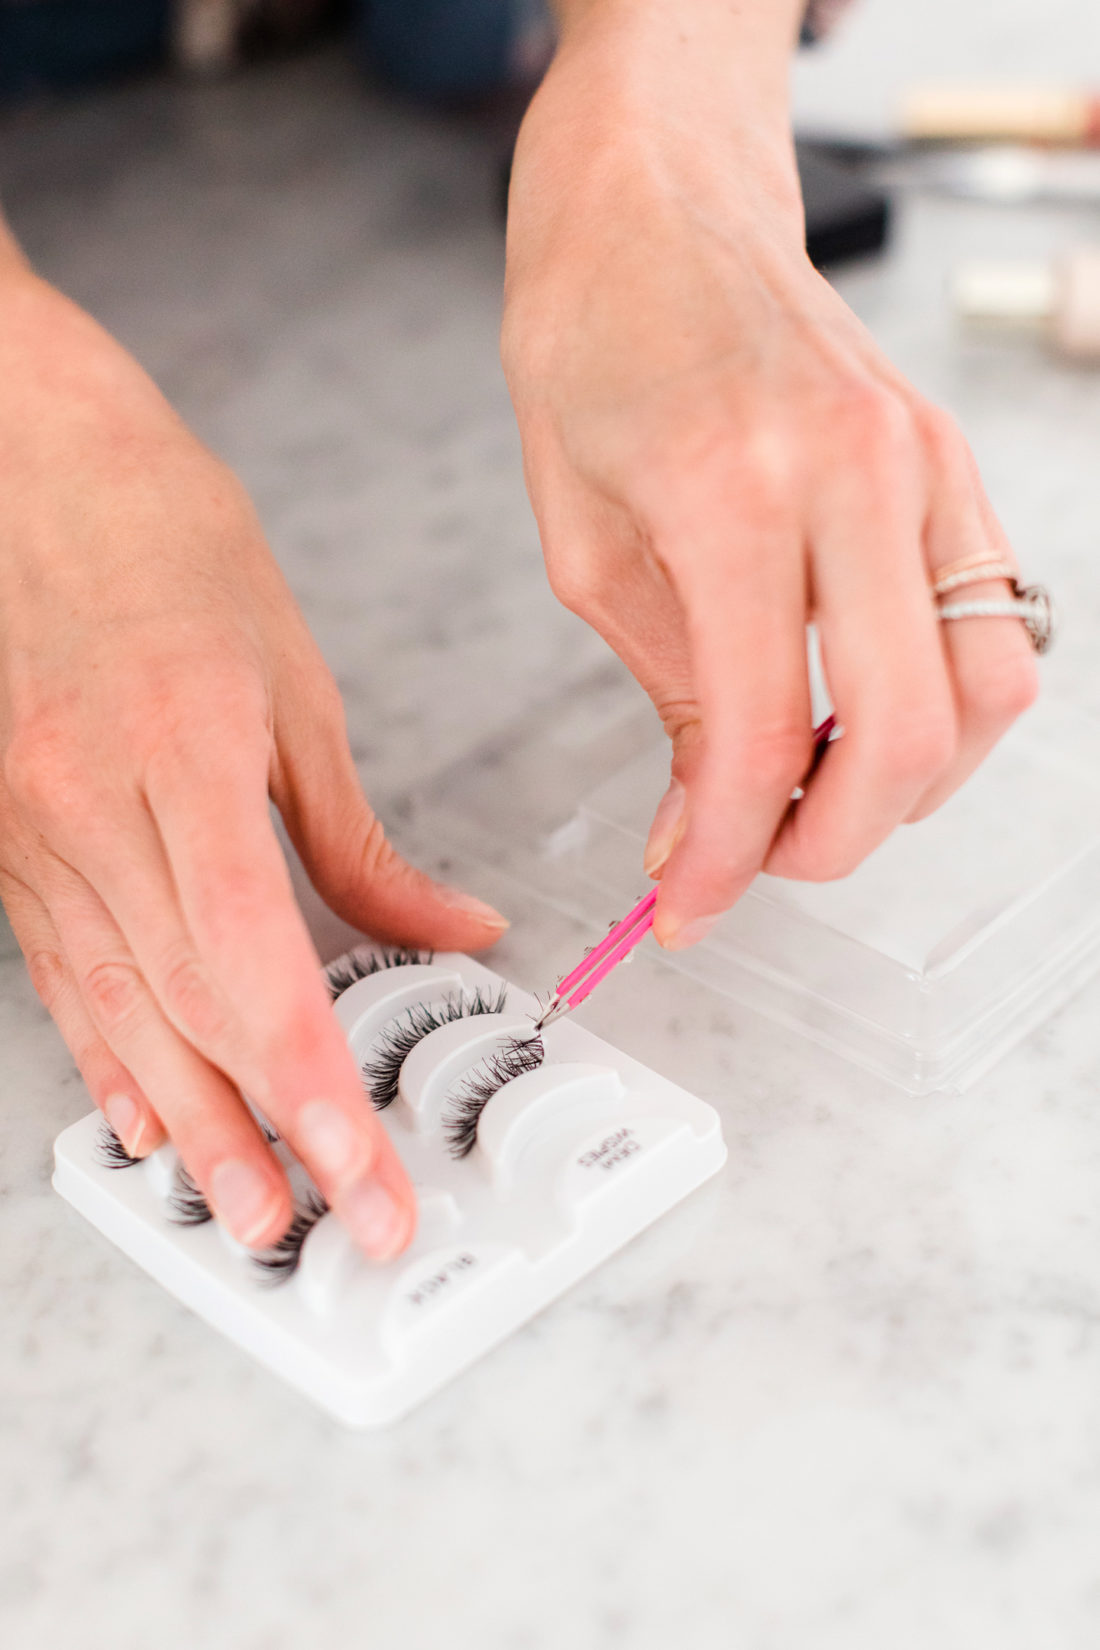
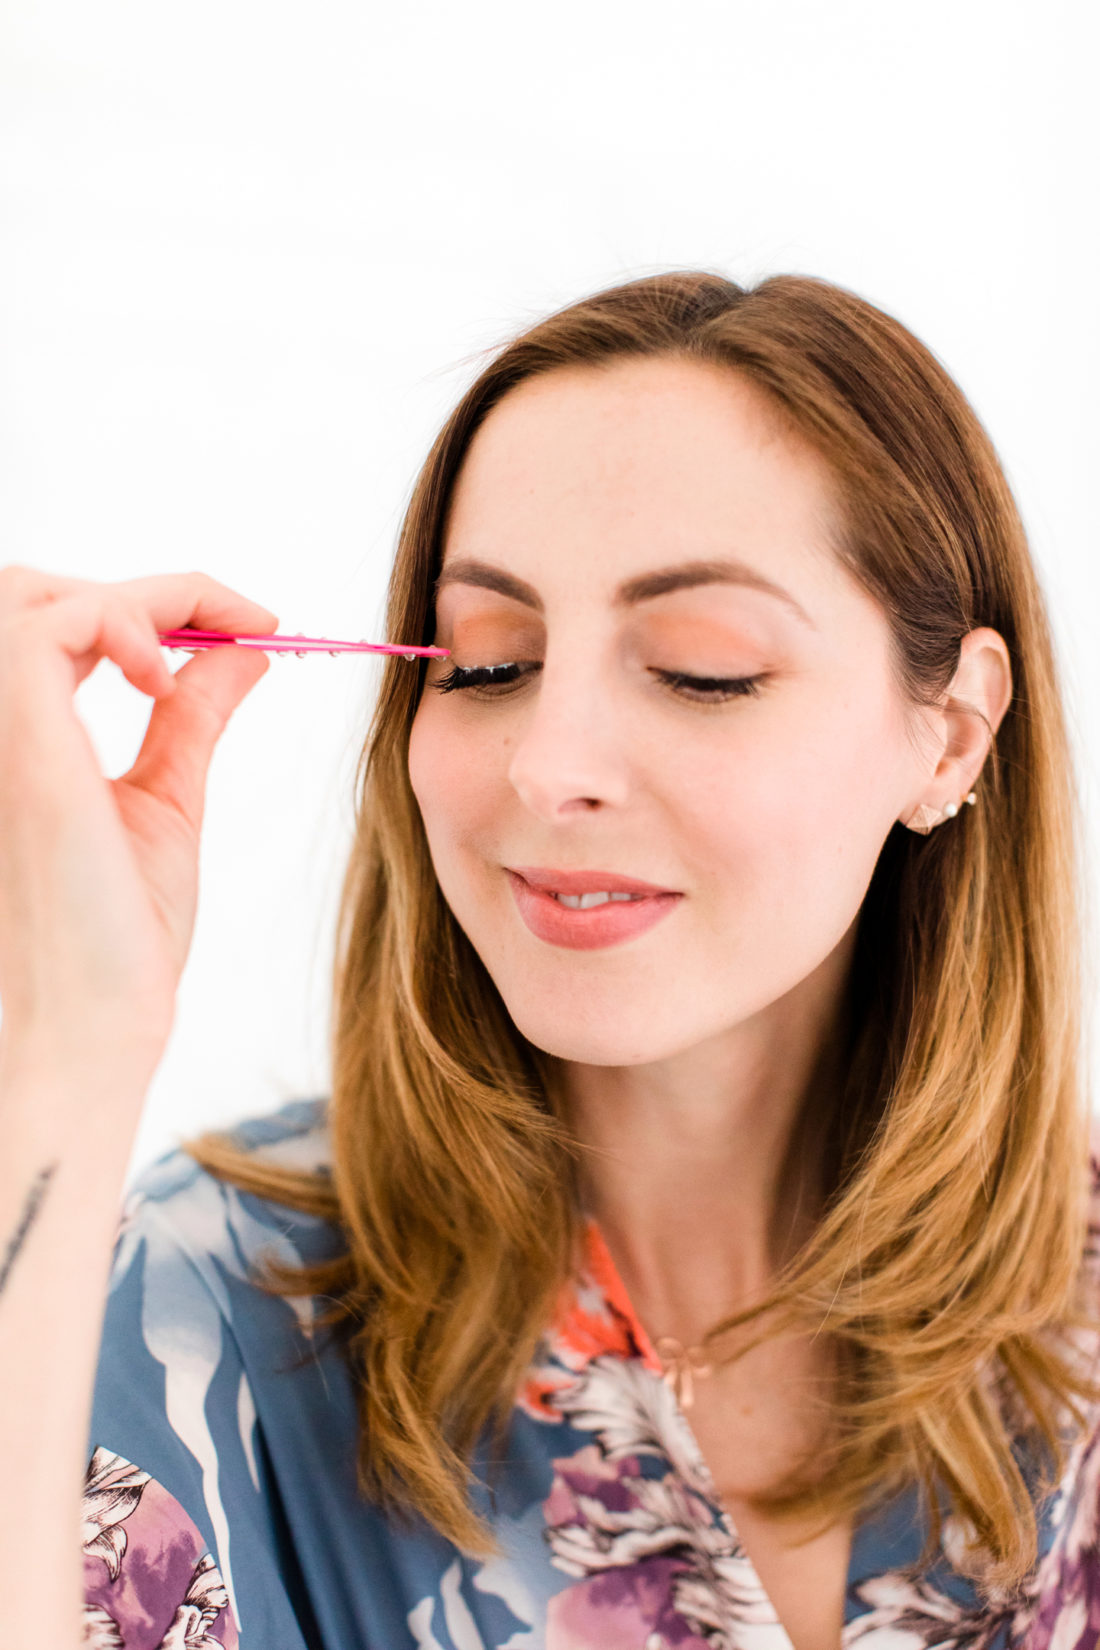
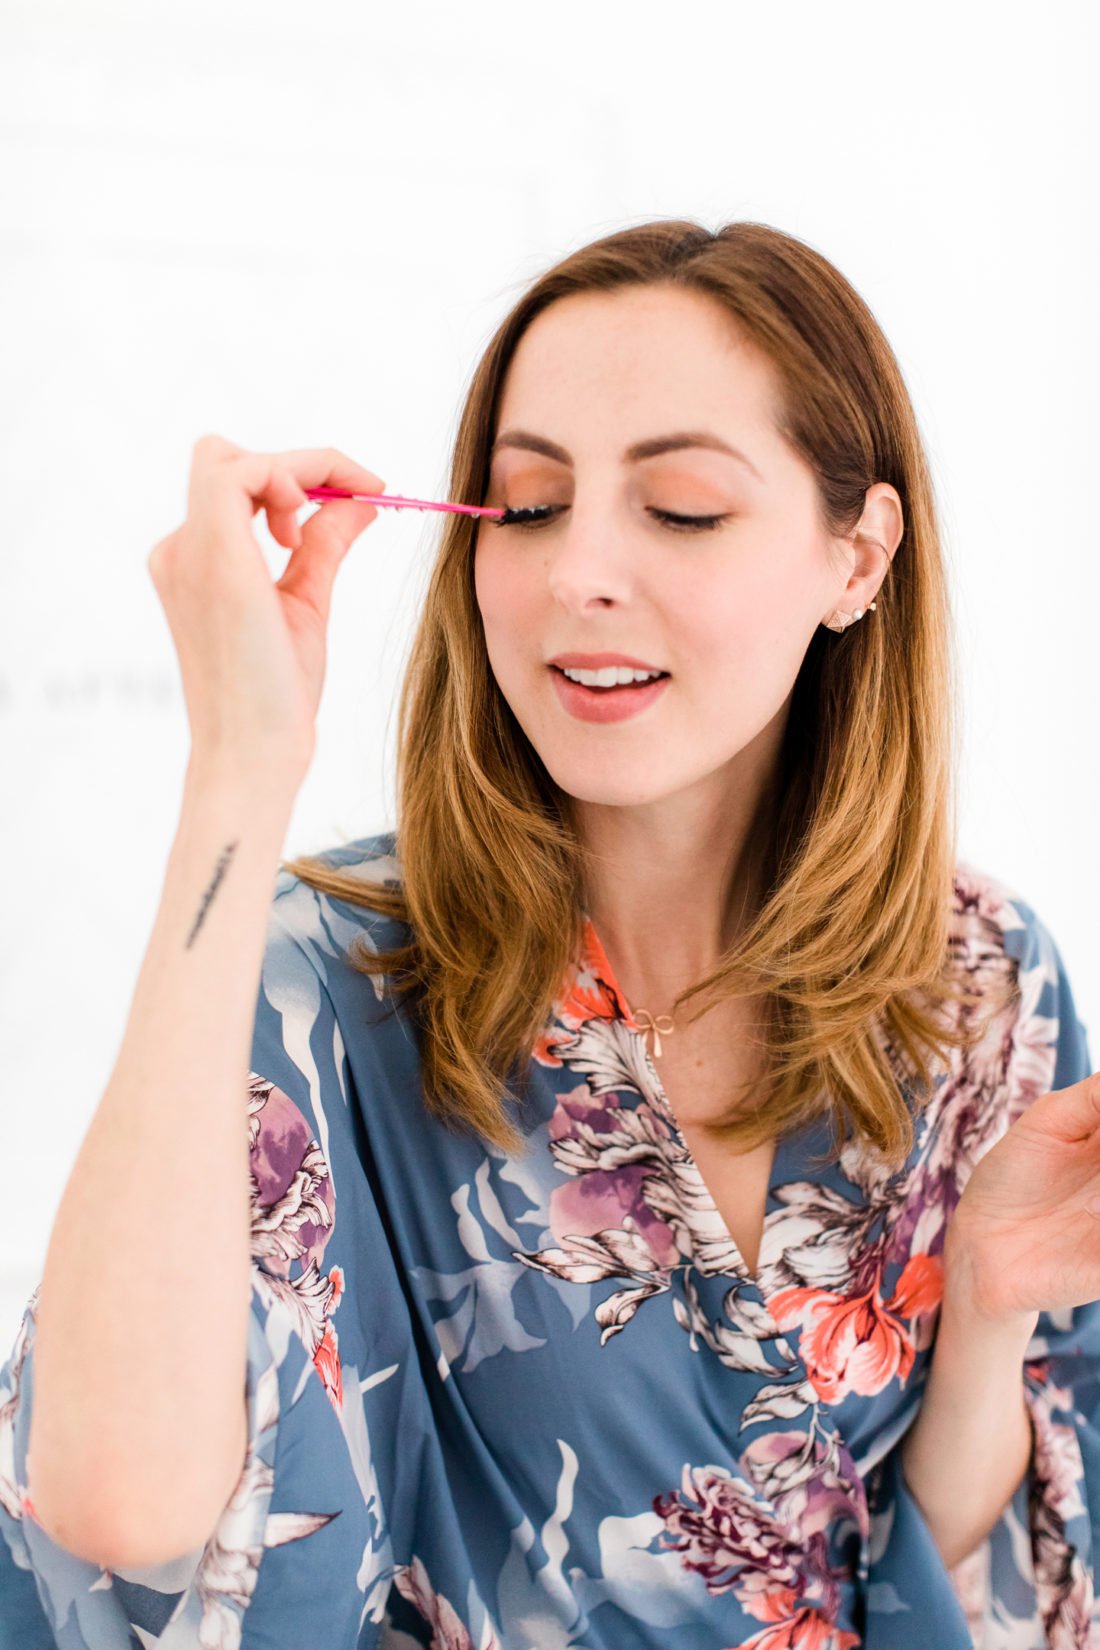
To apply, begin by putting a dot of glue out. Take a set of tweezers and apply the glue by dipping the non-tweezing end of the tweezers in the glue and applying to the lash strip. Then blow on the glue for about 30 seconds to make it dry a bit and get tacky, so the strip doesn’t slip when you try to apply it. Next, I grab the eyelash strip gently with the tweezers, and while looking straight ahead in the mirror, I place the strip right against my eyelash line. Then I flip the tweezers around and gently push the strip down all along my lash line with the blunt end of the tweezers.
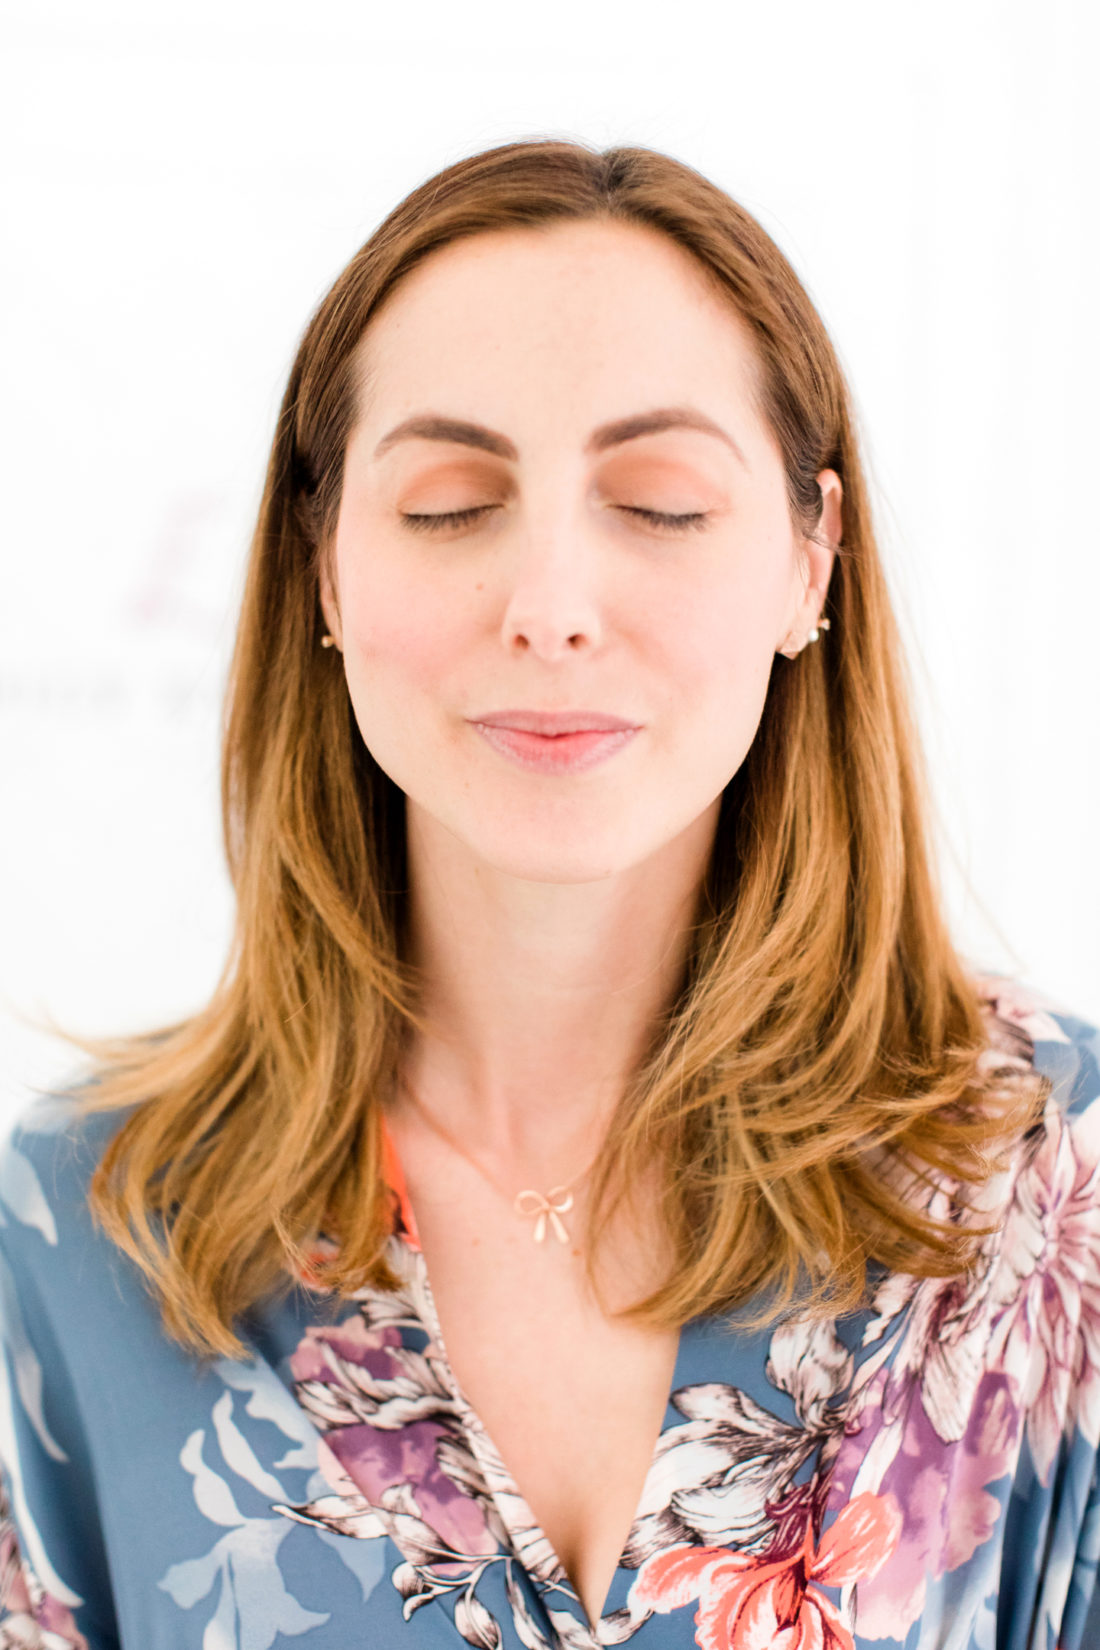
And there you have it! A pretty, glowing makeup look that is simple, but really makes an impact. I hope you try out this look and let me know how you liked it!
Shop the post…

Photographs by Courtney Ann Photography
Love to see that you’re incorporating some Beautycounter products! So glad you like them. Hope you continue to switch to safer cosmetics for the rest of your products!
I do like them! Though I find that the products are a bit hit or miss. I really like the glosses, the tint skin, and the eyeshadows. However I don’t like most of the other makeup– and the mascara dries out so quickly! It’s hard to justify switching to all beauty counter when the products don’t perform really well across the board.
My favorite beauty counter product is probably the kids’ sunblock stick. It’s great!
I was just wondering what shade of the Armani concealer you use. Thanks!
The lightest one!
I am absolutely hopeless at applying make-up so I rarely wear it (even though I wish I could). I feel like I look like a 5 year old who has raided her Mum’s cosmetics bag when I try….. My 13 year old daughter thinks it is hilarious that I don’t own a lipstick or any mascara! I can just about manage a dab of concealer, a swipe of foundation, a dusting of translucent powder and a kiss of clear lip gloss – but I am blessed with very long, dark eyelashes and one thing I can’t live without is my eyelash curler! I feel naked without my lashes curled! Thank you for the tutorial – perhaps it’s time to raid my daughter’s make-up supply and (age 40) give it a go!
Ha! I think you should do YOU– it sounds like you have a great routine going! But it is always fun to try a new little something every now and again 🙂
Love Tarte pallets. They are the best for people who want a nice variety of shades and they last all day.
totally agree!
Love this post! You look gorgeous, per usual. Can you please share the difference between the benefit highlighter pencil vs the benefit highlight beam?
Thanks! Yes totally– so, I have both but they’re definitely different.
The Highbeam is more of a liquid product– it has the consistency of a foundation, and so you can even mix it with foundation, or use it easily as an all-over highlighter. I’ve used it all over my eyelid before for a specific makeup look
The pencil was formulated for more precise application. It’s great for under the arches of the brows, in the inner corners of the eyes, and even in the cupid’s bow
Hope that helps!
Hi Eva
Last week – I think you had an insta story with a make up tutorial – it was great but I think the products you used were different from the ones listed here… could you please list them? Thanks
Isa.
Have you ever done any research on which companies still do animal testing? I’m quite surprised to see how many products you featured here are companies that still believe in animal testing…
I LOVED LOVED LOVED this post – especially the photos on #13 (lipstick & gloss) – you’re such a cutie pie, Eva.
I wondered if you have any tips/advice on moisturizers and/or serums for my young-but-struggling 70 yr. old, in fairly good shape, complexion. There are so many out there!
ps – I may be THE oldest follower on Happily Eva After! 🙂
Thank you Eva!! Appreciate your product recommendations, and the well organized and step by step make up application photos you used for this most helpful tutorial. Would be interested in learning more about the skin care prep/routine you used before beginning this specific makeup application. Thank you for the lip balm/Q tip suggestion. Have an EOS balm I just bought, and I am reserving it, just for this pre-lip liner step. Take care Eva! thank you for all your help and thoughtfully presented content.❤️
This is great! I’m going to take your tips for a photoshoot I have this weekend. Perhaps a trial run is needed.