The following content may contain affiliate links. When you click and shop the links, we receive a commission.
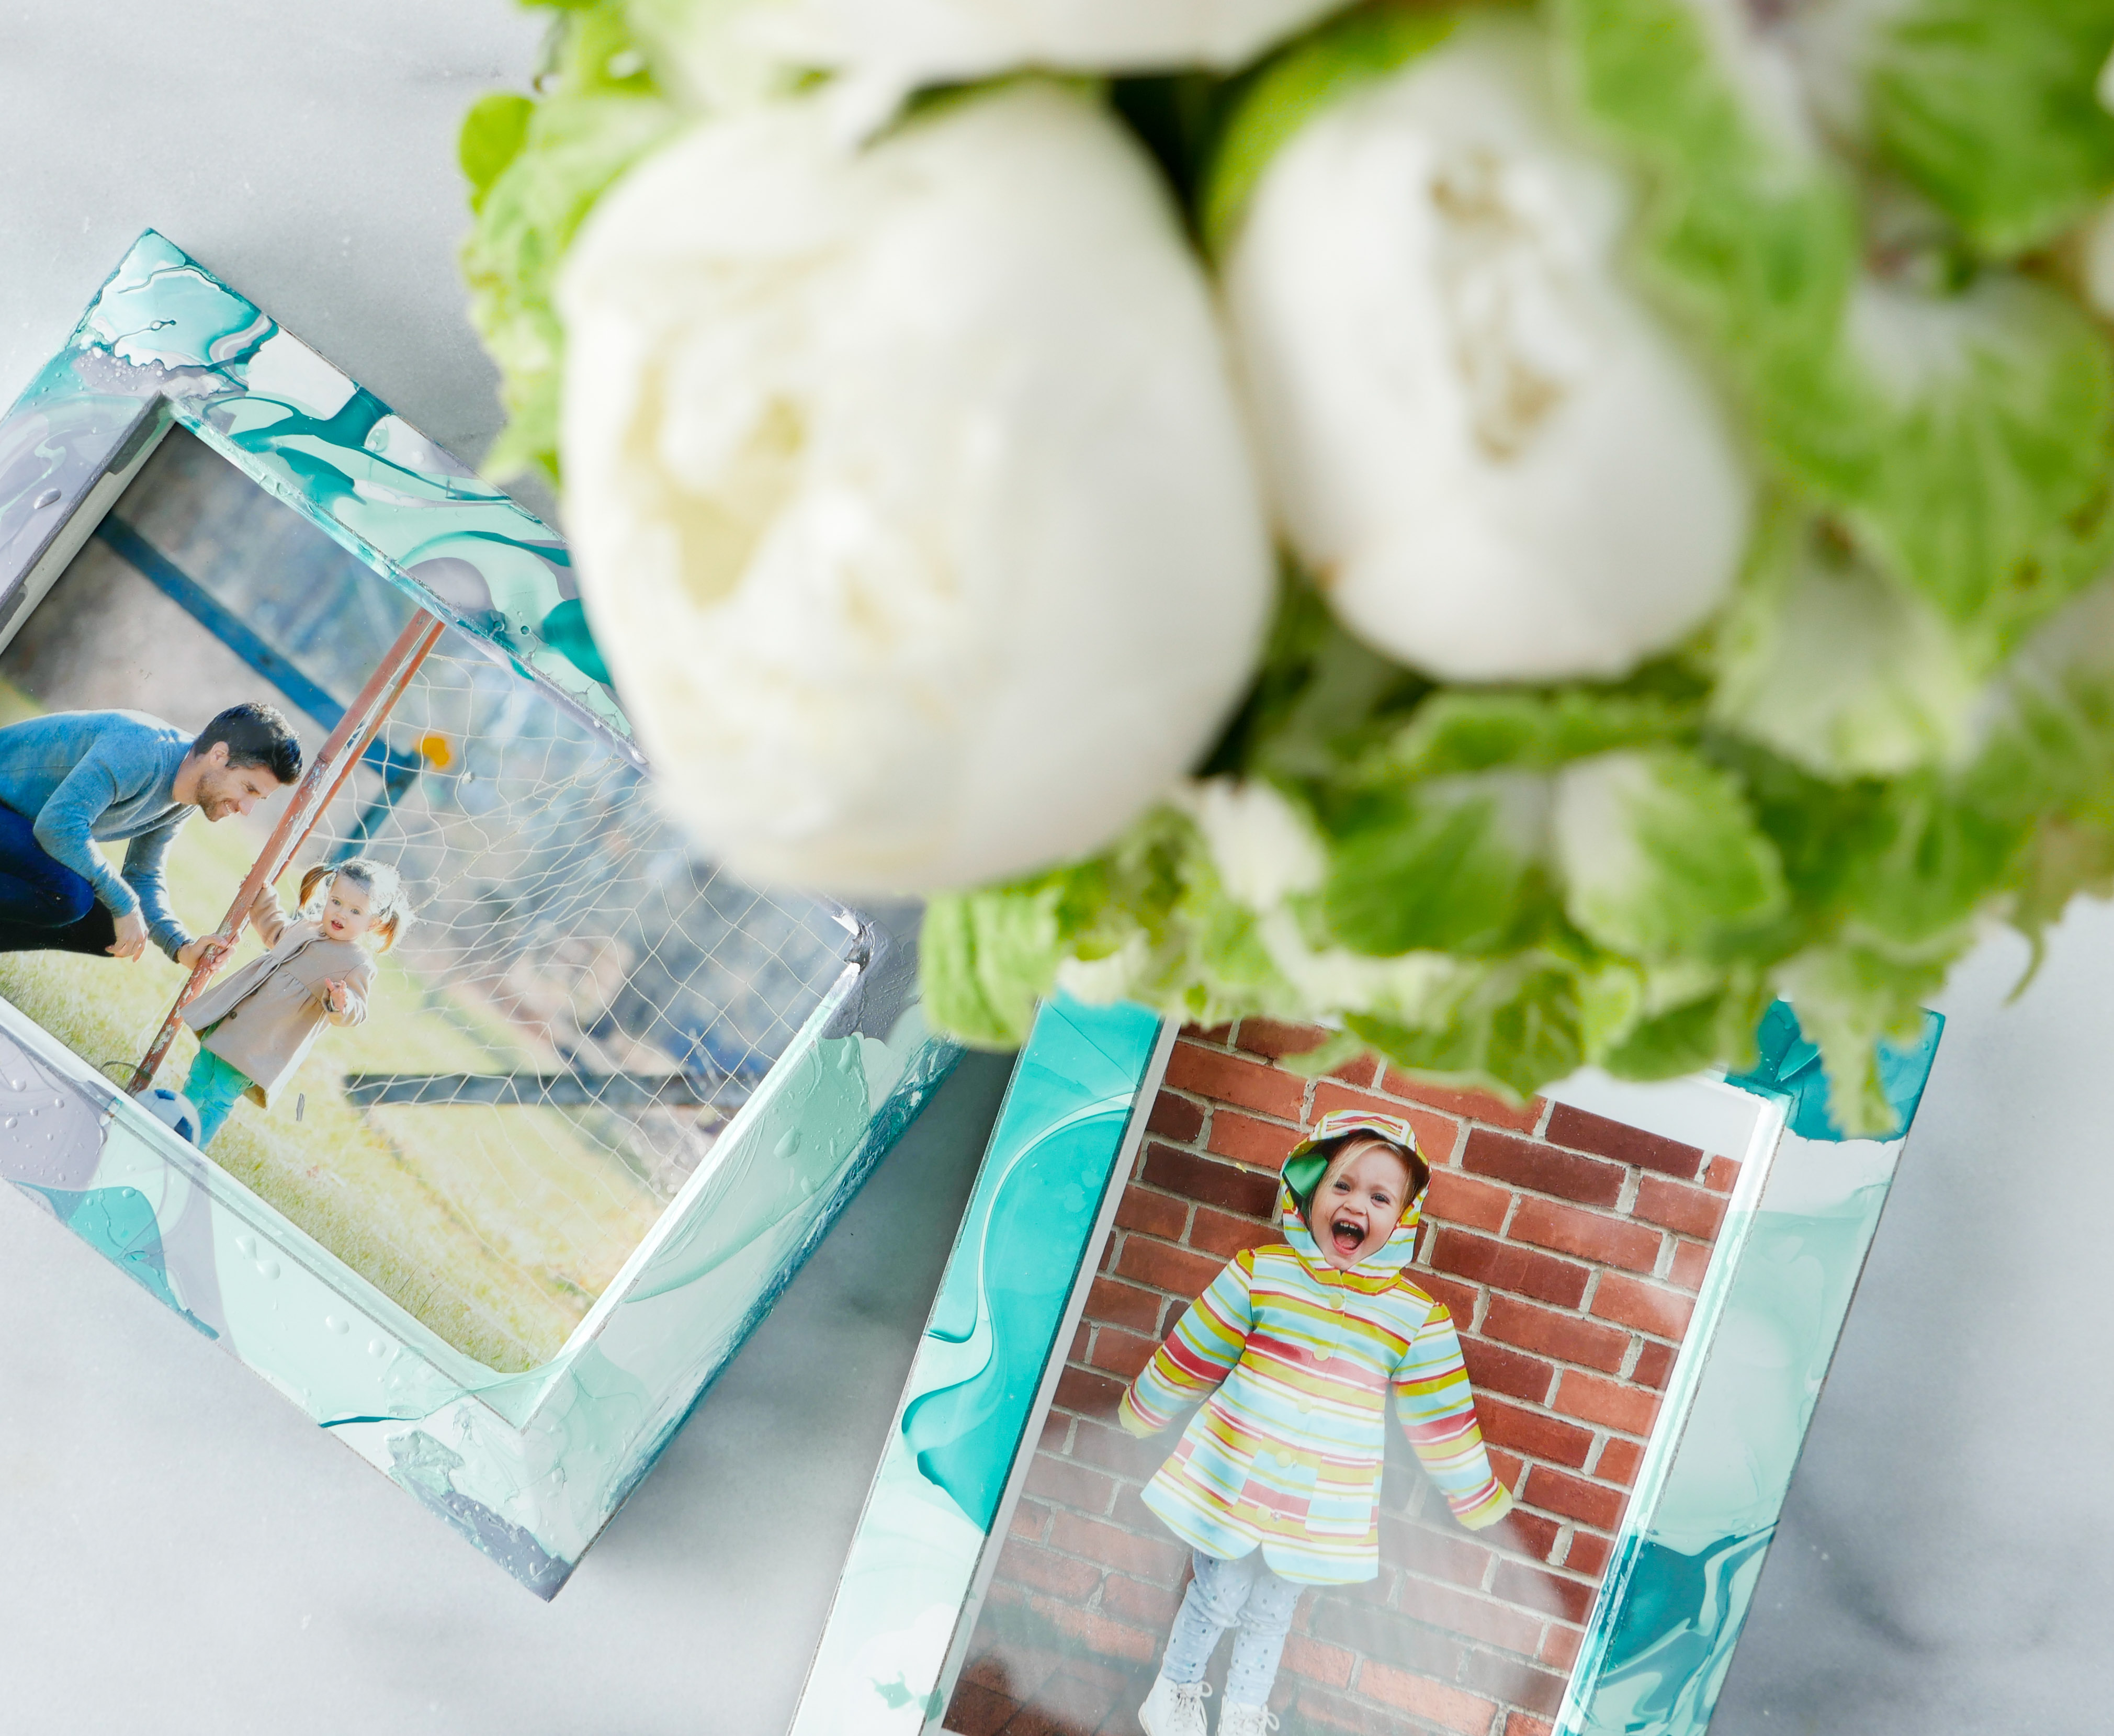
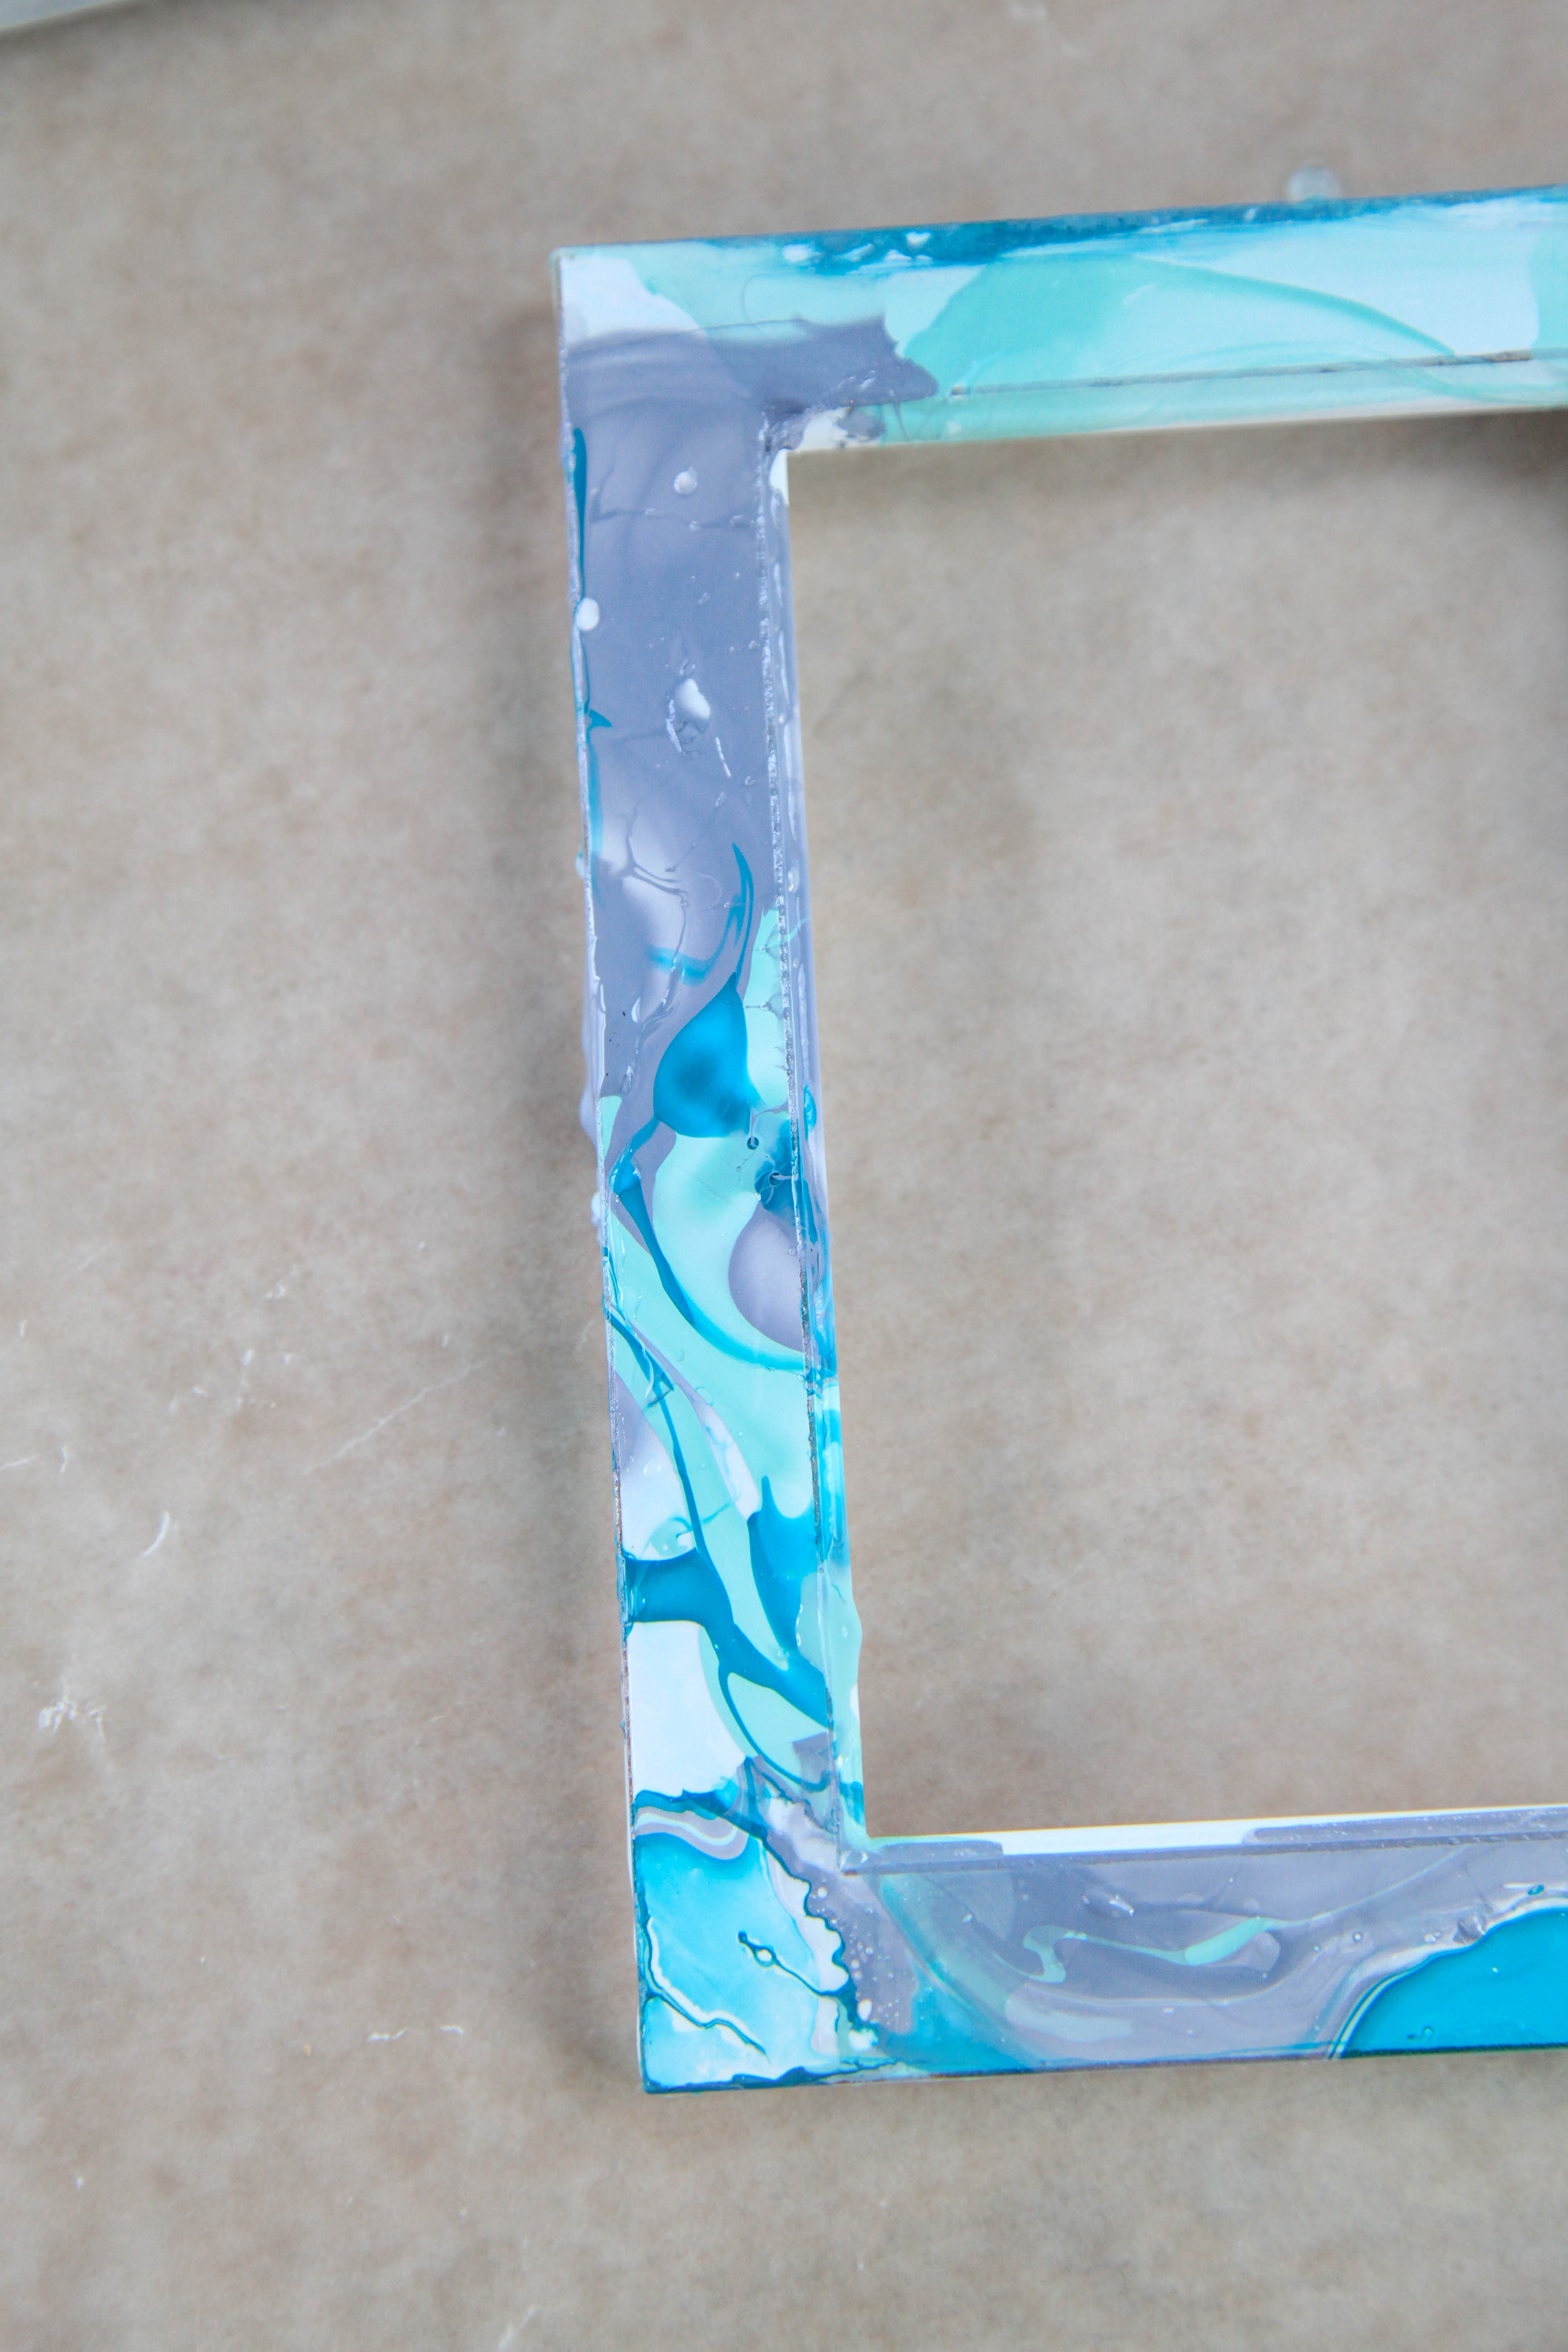
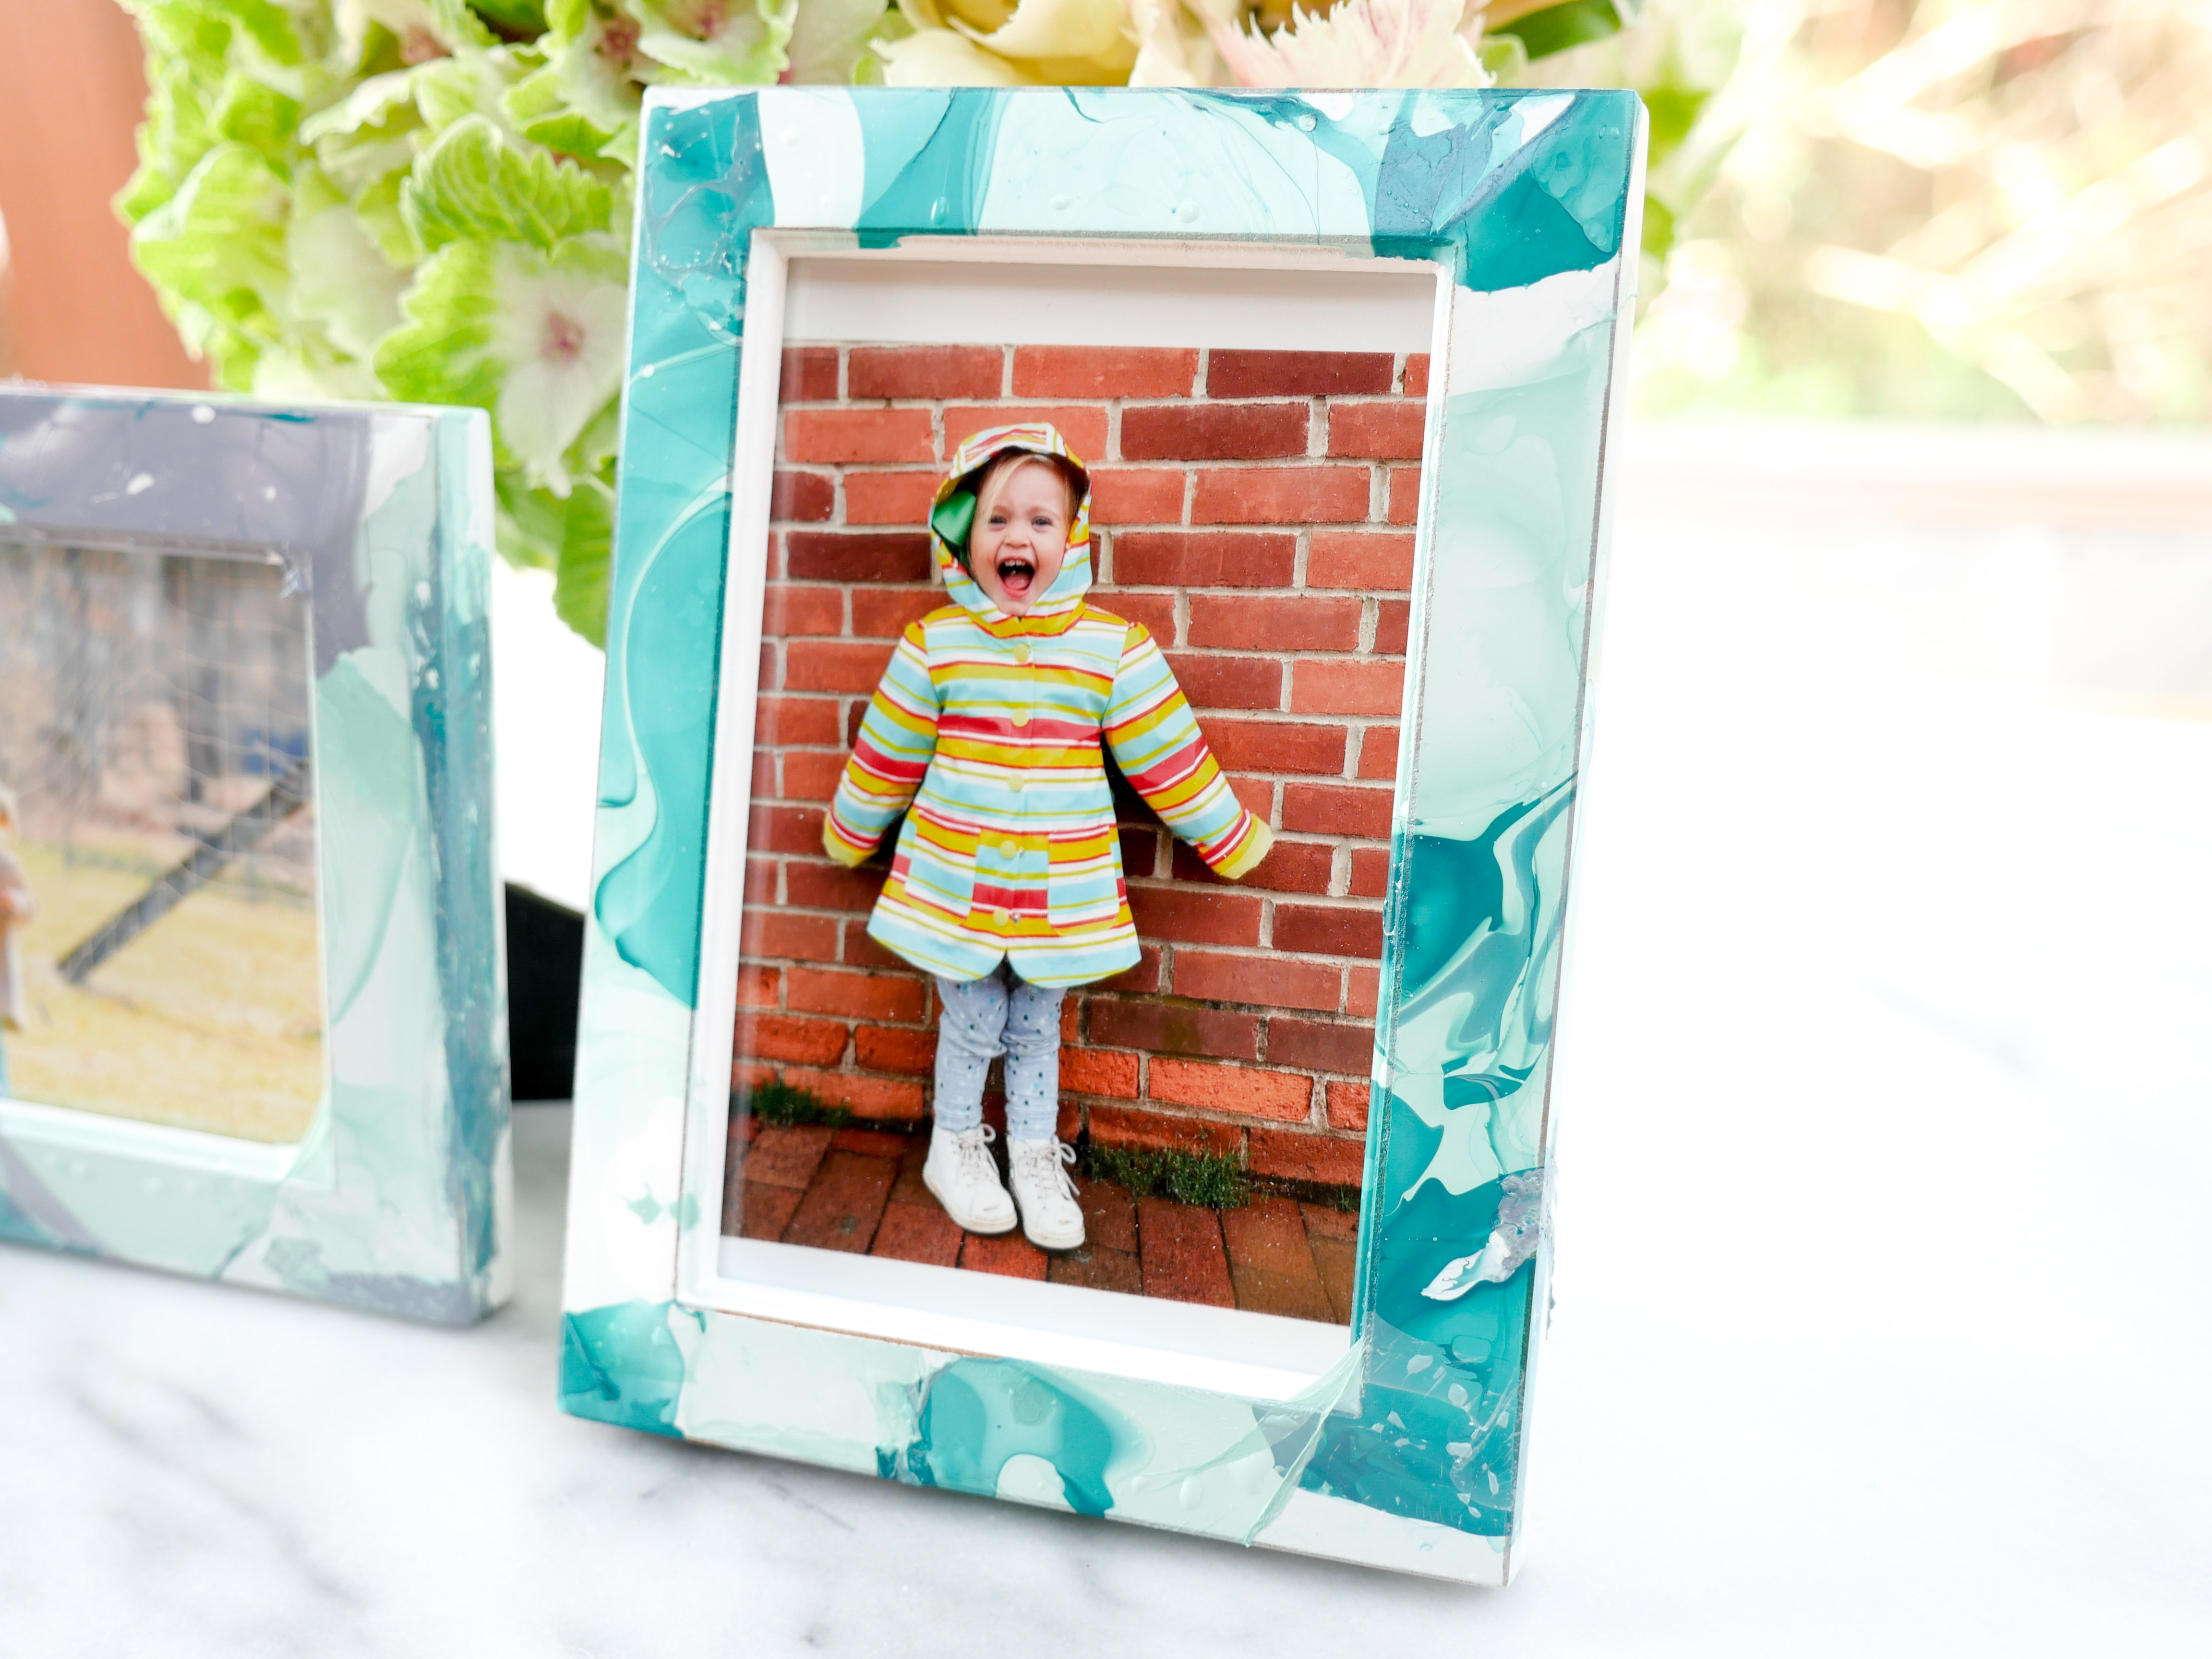
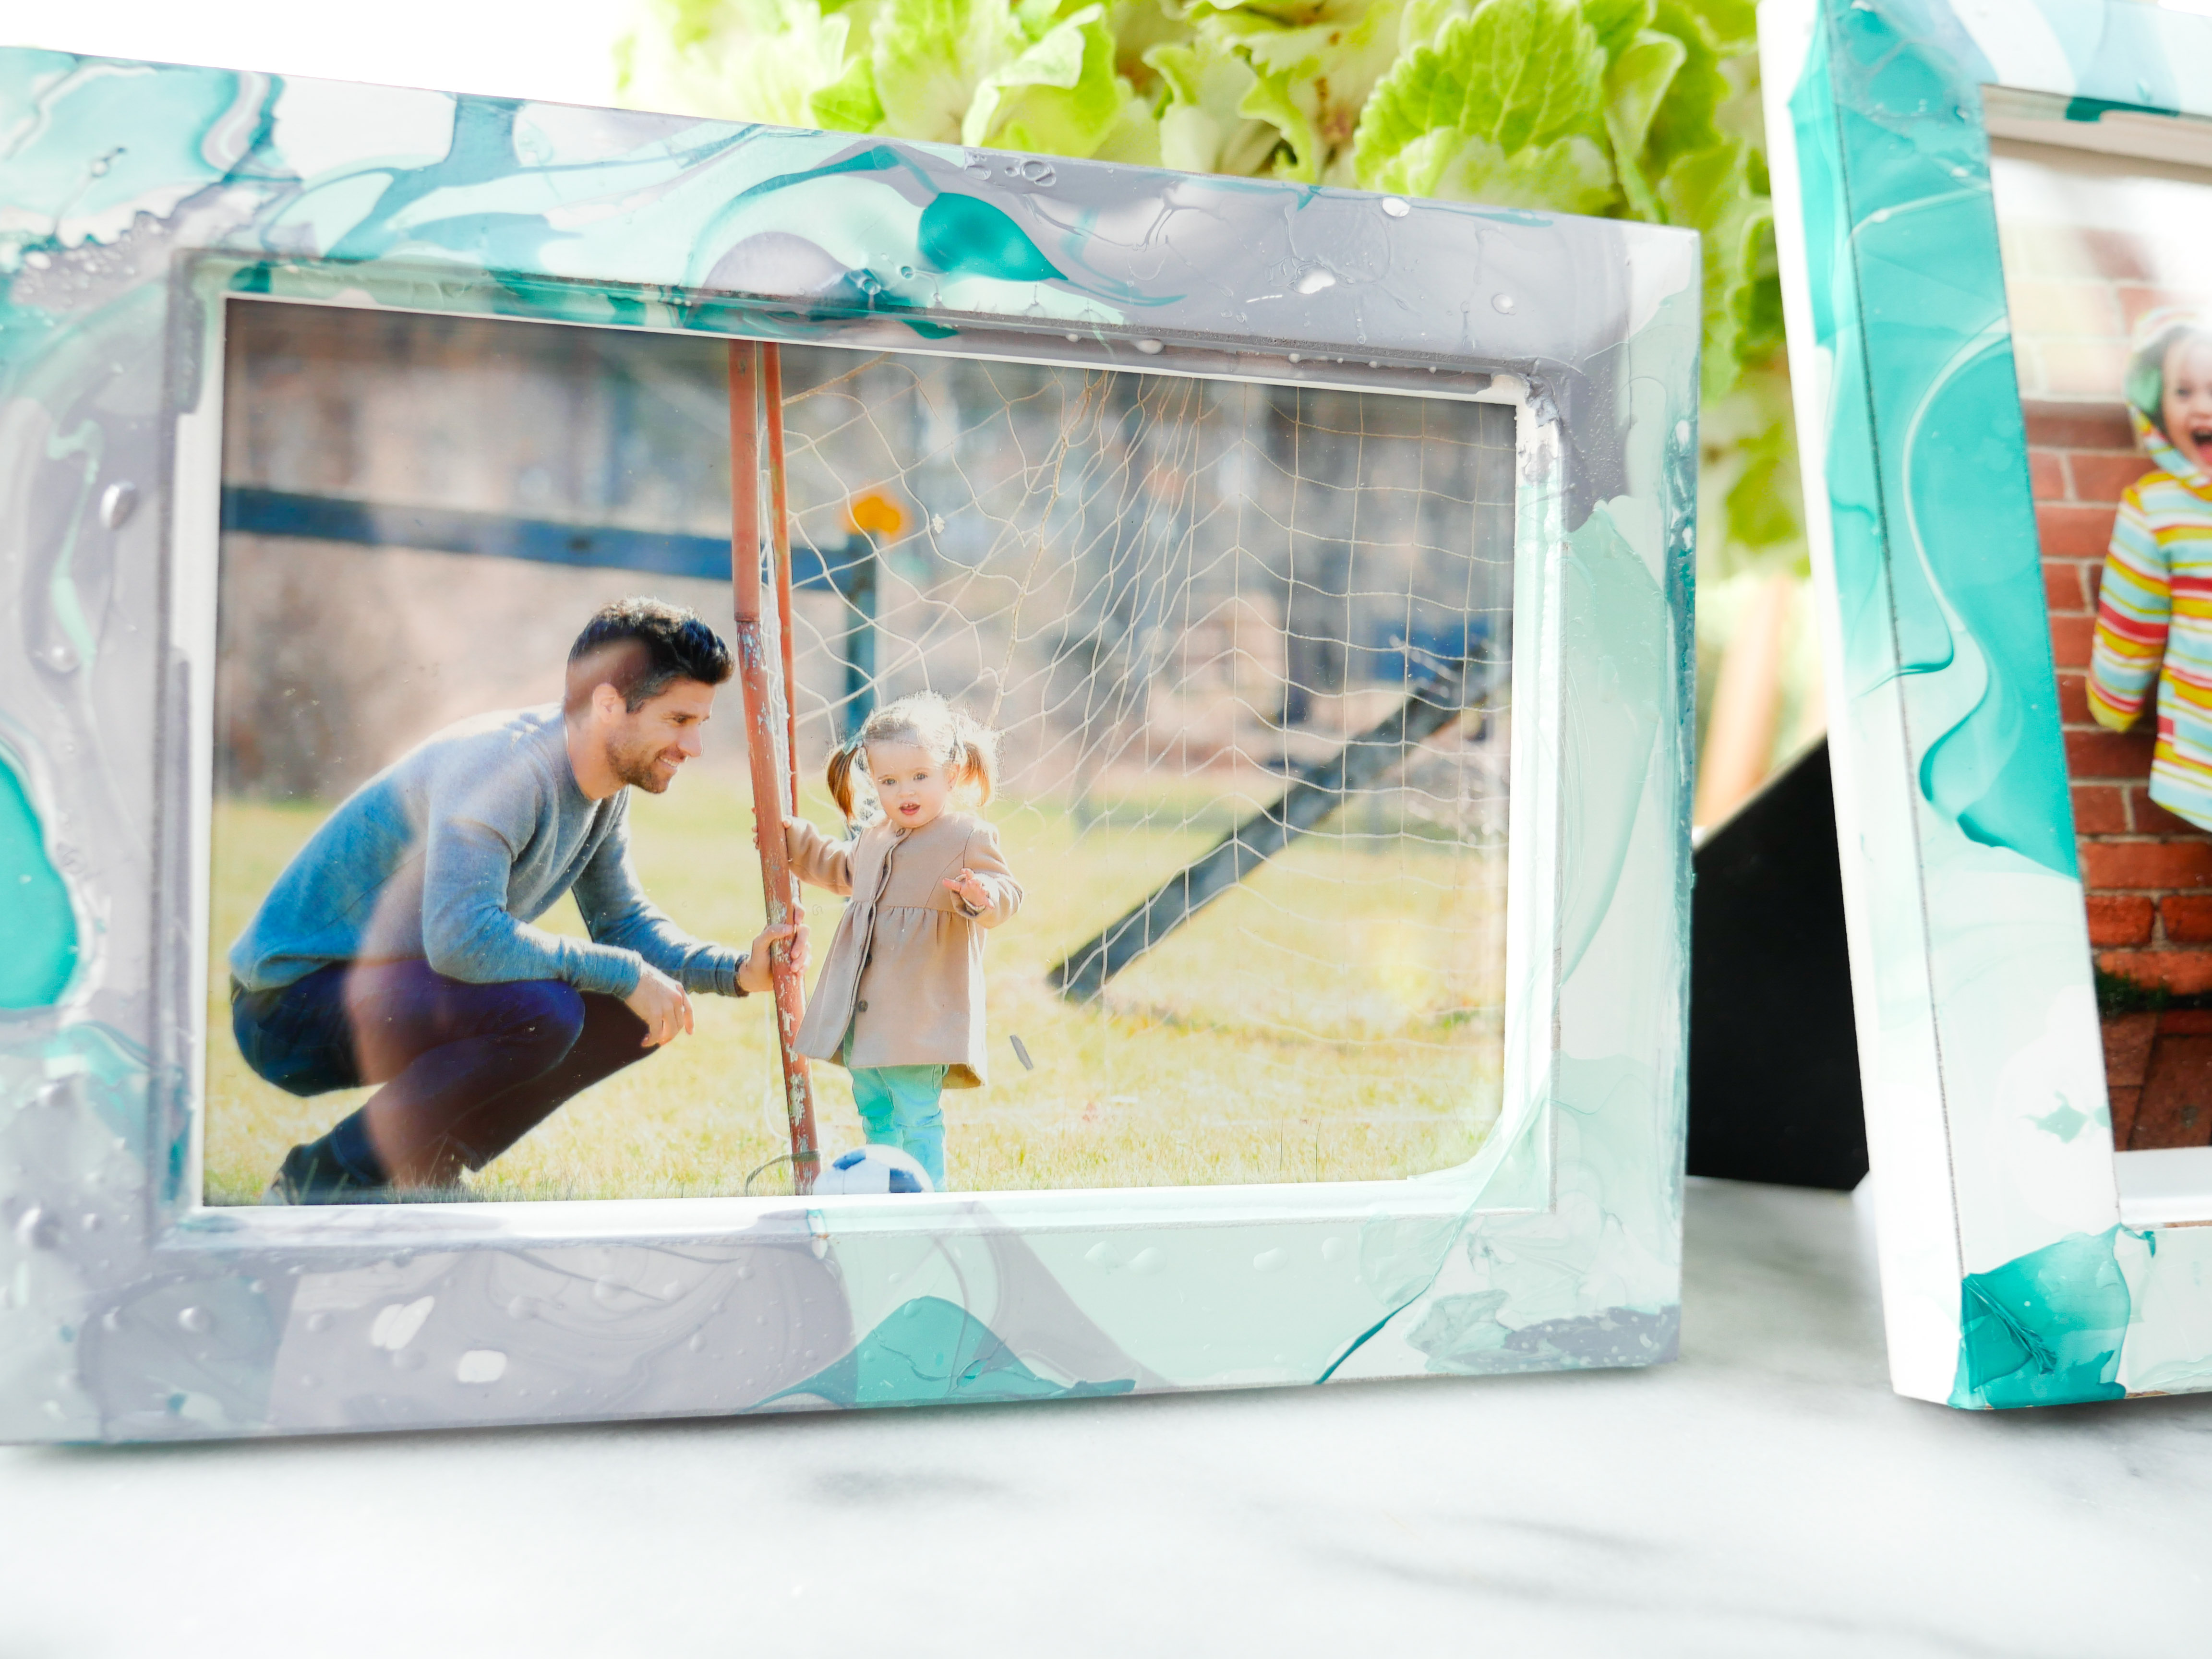
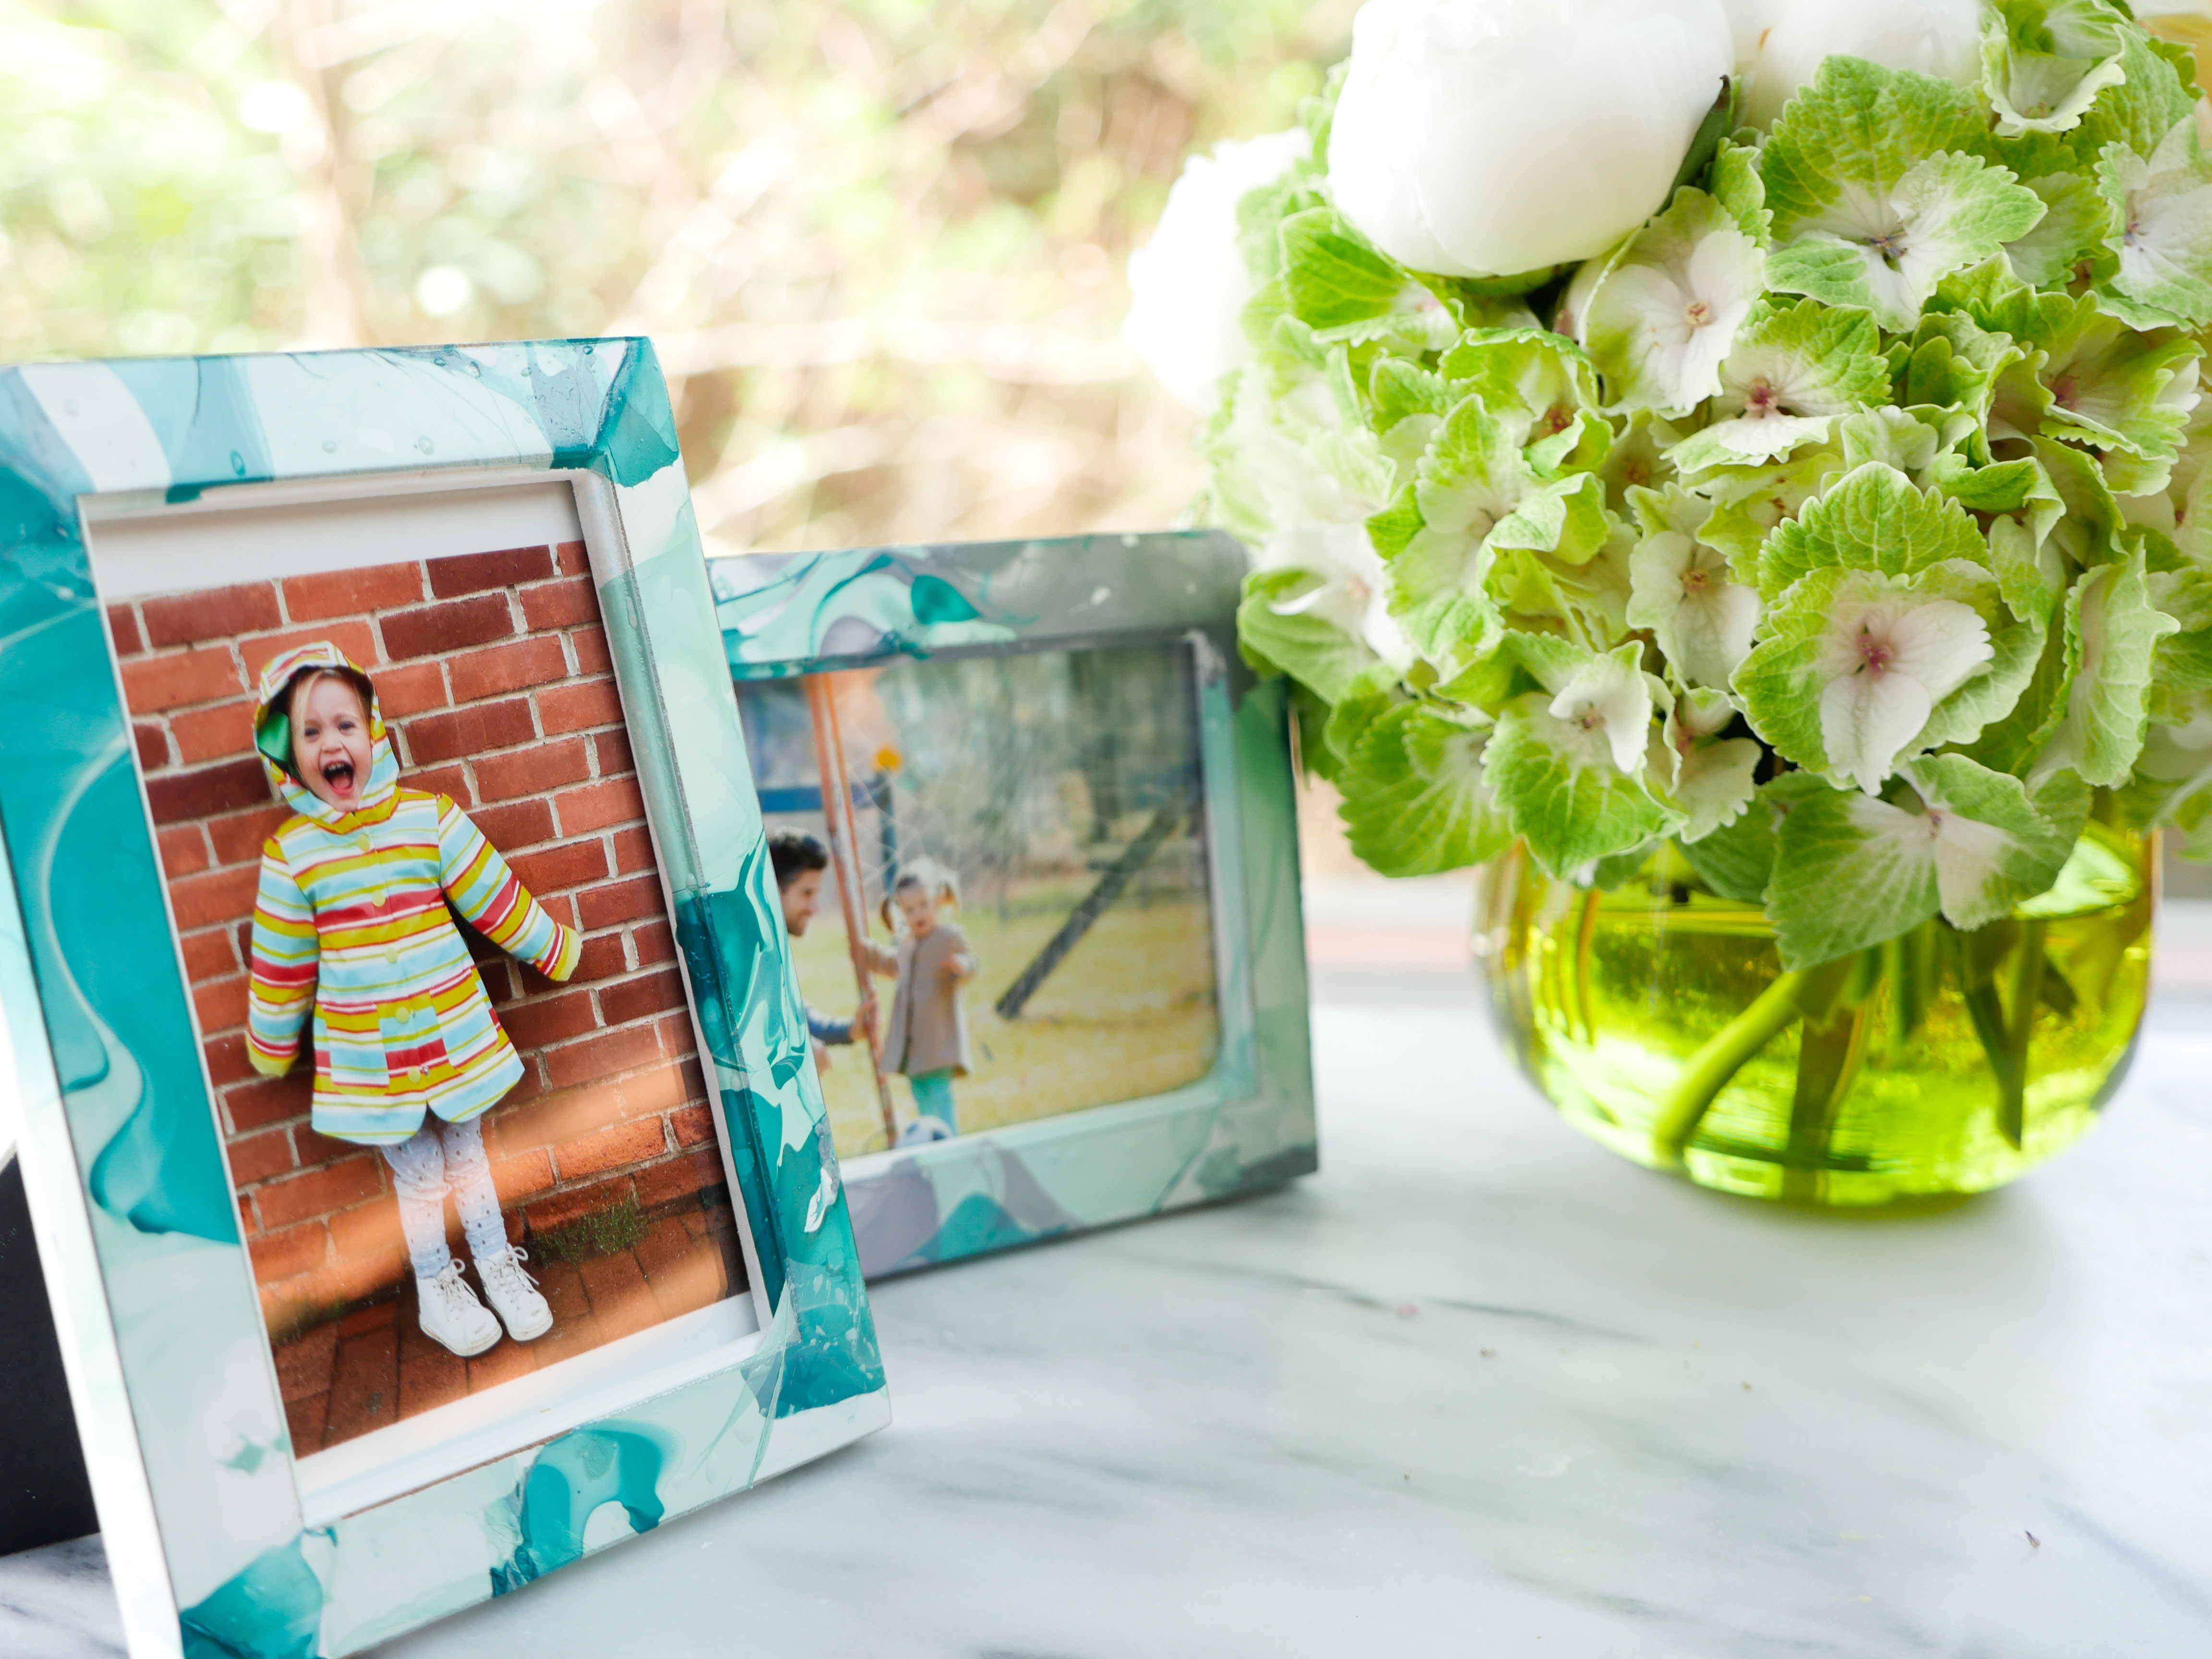
Life moves so fast around us, sometimes it’s important to stop, print some photos, and throw them in to frames to make sure the memories don’t just fly by. Today I’m sharing a super easy and fun Marbled Picture Frames DIY that can transform even super cheap Dollar Store frames in to something beautiful. These would be great in a Kids’ Room, as gifts, or even to display the food or bar menu at a Wedding or Baby Shower!
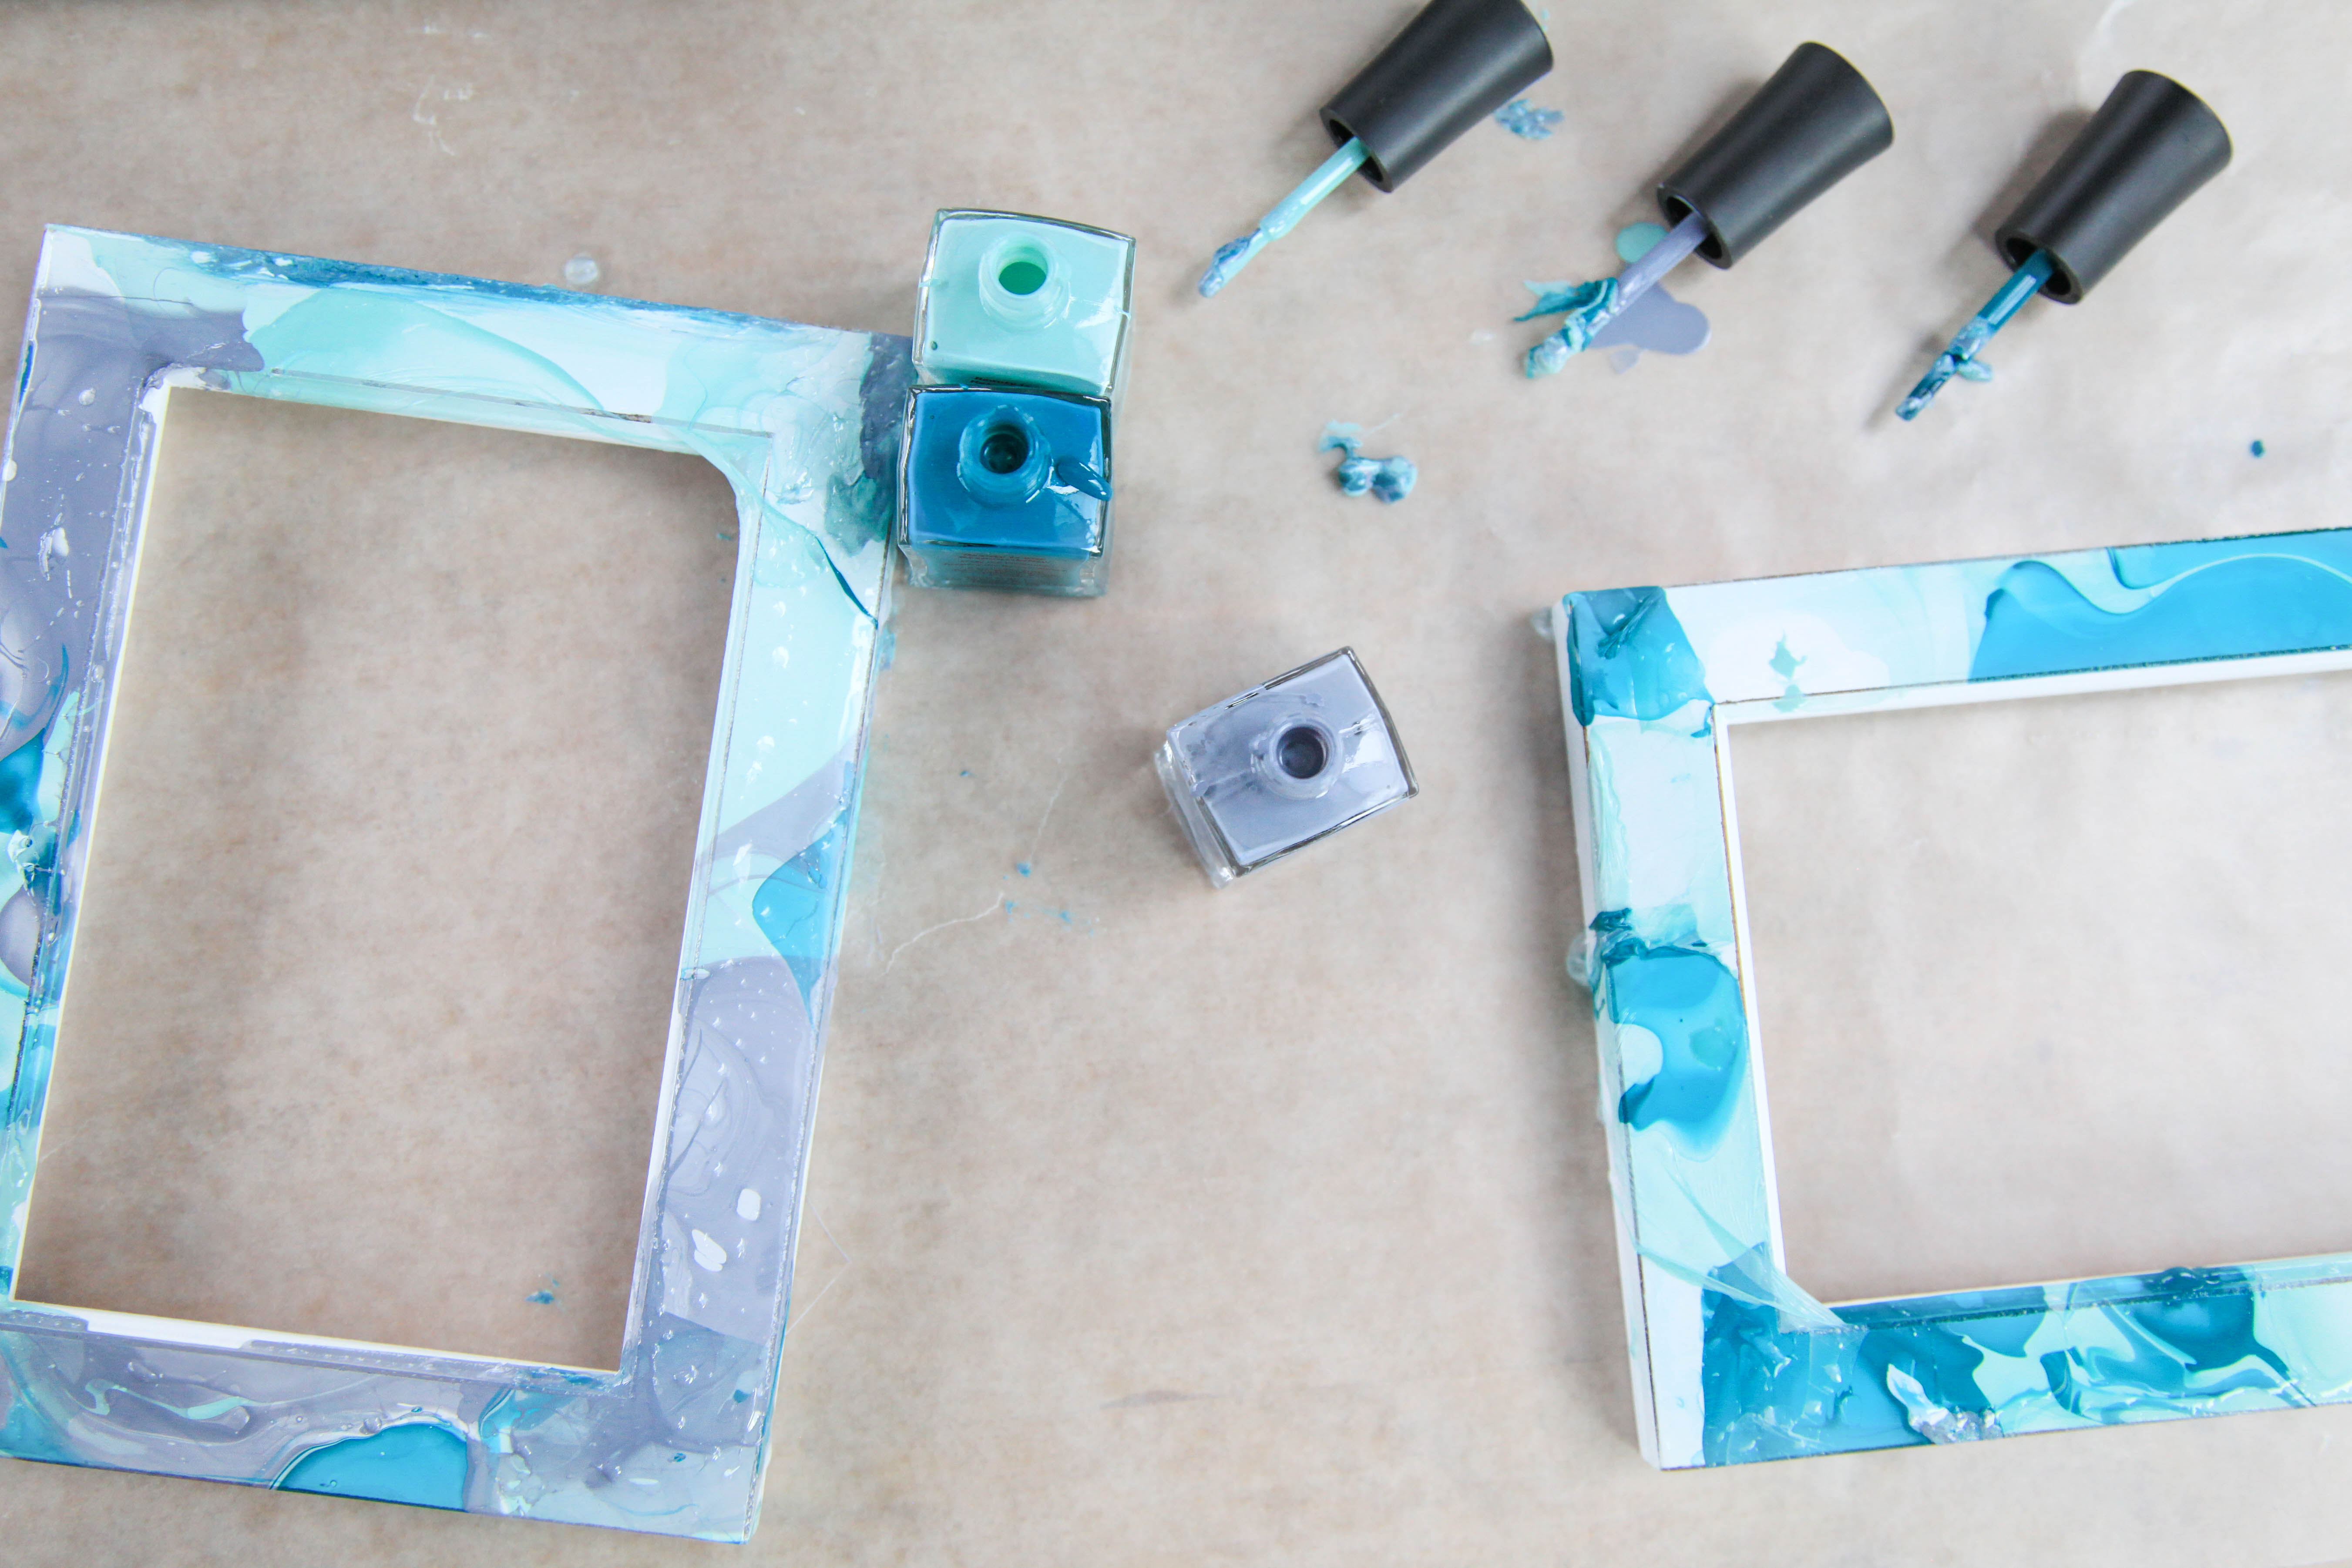
My favorite thing about these frames is how simple the materials are. Can you believe that the marbled effect is created with nail polish?! I don’t know about you but I always have some extra half empty bottles of nail polish cluttering up my drawers. Try using those colors for this! I used three colors on one frame and two on the other– I will say that the three colors was a bit ambitious with how quickly you need to dip the frames. I recommend only using two!
YOU WILL NEED:
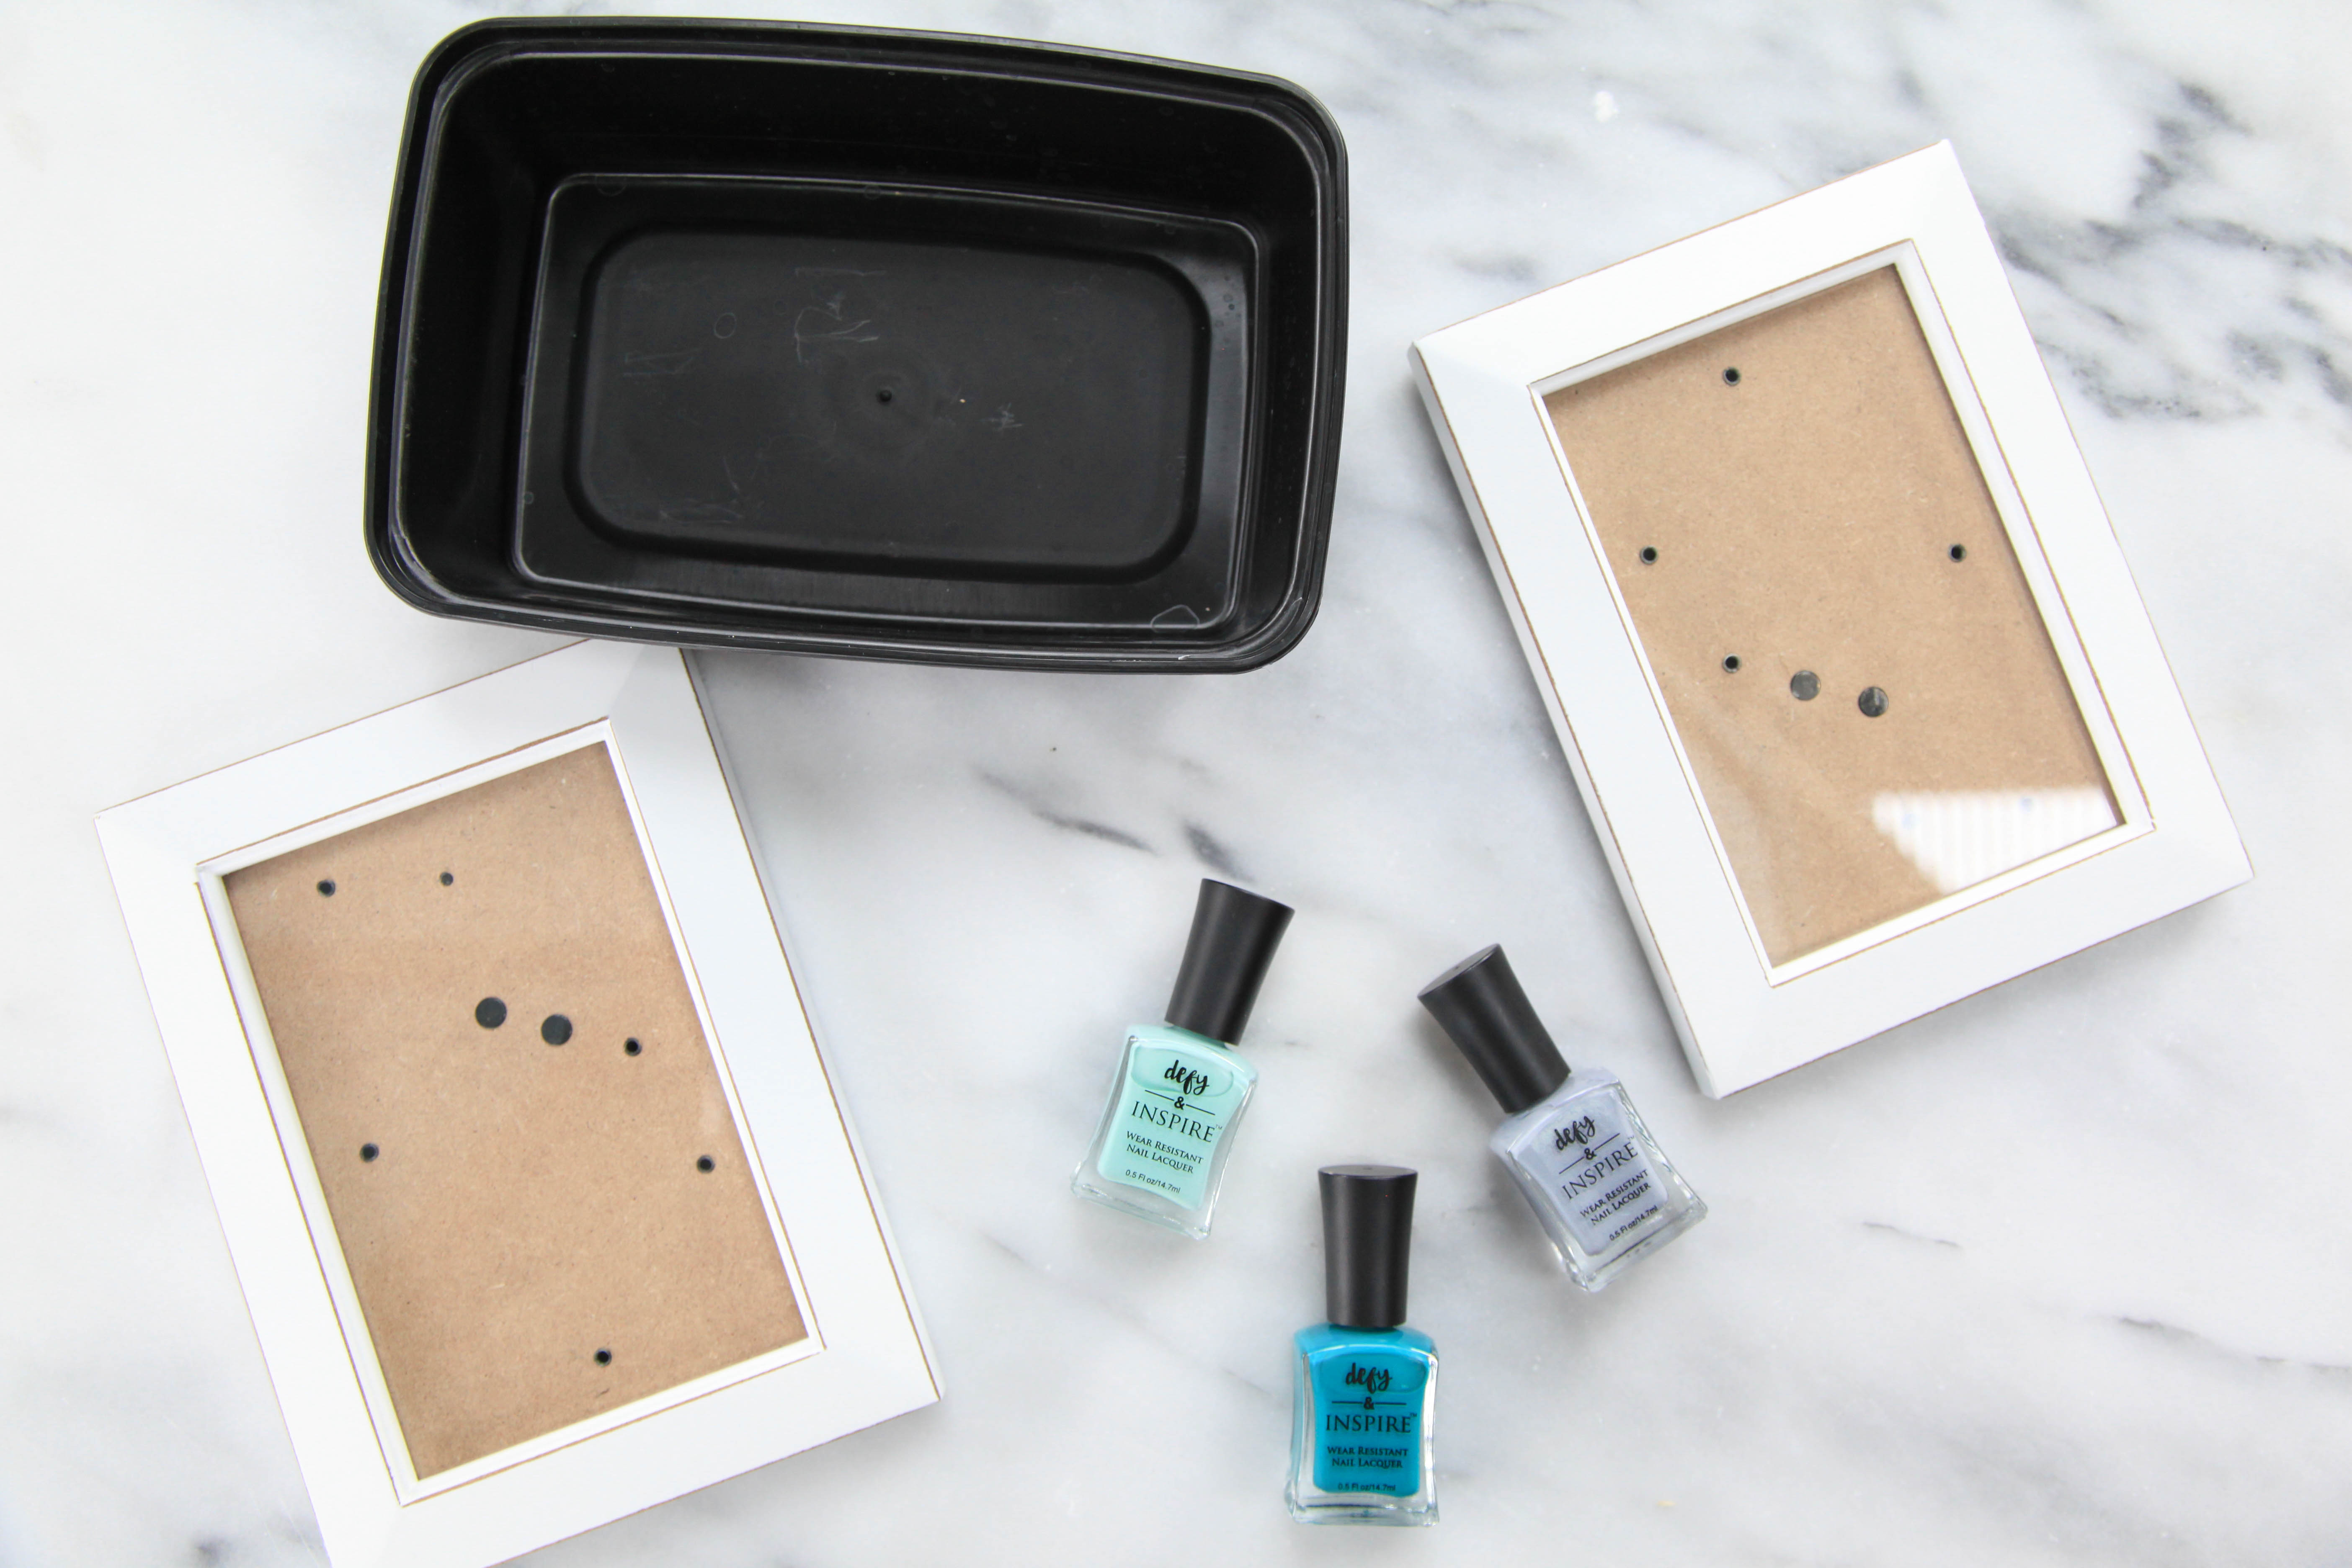
- 1-2 nail polish colors
- 1 wood frame
- A disposable container as large or larger than your frame (You need to throw this out after so don’t use expensive tupperware!
- Very warm water (this keeps the polish from setting too quickly)
- Wax paper for drying

DIRECTIONS:
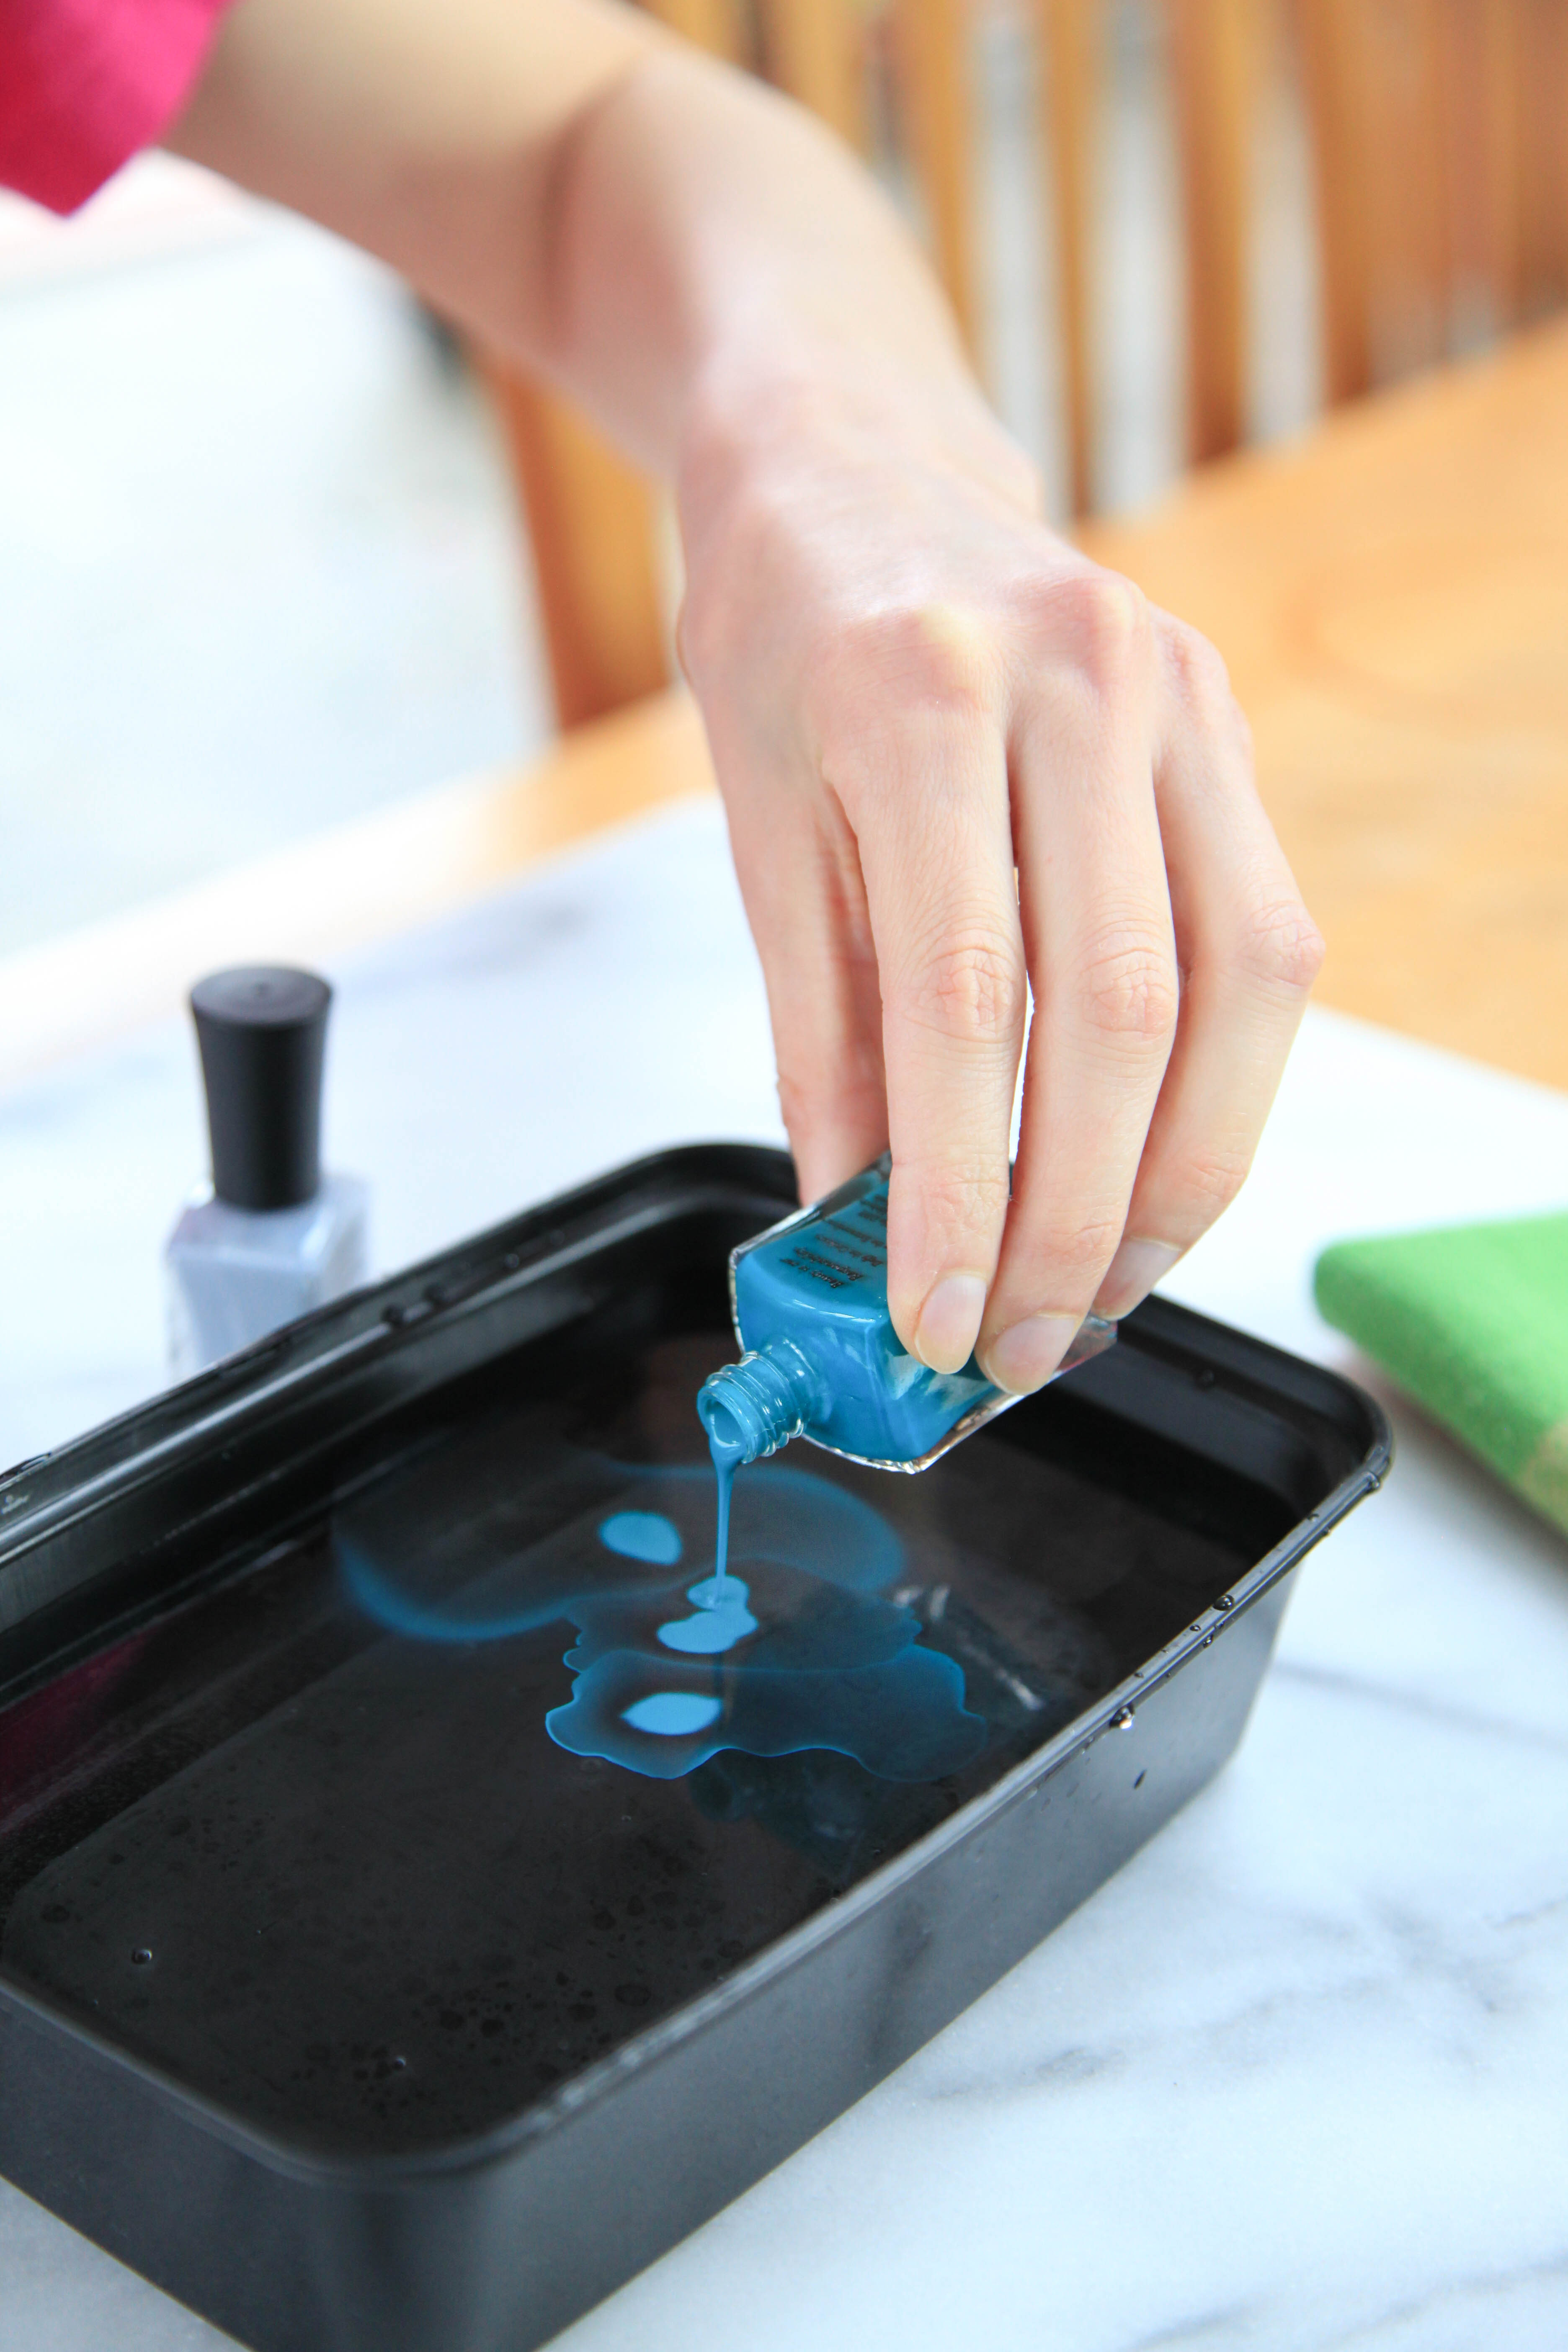
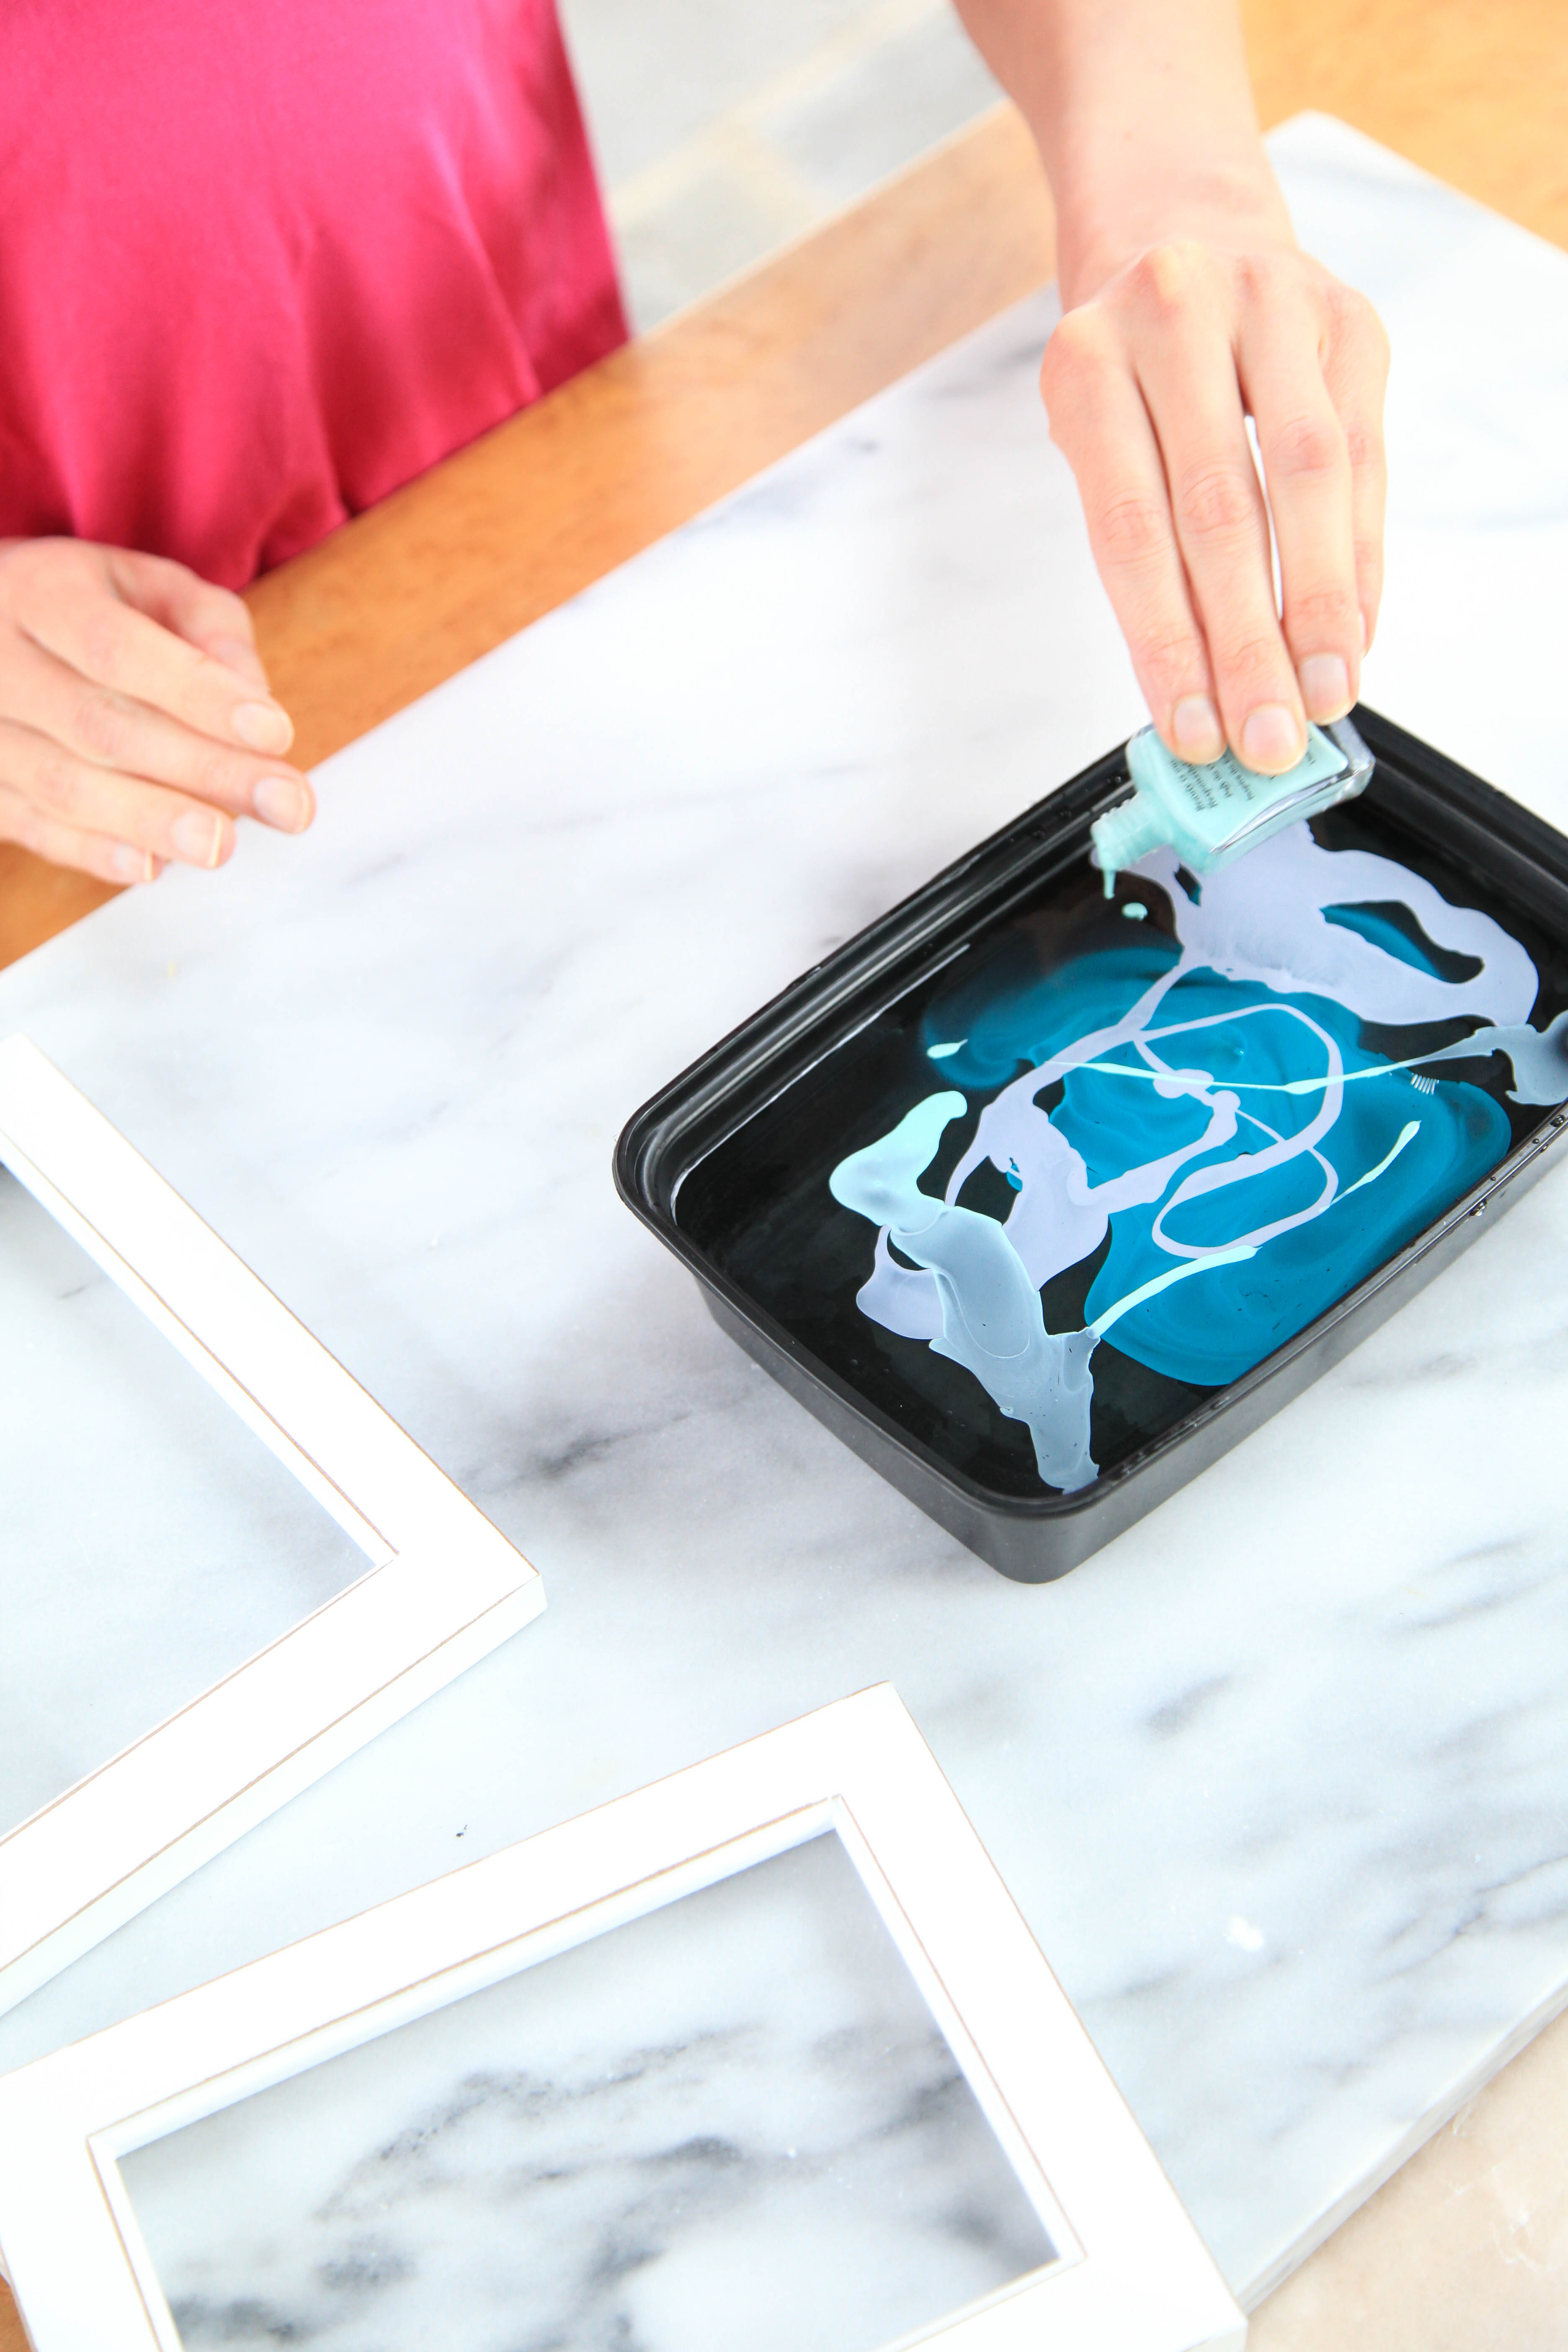
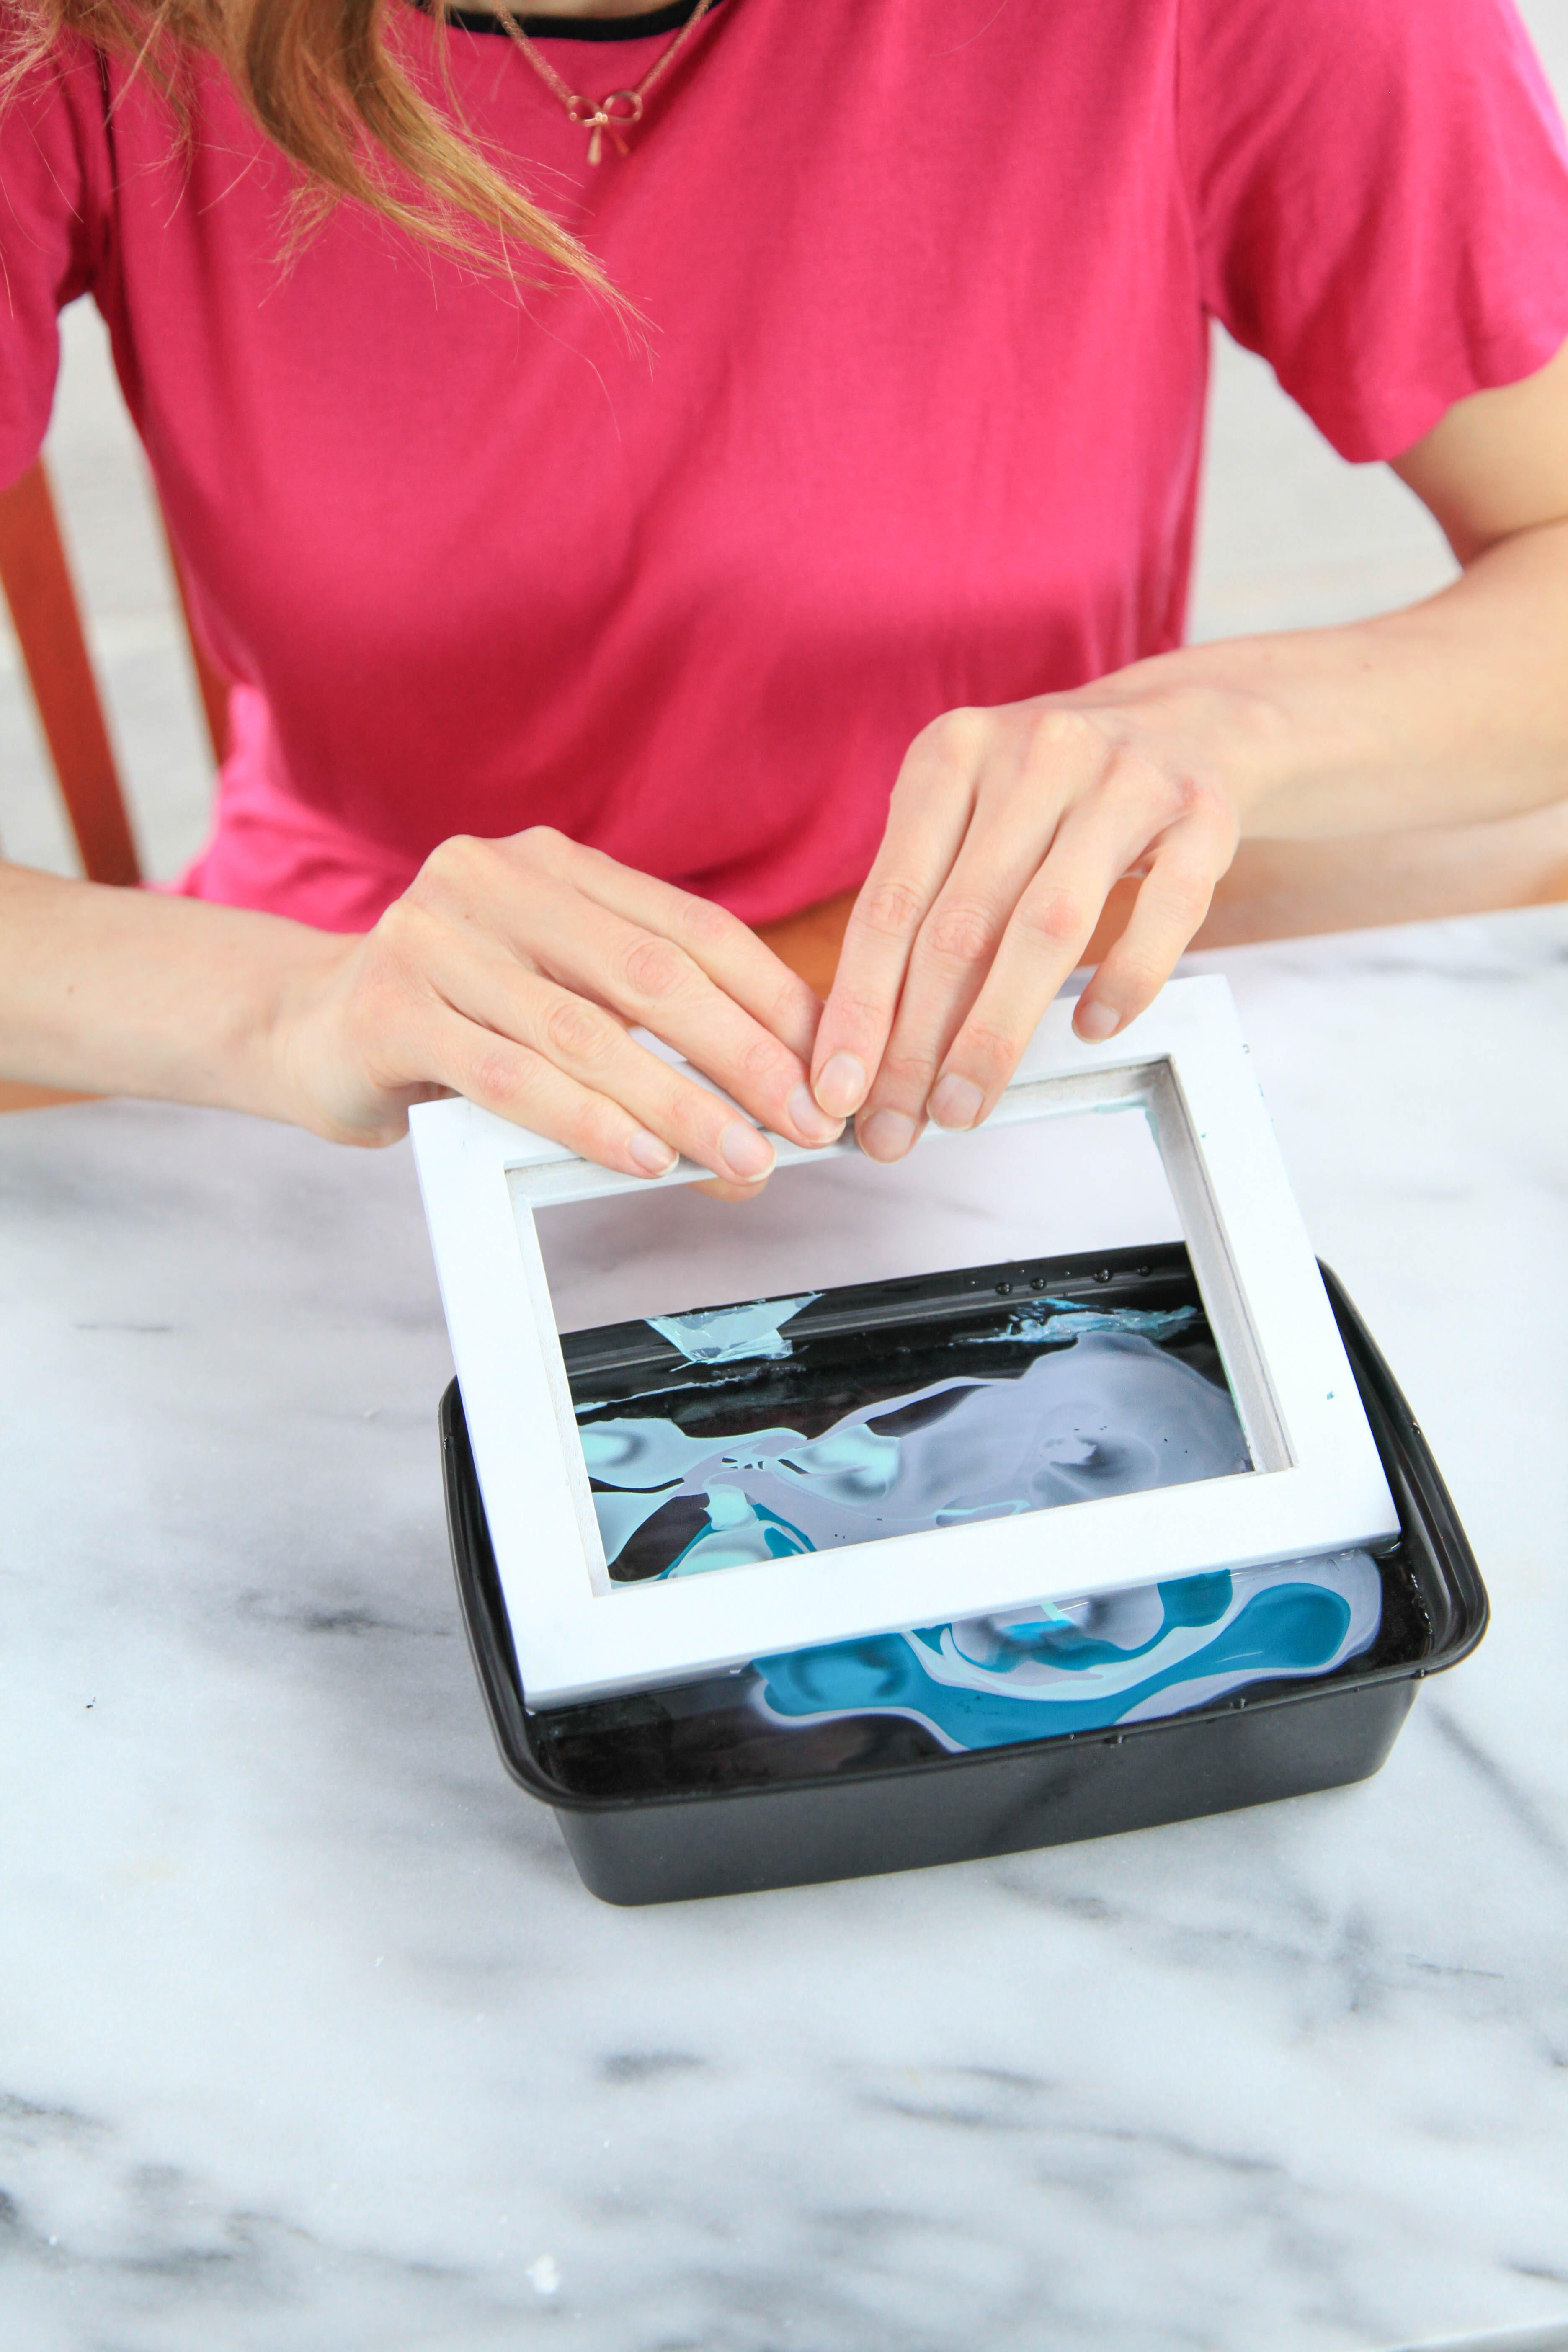
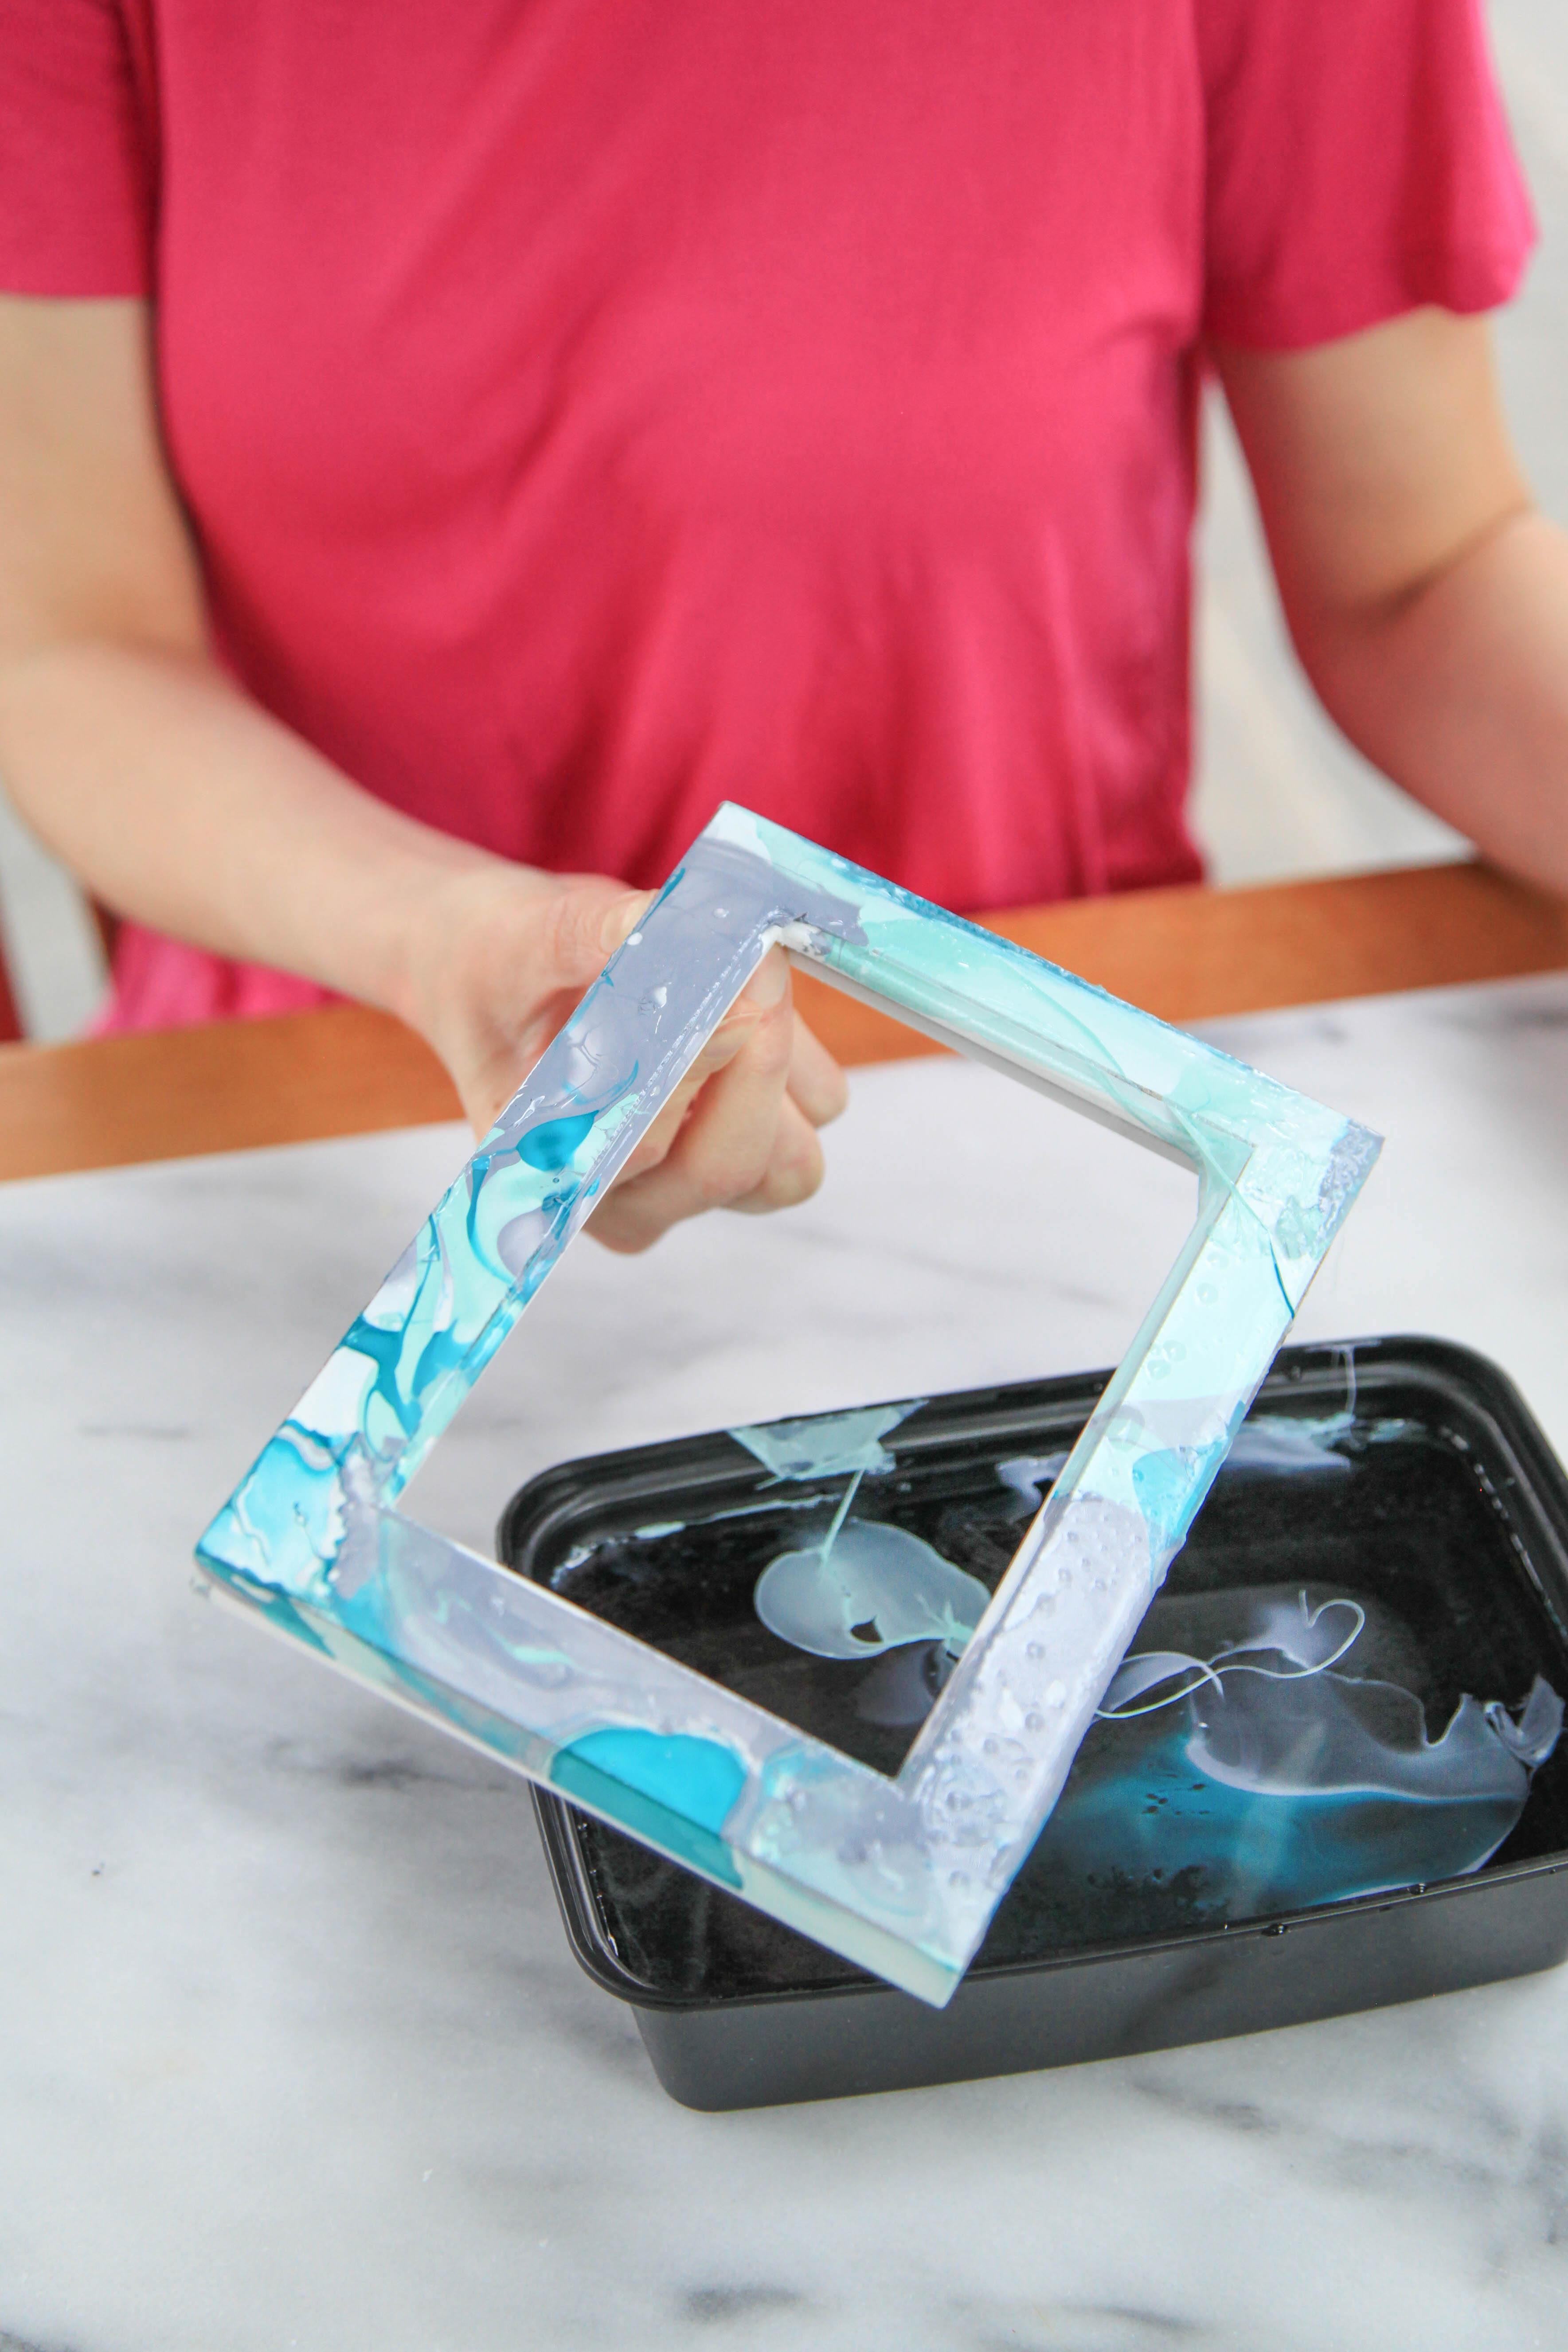
Make sure you fill your container with very warm water. Drop 3-6 drops of nail polish gently on to the surface of the water. Make sure the bottle is positioned close to the surface of the water or else the momentum of the drops of polish will cause them to sink to the bottom. You have to act pretty quickly during this step, so it is easiest (when using two colors) if you hold both colors at the same time and drop the nail polish on to the water simultaneously. Now take a toothpick, or pencil, and gently swirl the colors together a bit. Now quickly dip your frame face down in to the colors! Lay the marbled frame face up on wax paper and allow to dry overnight in a well ventilated area.
Photographs by Anel Dzafic

love this, your DIY ideas are so awesome and simple. I have used many. Thanks for a great blog and love watching you on snapchat!!
PS, your post on pregnancy after miscarriage was exactly how I felt 3 years ago and I was never able to put it into words as well as you did. Thanks for your voice.
I’m in love with this! Am headed home to try it with my son!
Thanks you!
I did this exact same concept a year ago using clear glass votives! I dipped the bottom third of the votive holder. Gotta try the photo frames now!
What a fun diy. Going to try this week with my daughter and gift them to friends
cool!