The following content may contain affiliate links. When you click and shop the links, we receive a commission.
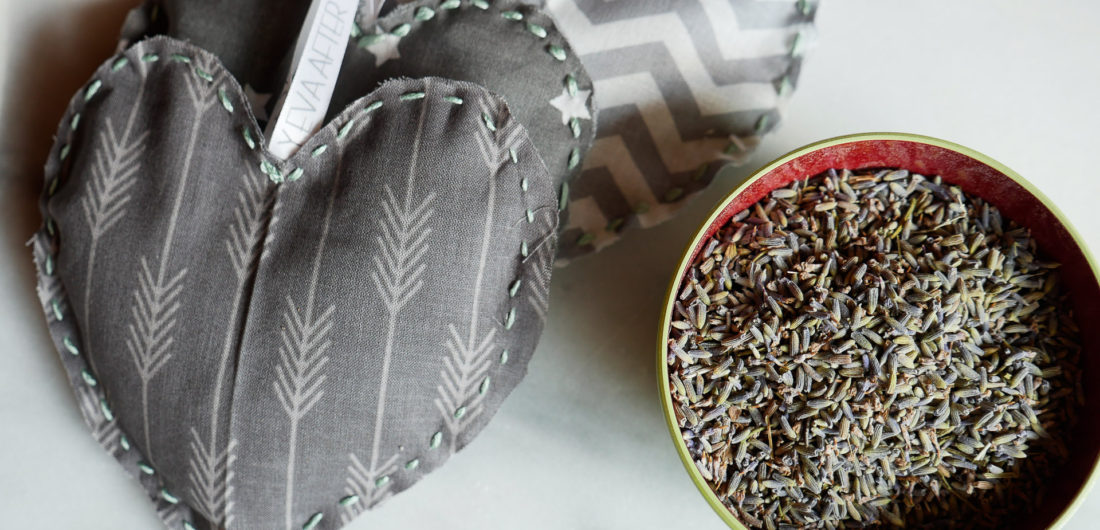
If I can, I always prefer to make a Hostess Gift by hand. Even if it’s a specially-curated basket of goods that you picked out yourself! There’s something that much more special about a gift that you’ve put together yourself, especially if you’re sending one to say thanks for a Hostess’s own personal touch. With Summer coming to a close, I had been trying to find a sweet and easy homemade gift idea for all of the “End Of Summer” and “Back To School” barbecues, pool parties, and dinners that seem to be popping up all over my social calendar. I had a couple extra red buttons laying around, and this idea was born!
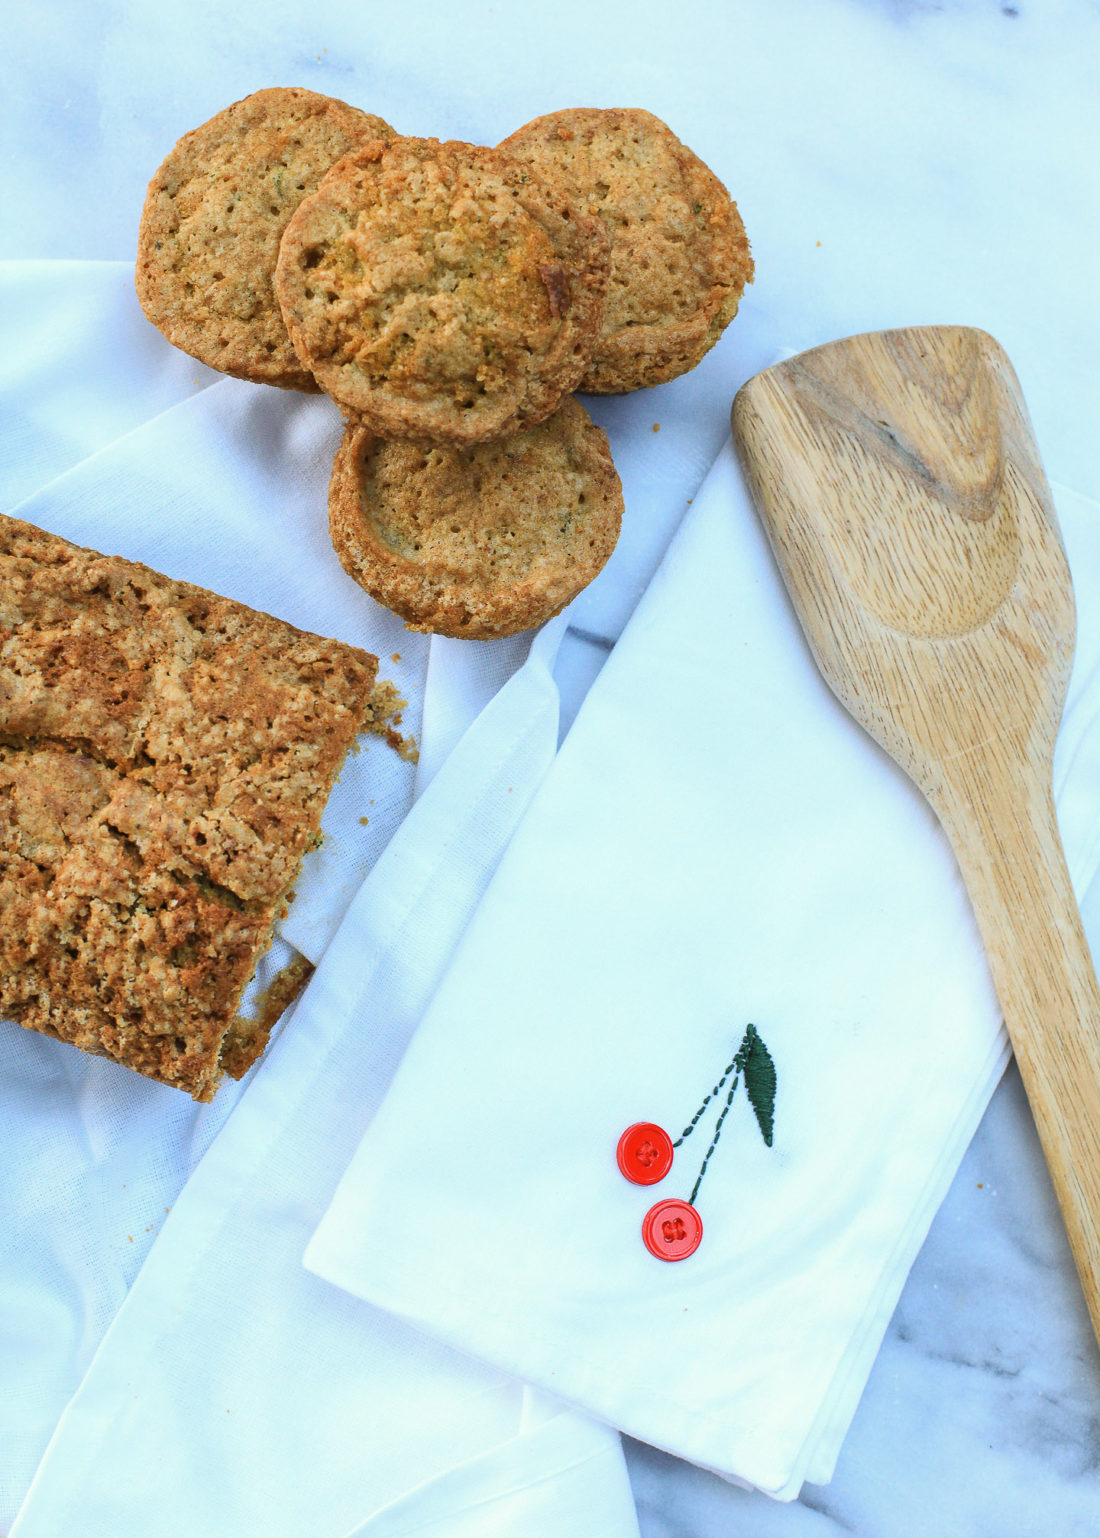
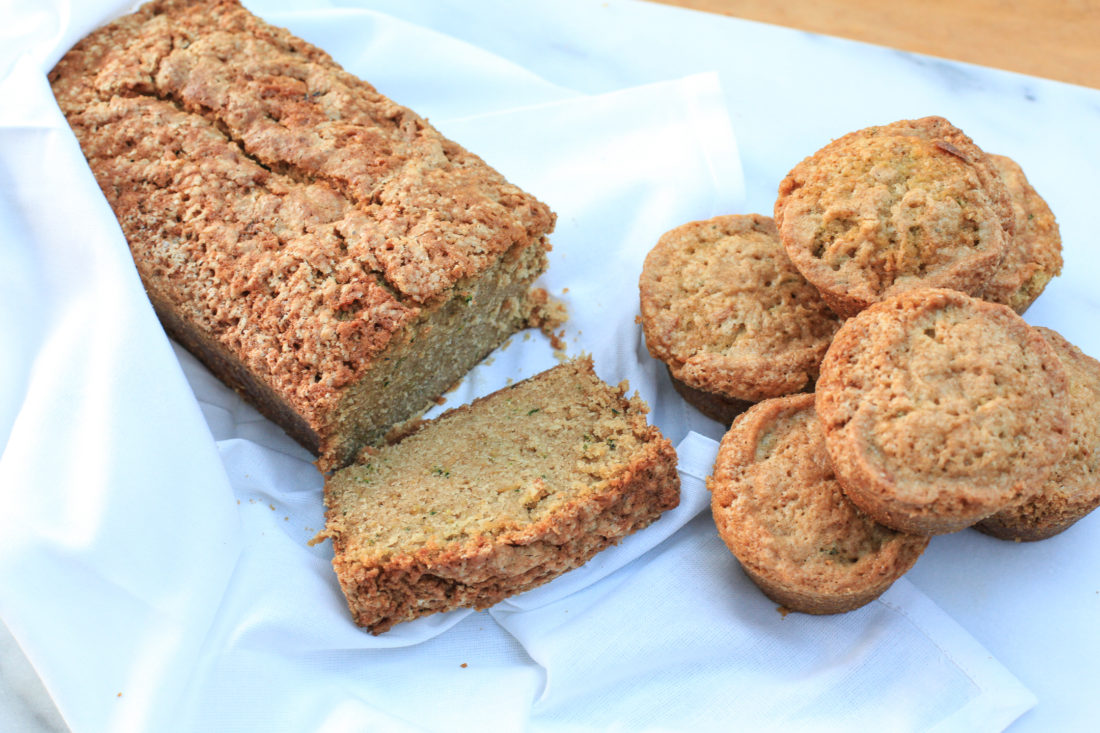
Embroidery is special to me because my Mom used to always embroider jackets, overalls, and backpacks for us growing up. She isn’t an “expert” embroideress (not a word, but it stays) by any means– neither am I for that matter. But part of the charm is the hand-sewn imperfection! These tea towels are so charming for summer. Make sure to present them with a baked good! I have tons of zucchini in our garden this year, so a sweet and yummy Zucchini Bread seemed like the perfect addition. Make sure to sign up for my newsletter to receive my Zucchini Bread recipe tomorrow straight to your inbox!
Materials…
- 1 Embroidery Hoop
- Cotton or linen Tea Towel
- Red Buttons (2 per towel)
- Green Embroidery Thread
- Red Embroidery Thread
- 1 needle (w big enough eye for the thread)
Directions…
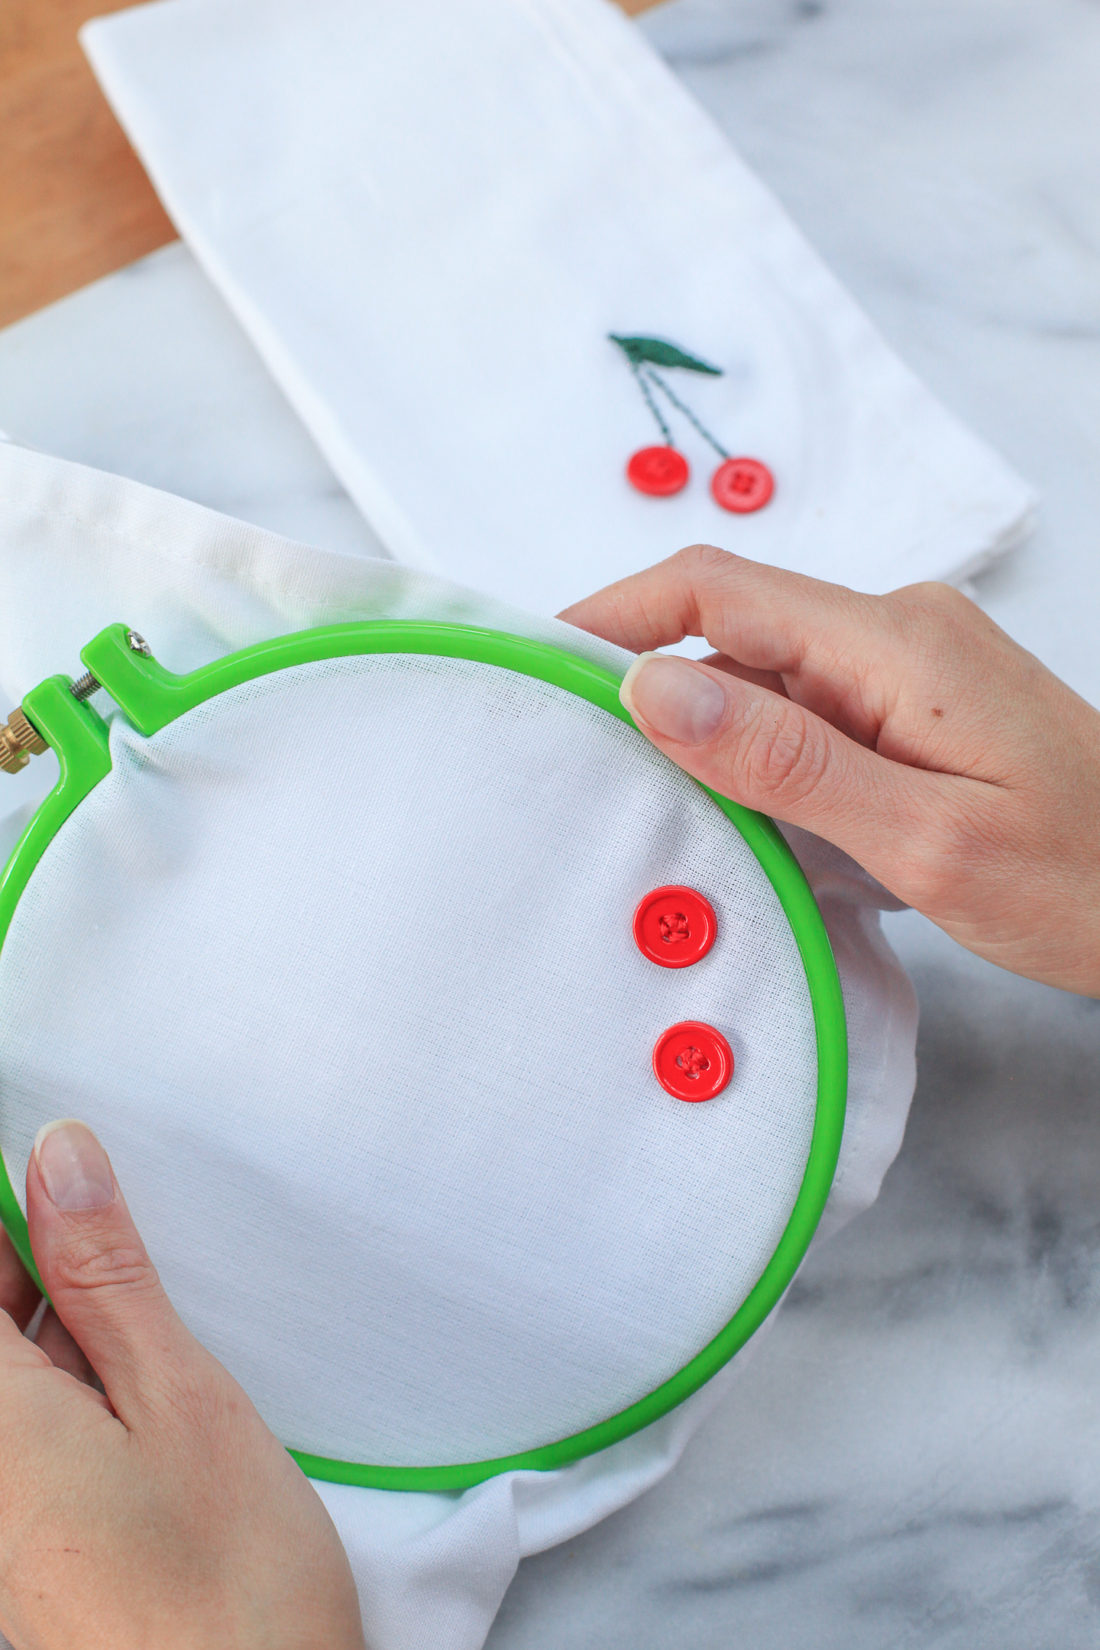
Begin by marking two small dots with a pen wherever you’d like your cherries to be on the tea towel. Unscrew the embroidery hoop, and place the tea towel between the pieces, in a single layer. Make sure it’s taught and you have enough room around your cherry locations to sew easily.
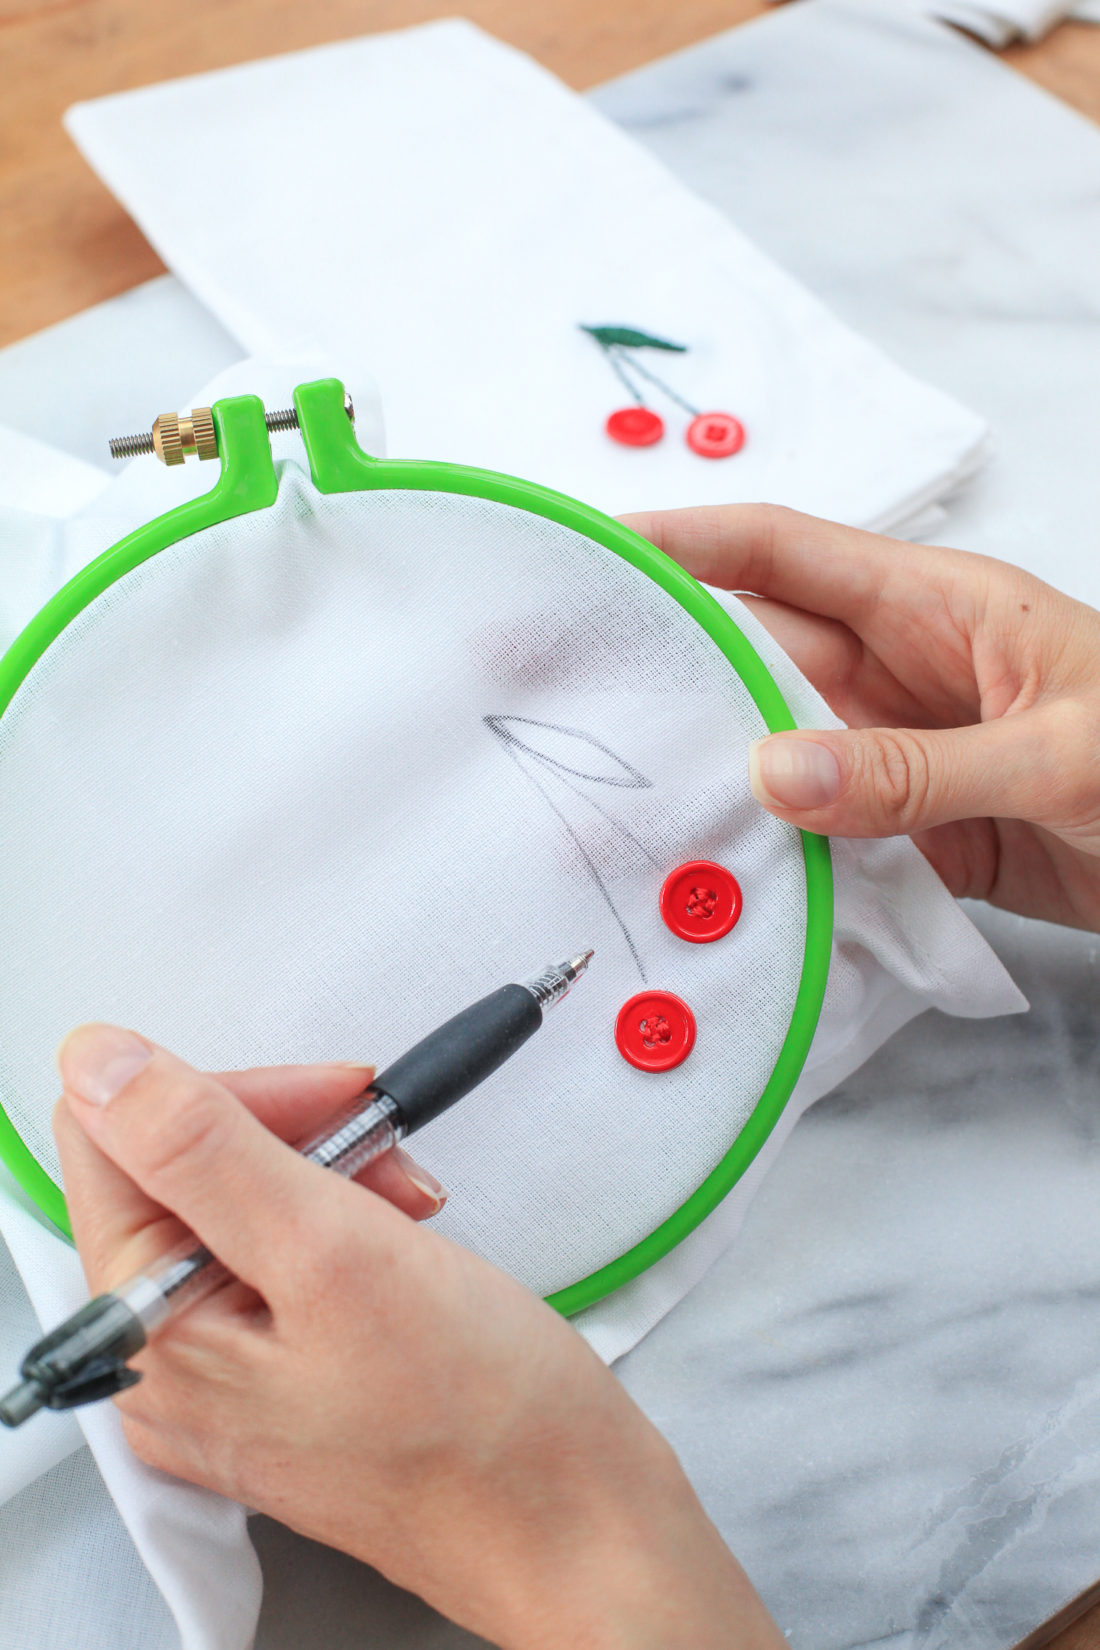
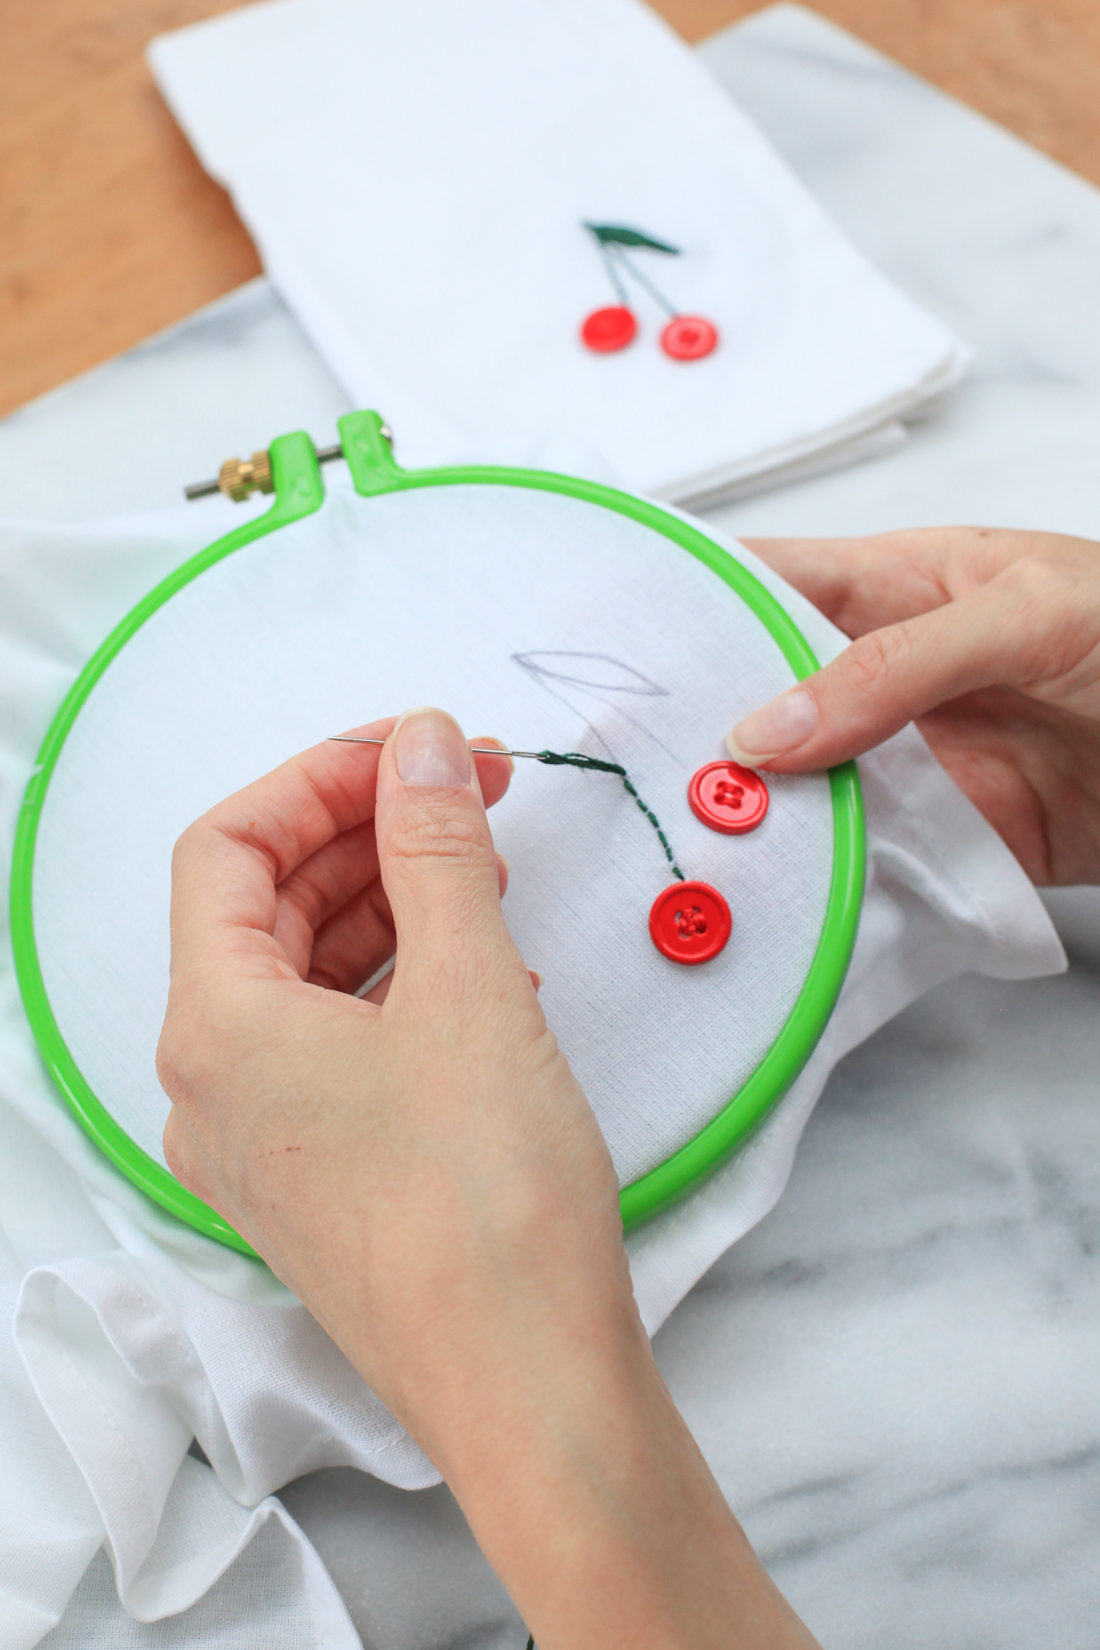
Sew on your button cherries! Use the red embroidery thread to secure them to the tea towel. Now, draw a faint outline of your cherry stems and leaf using a ball point pen. Don’t go too heavy with this! You want to be able to cover it with your thread when you’re making the stems! Now, beginning at the underside of one cherry, start your stem stitch. Go all the way up, and then back down the other stem until you end underneath your second cherry. To make the leaf, begin at the point of your leaf outline, and make perpendicular stitches side by side, getting a bit wider every stitch. Then slowly decrease the width of the stitch to make the leaf skinnier towards the top of the cherry stems. Tie off on the underside of the napkin. Repeat in to infinity! Or until you go crazy…

Photographs by Anel Dzafic
Oh Eva, I love this! I have been wanting to do some crafting and this might be up my alley! You know I love baking, so a perfect accompaniment. You are so creative….I may need to consult you for more ideas. Love to all! Sue
Ahhh I have made that Paula Deen zucchini bread a million times (ok, maybe only 10+ times). It’s wonderful & that little bit of lemon juice gives it a whole lotta WOW! It’s my favorite recipe!
SO delish, right?! I like making those few substitutions because a whole CUP of vegetable oil seems a little intense to me. I think it tastes even better with the coconut oil!
xx
EAM
These are gorgeous I can’t wait to make these with my crafty daughter ❤️
Thanks, Sarah!